A Swiffer simplifies routine floor care, but using it on the wrong mess can ruin expensive flooring, strip protective finishes, or spread dangerous bacteria. Knowing where the tool falls short prevents costly home repairs and keeps your living space truly clean.
While electrostatic sweepers and pre-moistened wet pads lift everyday dust, they lack the absorption, chemistry, and physical structure for demanding jobs. Misapplying them often damages delicate materials or grinds grit deeper into your floorboards.
Before tackling your next chore, review these critical surfaces to avoid with Swiffer tools and discover the best alternative cleaning methods to Swiffer for every room.
1. Unfinished, Waxed, or Oiled Hardwood Floors
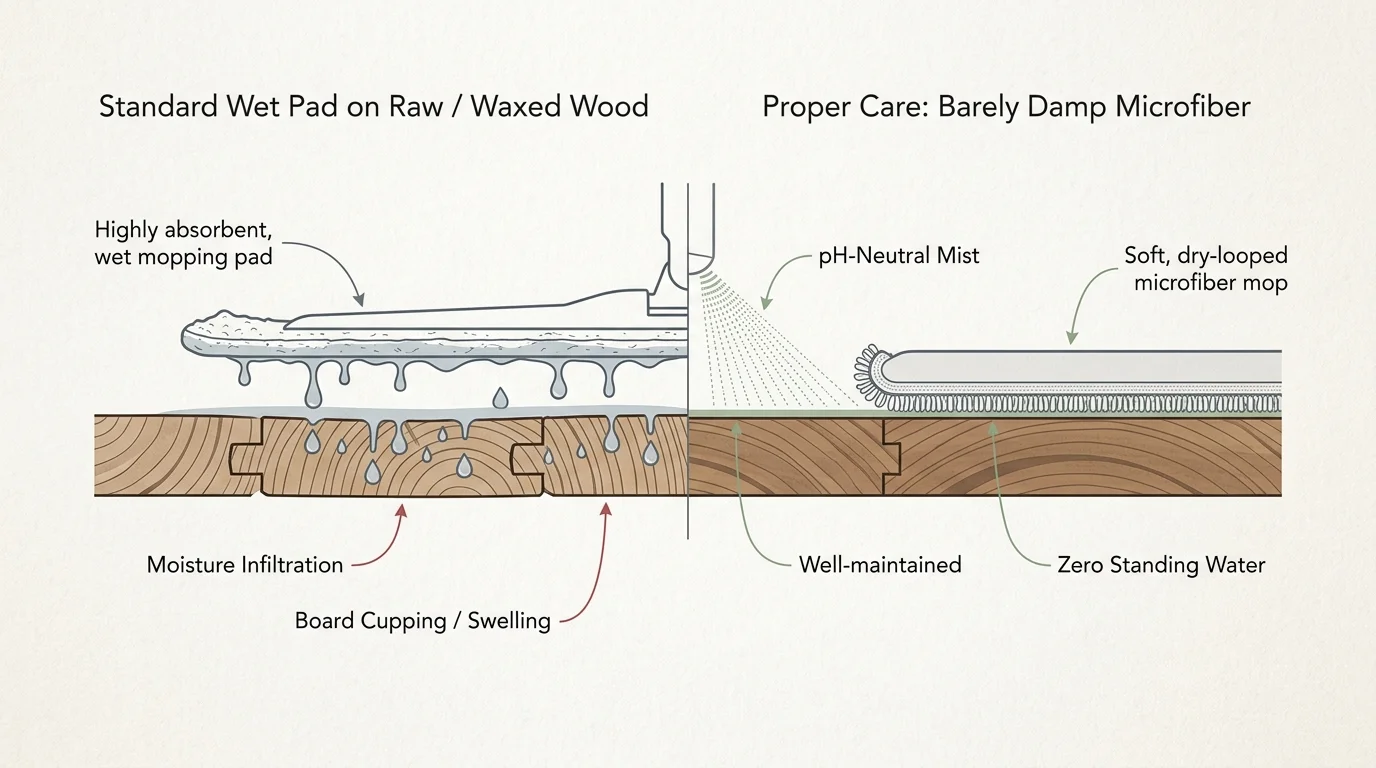
Wood is a hygroscopic material; it naturally absorbs and releases moisture depending on its surrounding environment. When wood floors have an intact, modern polyurethane seal, they can tolerate brief contact with mild, damp cleaning pads. However, unfinished timber, traditional oil-rubbed planks, and waxed hardwood lack that impervious synthetic barrier.
Standard Swiffer Wet cloths and WetJet cleaning formulas contain water, alcohol, and synthetic surfactants. When you drag a wet pad across unfinished or worn wood, moisture immediately seeps into the raw grain. This trapped water causes the wood fibers to swell, resulting in cupping (where the edges of the board rise higher than the center), crowning, or dark water stains beneath the finish. On paste-waxed floors, the solvents in Swiffer solutions dissolve the protective wax layer, turning the surface cloudy, dull, and unpleasantly sticky.
Even the manufacturer explicitly warns against using wet pads on unfinished, oiled, or waxed wood surfaces. The National Wood Flooring Association advises homeowners to keep water exposure to an absolute minimum and avoid harsh detergents on unsealed wood.
What to use instead:
- For dry debris: Use a wide, flat microfiber mop with looped-fringe edges. The electrostatic charge of split microfiber lifts dust and fine grit without scratching delicate raw wood. Alternatively, use a canister vacuum equipped with a dedicated bare-floor brush made of soft natural horsehair bristles.
- For light cleaning: Mist a pH-neutral hardwood cleaner formulated specifically for penetrating-oil or waxed finishes onto a clean microfiber pad—never directly onto the floor. The pad should feel barely damp to the touch.
- For routine wax maintenance: Buff the floor periodically with a dry terry cloth or electric buffer to restore shine. When grime builds up, use a mineral spirits–based cleaner designed for waxed wood, followed by a fresh application of paste wax.
2. Unsealed Natural Stone (Marble, Travertine, Limestone, and Slate)
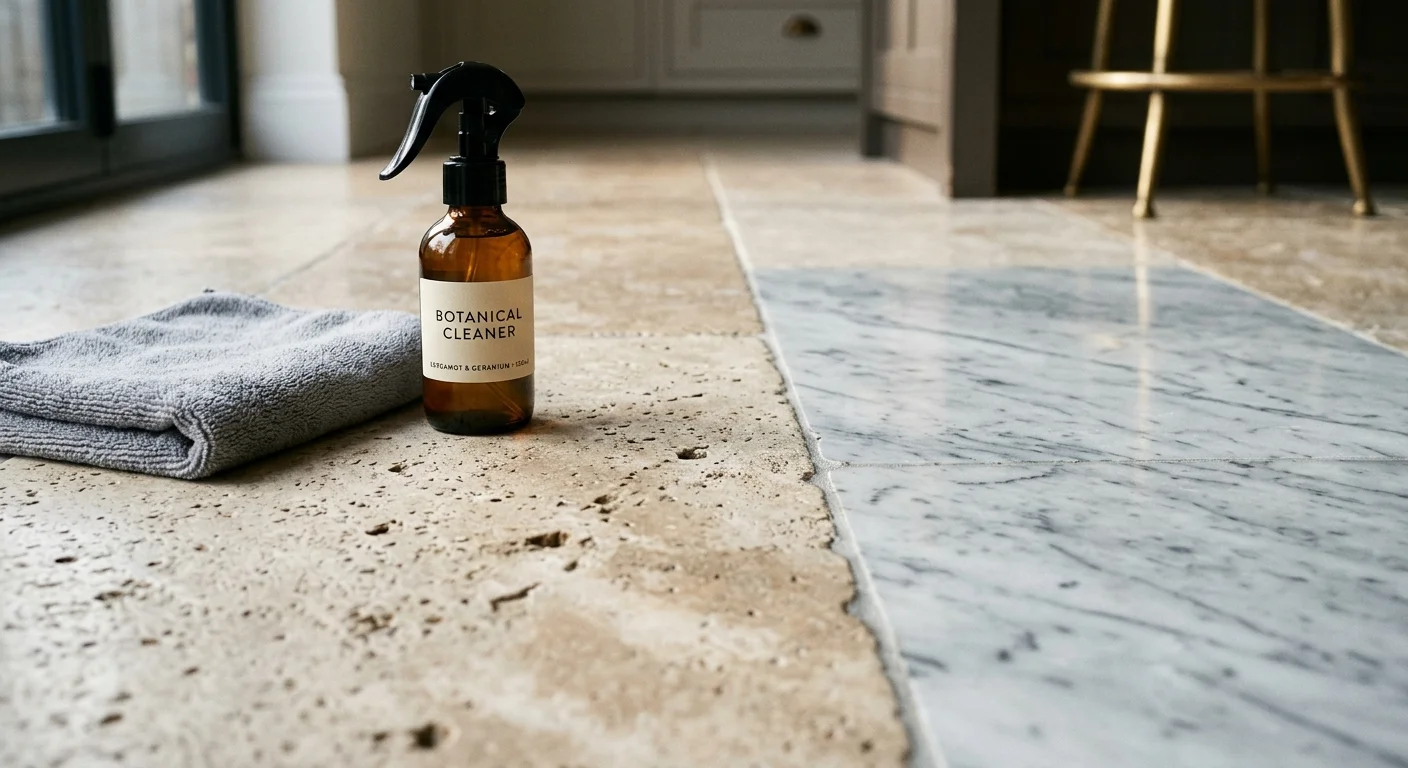
Natural stone brings timeless elegance to entryways, kitchens, and bathrooms, but it requires strict chemical compatibility. Calcite-based stones—such as marble, travertine, and limestone—consist primarily of calcium carbonate, a mineral that reacts violently to acids and strong chelating agents.
Many pre-moistened floor wipes contain cleaning agents, synthetic fragrances, and preservative compounds with mild acidity or chemical solvents designed to cut grease. When these chemicals touch unsealed or worn natural stone, they trigger chemical etching. Etching is not a stain; it is a physical chemical burn that erodes the polished surface, leaving permanent dull spots and rough patches that require professional diamond-pad re-honing to fix.
Furthermore, porous stones like slate and unsealed granite quickly drink in dirty cleaning solution. Because a thin disposable pad cannot extract the liquid it deposits, the stone absorbs the dirty runoff, trapping surfactants deep inside its microscopic pores. Guidelines from the Natural Stone Institute emphasize using only dedicated, pH-balanced stone cleaners to prevent irreversible surface degradation.
What to use instead:
- For dry sweeping: Sweep with a dedicated dry microfiber dust mop that you wash regularly without fabric softeners. Fine grit acts like sandpaper under foot traffic; removing it daily protects soft stone surfaces like polished Carrara marble.
- For wet cleaning: Dilute an authentic pH-neutral stone soap (pH 7.0) in warm distilled or filtered water. Apply the solution using a high-density microfiber flat mop, working in continuous “S” patterns. Rinse the pad frequently in clean water to ensure you lift dirt rather than redepositing it into the stone’s pores.
- For persistent dullness: Periodically check your stone’s seal by placing a few drops of water on the surface. If the water absorbs within ten minutes, apply a premium penetrating (impregnating) stone sealer before resuming any wet cleaning routine.
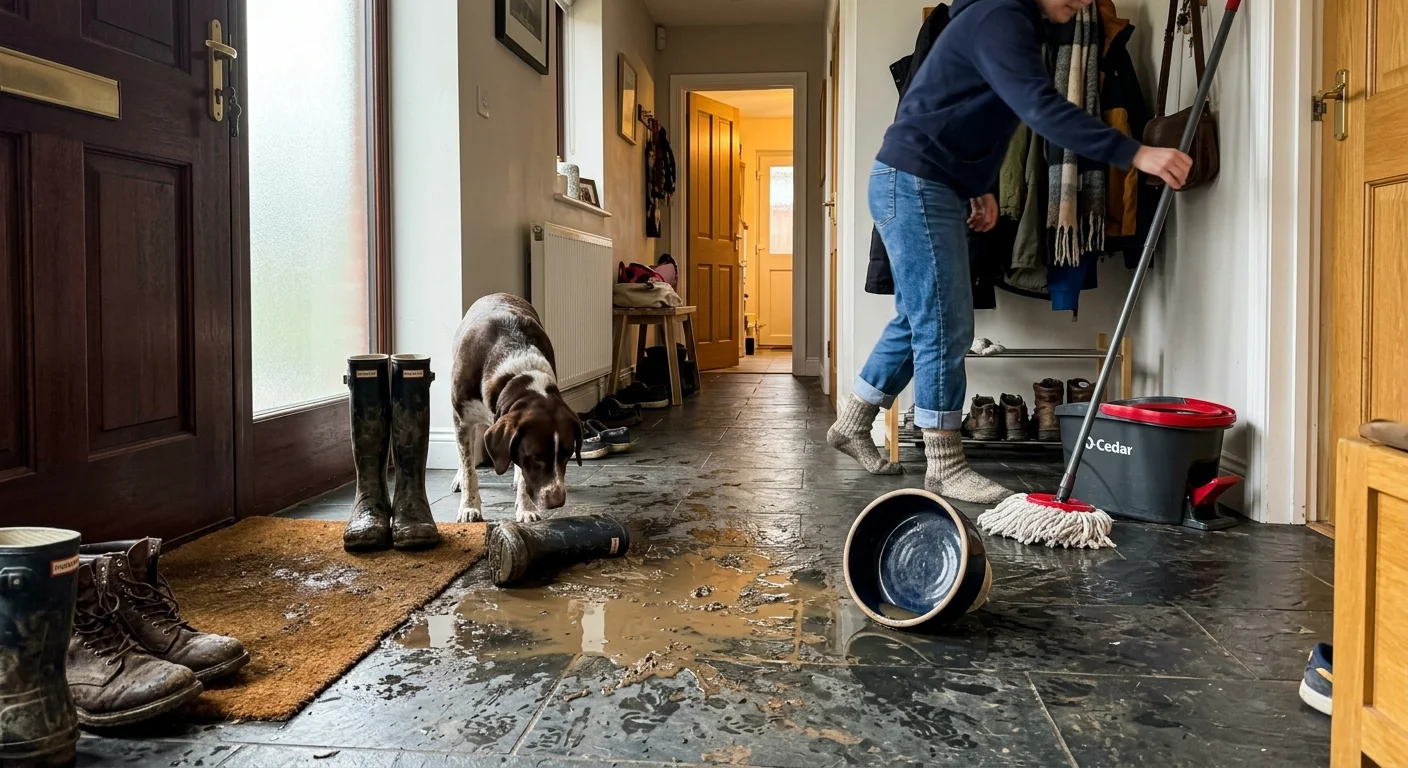
3. Large Liquid Spills, Standing Water, and Mud
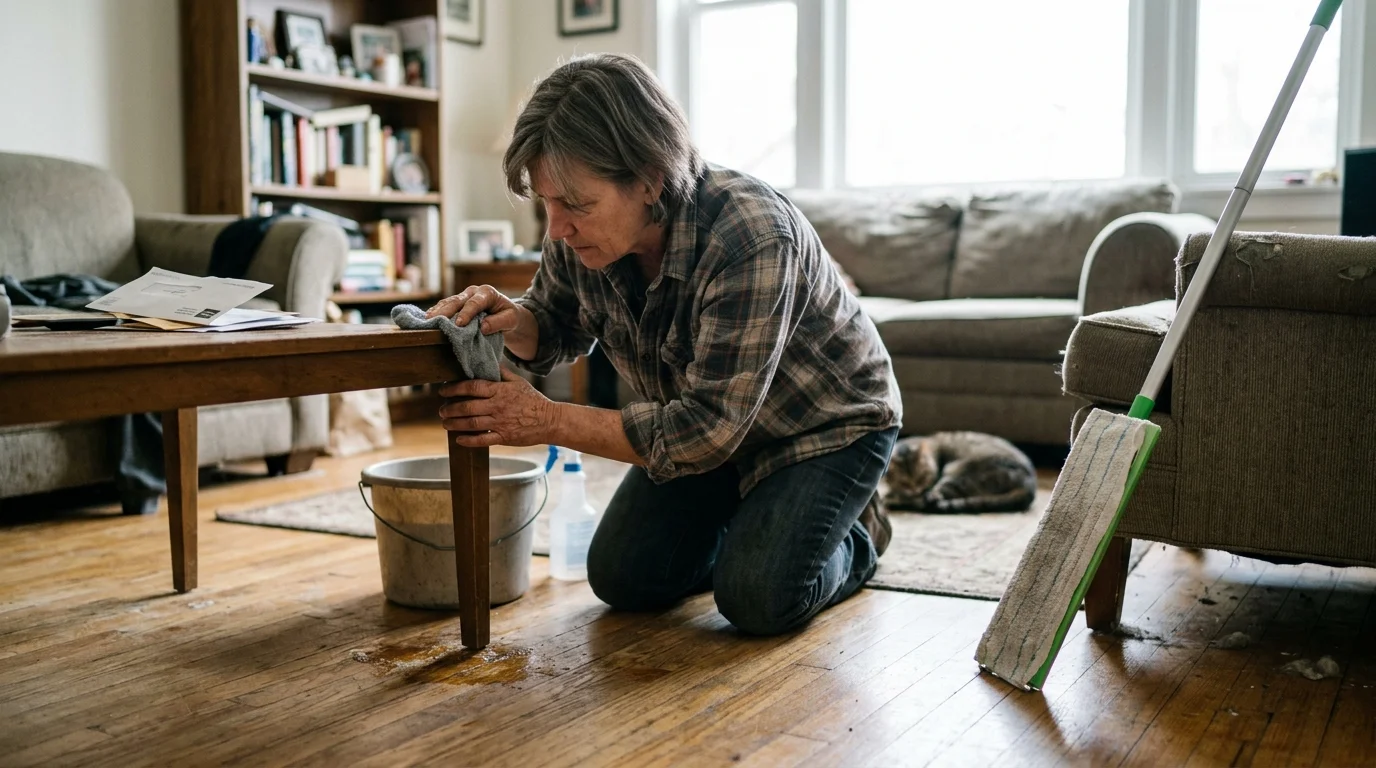
Grabbing a Swiffer WetJet or a pre-soaked pad to clean a spilled glass of juice, an overflowing pet bowl, or muddy boot tracks is one of the most common Swiffer cleaning mistakes. These disposable tools feature thin, non-woven synthetic pads designed strictly for light surface maintenance—they lack the reservoir capacity to absorb substantial liquid volume.
When you run a saturated pad over a large spill, the pad reaches its fluid capacity almost immediately. Past that point, the mop acts like a squeegee in reverse; it spreads a contaminated liquid slurry across a wider surface area. On tiled floors, this action forces dirty liquid straight into porous grout lines, turning light grout dark and foul-smelling. On laminate and luxury vinyl plank (LVP), it pushes dirty water directly into the interlocking tongue-and-groove joints, leading to edge swelling, mold growth, and adhesive failure.
Step-by-step spill removal protocol:
- Contain the perimeter: Place thick cotton bar mops or waffle-weave microfiber drying towels around the edges of the spill to stop outward migration.
- Extract the bulk liquid: For water or juice spills, blot firmly with dry towels from the outside inward. For thick mud, allow it to dry slightly, then scoop the bulk debris with a flexible silicone dustpan and hand squeegee to avoid scratching the floor.
- Wash with a dual-chamber mop: Use a two-bucket system or a dual-chamber spin mop. One chamber holds fresh cleaning solution; the other separates dirty rinse water. This setup ensures that you apply clean solution to the floor and physically extract dirty residue into a dedicated reservoir.
- Dry the surface completely: Run a dry microfiber towel over the cleaned area to eliminate any lingering moisture that could compromise your subfloor or create a slip hazard.
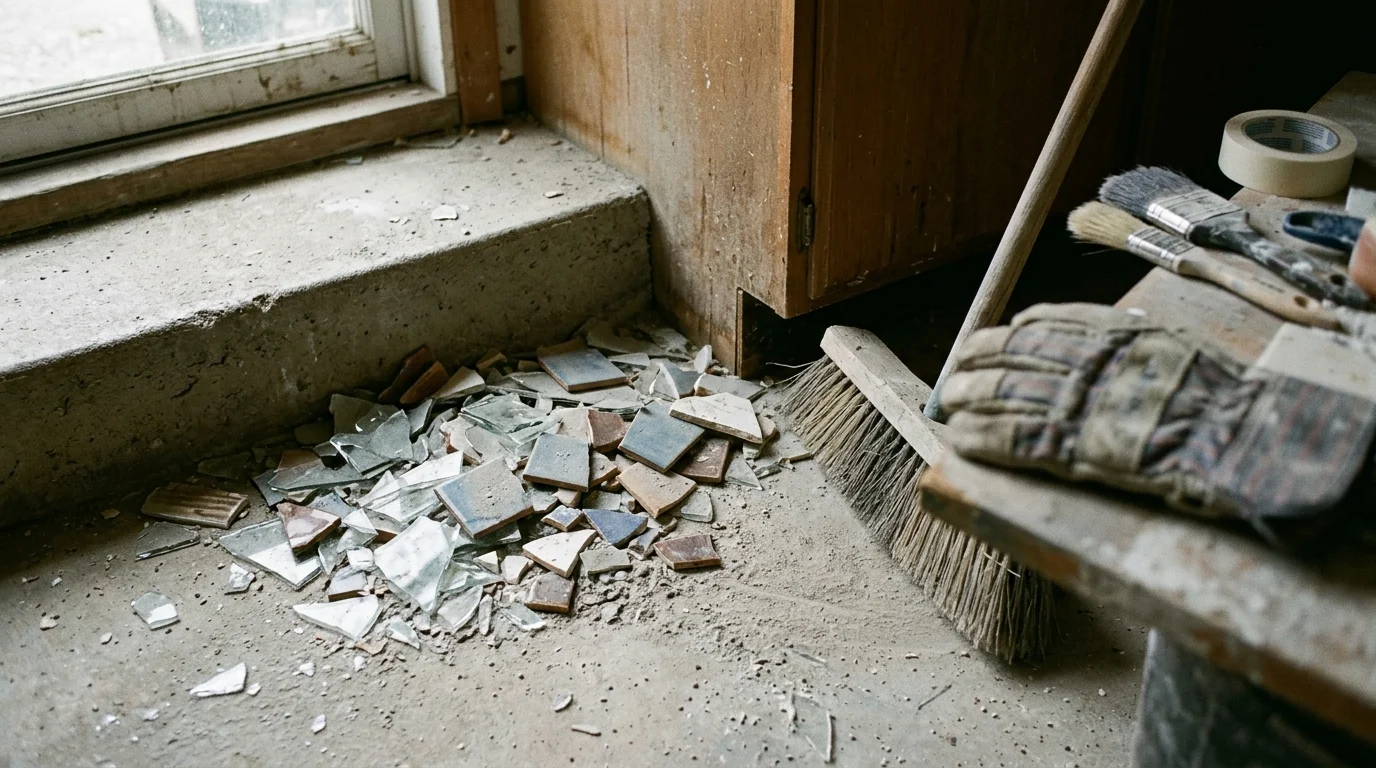
4. Broken Glass, Ceramic Shards, and Construction Dust
Cleaning up shattered drinkware, broken ceramic tiles, or fine drywall dust requires careful tool selection to prevent property damage and physical injury. A Swiffer Sweeper is completely unsuitable for sharp, jagged debris or heavy mineral powders.
When you push a dry or wet Swiffer over glass splinters, the thin pad cannot encapsulate the sharp fragments. Instead, the downward pressure of the mop head traps razor-sharp glass slivers against the bottom of the pad, turning your cleaning tool into an abrasive sanding block. As you glide the mop across your floor, those glass shards gouge deep, irreversible trenches into hardwood polyurethane, laminate wear layers, and vinyl finishes.
Safety is an even bigger concern: when you remove the used pad from the mop head, glass splinters embedded in the synthetic fibers can easily pierce through the backing and slice your fingers. Furthermore, heavy construction dust—such as drywall compound, plaster, and masonry dust—instantly overwhelms the electrostatic charge of dry dusting sheets, smearing a chalky, abrasive paste across your floors that dulls the finish.
What to use instead:
- The initial sweep: Use a stiff-bristled broom and a rubber-lipped dustpan to gather all visible glass chunks and larger shards. Work slowly to prevent fragments from scattering across the room.
- The flashlight inspection: Dim the overhead room lights and place a bright flashlight flat on the floor, pointing horizontally. The beam will catch the edges of microscopic glass slivers, casting long shadows that reveal their exact locations.
- The paper towel press: Fold three sheets of heavy-duty paper towel into a thick square, dampen it slightly with water, and press down firmly over the area where tiny shards remain. The damp fibers capture invisible splinters safely. Discard the paper towel immediately into a thick trash bag.
- The mechanical pickup: Vacuum the entire perimeter using a vacuum cleaner equipped with a sealed HEPA filtration system and a bare-floor tool. Avoid using a rotating motorized brush roll (beater bar), which can fling glass shards across the room at high speeds.
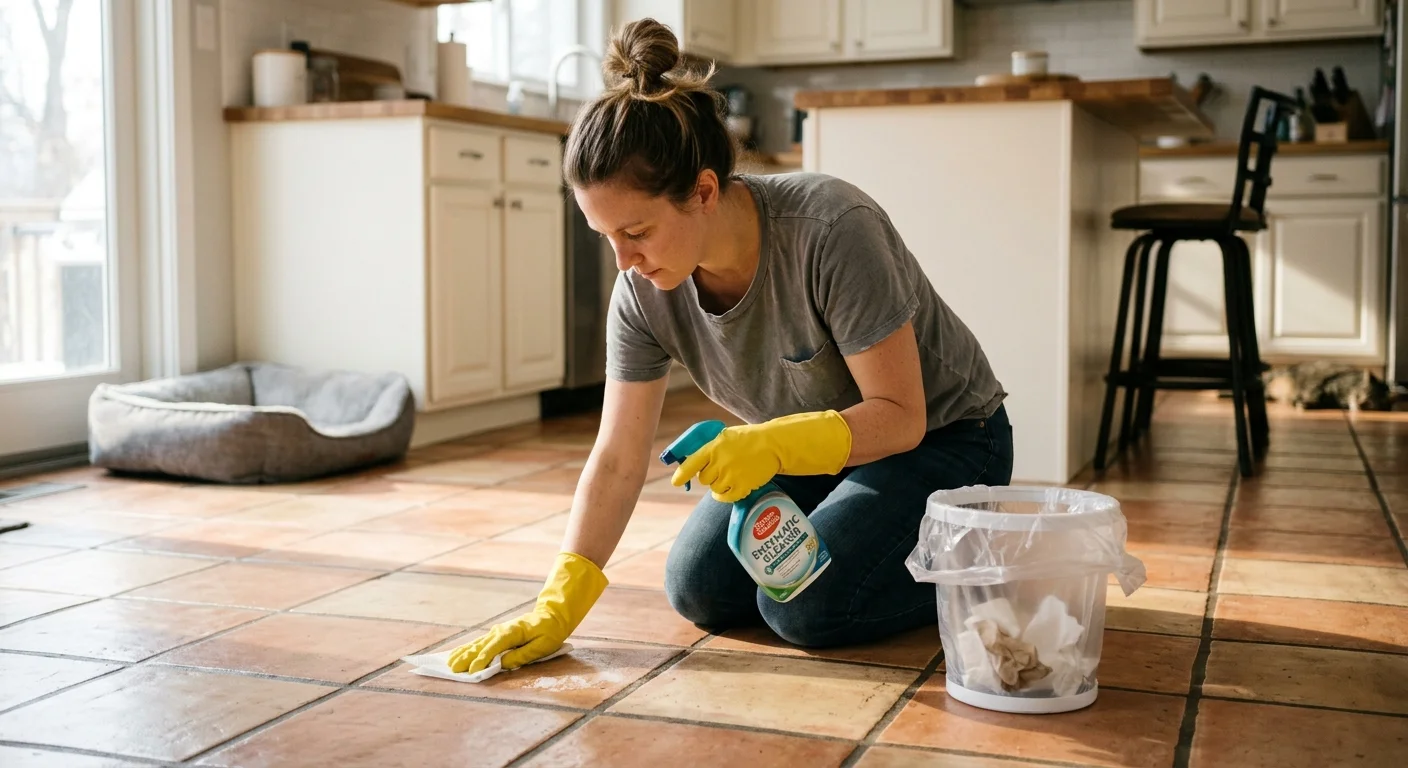
5. Pet Waste, Bodily Fluids, and Raw Food Spills
Biological contaminants—such as pet urine, feces, vomit, blood, and raw poultry drippings—present genuine biological hazards. These messes harbor pathogenic bacteria including Salmonella, E. coli, and Campylobacter, along with viruses and parasites. Reaching for a standard Swiffer when handling these spills creates a false sense of security while actively spreading contamination throughout your living space.
Standard Swiffer Wet cloths are cleaning tools, not registered hospital-grade disinfectants. The Centers for Disease Control and Prevention (CDC) and the U.S. Environmental Protection Agency (EPA) establish clear guidelines for microbial elimination: true disinfection requires applying an EPA-registered disinfectant and maintaining visible wet contact across the surface for a specified dwell time (often 3 to 10 full minutes).
Swiffer wet pads dry out in less than two minutes under standard room temperatures. When you glide a single pre-moistened pad over a pet accident and continue mopping the rest of the room, you pick up biological pathogens from the initial site and smear a microscopic film of bacteria across your entire floor.
The biohazard sanitization procedure:
- Isolate and remove bulk waste: Don disposable rubber gloves. Pick up solid waste or blot heavy fluids using heavy-duty disposable paper towels. Seal the soiled paper towels in a plastic bag and discard them immediately.
- Apply targeted chemistry: For pet urine and organic waste, spray an enzymatic cleaner generously over the spot to break down uric acid crystals and proteins that cause stubborn odors. For raw meat juices or blood, apply an EPA-registered disinfectant spray.
- Observe full dwell time: Allow the chemical solution to sit visibly wet on the surface for the full manufacturer-recommended contact time (typically 5 to 10 minutes) to ensure complete microbial kill.
- Wipe clean with disposable towels: Wipe up the disinfectant using clean paper towels or washable cotton cloths that you can launder immediately in hot water with bleach.
- Final damp wipe: Wipe the area with a fresh microfiber cloth dampened with clean warm water to remove any chemical residue that could irritate bare feet or pet paws.
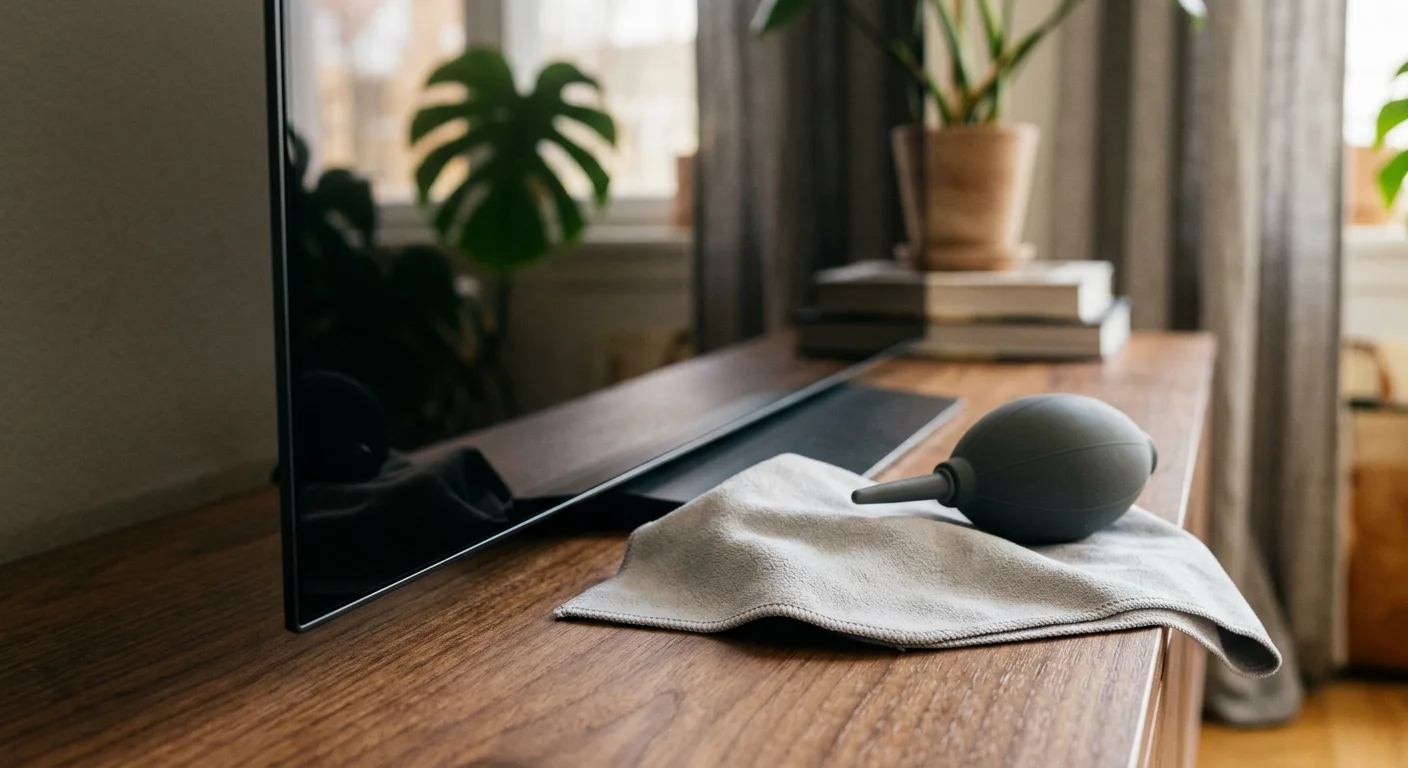
6. Anti-Glare Television Screens, Monitors, and Delicate Electronics
It is tempting to run a fluffy Swiffer Duster over your big-screen television, computer monitor, or tablet during a quick dusting run. However, delicate electronic displays represent a primary category of what not to use Swiffer on. Modern flat-panel displays—including OLED, QLED, and IPS panels—feature precision-engineered optical coatings designed to diffuse ambient light and reduce glare.
Swiffer 360 Dusters use synthetic fibers coated with light mineral oil or specialized wax binders that help lock in dust particles. While harmless on baseboards, painted trim, and wooden bookshelves, these oily binders transfer directly onto screen coatings, leaving greasy, iridescent streaks that are notoriously difficult to remove. The friction generated by synthetic dusting sheets can also generate static electricity near sensitive display ports, while the pressure applied to thin LCD panels can damage delicate pixel arrays.
Furthermore, if your duster has previously swept a dusty bookshelf or picture frame, it may carry trapped mineral particles. Rubbing those trapped particles across a soft plastic screen creates fine micro-scratches (swirl marks) that permanently distort your display quality under direct light.
What to use instead:
- The optical dry wipe: Power down the electronic device and let the screen cool completely (warm screens cause cleaning fluids to evaporate too quickly and create streaks). Use a clean, plush optical microfiber cloth (250 to 300 GSM) designed specifically for camera lenses and eyewear. Wipe gently across the screen in straight, overlapping horizontal or vertical strokes—never scrub in aggressive circles.
- For stubborn fingerprints: Lightly mist distilled water onto one corner of your microfiber cloth; never spray liquid directly onto any electronic display. Gently wipe the smudge with the dampened cloth corner, then immediately buff the area dry using the dry portion of the cloth.
- For tight vents and ports: Use a handheld silicone air blower or a soft, untreated goat-hair detail brush to dislodge dust from speaker grilles and connection ports without generating electrostatic discharge.
Swiffer vs. Alternative Cleaning Methods Comparison
Understanding which tool matches each specific household scenario prevents surface degradation and ensures your cleaning efforts produce sanitary results. Use this quick reference guide to select the right approach for your home’s most vulnerable surfaces.
| Mess or Surface | Why Swiffer Fails | Recommended Replacement Tool | Proper Cleaning Technique |
|---|---|---|---|
| Unfinished / Waxed Hardwood | Moisture swells raw grain; solvents strip paste wax coatings. | Looped-fringe microfiber mop; paste wax buffer. | Dry sweep daily; use a barely damp, pH-neutral wood cleaner pad only when necessary. |
| Unsealed Natural Stone | Chemicals etch calcium carbonate; stone pores absorb dirty runoff. | High-density microfiber mop; pH 7.0 stone cleaner. | Apply neutral stone wash with warm distilled water; dry thoroughly. |
| Large Spills & Mud | Pads saturate instantly and push dirty slurry into grout lines. | Cotton bar mops; dual-chamber spin mop. | Blot bulk liquid from the outside inward; wash with clean water separation. |
| Broken Glass & Shards | Pad pressure grinds glass into floor; removal causes puncture injuries. | Broom, flashlight, damp paper towel, HEPA vacuum. | Sweep large shards; use light beam to locate slivers; press damp paper towel to extract. |
| Pet Waste & Biohazards | Lacks disinfectant dwell time; spreads bacterial pathogens across rooms. | Paper towels; enzymatic cleaner; EPA disinfectant. | Remove bulk waste with paper towels; maintain visible wet chemical dwell time for 5–10 minutes. |
| Television & OLED Screens | Wax/oil binders leave greasy film; static and pressure damage displays. | Optical microfiber cloth (300 GSM); distilled water. | Power down screen; wipe in linear passes; mist distilled water onto cloth for smudges. |
Where a Swiffer Excels: Safe Uses in Your Home
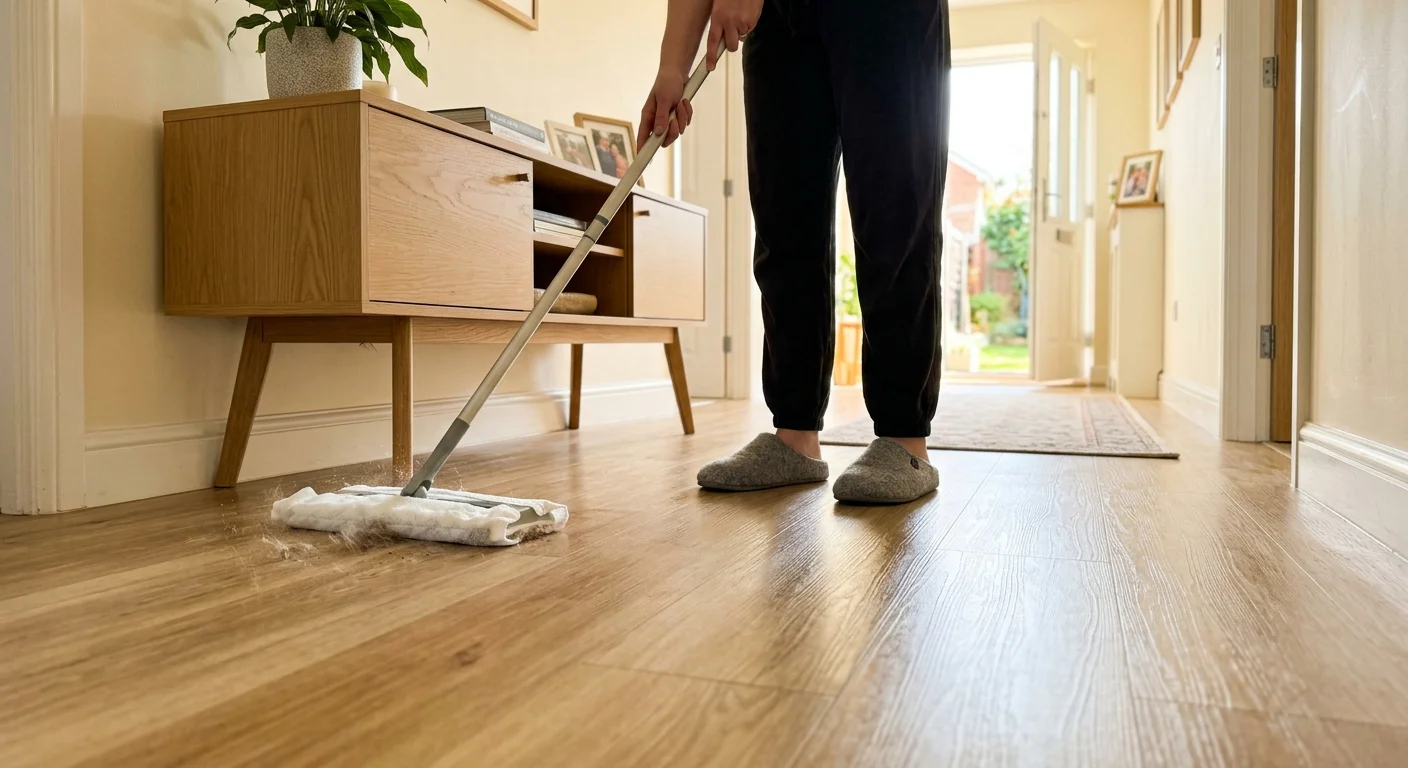
Highlighting items not to clean with a Swiffer does not mean you must discard your sweeper entirely. When deployed within its intended design limits, a Swiffer remains an efficient, ergonomic tool for quick daily upkeep—particularly for older adults or busy homeowners who want to streamline their routines without hauling heavy equipment up and down stairs.
Your Swiffer Sweeper and Duster perform safely and effectively on the following everyday household tasks:
- Glazed ceramic and porcelain tile: Sealed, glazed ceramic surfaces tolerate mild wet cleaning pads well. A Swiffer Wet easily removes light footprints, dust, and minor kitchen splashes between deep mopping sessions.
- Factory-finished Luxury Vinyl Plank (LVP) and Sheet Vinyl: High-quality vinyl flooring with a thick, intact polyurethane wear layer handles Swiffer Wet pads without risk of swelling, provided there are no unsealed seams or standing puddles.
- Under-furniture dust bunny collection: The ultra-slim profile and 360-degree swivel head of a dry Swiffer Sweeper allow you to reach under low-clearance sofas, beds, and credenzas where traditional vacuum heads cannot fit.
- Baseboards, crown molding, and door frames: Dry electrostatic sweeping cloths trap loose dust, cobwebs, and pet fur along painted wood trim and wall corners without kicking particles into the air.
- Ceiling fan blades (when using extended handles): Dry duster attachments catch loose lint on top of ceiling fan blades and light fixtures before it settles onto your furniture below.
Actionable Next Steps for a Smarter Cleaning Caddy
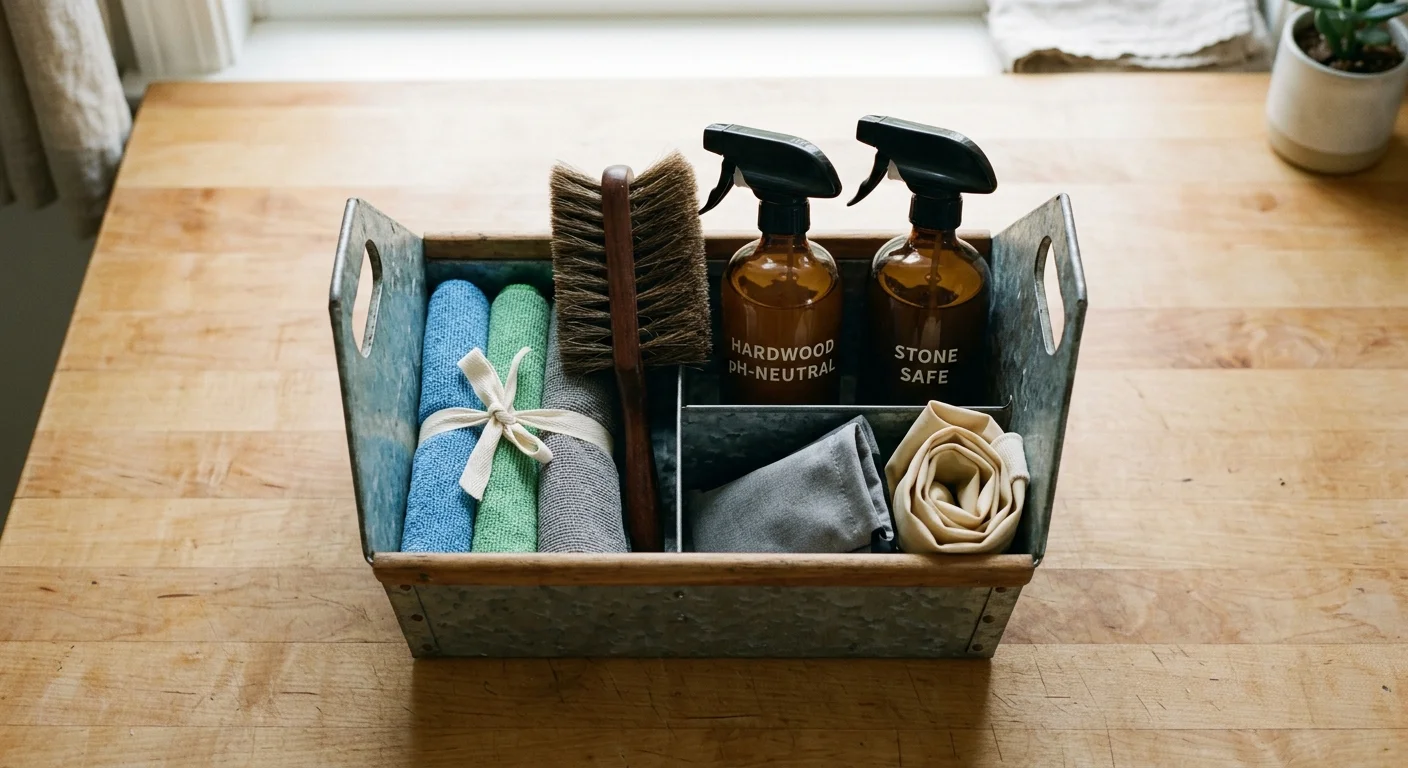
Take a few minutes today to evaluate your cleaning setup and eliminate common Swiffer cleaning mistakes from your household routine:
- Inspect your flooring types: Identify whether your home features unsealed stone, oiled wood, or sensitive finishes that require dedicated care rather than universal disposable pads.
- Restock your cleaning station with proper alternatives: Add a pack of lint-free 300 GSM optical microfiber cloths for electronics, an enzymatic cleaner for biological spills, and heavy-duty cotton bar towels for unexpected liquid puddles.
- Establish a multi-tool routine: Reserve your Swiffer exclusively for light, dry dust collection and routine maintenance on sealed, non-porous surfaces. For heavy liquid spills, sanitization needs, and delicate displays, switch to the specialized tools detailed above to keep your home pristine and protected.