A neglected refrigerator silently drains your household budget, degrades your groceries, and introduces food safety risks right where you store your daily meals. Spotting subtle refrigerator deep cleaning signs early protects your family from foodborne illness and prevents expensive appliance repairs. While a quick wipe handles visible spills, built-up grime, mystery odors, and coated condenser coils demand a thorough reset. You do not need an entire weekend or complicated commercial chemicals to restore your appliance to peak condition; you simply need to know what warning cues to look for. When you recognize these seven telltale indicators, you can tackle the job systematically, lower your energy bill, and maintain fresh, safe food with minimal stress.
1. Persistent Odors That Linger Even After Removing Old Food
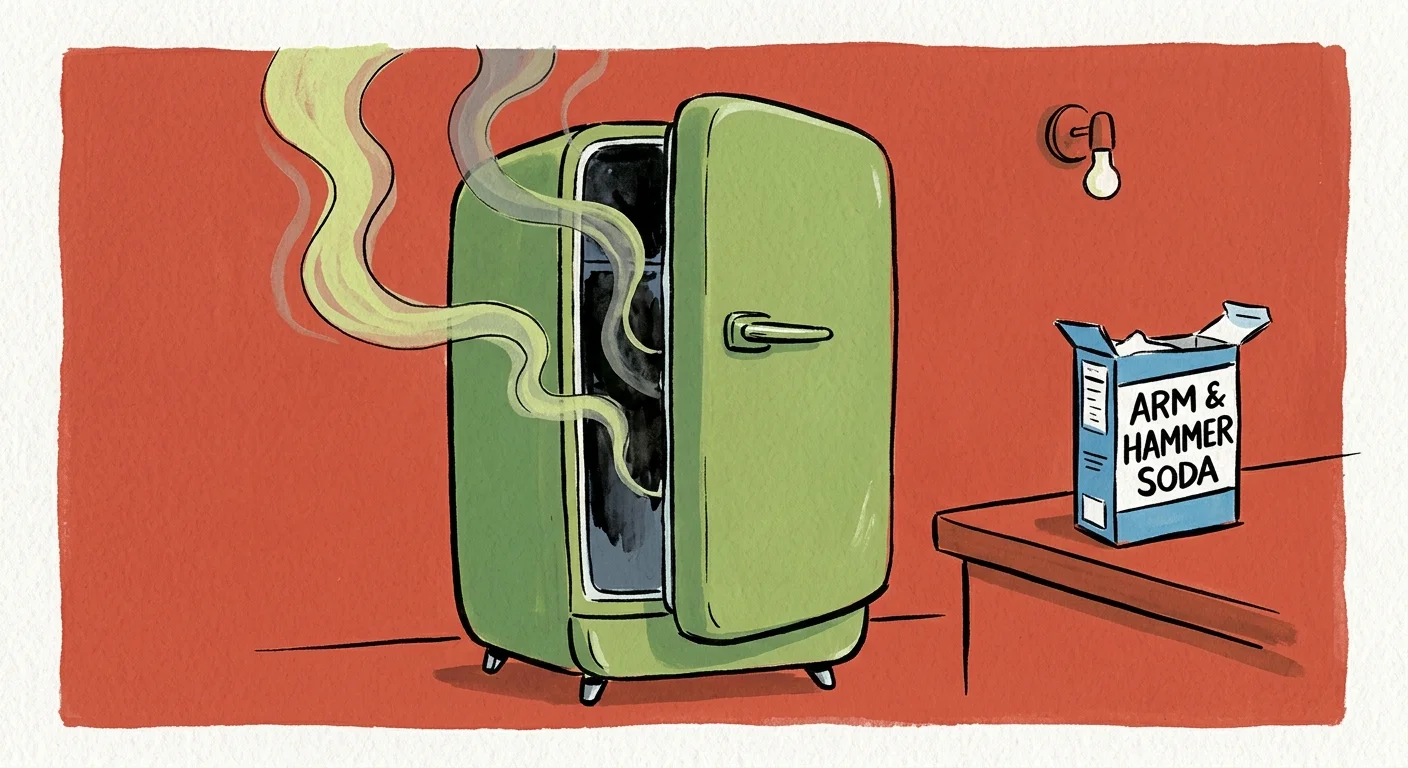
Opening your refrigerator door should never assault your senses with stale, sour, or metallic smells. If you already threw out that forgotten container of takeout and an unpleasant scent still lingers, bacteria and volatile organic compounds have likely taken up residence in hidden crevices. Liquid from thawed poultry, leaking condiments, and spoiled dairy easily seeps beneath crisper bins, down shelf brackets, and into porous plastic liners.
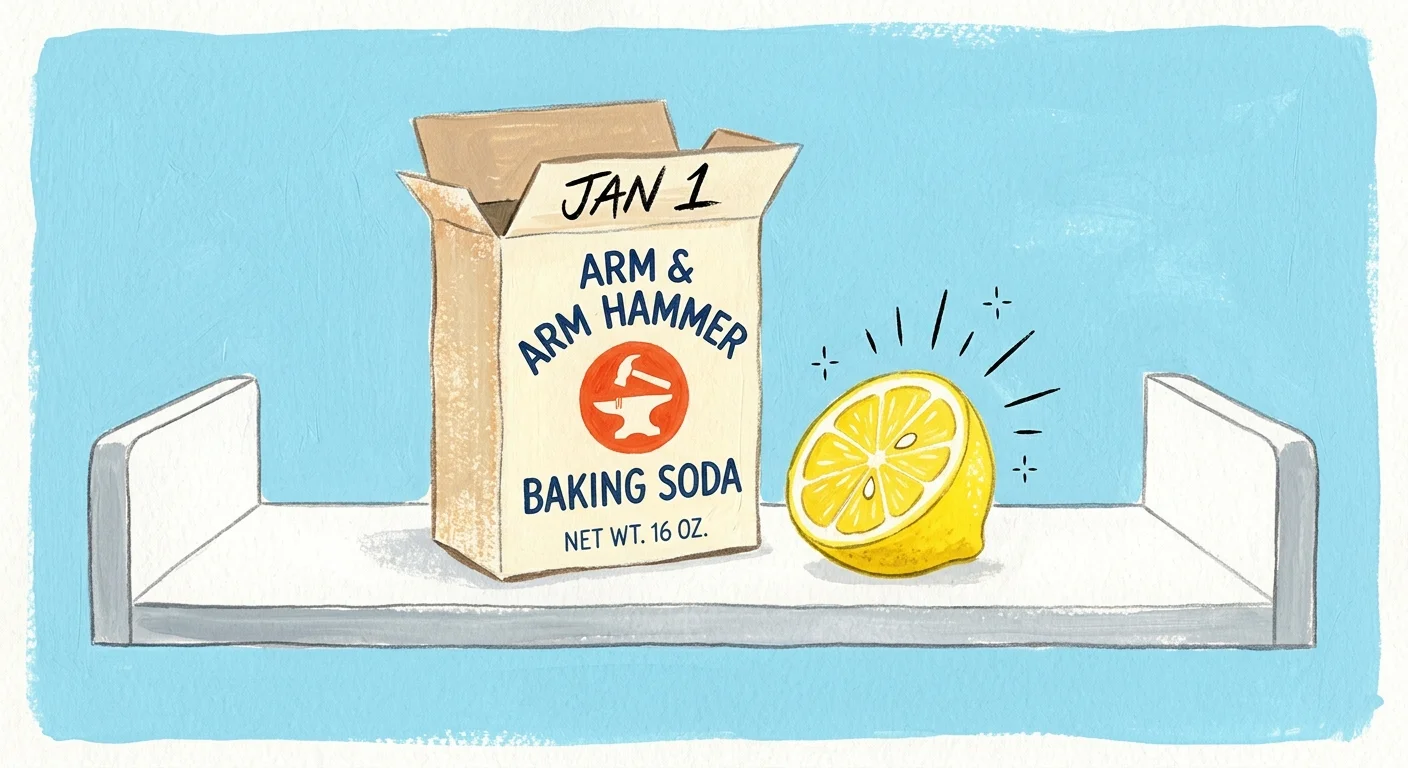
Placing an open box of baking soda on a shelf helps with mild ambient odors, but it cannot neutralize active bacterial colonies trapped beneath glass seams. Plastic interior surfaces also absorb odor compounds when sticky spills sit undisturbed for weeks. When routine deodorizers fail to freshen the air inside the cabin, you are facing one of the clearest signs your fridge needs cleaning from top to bottom.
2. Visible Sticky Spills, Grime, and Mystery Residue Under Shelves
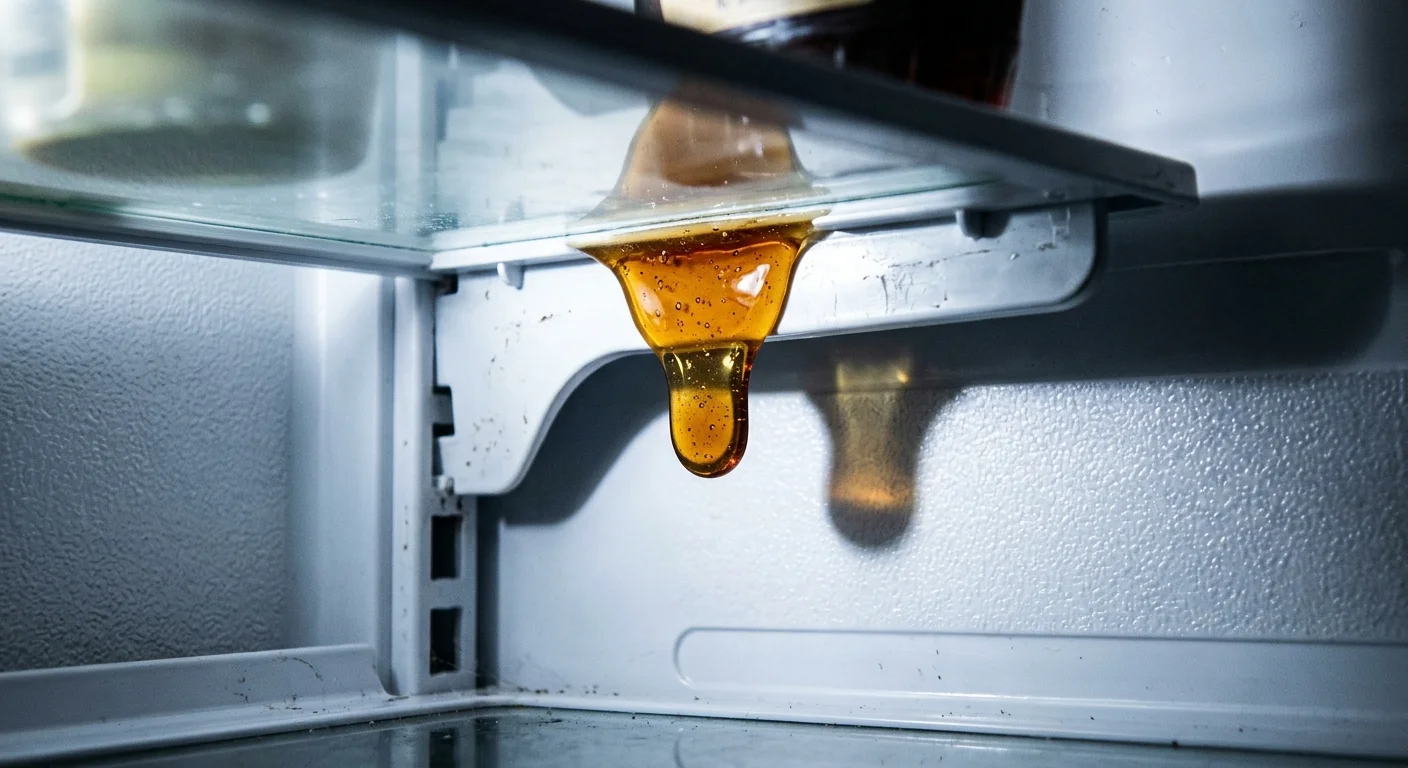
Daily refrigerator traffic makes surface-level smudges common, but dried syrups, crusty sauce rings, and hardened marinades create real hygiene hazards. Spills rarely stay where they land; they run along shelf tracks and settle underneath removable glass inserts. Over time, this trapped moisture breeds mold and attracts microscopic contaminants that transfer to the bottoms of clean jars and beverage cartons.
Take a low-angle look at the underside of your glass shelves and door bins. If you notice sticky amber drips, discoloration along shelf brackets, or crumbs embedded in shelf seams, wiping the top surface will not solve the problem. A complete teardown—removing shelves, soaking bins in warm soapy water, and scrubbing shelf supports—eliminates the hidden gunk that basic spot-cleaning misses.
3. Mold, Mildew, or Crumb Buildup on Rubber Door Gaskets
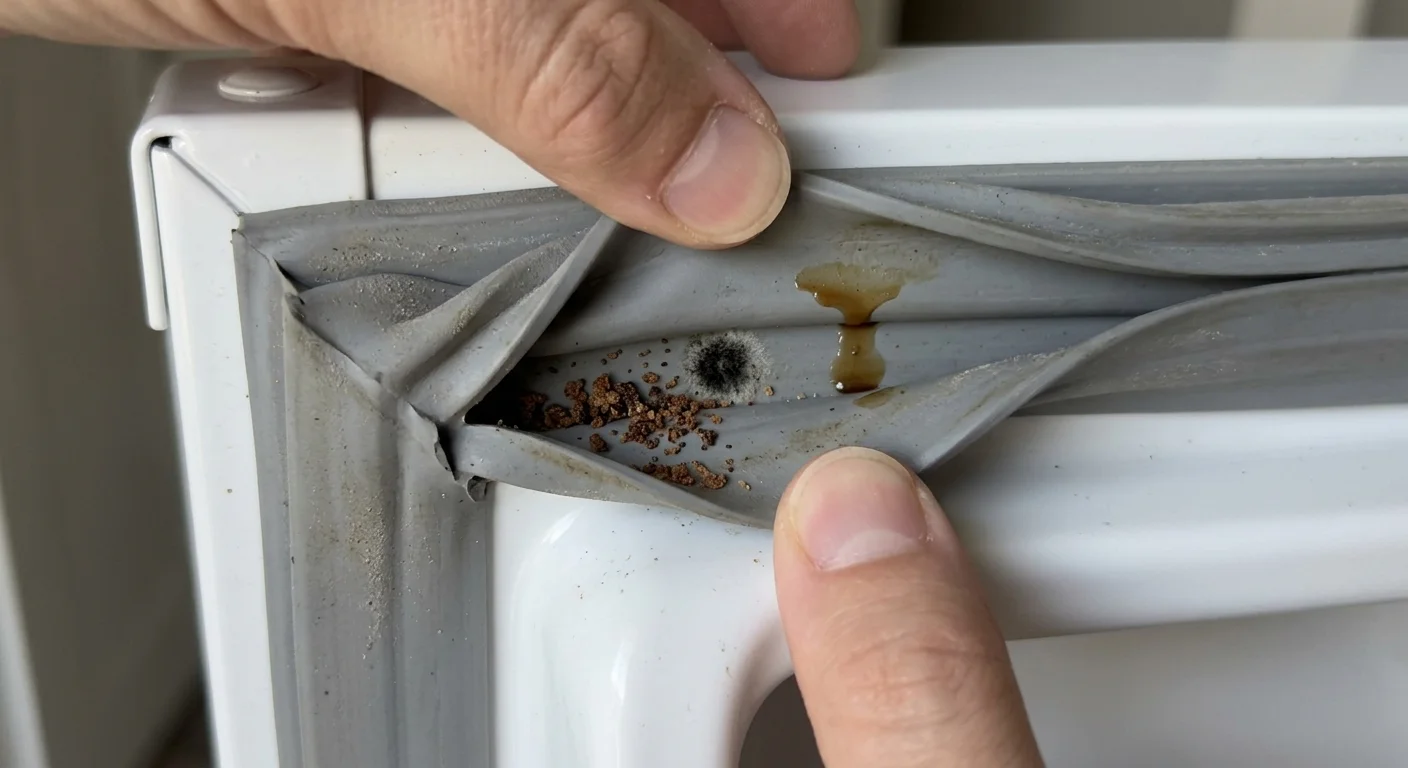
The flexible rubber gasket lining your refrigerator door creates an airtight seal that keeps cold air locked inside. Unfortunately, the accordion-style folds of these gaskets act as magnets for loose breadcrumbs, drips of milk, and condensation. When moisture meets trapped food particles in a dark environment, black mold and mildew flourish rapidly.
Inspect the rubber folds along all four sides of the door. A dirty gasket does more than look unappealing; sticky grime degrades the flexible rubber over time, causing it to crack and lose its seal. According to the U.S. Food and Drug Administration (FDA), maintaining proper refrigeration temperatures is essential for preventing bacterial growth, and a compromised door seal forces your unit to run harder while warm air leaks into the cabinet.

4. Mystery Food Graveyards and Expired Containers Piling Up
When items get pushed to the dark rear corners of your shelves, they morph into unrecognizable science experiments. Overcrowded shelves block visibility, leading you to repurchase condiments you already own while older items quietly decay. If your refrigerator contains half-empty salad dressing bottles from two summers ago or foil-wrapped packages you cannot identify, an immediate purge is overdue.
Food safety requires vigilance regarding food storage timelines. The USDA Food Safety and Inspection Service (FSIS) advises that cooked leftovers remain safe for only 3 to 4 days, while raw poultry and ground meats last just 1 to 2 days in the refrigerator. When food sits in the temperature “Danger Zone” between 40°F and 140°F (4°C to 60°C), pathogens such as Salmonella, E. coli, and Listeria can double in number every 20 minutes. While the food industry marks November 15 as National Clean Out Your Fridge Day, you should never wait for an annual date to clear out expired, decaying inventory.
5. Condensation on Interior Walls or Heavy Frost in the Freezer
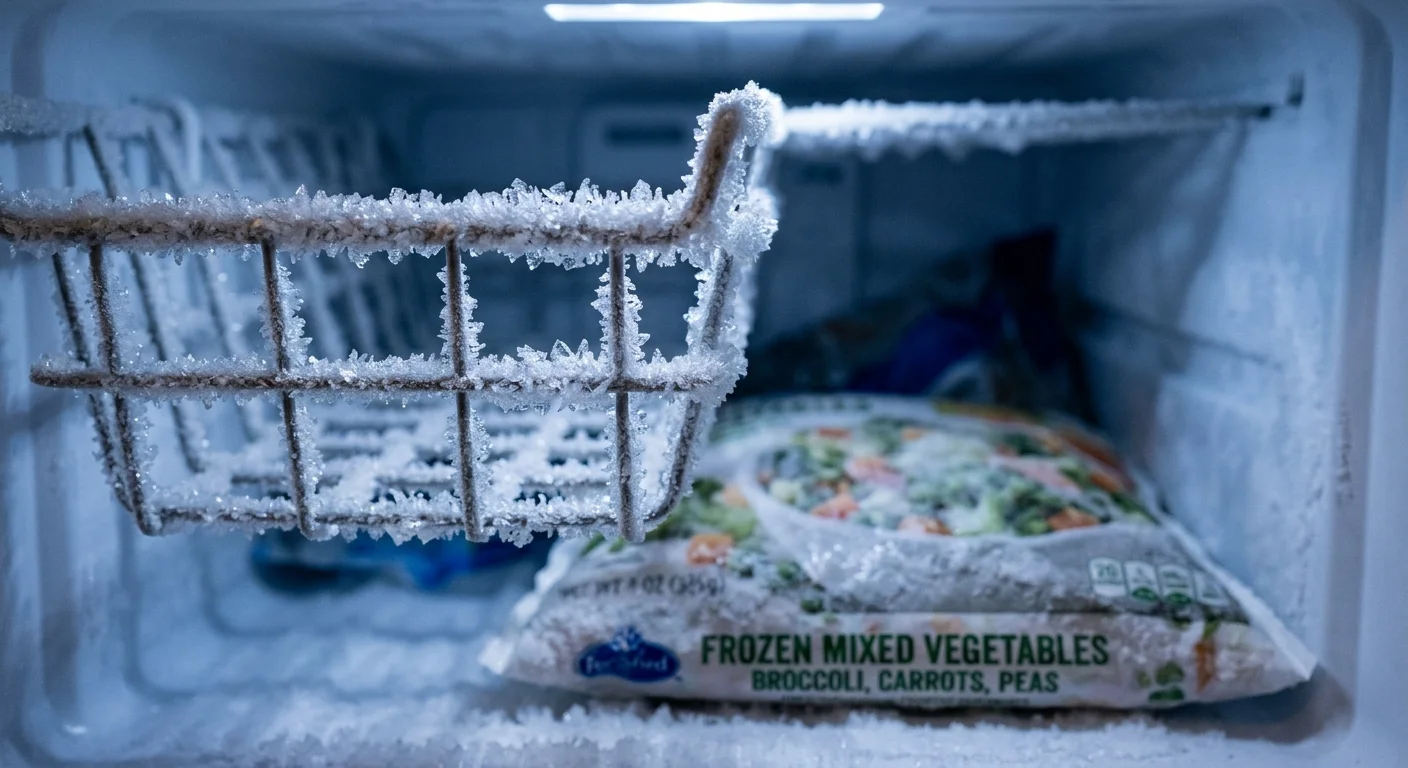
Water droplets beading on the interior back wall, puddles pooling under your vegetable crispers, or thick frost coating freezer drawers point to airflow and temperature irregularities. When you pack shelves too tightly, cold air cannot circulate evenly from the evaporator fan. Warm pockets form, moisture condenses against cool walls, and damp conditions accelerate bacterial multiplication.
Refrigerators must consistently operate at or below 40°F (4°C)—with 37°F (3°C) serving as the ideal target—while freezers must stay at 0°F (-18°C). When excessive frost forms or moisture coats internal surfaces, ice can clog internal air vents and defrost drains. A deep clean allows you to defrost frozen buildup, clear clogged drainage channels, and reorganize shelves to restore unrestricted airflow.

6. Fresh Produce Wilting, Molding, or Spoiling Ahead of Schedule
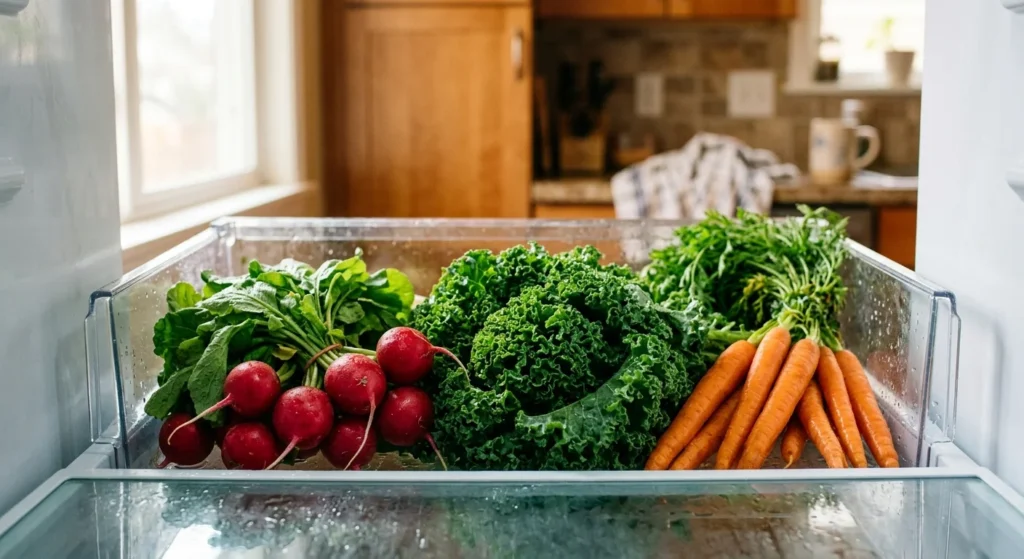
If crisp heads of lettuce turn into brown slush within days or fresh berries develop fuzzy mold overnight, your crisper drawers are likely contaminated. Decaying produce releases ethylene gas, a natural plant hormone that dramatically accelerates the ripening and rotting of neighboring fruits and vegetables. When old onion skins, carrot tips, or sticky berry juices linger in drawer tracks, they seed new produce with active mold spores.
Cleaning fridge coils and shelves helps maintain temperature consistency, but deep-cleaning your crisper drawers directly preserves your grocery budget. Pull the drawers out entirely, clean the humidity slider vents, wash the plastic bins with warm, soapy water, and dry them thoroughly before reloading fresh produce.
7. The Refrigerator Runs Constantly, Vibrates, or Feels Hot
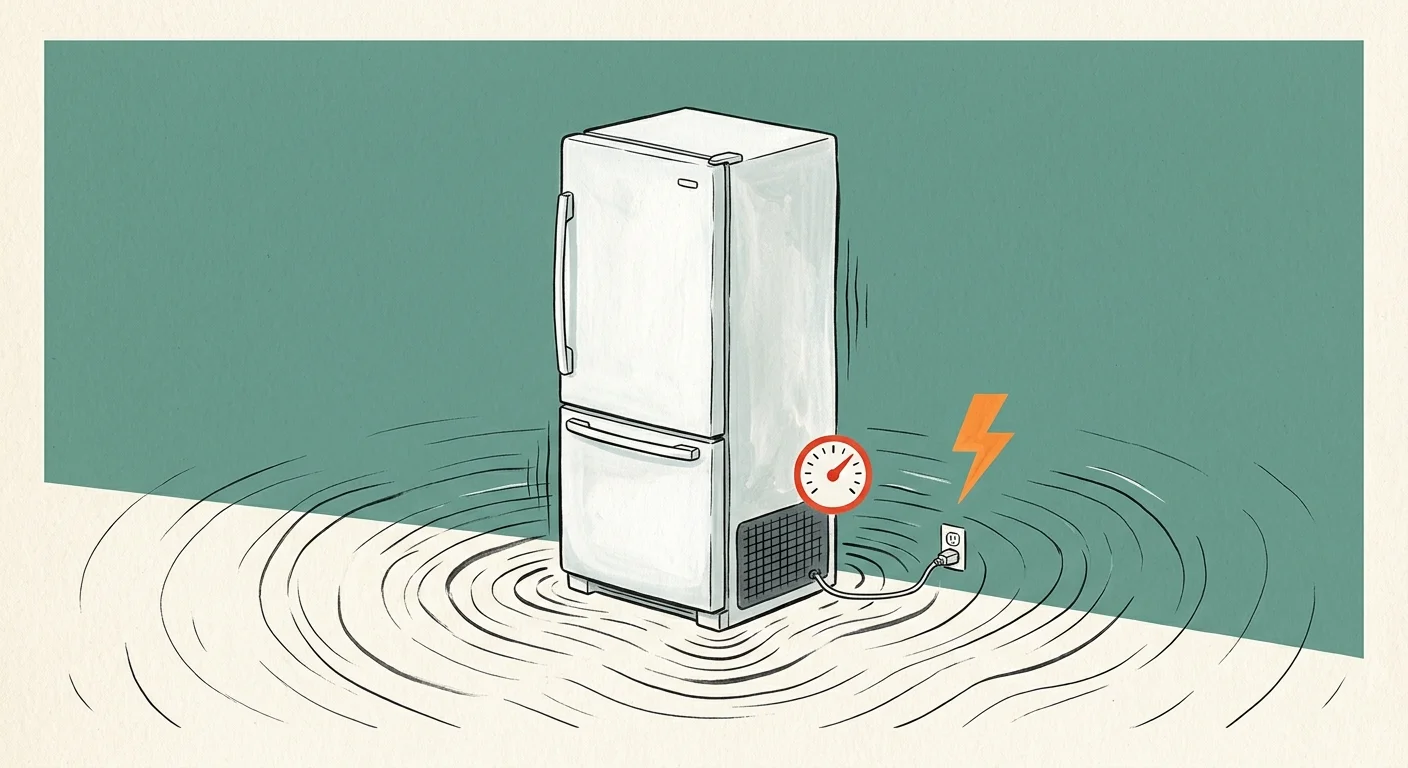
Refrigerators cycle on and off throughout the day to maintain target temperatures. However, if your compressor hums without stopping, vibrates loudly, or radiates significant heat from the exterior side panels and kick plate, the appliance is struggling to breathe. While many homeowners focus exclusively on interior cleanliness, exterior mechanics demand equal attention.
Dust, lint, and pet hair collect rapidly on the condenser coils located underneath or behind the unit. Data from the U.S. EPA and Department of Energy (ENERGY STAR) indicates that dirt accumulation on condenser coils can reduce operating efficiency by 21% and increase compressor energy consumption by 30% to 35%. Appliance manufacturers recommend vacuuming condenser coils once or twice per year—or every 6 months in homes with shedding dogs or cats—to prevent compressor burnout and lower utility bills.
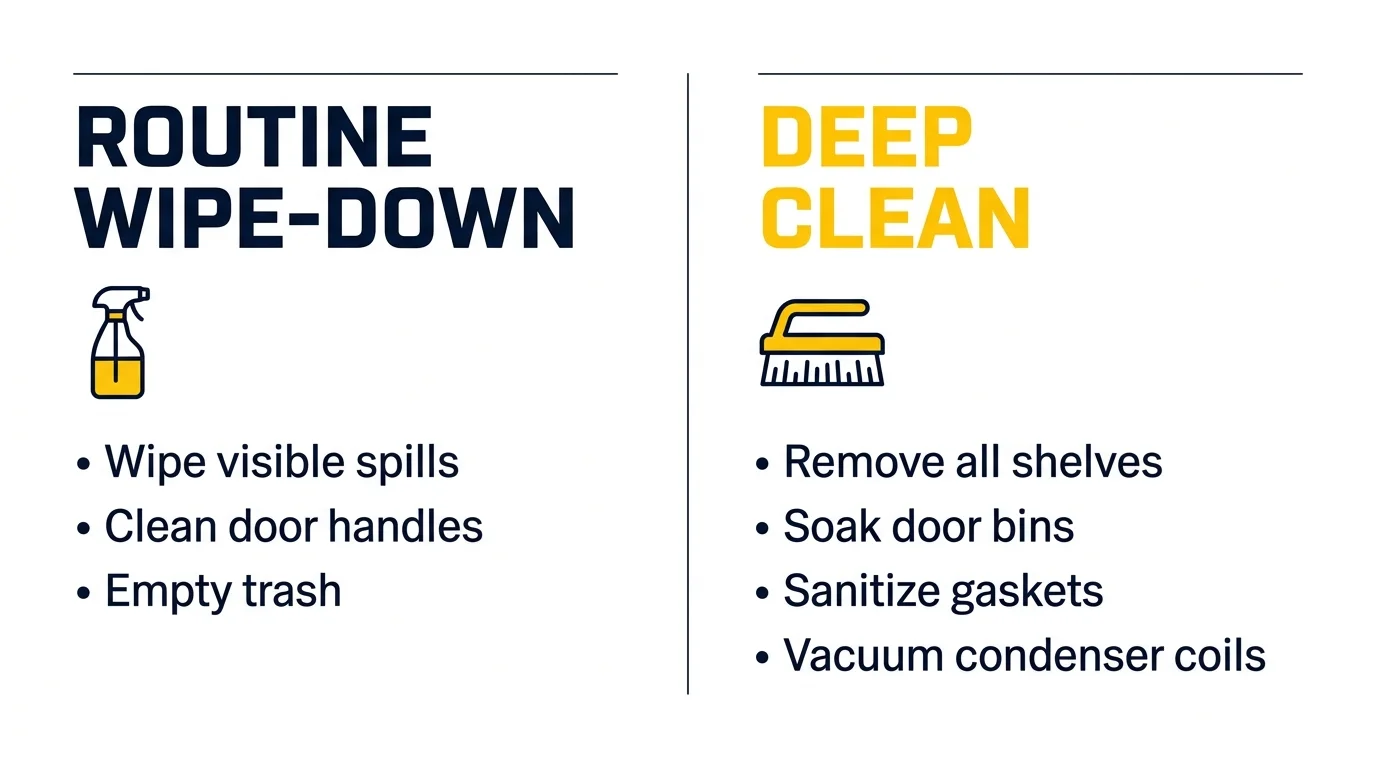
Refrigerator Deep Clean vs. Routine Wipe-Down: A Quick Comparison
Understanding the distinction between weekly maintenance and a comprehensive overhaul helps you manage your cleaning schedule efficiently without unnecessary overwhelm.
| Feature | Routine Wipe-Down | Full Deep Clean |
|---|---|---|
| Frequency | Weekly or as spills occur | Every 3 to 6 months |
| Time Required | 5 to 10 minutes | 45 to 75 minutes |
| Component Removal | None; clean around jars | All shelves, bins, and drawers removed |
| Mechanical Care | Wipe exterior handles | Vacuum condenser coils, clean drip pan, wash gaskets |
| Primary Goal | Surface aesthetics and immediate spill control | Food safety, odor removal, mechanical efficiency |

How to Deep Clean a Fridge: A Step-by-Step Action Plan
When you spot the refrigerator deep cleaning signs outlined above, follow this structured, stress-free workflow to sanitize the unit from inside out.
- Stage your workspace and empty the contents: Turn off the temperature dial or unplug the appliance. Transfer perishable dairy, raw meats, and frozen goods into insulated coolers packed with ice packs. Discard expired condiments, moldy produce, and mystery leftovers immediately.
- Remove and wash internal components: Pull out all removable glass shelves, door caddies, and crisper drawers. Allow cold glass shelves to reach room temperature before washing them with warm water and mild liquid dish soap; sudden temperature swings can shatter tempered glass. Scrub away stuck-on residue and let components air-dry completely.
- Wash the interior walls from top to bottom: Mix two tablespoons of baking soda with one quart of warm water, or use mild dish soap. The USDA specifically warns against using harsh chemical solvents, bleach, or abrasive scouring powders inside refrigerators because they damage plastic liners, degrade rubber seals, and leave toxic chemical odors that permeate food and ice. Wipe down the interior ceiling, walls, shelf tracks, and drain channel.
- Disinfect and condition the door gaskets: Clean the rubber door seals with warm soapy water using a soft microfiber cloth or an old soft-bristled toothbrush to reach deep into the folds. Dry thoroughly with a clean towel, then apply a tiny smear of petroleum jelly along the hinge side of the gasket to keep the rubber pliable and prevent sticking.
- Clean the condenser coils and exterior: Pull the refrigerator away from the wall or unclip the lower front base grille. Use a specialized coil brush and your vacuum’s crevice attachment to lift away blanketed dust, pet fur, and debris from the condenser coils. Wipe down the exterior cabinet, polish stainless steel surfaces with the grain, and clean the floor beneath the unit before rolling it back into place.
- Reinstall, power up, and restock systematically: Plug the refrigerator back in, verify that the internal thermostat reads 37°F (3°C), and return the clean, dry shelves and bins to their slots. Wipe the exterior bottoms of sticky jars and condiment containers with a damp cloth before placing them back onto shelves.
Essential Refrigerator Maintenance Tips for Long-Term Freshness
Maintaining a hygienic refrigerator does not require constant labor when you establish sensible daily and monthly habits. Incorporating proactive refrigerator maintenance tips preserves food quality and prevents major messes before they start.
- Install an inexpensive appliance thermometer: Built-in temperature dials often drift over time. Hang a standalone thermometer on a center shelf to verify that your refrigerator consistently maintains 37°F to 40°F and your freezer stays at 0°F.
- Practice strategic food zoning: Store ready-to-eat foods, leftovers, and drinks on upper shelves where temperatures remain steady. Place raw meats, poultry, and fish in sealed containers on the lowest bottom shelf so accidental drips cannot cross-contaminate other groceries. Keep milk and eggs off the door bins, which experience the most temperature fluctuation, and place them on interior shelves instead.
- Line your high-traffic zones: Place washable silicone mats or durable paper towels in crisper bins and bottom door shelves. When a sauce bottle leaks or vegetable skins shed, you simply wash the mat rather than scrubbing the entire bin.
- Schedule seasonal coil checkups: Set a recurring calendar reminder every six months to vacuum the condenser coils. This two-minute task lowers your electrical draw and extends your compressor’s operating life by years.

Your Immediate Next Step
Take two minutes right now to walk to your kitchen, open your refrigerator door, and pull back the rubber gasket on the inside edge. If you find trapped crumbs, black mildew spots, or sticky residue hiding inside the folds, select an upcoming morning to execute this deep-cleaning plan. Grab a cooler, prepare a simple solution of warm water and baking soda, and give your refrigerator the comprehensive reset it needs to keep your food fresh, safe, and economical.