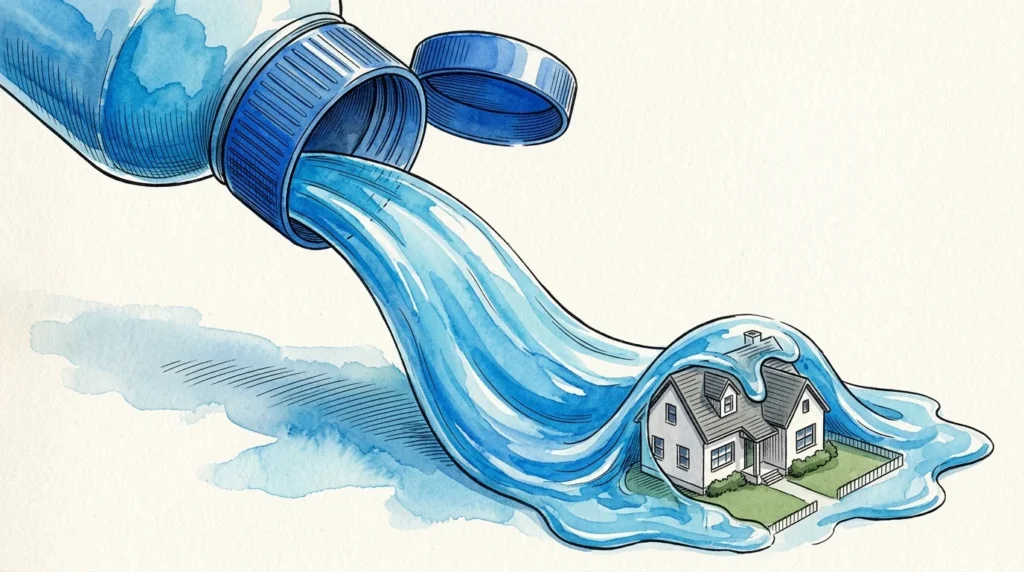
Catching subtle appliance issues early saves you hundreds of dollars in repair bills and prevents catastrophic water damage in your home. Modern washers work quietly in the background, but ignoring warning indicators like musty odors, slow draining, or violent spin-cycle vibrations quickly turns minor fixes into costly replacements. Learning to spot the key washing machine maintenance signs protects your fabrics, lowers your utility bills, and helps you achieve the standard 10 to 11-year lifespan from your appliance. Whether you manage a busy household or want an easy laundry routine, this guide provides clear troubleshooting steps to keep your machine running smoothly.
1. Musty Odors and Mildew on Freshly Washed Laundry
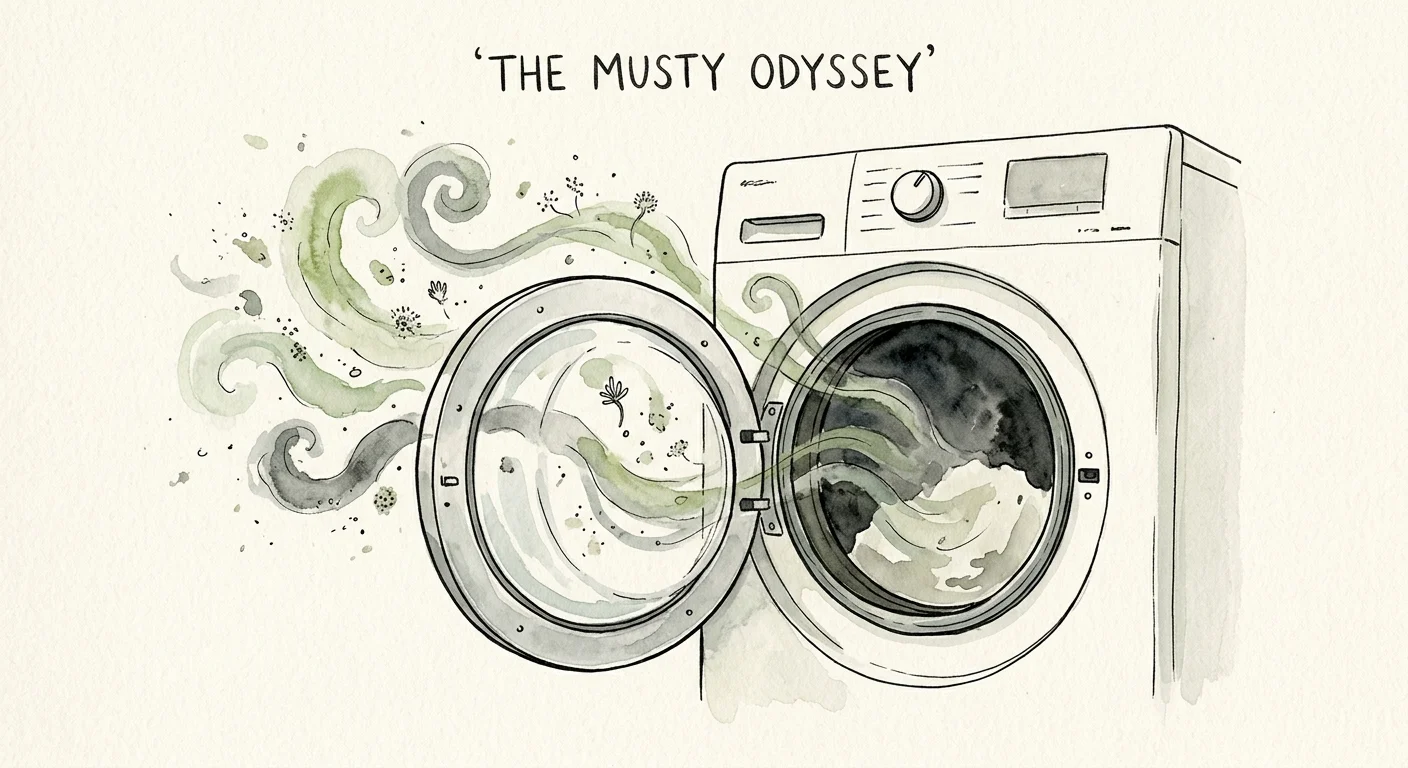
If your freshly washed clothes smell stale or damp rather than clean, your washer is harboring trapped moisture, soap scum, and bacteria. Modern front-load and high-efficiency (HE) top-load washing machines use less water than older models; when combined with excess liquid detergent and fabric softener, this creates a slimy biofilm inside the outer drum, dispenser drawer, and rubber door gasket.
Detergent buildup traps lint, skin cells, and dirt, turning your wash tub into a breeding ground for mold. Left unaddressed, this biofilm degrades internal rubber seals and transfers sour smells directly onto your wardrobe.
How to fix it:
- Wipe down the rubber door boot gasket thoroughly after every laundry day, pulling back the folds to remove trapped lint, pet hair, and moisture.
- Remove the detergent dispenser drawer completely and scrub away caked softener residues with warm water and an old toothbrush.
- Run a dedicated “Tub Clean” cycle or an empty hot-water cycle using a commercial washing machine cleaner tablet or two cups of distilled white vinegar once a month or every 30 wash cycles.
- Leave the washer door and dispenser drawer slightly ajar between loads to promote air circulation and dry out the interior drum.
2. Slow Drainage or Standing Water in the Drum
Finding a pool of murky water in the drum at the end of a cycle indicates a drainage restriction. When water cannot escape quickly, the machine struggles to spin efficiently, which strains the drive motor and leaves your clothes waterlogged. In severe cases, poor drainage triggers cycle abort errors and forces you to manually bail water out of the machine.
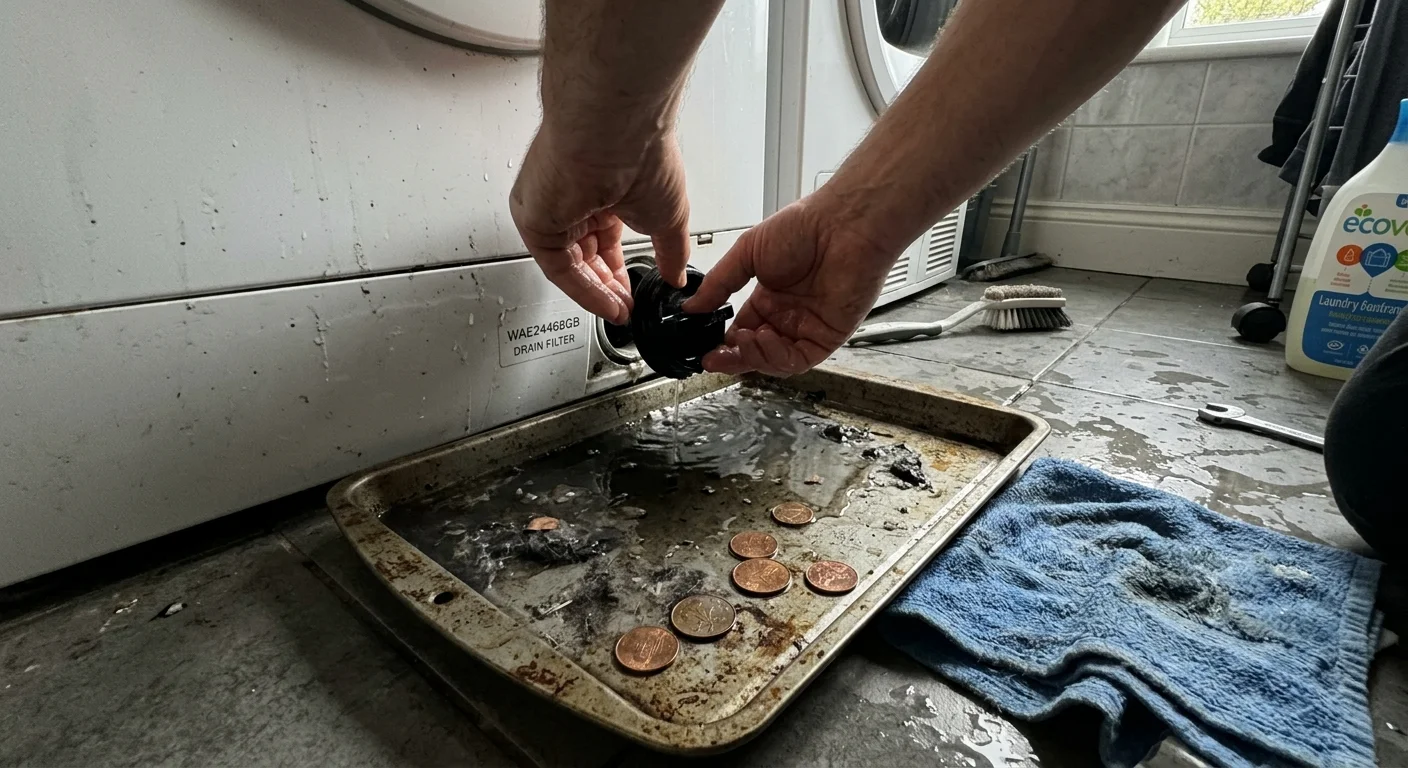
The primary culprit is often a blocked drain pump filter, commonly known as the coin trap. Front-load washers feature a small access door at the bottom front of the cabinet housing a removable filter basket designed to catch loose items before they reach the electric drain pump.
How to fix it:
- Locate the drain filter access panel at the lower front of your front-load machine.
- Place a shallow baking sheet and old towels beneath the access door to catch residual water.
- Unclip the small emergency drain hose, uncork the plug, and empty standing water into a bowl.
- Unscrew the filter cap counterclockwise, remove collected debris—such as coins, buttons, bobby pins, and lint—and rinse the filter under running water.
- Inspect the internal pump impeller inside the housing to ensure it spins freely before reinstalling the filter tightly. Major manufacturers recommend performing this cleaning every 1 to 3 months.
3. Violent Vibrations, Thumping, or “Walking” Across the Floor
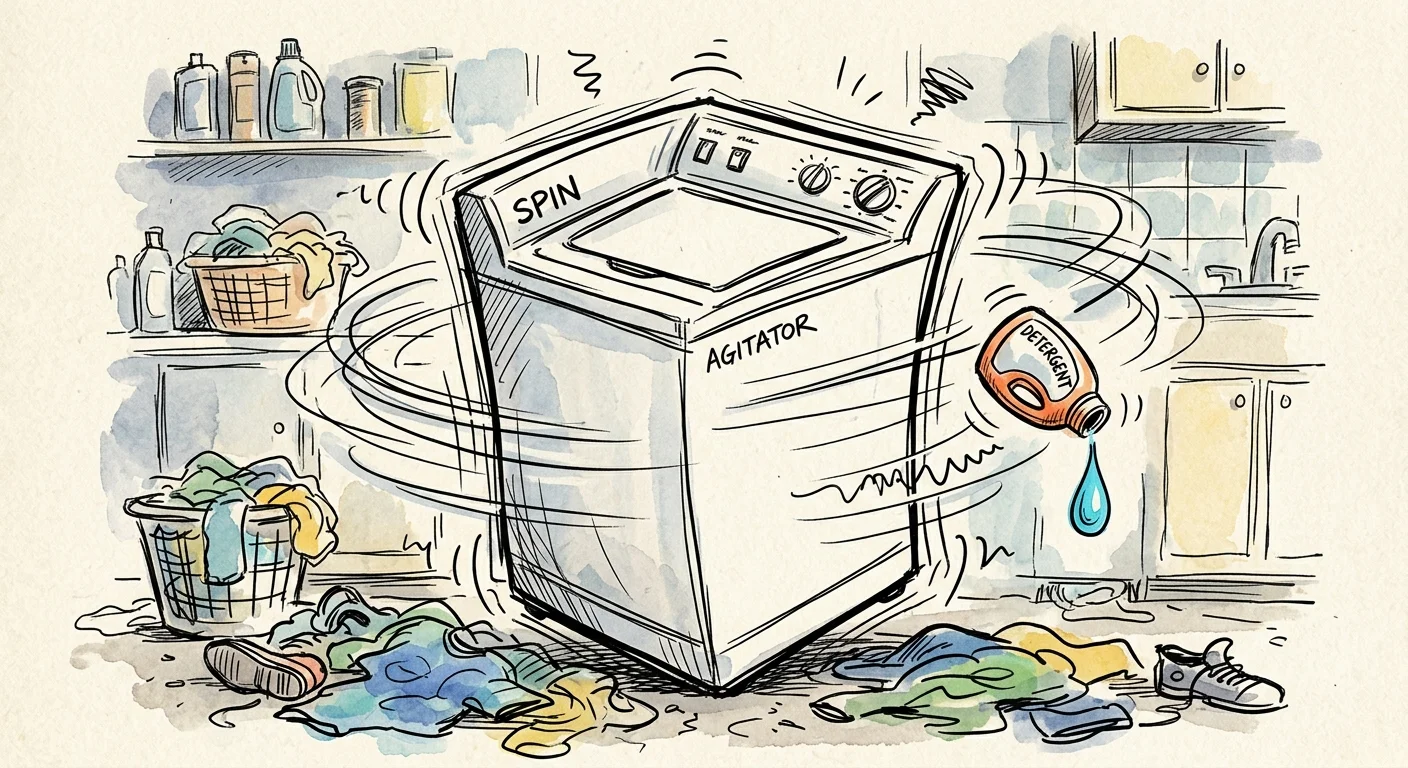
While high-speed spin cycles generate noticeable movement, your washing machine should never violently bang against adjacent walls or shift across the floor. Excessive vibration damages your flooring, loosens internal electrical connections, and wears out critical suspension components prematurely.
Vibration issues usually stem from an unlevel machine or worn internal dampers. Every washing machine features adjustable leveling legs equipped with locknuts. Over years of spin cycles, these legs can vibrate loose, causing the machine to wobble unevenly. In older machines, heavy vibrations point to worn shock absorbers, stretched suspension springs, or cracked counterweights designed to stabilize the outer tub.
How to fix it:
- Place a bubble level across the top of your washer—both front-to-back and side-to-side.
- Use an adjustable wrench to raise or lower the corner leveling feet until the bubble sits dead center, then tighten the locking nuts firmly against the machine base.
- Ensure all four rubber feet make solid, flat contact with the floor. If your laundry floor is slick tile or uneven wood, place anti-vibration rubber pads under the feet.
- Avoid washing single heavy items (such as a heavy bath rug) alone; pair them with towels to balance drum weight during the spin cycle.
4. Loud Squealing, Grinding, or Jet-Engine Roaring Sounds
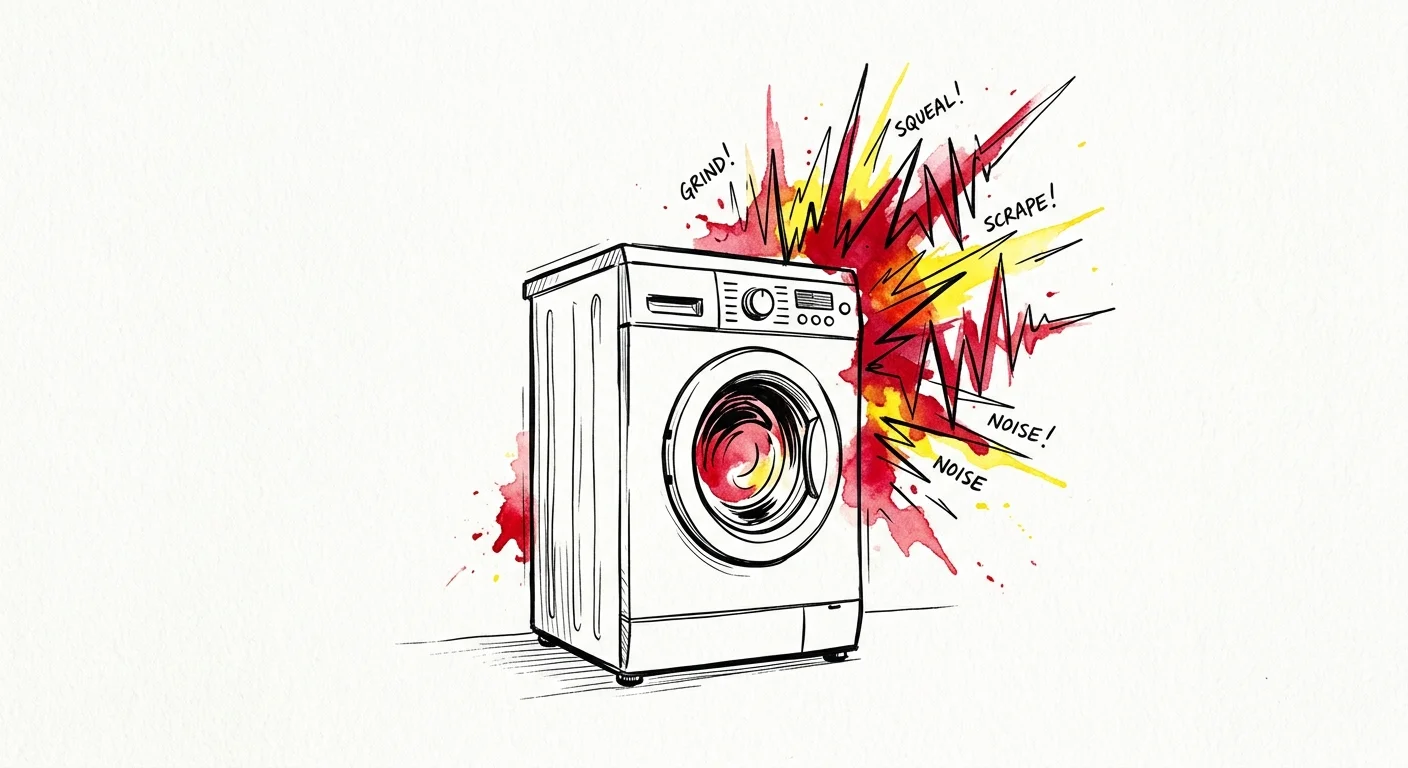
Unusual mechanical noises are urgent signs your washer needs service. A high-pitched squeal during the agitation cycle often signals a worn drive belt or motor pulley slipping under load. Conversely, a loud, deep roaring sound that intensifies as the drum spins faster—often described as sounding like a jet aircraft taking off—indicates failed tub bearings.
The drum bearings support the central shaft that rotates the inner wash basket. A protective rubber seal prevents wash water from reaching these steel ball bearings. When this seal dries out or cracks, soapy water enters the bearing race, washing away the grease and causing metal-on-metal friction and corrosion.
How to test your drum bearings:
- Turn off and unplug the machine.
- Open the door and push the top of the inner metal drum upward. If you feel noticeable play, clicking, or movement between the inner drum and outer plastic tub, the bearings are failing.
- Spin the empty drum by hand. If it feels rough or sounds like rolling marbles, the bearing assembly requires replacement.
- Service note: Replacing tub bearings is labor-intensive and frequently costs over $400 in professional labor. Test this early to decide whether repair or replacement makes financial sense.
5. Laundry Remains Soaking Wet After the Final Spin
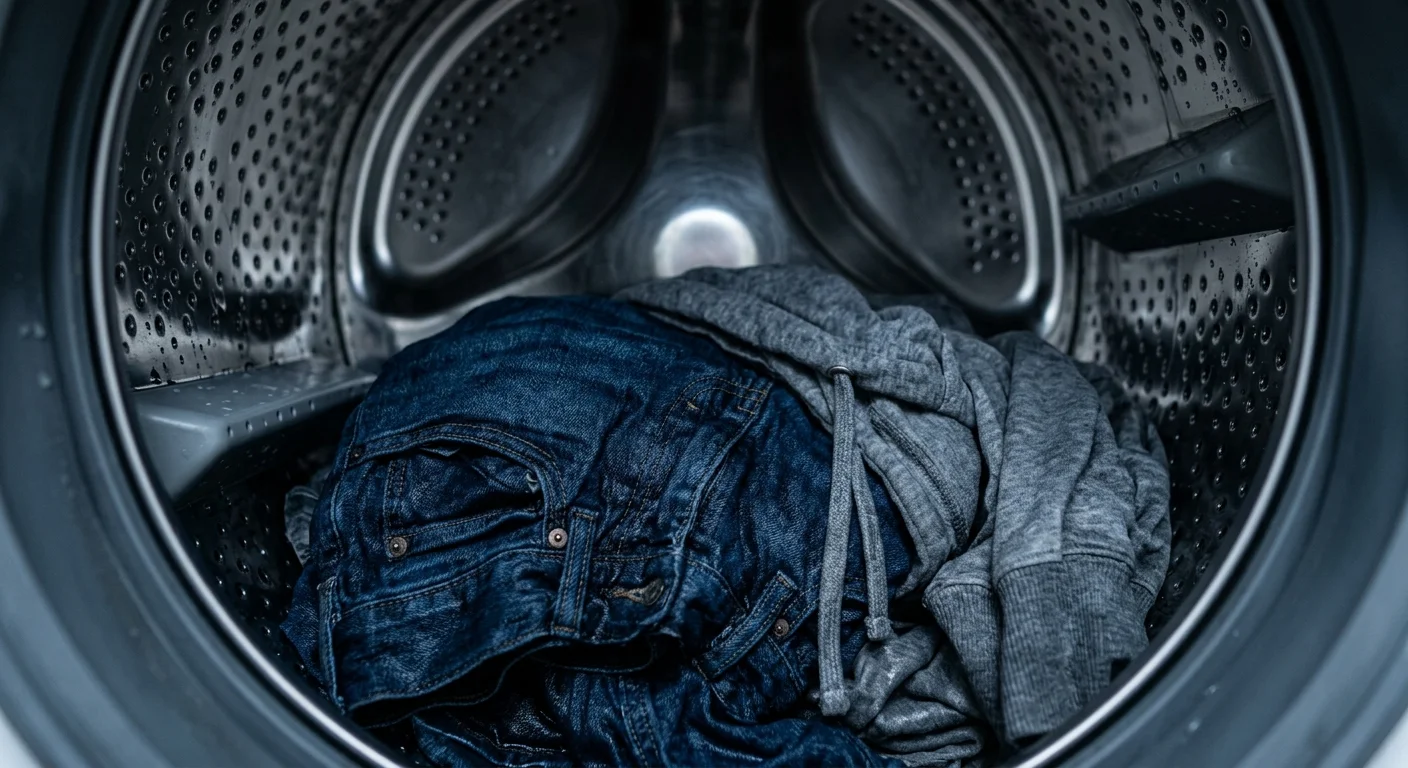
When you open your washer door and discover dripping wet towels that feel like lead weights, the machine failed to achieve its target spin speed. Homeowners often run an extra “Drain & Spin” cycle as a workaround, but this symptom points directly to underlying mechanical drag or electronic sensor failures.
This issue frequently occurs when the machine detects an unbalanced load and automatically throttles spin speed to prevent physical damage. However, if balanced loads still emerge soaking wet, common washer problems to watch for include a slipping drive belt, worn carbon motor brushes, a failing lid switch/door lock sensor, or a slow drain pump that prevents the water level pressure switch from signaling the high-speed spin sequence.
Troubleshooting steps:
- Inspect the drain hose behind the machine for sharp kinks or clogs that restrict high-volume discharge.
- Confirm that the drain standpipe is not shoved too far down the wall pipe, which can create a siphoning lock; ensure an air gap exists around the pipe.
- Check top-loader lid switches. If the plastic actuator tab on the lid is chipped or loose, the washer may agitate normally but refuse to initiate high-speed spin for safety reasons.
6. Puddles, Slow Leaks, or Bulging Water Supply Hoses
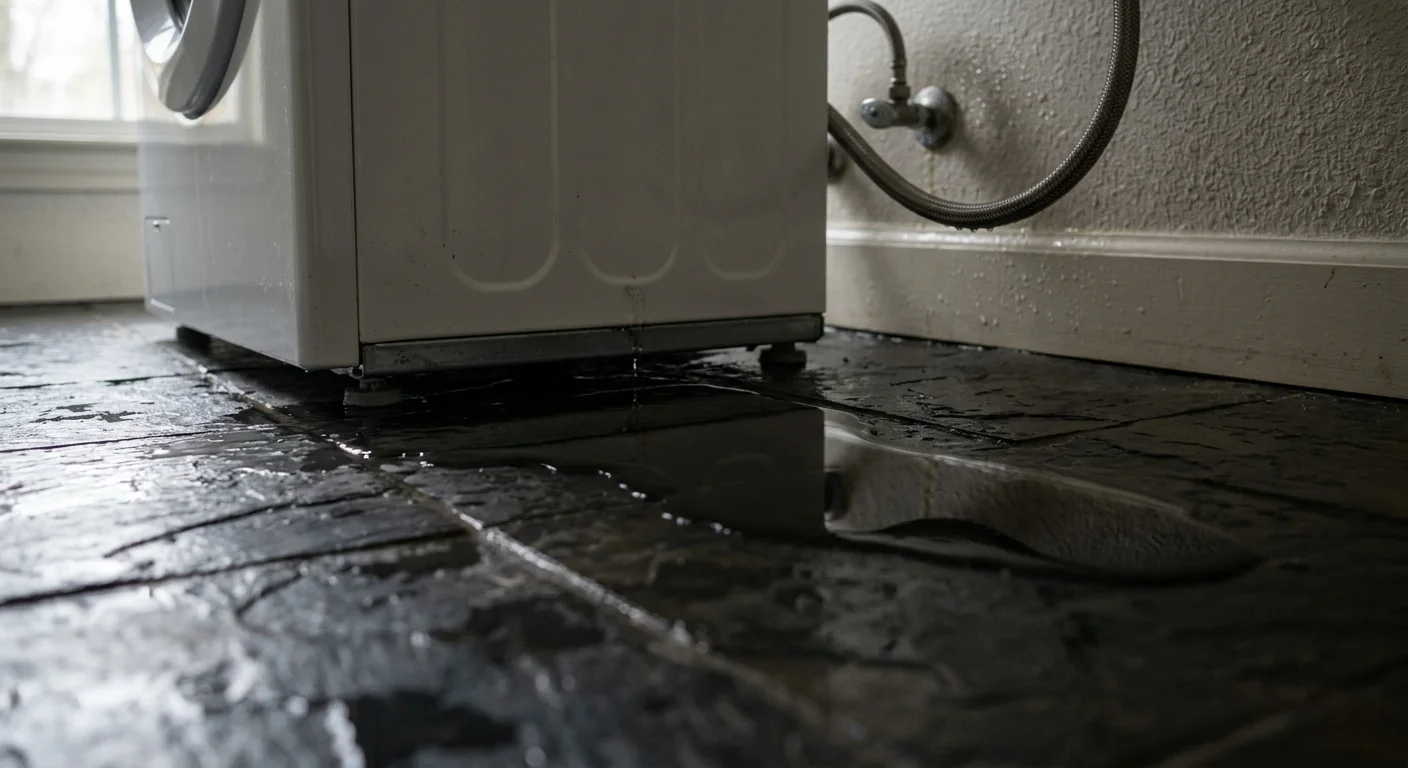
Even a minor puddle under your washing machine warrants immediate investigation. Slow, unaddressed leaks cause hidden subfloor rot, foster toxic mold colonies behind drywall, and elevate the risk of sudden hose bursts that flood living areas. According to the Insurance Information Institute, water damage from burst appliance hoses represents one of the most common and costly homeowner insurance claims.
Leaks generally originate from three areas: cracked water supply hoses, leaking pump seals, or a torn front-load door gasket. Standard rubber water supply hoses degrade from the inside out due to constant municipal water pressure and temperature fluctuations.
Leak prevention and inspection tips:
- Inspect your hot and cold water supply hoses every 6 months. Look for bulges, blisters, cracks, or rust at the brass connection fittings.
- Replace traditional rubber supply hoses every 3 to 5 years without exception. Upgrade to braided stainless steel hoses, which resist bursting and offer a service life of 5 to 7 years.
- Inspect the front door seal for small tears or punctures caused by unzipped metal zippers, sharp hairpins, or wire bra underwires.
- Check the water inlet valve where the hoses attach to the back of the cabinet for hairline plastic cracks caused by overtightening.
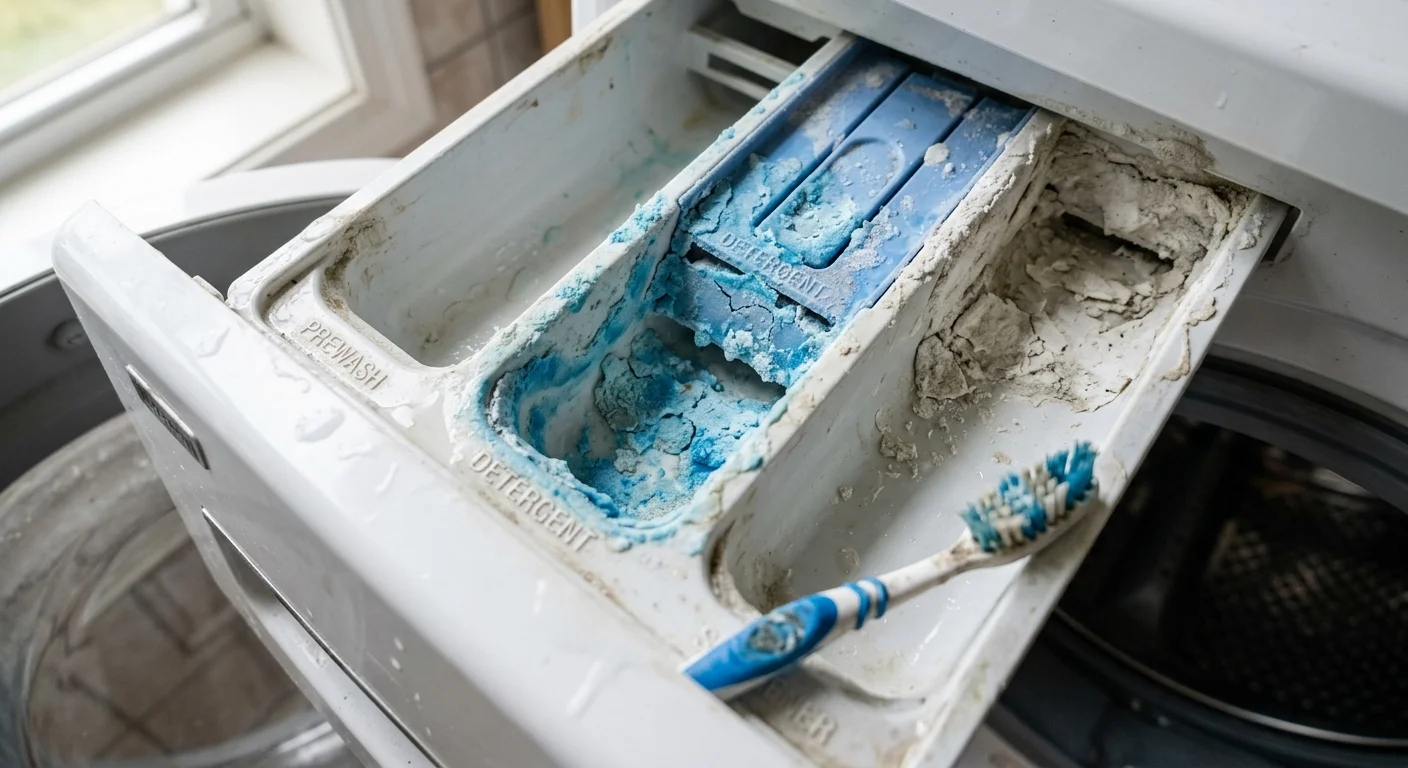
7. Detergent Residue Streaks and Caked Dispenser Trays
Finding powdery white streaks or slimy detergent marks on dark clothing indicates that your machine is failing to dispense and rinse cleaning agents properly. This problem not only irritates sensitive skin but also leaves fabrics stiff and dingy over time.
This issue often traces back to two factors: clogged dispenser siphon channels and detergent overdosing. Modern high-efficiency washers require surprisingly little soap—typically just 1 to 2 tablespoons of HE detergent per normal load. Adding excess detergent overwhelms the water jets, creating thick suds that the rinse cycle cannot flush away. Over time, fabric softeners coagulate in the dispenser siphon tubes, blocking water entry entirely.
How to maintain clean dispensing:
- Press the release tab inside the dispenser drawer compartment, slide the drawer out, and rinse it under hot water.
- Clean the removable siphon caps inside each drawer compartment to restore suction flow.
- Use a bottle brush to clean the water spray nozzles located in the ceiling of the dispenser housing inside the machine.
- Switch exclusively to high-efficiency (HE) detergents and measure your soap accurately; never fill the dispenser cup to the absolute top rim.
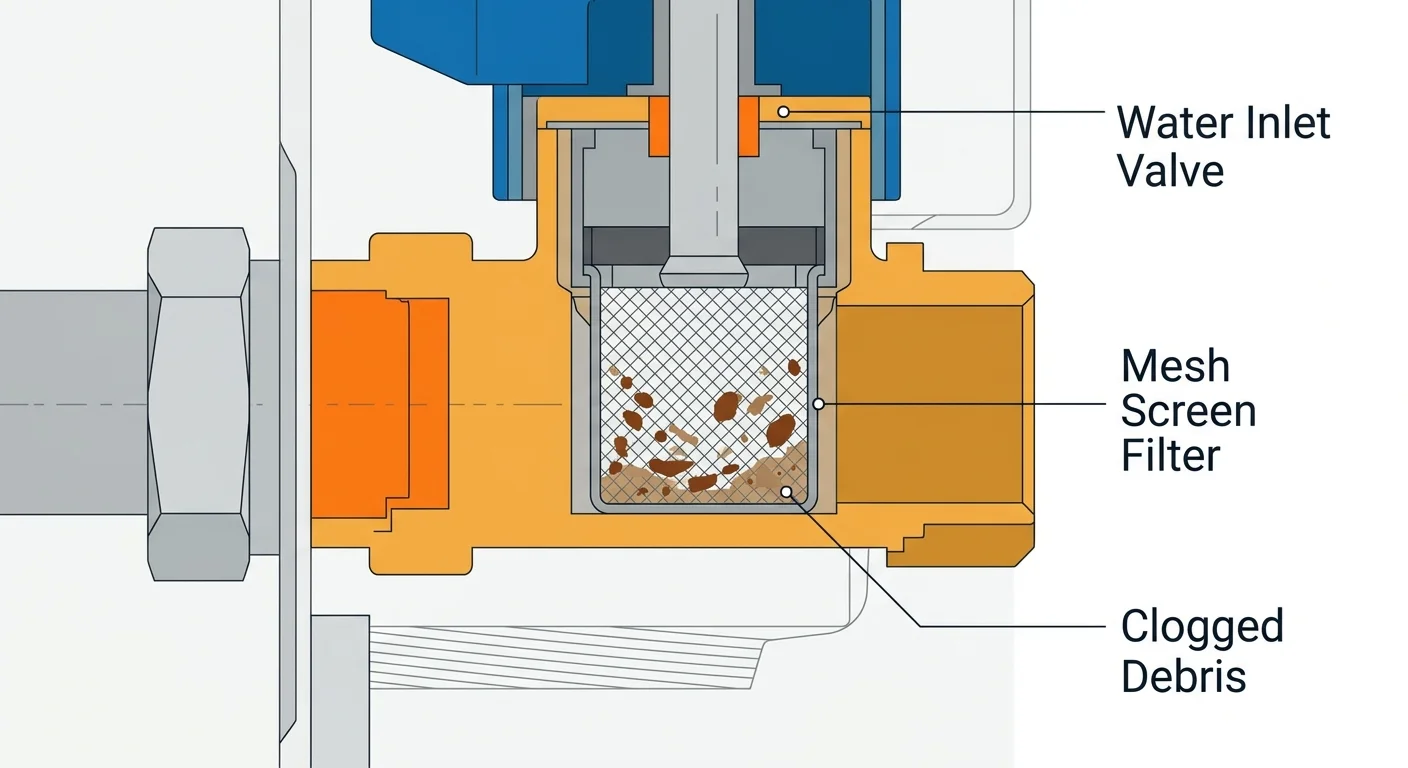
8. Slow Water Fill Times and Low-Flow Errors
If your washer takes 15 to 20 minutes just to fill with water, or pauses mid-cycle to flash an inlet error code (such as “4E”, “IE”, or “LF”), the machine is starved for incoming water. This prolongs cycle times, degrades washing performance, and can overheat the internal water inlet solenoids.
While municipal water line maintenance can cause temporary pressure drops, the chronic cause is sediment accumulation inside the water inlet valve filter screens. Small wire or nylon mesh screens sit inside the threaded connections on the back of the washer to block sand, rust flakes, and mineral scale from entering the machine. If you live in an area with hard water or old galvanized plumbing, these tiny screens clog quickly.
Step-by-step screen cleaning procedure:
- Turn off the hot and cold water supply valves located behind the washing machine.
- Unplug the washer from the electrical outlet for safety.
- Carefully unscrew both the hot and cold supply hoses from the back of the washer cabinet, keeping a small bucket nearby to catch residual hose water.
- Locate the fine mesh filter screens recessed inside the machine’s plastic threaded inlet ports.
- Use needle-nose pliers or tweezers to gently pull the mesh screens straight out.
- Soak the screens in warm distilled white vinegar for 15 minutes to dissolve hard water mineral scale, scrub them with a soft brush, and rinse thoroughly.
- Press the clean screens back into the inlet ports, reattach the supply hoses firmly by hand, add a quarter-turn with pliers (do not overtighten), and turn the water supply back on to check for leaks.
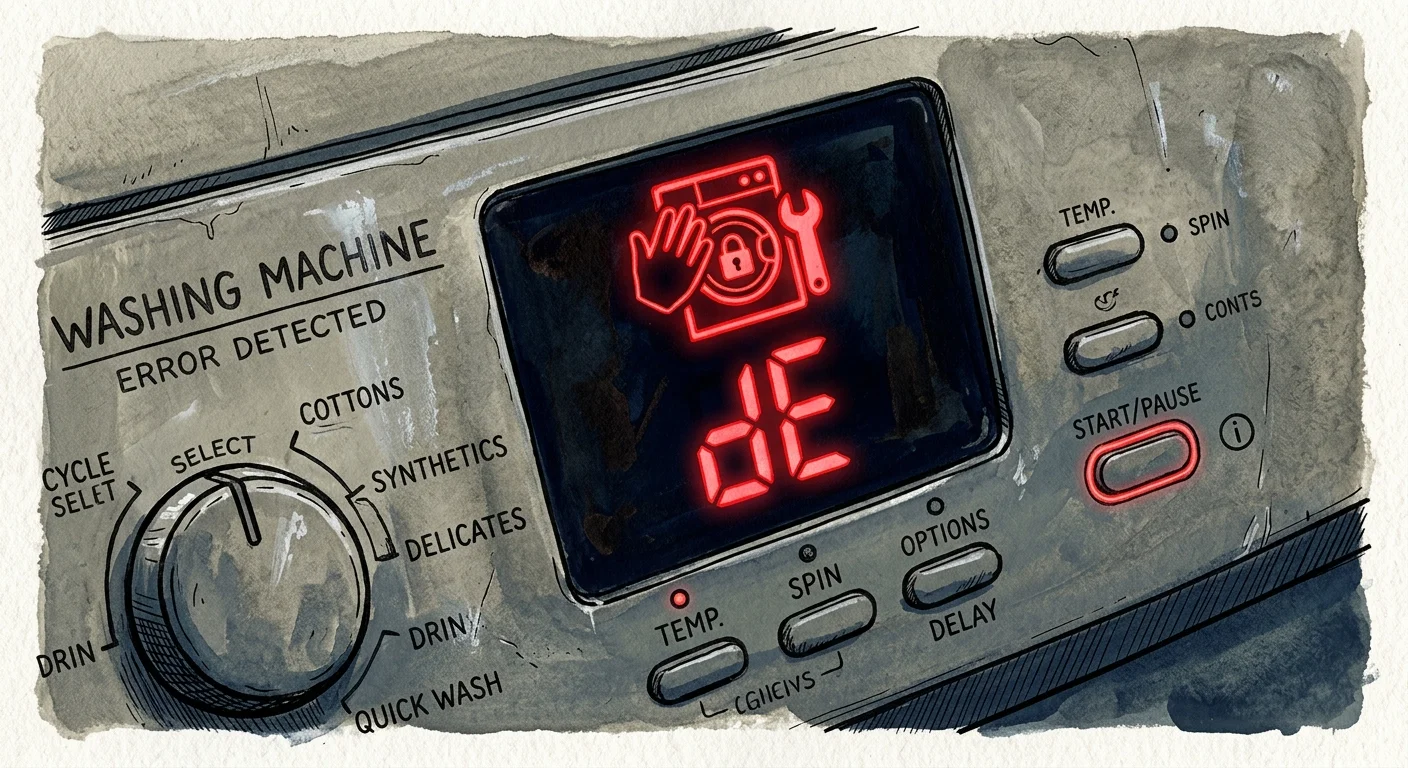
9. Random Mid-Cycle Freezes and Repetitive Error Codes
Modern washing machines use electronic sensors to monitor water temperature, water levels, motor speed, and door lock engagement. When a sensor detects an irregular reading, the central control board halts the cycle to prevent physical damage. While an occasional glitch can happen, recurring mid-cycle freezes or error codes are clear washing machine maintenance signs that require structured troubleshooting.
A frequent mechanical trigger for cycle interruptions is a failing door latch assembly. If the electronic switch inside the latch fails to confirm the door is securely locked, the machine refuses to fill, agitate, or spin. Another common culprit is a blocked pressure switch tube—a narrow clear plastic hose that measures water depth in the tub. When lint or detergent scum clogs this tube, the control board misreads water levels and halts operation.
How to address recurring error codes:
- Perform a hard electronic reset: Unplug the washer from the wall outlet, wait 5 to 10 minutes to allow the circuit board capacitors to discharge completely, plug it back in, and start an empty rinse/drain cycle.
- Consult your manufacturer user manual or the inner cabinet diagnostic sheet to decode the specific alphanumeric error code flashing on the display.
- Inspect the door latch strike plate on the door frame; ensure it aligns squarely with the cabinet switch without sagging.
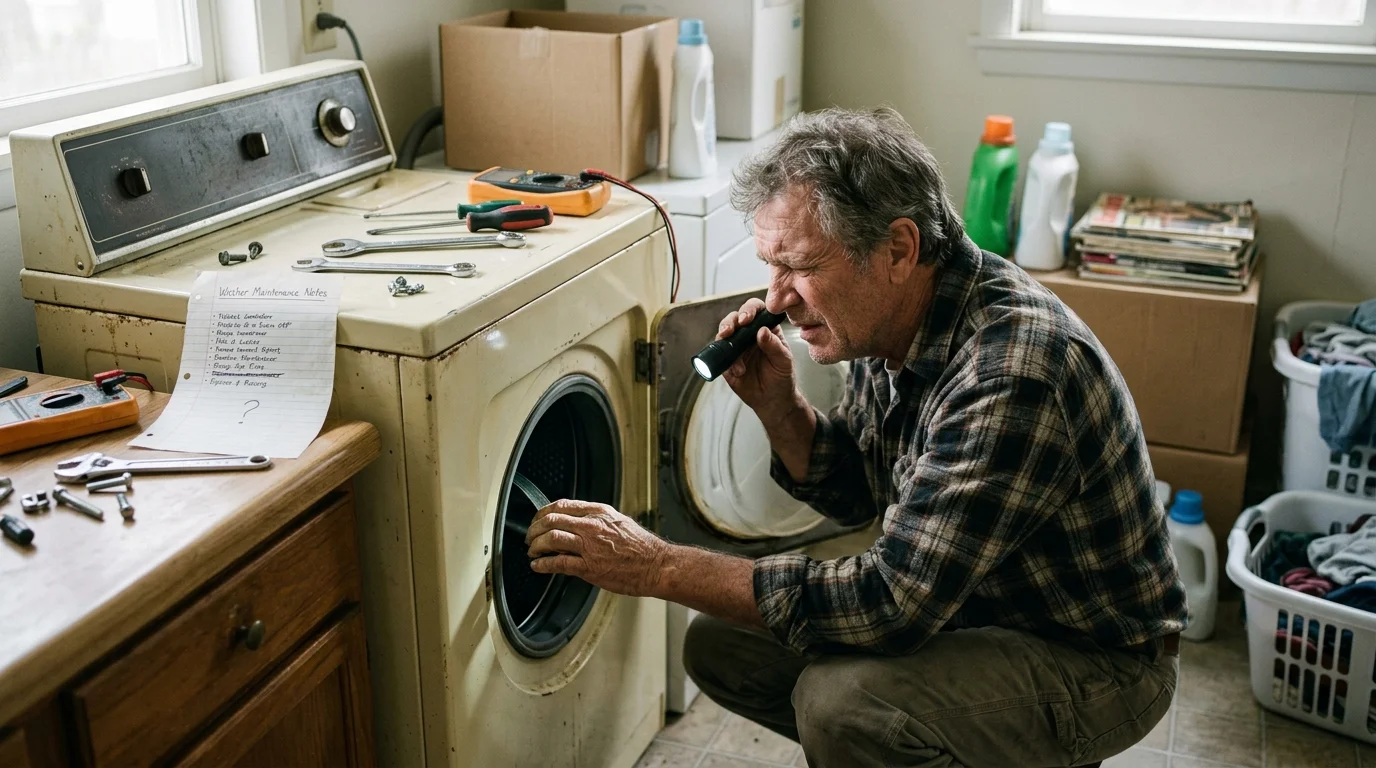
Repair vs. Replace: When Is Washer Maintenance No Longer Worth It?
When faced with an aging washer requiring repairs, you must evaluate whether fixing the unit makes financial sense. Following the 50% Rule recommended by consumer advocacy experts at Consumer Reports will help protect your budget: do not spend more than 50% of the cost of a comparable new machine on repairs if your washer is over halfway through its expected lifespan.
Standard modern washing machines have an average service life of 10 to 11 years with routine care. Below is a breakdown comparing common maintenance and repair scenarios against replacement thresholds to guide your decision:
| Washer Age | Issue / Failing Component | Typical Professional Repair Cost | Recommended Decision |
|---|---|---|---|
| 1 – 4 Years | Clogged drain pump, worn belt, or bad door latch | $150 – $275 | Repair: The appliance has substantial remaining lifespan. Routine parts replacement is highly cost-effective. |
| 5 – 7 Years | Water inlet valve, suspension springs, or drain motor | $200 – $350 | Repair if in good condition: Proceed if the tub and motor are sound; replace if multiple components show heavy wear. |
| 8 – 10+ Years | Failed main control board or motor inverter | $350 – $500+ | Consider Replacement: Approaching end of lifespan; repair costs exceed the 50% threshold of a standard replacement. |
| 8 – 11+ Years | Cracked outer tub or worn rear drum bearings | $450 – $650+ | Replace: Drum bearing and tub replacements require complete teardown. Invest those funds in an efficient new unit. |
For additional guidance on selecting energy-efficient and water-saving models if replacement is your best path, review appliance efficiency standards from the EPA Energy Star Program.

Routine Maintenance Schedule for Extending Washing Machine Life
Following a structured schedule of practical washing machine care tips prevents emergencies, lowers repair bills, and maintains peak cleaning performance throughout the year.
Monthly Maintenance Tasks
- Run a dedicated “Tub Clean” or sanitize cycle using hot water and an oxygenated machine cleaning tablet.
- Wipe down the door gasket and drum perimeter with a 1:1 mixture of warm water and white vinegar.
- Clean the detergent drawer and clear siphon passages of coagulated liquid softeners.
Quarterly Maintenance Tasks (Every 3 Months)
- Unscrew, clean, and rinse the lower drain pump filter (coin trap) on front-loading models.
- Check the machine with a bubble level and adjust leveling feet to prevent vibration wear.
- Inspect the external drain hose for crimping, deep wear spots, or loose mounting clamps.
Annual to Multi-Year Maintenance Tasks
- Turn off water valves, disconnect supply hoses, and clean the inlet valve sediment filter screens.
- Inspect water supply hoses for micro-cracks, bulges, and corrosion; replace rubber hoses every 3 to 5 years with braided stainless steel lines.
- Vacuum dust, pet hair, and lint from around the washer motor cabinet and rear vents to prevent overheating.
Your Next Step
Take ten minutes today to inspect your washing machine’s water supply hoses and wipe down the rubber door seal. Checking those two small areas immediately lowers your risk of household water damage and keeps your laundry smelling clean and fresh for every load.