You can achieve a spotless, refreshed home without spending your entire weekend scrubbing every square inch on your hands and knees. By strategic deployment of smart deep cleaning shortcuts, you focus your energy where daily life actually deposits dirt, grease, and allergens. Modern cleaning techniques rely on chemical dwell time, mechanical efficiency, and targeted priority zones rather than exhaustive manual labor. Whether you are streamlining your weekly routine or simplifying house maintenance as you age, these fast thorough cleaning methods eliminate wasted motion while preserving rigorous hygiene standards. You will restore your living space to a pristine state in half the traditional time, leaving your home feeling calm, organized, and truly restored.
1. Harness Chemical Dwell Time to Let Products Do the Heavy Lifting
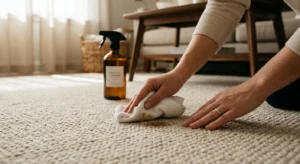
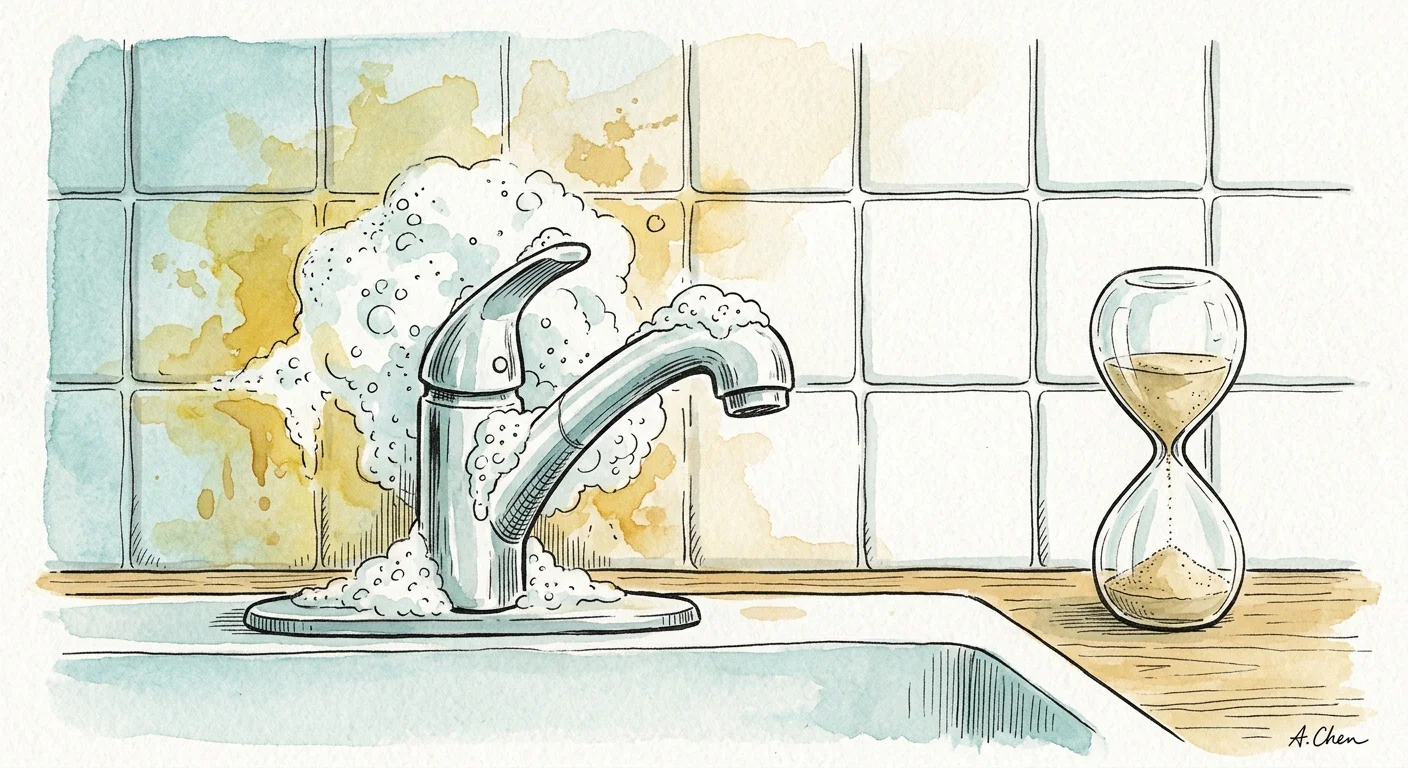
The most common mistake in home cleaning is spraying a surface and immediately wiping it away. Cleaning chemicals—whether specialized disinfectants or natural citric acid sprays—require time to react with organic soils, break down hardened soap scum, and neutralize bacterial cell walls. Industry research from the American Cleaning Institute confirms that surface disinfectants need anywhere from two to ten minutes of wet contact time to properly sanitize surfaces.
Instead of scrubbing continuously, apply your liquid cleaner to bathroom tiles, stainless steel sinks, or greasy stovetops first. Walk away and spend twelve minutes executing a light task nearby—such as emptying trash bins or replacing bath towels. When you return, the dissolved grease and softened mineral deposits wipe away smoothly with a single pass of a damp cloth, cutting physical exertion by more than 70 percent.
2. Dust High Fixtures with the Pillowcase Enclosure Trick
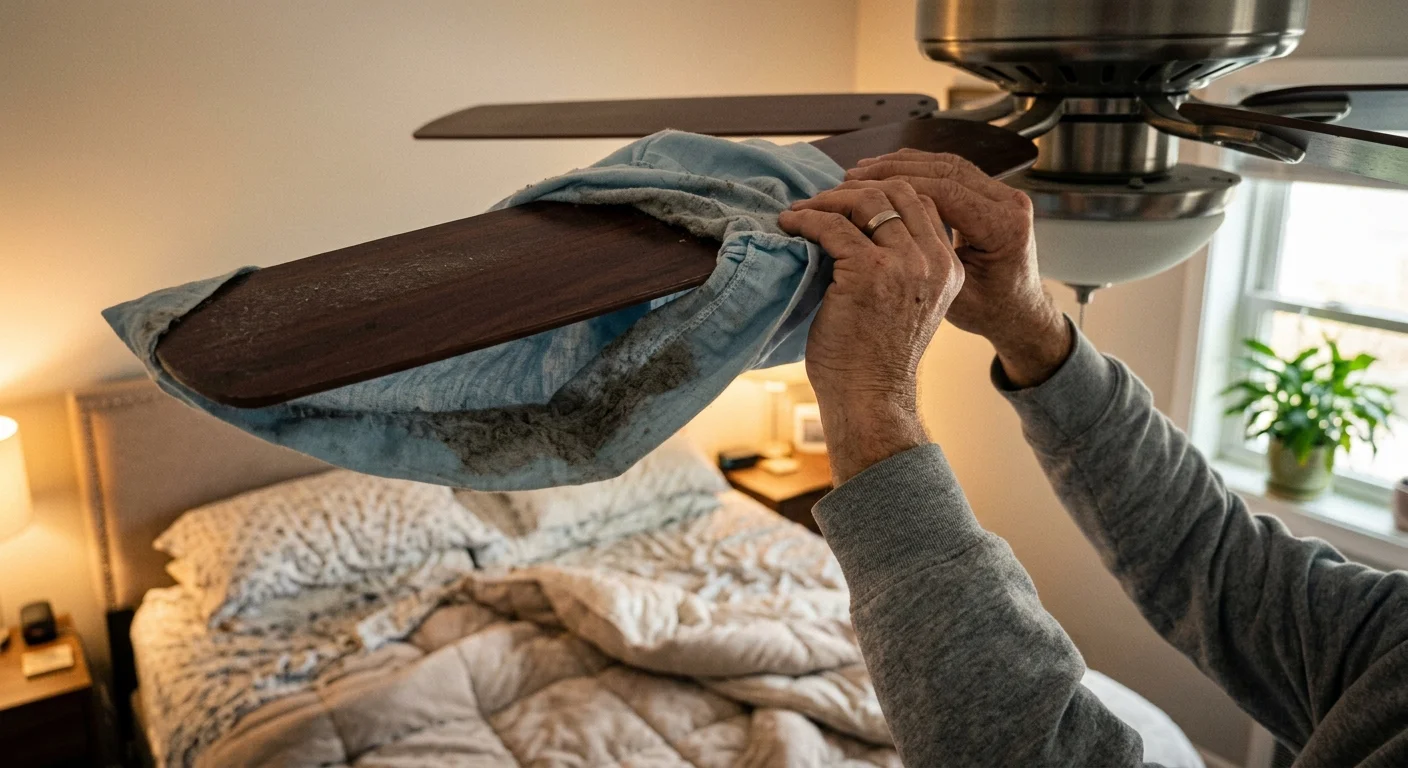
Cleaning overhead ceiling fans and high light fixtures often creates a secondary mess, showering dust across your furniture, rugs, and bedding. You can eliminate double-work by encasing each fan blade inside an old pillowcase before wiping. Slide the pillowcase completely over the blade, press your hands against both sides through the fabric, and pull outward toward the tip.
The interior cloth gathers all loose debris, containing dust mites and pet dander safely inside the pillowcase instead of scattering particles into your room air. The Asthma and Allergy Foundation of America highlights that capturing indoor allergens at their source significantly improves home air quality. This quick technique keeps dust out of your breathing zone and eliminates the need to vacuum the floor a second time after dusting overhead structures.
3. Follow the Top-Down, Clockwise Perimeter Workflow
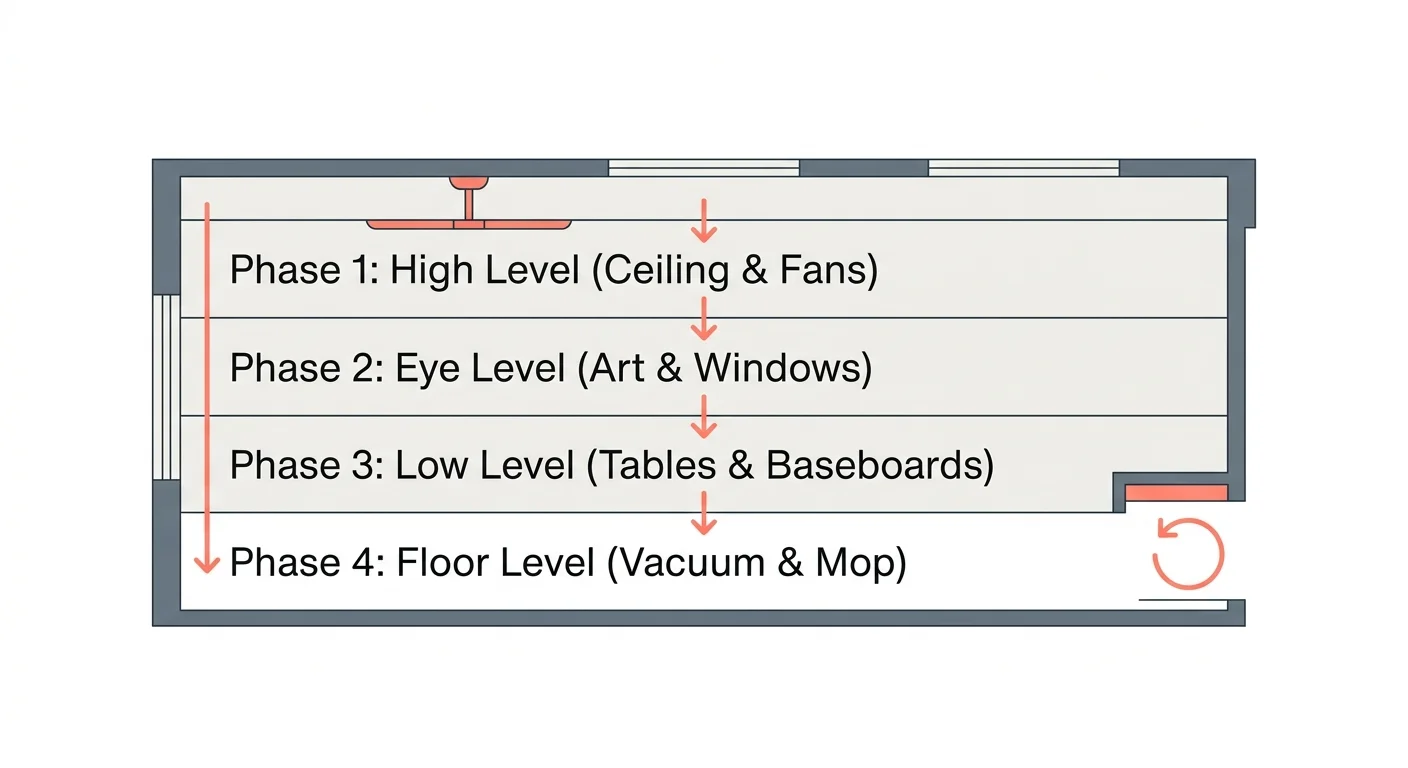
Random cleaning paths cause unnecessary back-tracking and lead to overlooked areas. Adopting a structured spatial path keeps your efforts organized and guarantees efficient deep cleaning tips turn into long-term habits. Always follow gravity by starting at the highest point in a room—crown molding, window frames, and upper shelves—and working down toward the baseboards and flooring.
Combine this vertical strategy with a horizontal clockwise movement around the room’s perimeter. Enter the room, turn to your left, and complete every task on that wall section before moving to the next. You will never cross back over a freshly cleaned rug with a dirty dusting wand or miss a forgotten side-table shelf.
- Phase 1: High level — Clear cobwebs, dust ceiling fans, and wipe light fixtures.
- Phase 2: Eye level — Dust wall art, wipe door handles, sanitize light switches, and spot-clean windows.
- Phase 3: Low level — Clean tabletops, wipe chair rails, and dust baseboards.
- Phase 4: Floor level — Vacuum carpets, sweep corners, and mop hard floor surfaces last.
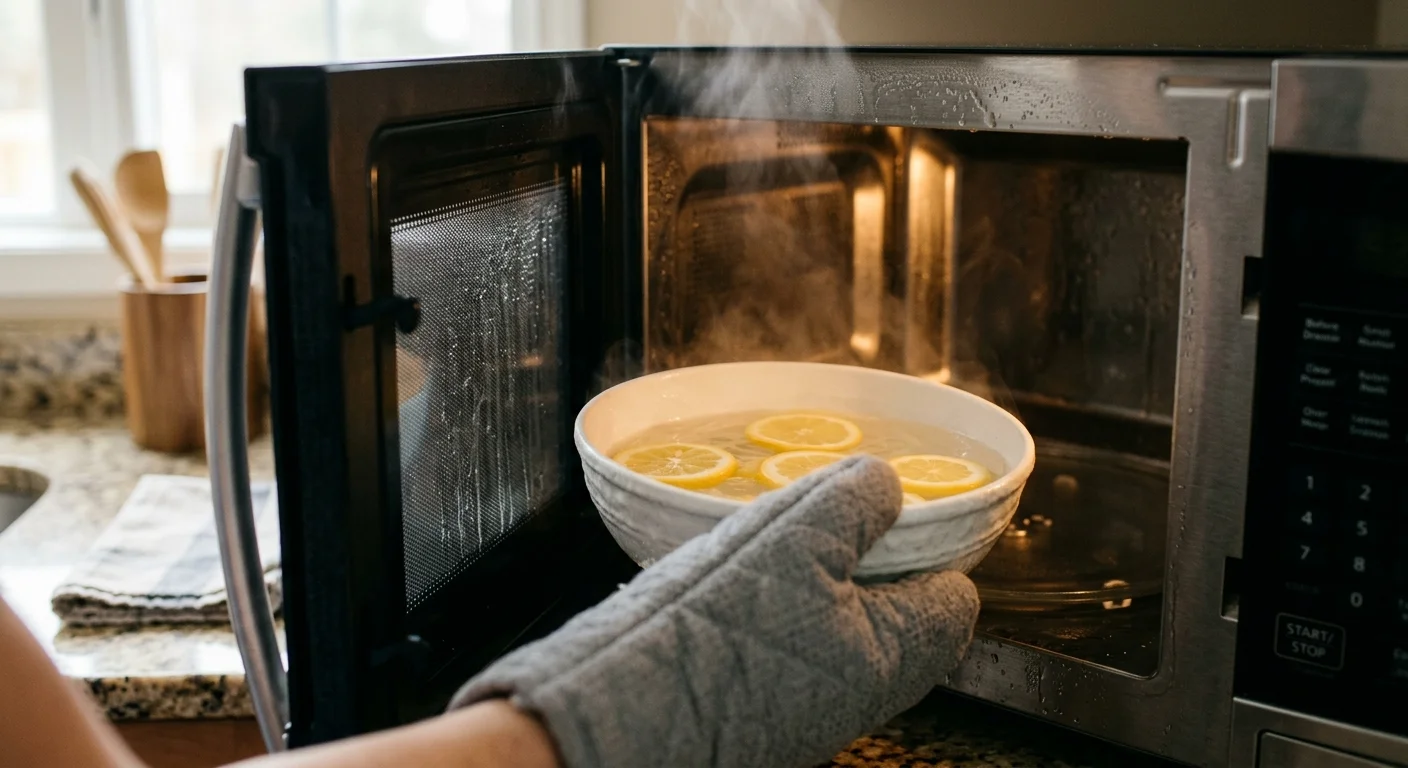
4. Steam-Loosen Microwave and Oven Buildup
Baked-on food spills inside microwave cavities and oven interiors usually demand abrasive scouring pads and aggressive arm muscle. You can substitute mechanical elbow grease with thermal energy by generating contained steam inside the appliance prior to wiping.
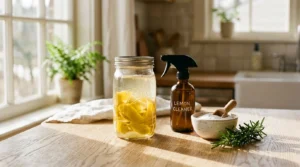
Fill a glass bowl with two cups of tap water and add three tablespoons of lemon juice or white vinegar. Microwave on high power for five minutes until the liquid boils vigorously and fills the interior with steam. Keep the door closed for an extra three minutes to trap the heated moisture. The acidic steam breaks down baked-on splatters, allowing you to wipe the walls clean using a dry microfiber cloth in under sixty seconds.
For kitchen ranges, follow official safety and cleaning recommendations from the CDC Cleaning and Hygiene Standards to maintain food preparation surfaces free of cross-contaminants without leaving toxic chemical residue behind.
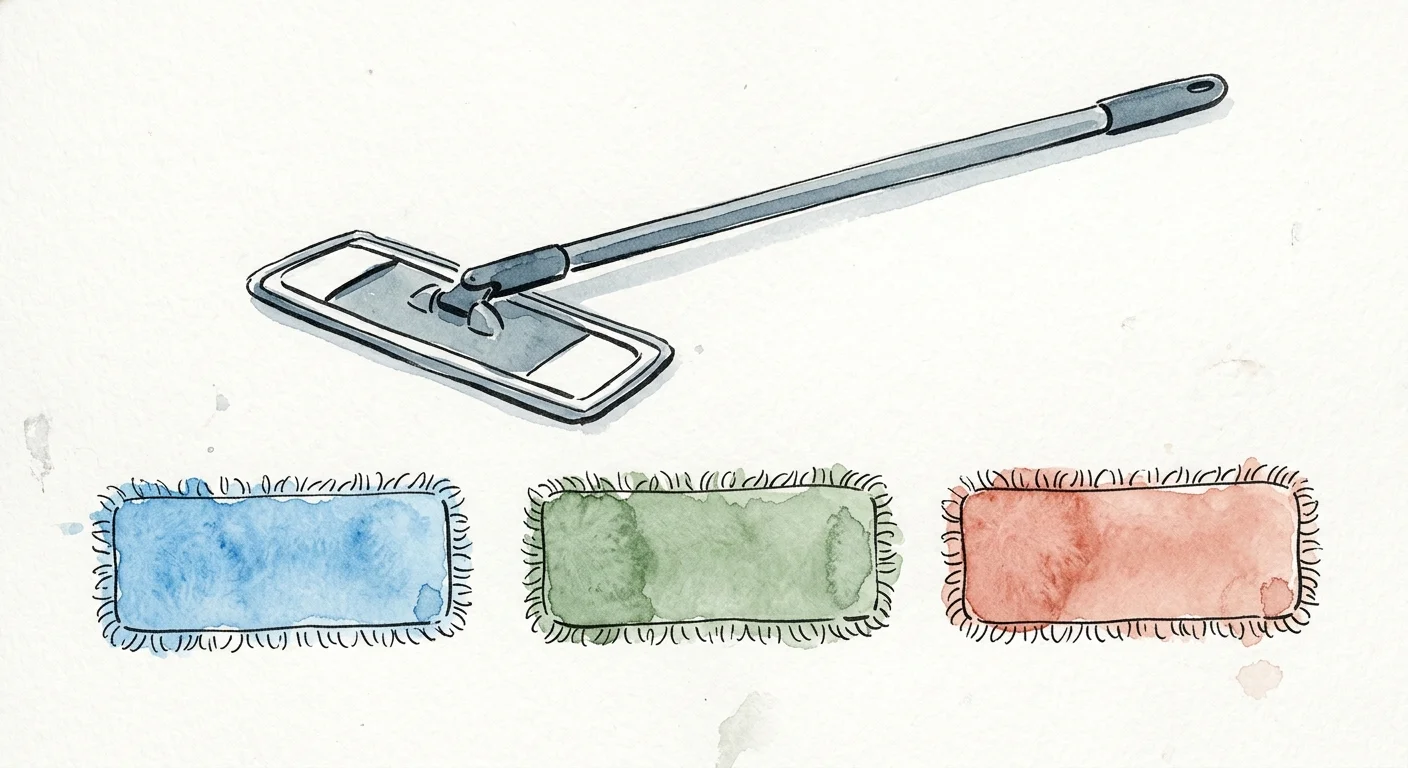
5. Strip Hard Floors Fast with Multi-Pad Microfiber Mops
Traditional string mops and dirty water buckets recirculate muddy residue across your hardwood and tile floors, leaving streaks and requiring lengthy drying times. Upgrade your floor care routine using flat microfiber mops coupled with a multi-pad swapping system. Microfiber’s microscopic synthetic split-fibers create a negative charge that attracts positively charged dust particles and traps moisture far better than natural cotton fibers.
Pre-soak six to eight microfiber mop pads in a shallow container filled with warm water and a neutral floor cleaner. Attach a fresh pad to your mop base, wipe down one room, and immediately peel off the dirty pad into a laundry hamper. Slap a clean, warm pad onto the mop frame for the next room; you will never introduce dirt back onto a washed floor, and your floors will dry in under three minutes.
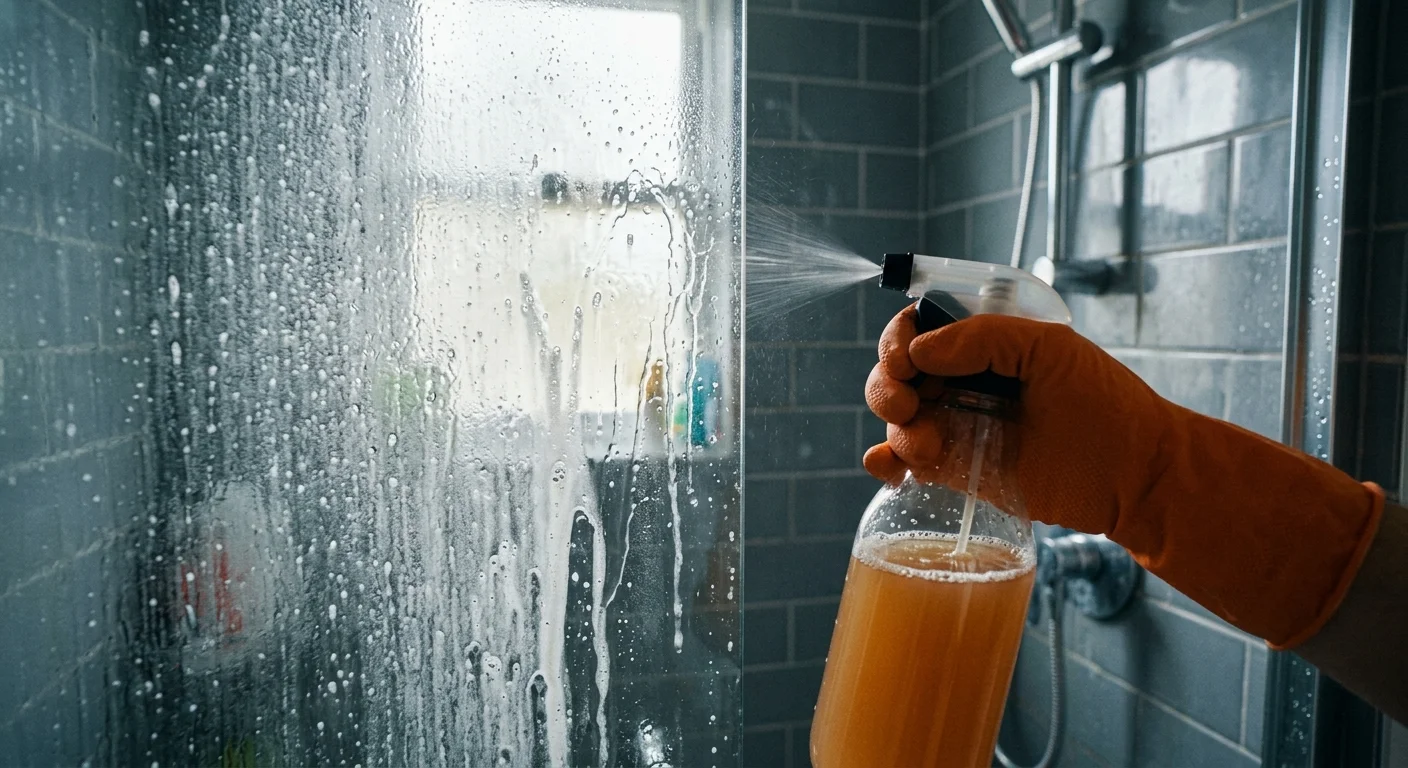
6. Dissolve Shower Soap Scum with Heated Vinegar and Dish Soap
Soap scum builds up when soap fats react with minerals in municipal tap water, creating hard calcium stearate deposits across glass shower doors and acrylic tub surrounds. Scouring these mineral deposits with plain water or mild spray cleaners takes immense physical effort and can scratch surface finishes.
Combine equal parts concentrated dish soap and standard white vinegar in a microwave-safe measuring cup. Warm the liquid in the microwave for thirty seconds to lower its viscosity, then pour the solution into a heavy-duty trigger spray bottle. Coat shower walls liberally and let the acid break down the minerals for fifteen minutes. Rinse the enclosure using warm water from a handheld shower head—soap scum washes down the drain effortlessly without abrasive scrubbing pads.
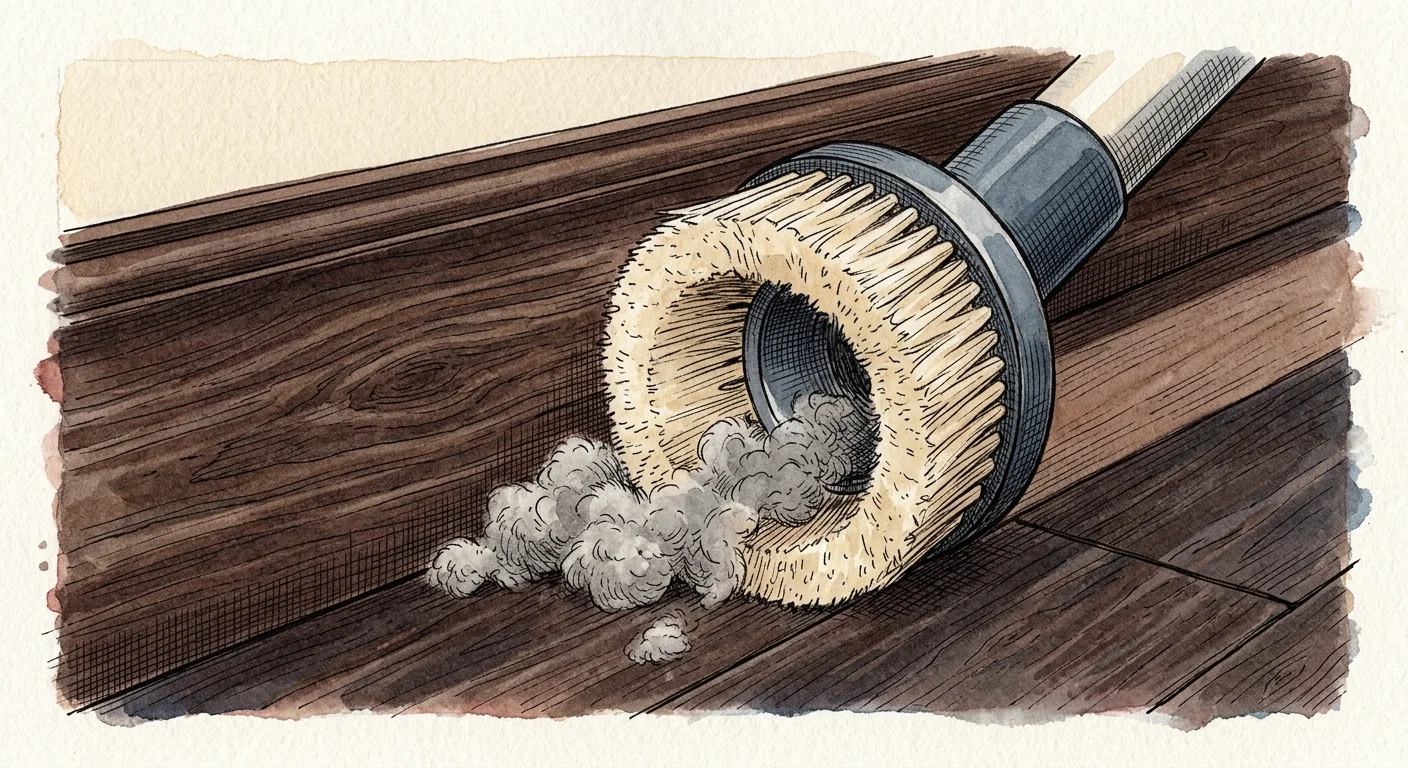
7. Dry-Vacuum Baseboards and Upholstery Prior to Wet Cleaning
Applying liquid cleansers directly to dusty surfaces turns dry particulates into wet sludge. This common error smears dirt deeper into baseboard crevices, window sills, and woven furniture fabrics, doubling the overall cleanup time required to finish the space.
Always perform a dedicated dry suction pass first. Use your canister or upright vacuum equipped with a soft horsehair brush attachment to clear baseboards, door moldings, and fabric sofa cushions. Removing loose dry dust beforehand means your subsequent damp microfiber cloth wiping pass instantly leaves a gleaming, streak-free surface.
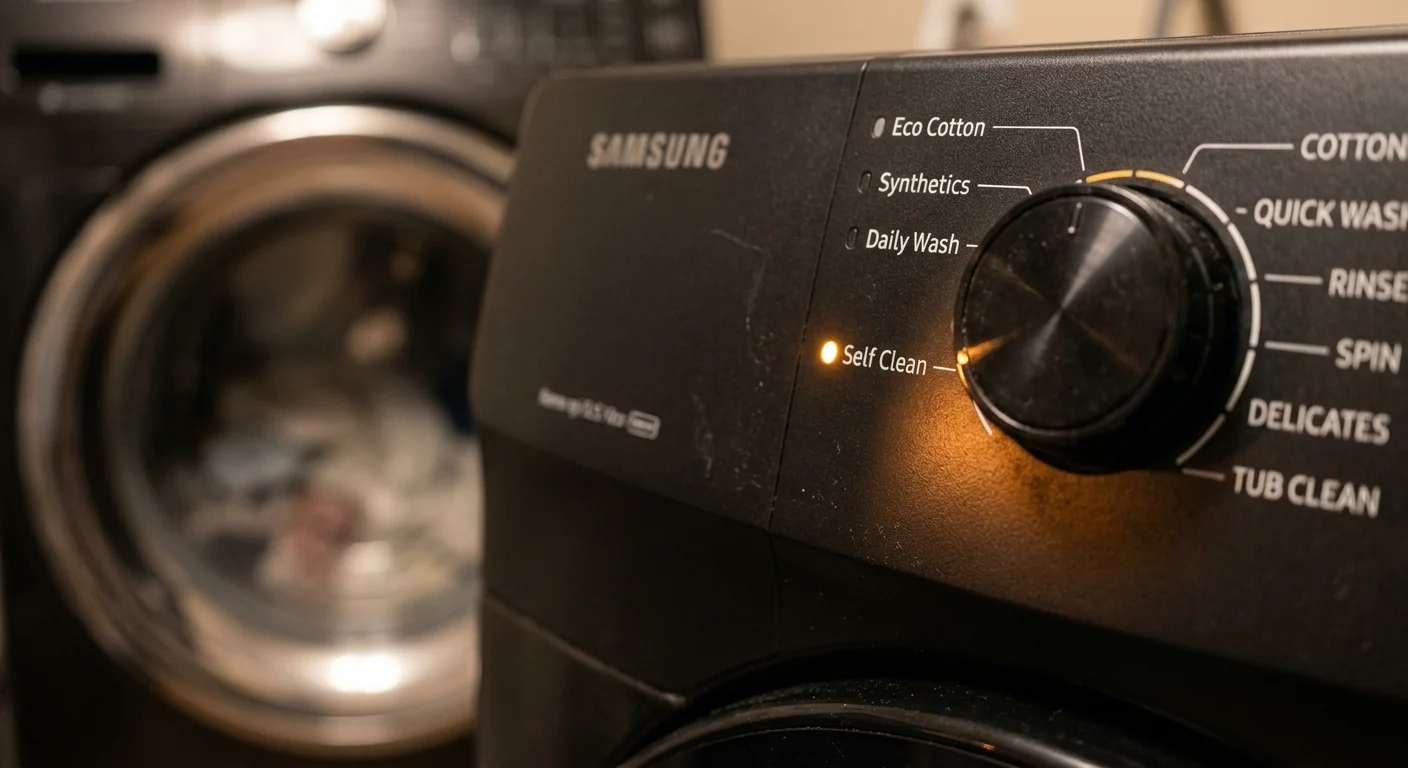
8. Automate Appliance Sanitation with Self-Cleaning Cycles
Your major home appliances require periodic internal cleaning to remove mildew odors, scale deposits, and grease accumulation. Let electrical power do the work while you focus your personal energy on living areas. Your dishwasher and washing machine can sanitize their internal pumps and drums using specialized, automated cycles.
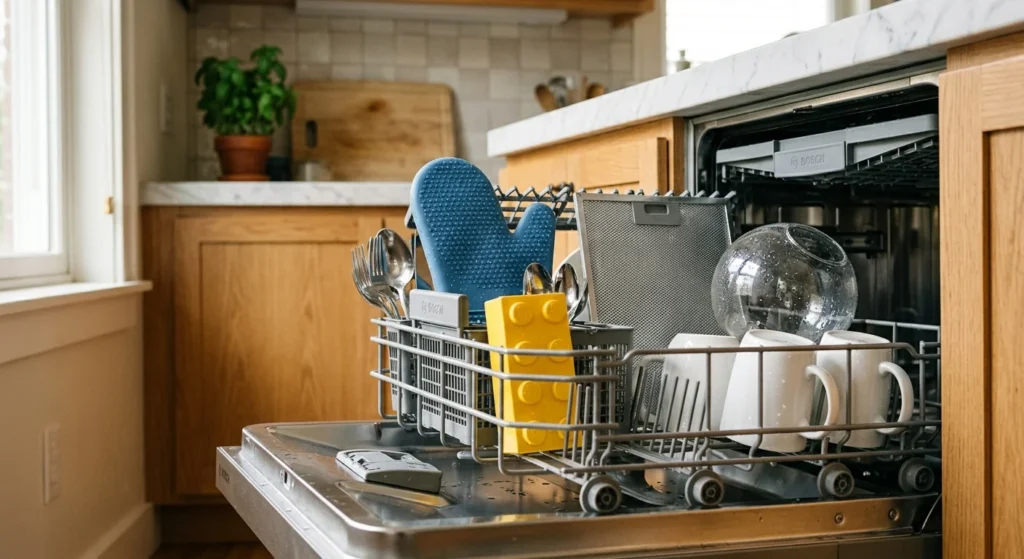
Place two cups of distilled white vinegar or a dedicated citric acid washing machine tablet into the empty drum of your washing machine and execute the hottest tub-clean cycle available. For dishwashers, place a cup of vinegar upright on the top rack and run a full cycle on high heat. These automated cleaning time saving tricks restore internal efficiency, eliminate musty odors, and clean internal pipes automatically.
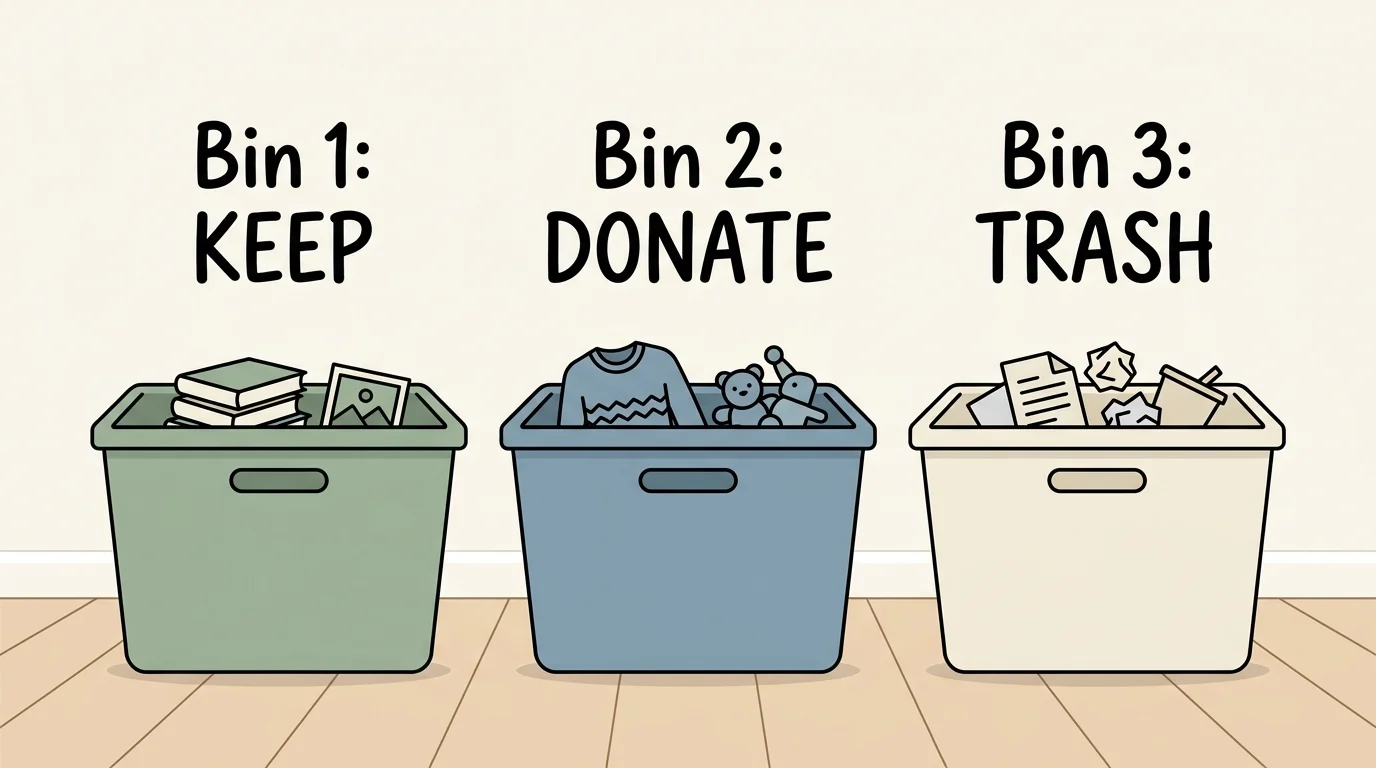
9. Execute the Three-Bin Surface Clear-Out
Attempting to deep clean surfaces around piles of mail, scattered keys, and lingering clutter slows your progress to a crawl. You end up lifting individual items, wiping underneath them, and placing them right back onto an unorganized surface. This fragmented approach destroys your momentum.
Before pulling out cleaning products, carry three labeled storage bins into the room: Keep in Room, Relay to Other Room, and Donate/Discard. Rapidly clear every horizontal surface—countertops, mantels, nightstands, and desks—into these bins. With surfaces completely bare, you can wipe down entire tables in seconds rather than spending minutes navigating around individual obstacles.
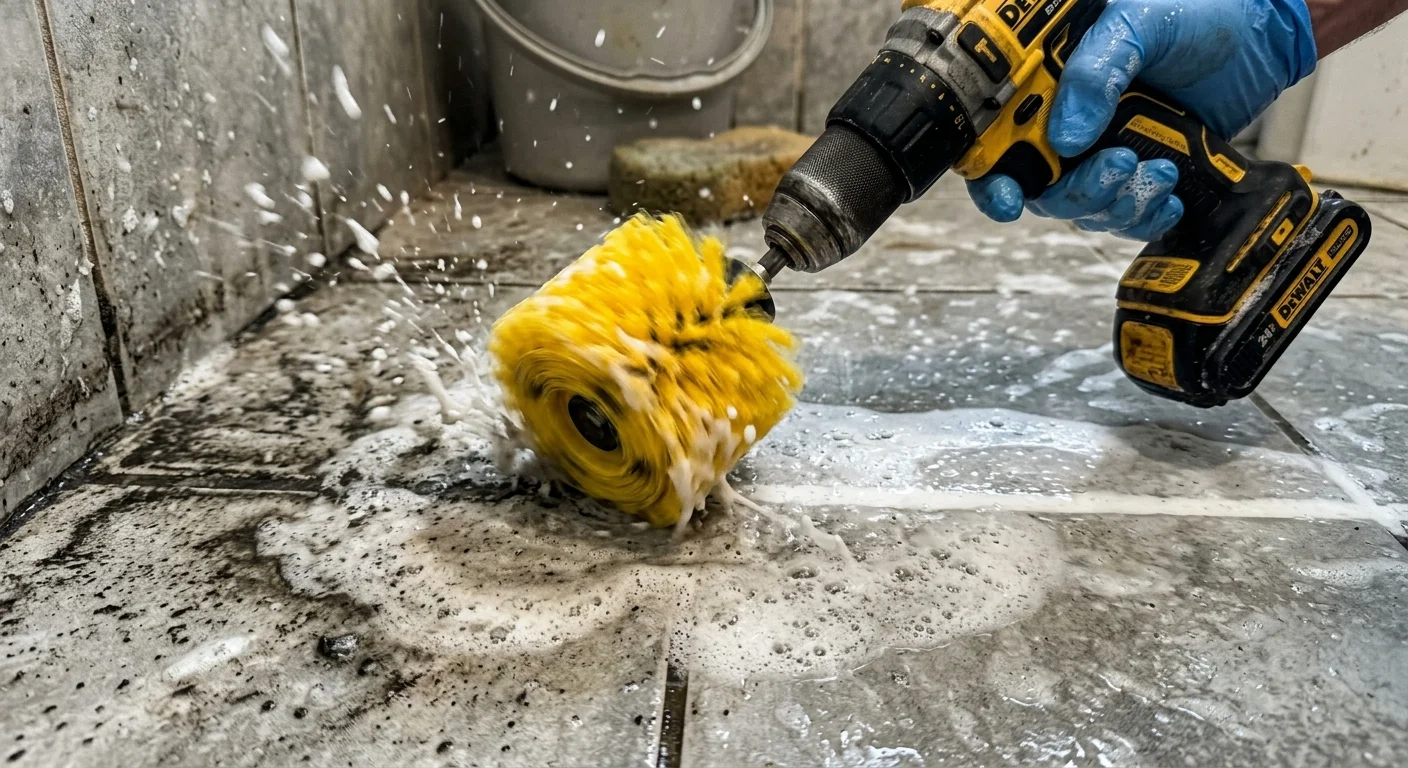
10. Use Drill Brush Attachments for Stubborn Tile and Grout Lines
Grout lines retain moisture, skin oils, and dirt, turning porous tile seams dark over time. Manual scrubbing with a hand toothbrush drains your energy and taxes wrists and lower backs. You can harness battery power to finish this difficult task in a fraction of the time.
Attach a nylon-bristle cleaning brush bit to a standard cordless power drill. Spray your tile cleaner onto the floor, set the drill to a low speed setting, and guide the rotating brush head along the grout channels. The motorized rotational force sweeps dirt out of microscopic pores rapidly without demanding manual down-pressure from your arms or spine.
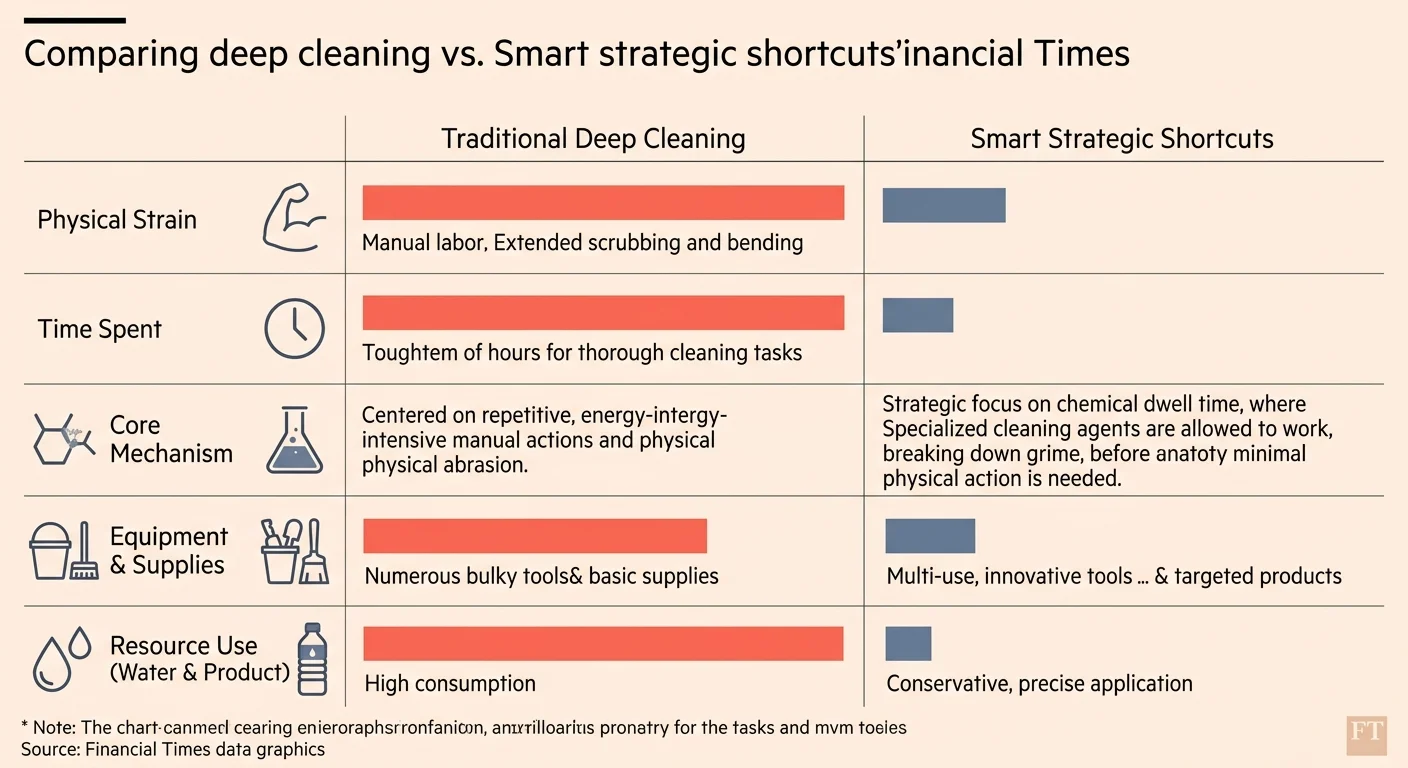
Comparing Deep Cleaning Strategies
Implementing effective cleaning shortcuts changes how much physical effort and time you spend maintaining your home. The comparison table below highlights time saved across standard household tasks when shifting from traditional manual scrubbing to high-efficiency techniques.
| Deep Cleaning Task | Traditional Manual Method | High-Efficiency Shortcut | Average Time Saved |
|---|---|---|---|
| Shower Glass & Tile Scum | Abrasive pad scrubbing with immediate spray application | Heated vinegar/soap solution with 15-minute dwell time | 20 Minutes |
| Baseboards & Moldings | Damp cloth wiping directly over dry dust and hair | Vacuum brush attachment pass followed by microfiber damp wipe | 15 Minutes |
| Ceiling Fan Blades | Hand dusting with a feather duster over open furniture | Enclosed pillowcase slide technique | 10 Minutes |
| Hardwood & Tile Floors | Bucket mop dipping, wringing, and re-spreading dirty water | Multi-pad microfiber pad swapping system | 25 Minutes |
| Microwave Interior | Manual scouring of baked-on food splatters | Lemon water steam-loosening cycle | 10 Minutes |

Environmental Safety and Indoor Air Quality
While speed is essential, preserving indoor air health remains equally vital. Chemical shortcuts that rely on harsh volatile organic compounds (VOCs) or synthetic fragrances can irritate upper respiratory tracts, trigger asthma, and leave chemical film on living room surfaces. Review safety guidance from the EPA Safer Choice Program when choosing commercial solutions for your household.
Opting for plant-based surfactants, mechanical steam tools, high-grade microfiber materials, and organic acids like vinegar or lemon juice delivers pristine outcomes while protecting your lungs and hands from irritation.
Your Immediate Next Step for a Cleaner Home Today
Pick one single room in your home right now—such as your main bathroom or kitchen—and select two of these shortcuts to put into practice today. Start by applying a surface cleaner to your shower or stovetop and walking away for ten full minutes to allow proper dwell time while you clear surface clutter into sorting bins. You will instantly experience how much physical effort smart timing and leverage save, giving you a immaculate home in far less time.