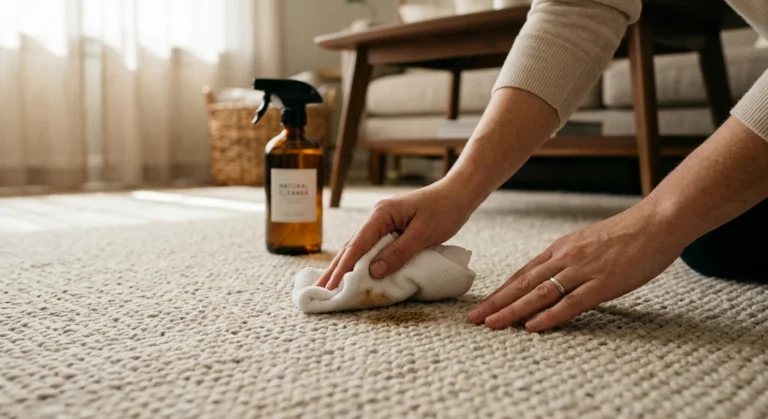
You can double your cleaning efficiency and protect your household surfaces simply by adjusting how you apply your everyday sprays, wipes, and detergents. Most people spray cleaners directly onto dirty furniture, wipe away disinfectants before they finish working, or mix chemical products without realizing the severe health hazards involved. These common cleaning mistakes waste your money, damage expensive finishes, and leave harmful bacteria behind on high-touch areas. Learning how to use cleaning products correctly transforms your routine from an exhausting chore into a quick, effective habit—saving you valuable time while keeping your living spaces safely sanitized. By fixing a few subtle habits today, you will achieve a brighter, fresher home with minimal effort.
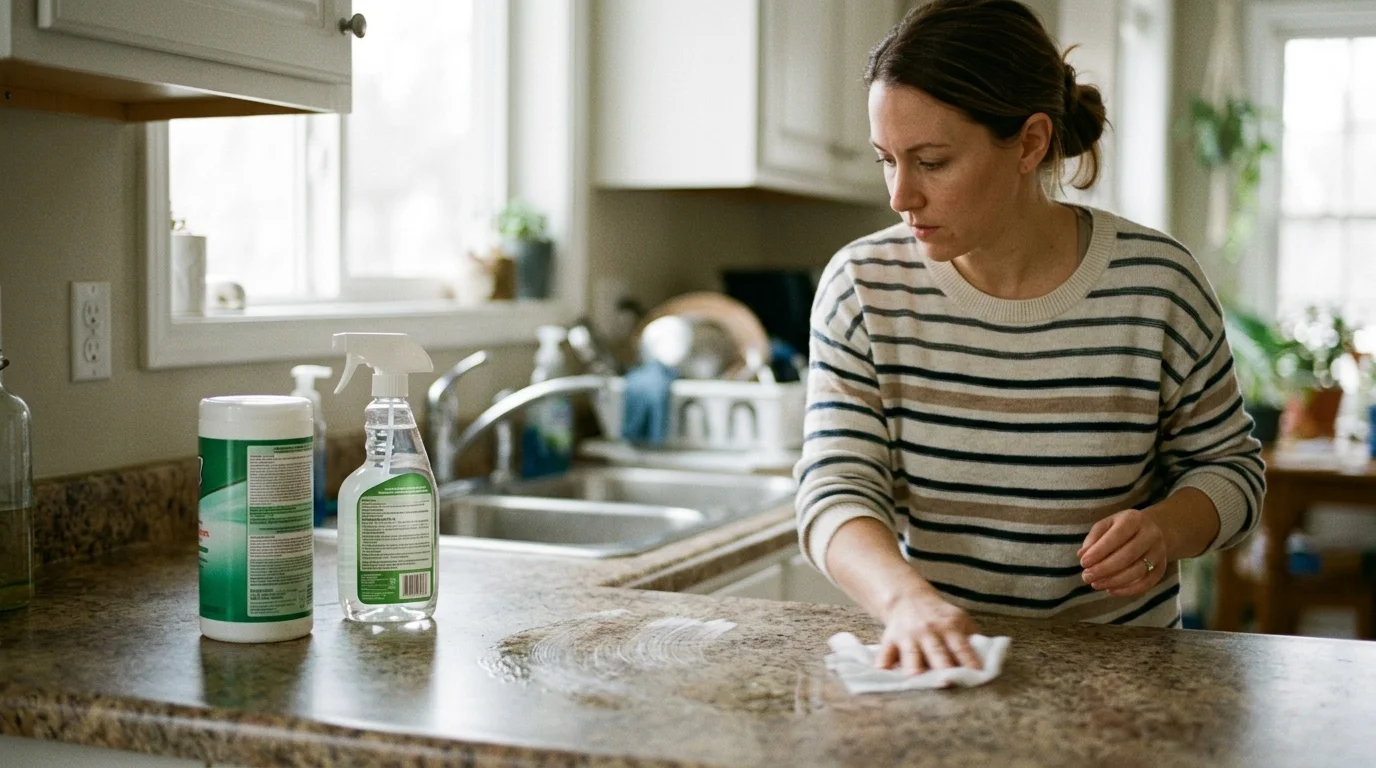
1. Disinfectant Wipes and Sprays: Ignoring “Dwell Time”
Disinfectant wipes and sanitizing sprays represent some of the most misunderstood items in the household cleaning closet. Most homeowners pull a single wipe from the canister, scrub down an entire kitchen counter, and immediately dry the surface with a paper towel. Unfortunately, this quick-swipe technique leaves behind the vast majority of microscopic bacteria, viruses, and fungi you intended to kill.
Every chemical disinfectant requires a specific period of continuous wet contact—known in the cleaning industry as “dwell time”—to penetrate cell walls and destroy dangerous pathogens. The U.S. Environmental Protection Agency (EPA) registers these formulations and lists precise dwell times on product labels, which typically range from 30 seconds to 10 full minutes. If the solution evaporates or you wipe it dry before that required contact window closes, the disinfectant fails to achieve its rated medical-grade efficacy.
To eliminate germs properly on high-touch surfaces like doorknobs, light switches, and sink faucets, adopt a two-step cleaning method:
- Step 1: Clean away visible debris. Soil, dust, and organic grease coat bacterial colonies and protect them from chemical sprays. Scrub the area clean first using simple soapy water or a general surfactant cleaner.
- Step 2: Apply the disinfectant thoroughly. Spray or wipe the clean surface until it remains visibly wet. Allow the fluid to sit untouched for the entire dwell time listed on your product container before wiping away residual moisture.
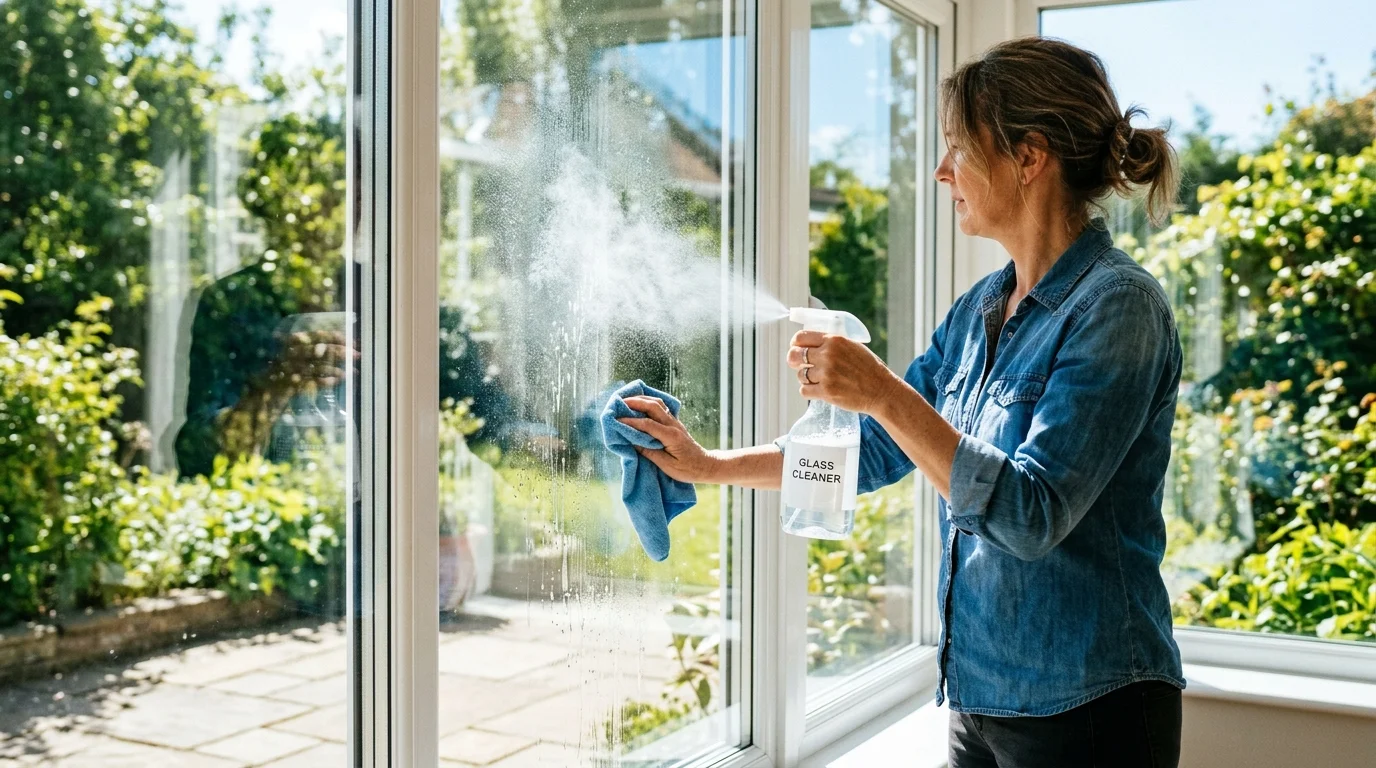
2. Glass Cleaner: Spraying Surfaces Directly and Working Under Bright Sunlight
Streaky windows and cloudy mirrors usually point to poor application methods rather than bad product formulas. Two common glass cleaning mistakes consistently undermine your hard work: spraying cleaner directly onto glass panels and attempting to clean windows while bright sunlight hits the glass.
When you spray glass cleaner directly onto a window or bathroom mirror, excess liquid pools in the lower corners and seeps under the frames. Over time, this trapped moisture rots wooden window sills, damages delicate window sealants, and dissolves the reflective silver backing on decorative mirrors—leaving dark, permanent corrosion spots around the edges. Furthermore, direct sunlight heats up the glass surface, causing the alcohol or ammonia solution to flash-evaporate in seconds. This rapid evaporation leaves stubborn chemical streaks and dried residue stuck to the pane before you can wipe it smooth.
Achieve crystal-clear results across all reflective surfaces by refining your workflow with these effective cleaning techniques:
Always spray your liquid glass cleaner directly onto a clean, flat-weave microfiber cloth rather than onto the glass surface itself. Dampening the cloth gives you full liquid control, preventing drips from running down into delicate frames. For exterior and interior windows, choose overcast days or work early in the morning when the glass feels cool to the touch. Wipe the glass using a continuous “S-pattern” motion from top to bottom; this structured movement prevents you from dragging dirty liquid back over freshly cleaned areas.
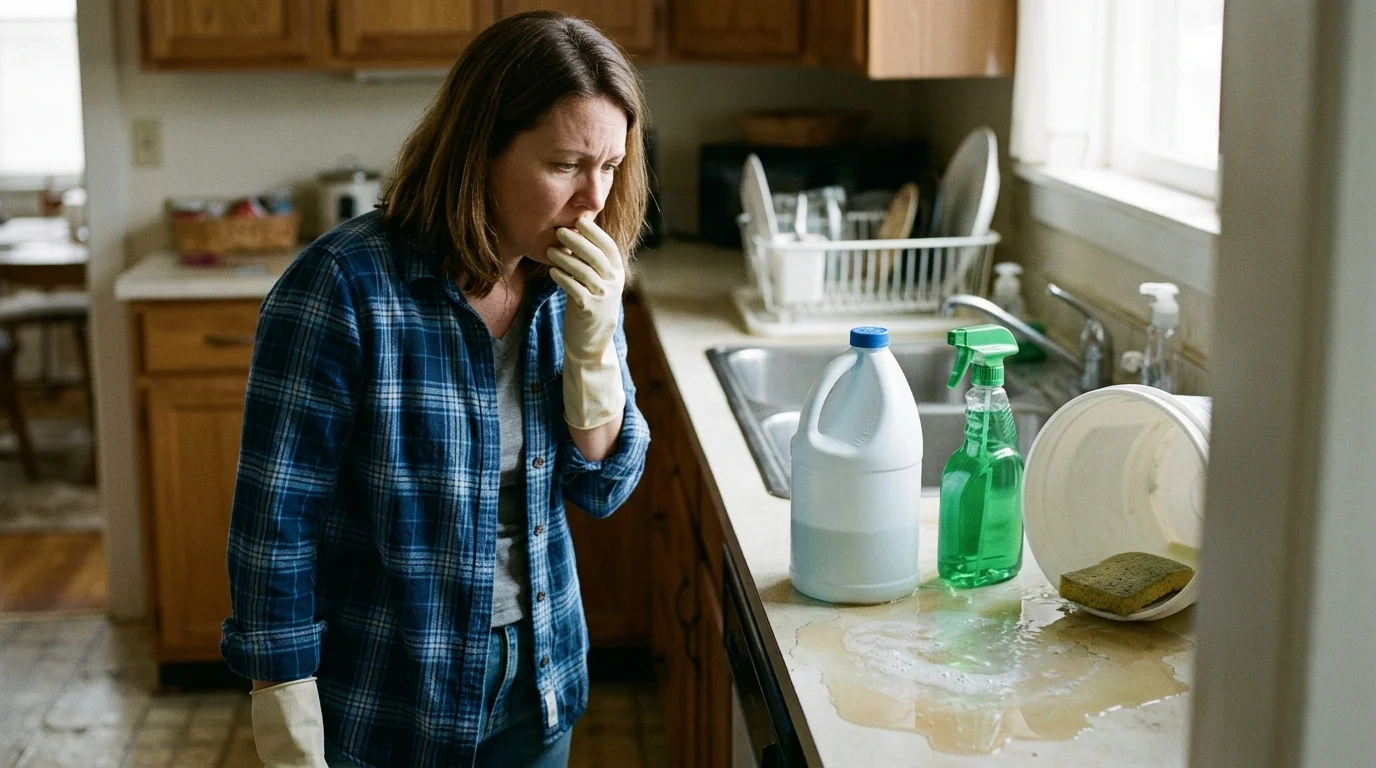
3. Household Bleach: Treating It as a Universal Cleaner and Mixing Hazards
Liquid chlorine bleach sits under millions of kitchen sinks, yet it remains one of the most misused chemical products in home maintenance. The most widespread error involves treating household bleach as a heavy-duty soap or degreaser. Bleach possesses exceptional disinfectant properties, but it contains zero detergent surfactants; it cannot cut through kitchen grease, dissolve soap scum, or lift physical dirt from floor tile grout.
Applying bleach over organic dirt causes a chemical reaction that rapidly degrades the bleach’s active disinfectant compound, sodium hypochlorite, rendering it ineffective. Furthermore, mixing household bleach with other common domestic products creates severe medical emergencies. Combining bleach with ammonia produces toxic chloramine gas, while mixing bleach with acidic solutions like white vinegar or toilet bowl cleaners creates deadly chlorine gas. According to guidance from Poison Control, inhaling these reactive fumes causes immediate chemical burns across respiratory membranes, throat irritation, and severe coughing fits.
When handling bleach, review these critical application standards recommended by the Centers for Disease Control and Prevention (CDC):
Always wash surfaces with standard soap and water to clear away physical dirt before applying any diluted bleach solution. Prepare bleach solutions fresh daily using cool or room-temperature water; hot water breaks down sodium hypochlorite molecules and neutralizes their sanitizing power. Mix exactly 1/3 cup of standard household bleach per gallon of water, wear protective rubber gloves, and open nearby windows to maintain strong room ventilation.
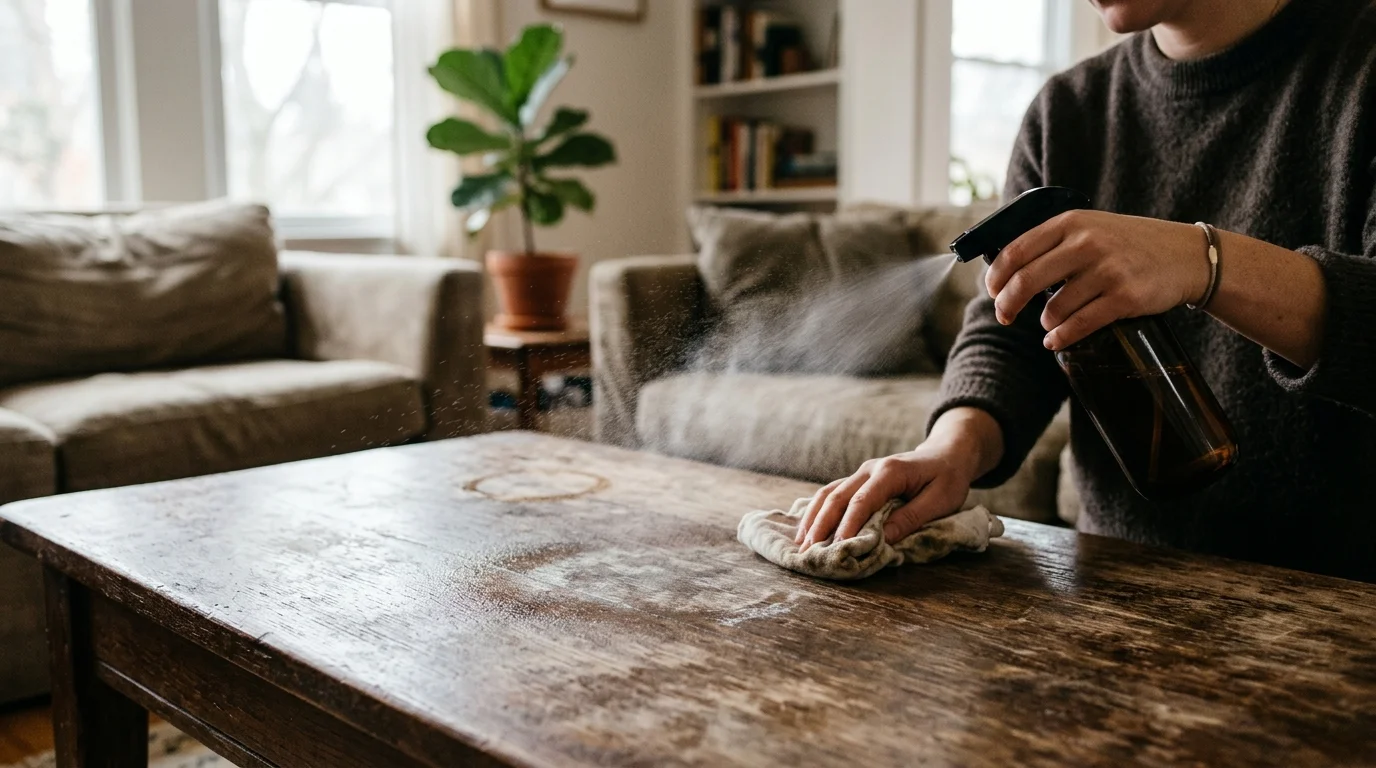
4. Wood Furniture Polish: Creating Wax Buildup and Spraying Directly
Fine wooden dining tables, cabinets, and antique sideboards demand careful upkeep, but heavy wood polishes and silicone-based sprays often do far more harm than good. A major pitfall in wood care is applying heavy spray polishes during routine weekly dusting sessions.
Commercial wood sprays frequently contain silicone oils or synthetic waxes designed to produce an instant high-gloss shine. When applied repeatedly, these ingredients form a thick, sticky film across the wood finish. This sticky residue acts like a magnet for airborne dust, pet hair, and lint. Over time, heat and humidity bake this chemical buildup into a hazy, yellowing layer that dulls the natural grain and makes professional wood refinishing exceptionally difficult.
Protect your wooden furniture investment with a disciplined, low-product care strategy:
For weekly maintenance, skip liquid polish entirely. Instead, use a completely dry or very slightly damp microfiber cloth to pick up fine dust particles safely without scratching the finish. Reserve true furniture polishes or natural beeswax conditioners for deep care sessions conducted just two or three times a year. Always mist the conditioning agent sparingly onto your soft cloth, rub it along the direction of the wood grain, and buff the surface thoroughly with a clean, dry cloth side to remove every trace of liquid residue.
5. Microfiber Cloths: Laundering Away Their Electrostatic Charge
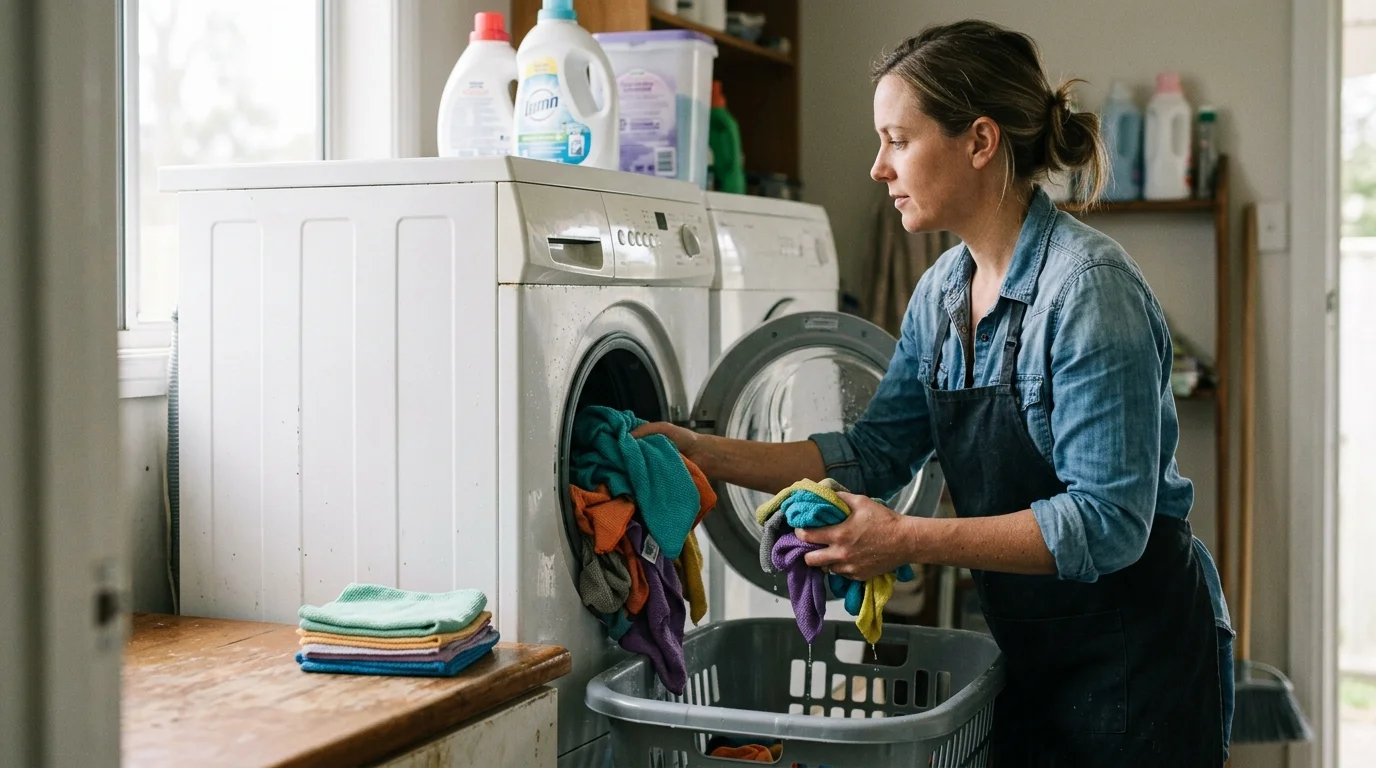
Microfiber towels have revolutionized modern home care because their tiny, split synthetic fibers generate a natural positive electrostatic charge. This structure allows microfiber to grab negatively charged dust particles and trap moisture without needing heavy chemical sprays. However, standard laundry habits quickly destroy these specialized properties.
The biggest microfiber mistake occurs inside the laundry room. Washing microfiber cloths alongside heavy cotton bath towels clogs the microscopic synthetic loops with soft cotton lint. Even worse, adding liquid fabric softeners or dryer sheets coats the individual polyester and polyamide fibers with a water-repellant layer of silicone and tallow oils. This oily coating instantly destroys the cloth’s electrostatic dust attraction and leaves it completely unable to absorb liquids.
Preserve your microfiber collection’s high-performance cleaning capabilities by following these dedicated laundering rules:
- Separate your laundry loads: Wash microfiber towels exclusively with other synthetic microfiber items. Never mix them with cotton clothes, fleece, or lint-producing towels.
- Use liquid detergent only: Wash in warm or hot water using a simple, fragrance-free liquid laundry detergent. Avoid powder detergents, which may fail to dissolve fully and get trapped inside the microscopic fibers.
- Eliminate softeners and additives: Never add liquid fabric softener, bleach, or dryer sheets to your microfiber wash or dry cycles.
- Dry with low or zero heat: Microfiber consists of ultra-fine plastics that melt under intense heat. Line-dry your cloths or run them through a low-heat dryer cycle to preserve fiber integrity.
6. Dishwashing Liquid: Over-Dosing and Cleaning Delicate Surfaces
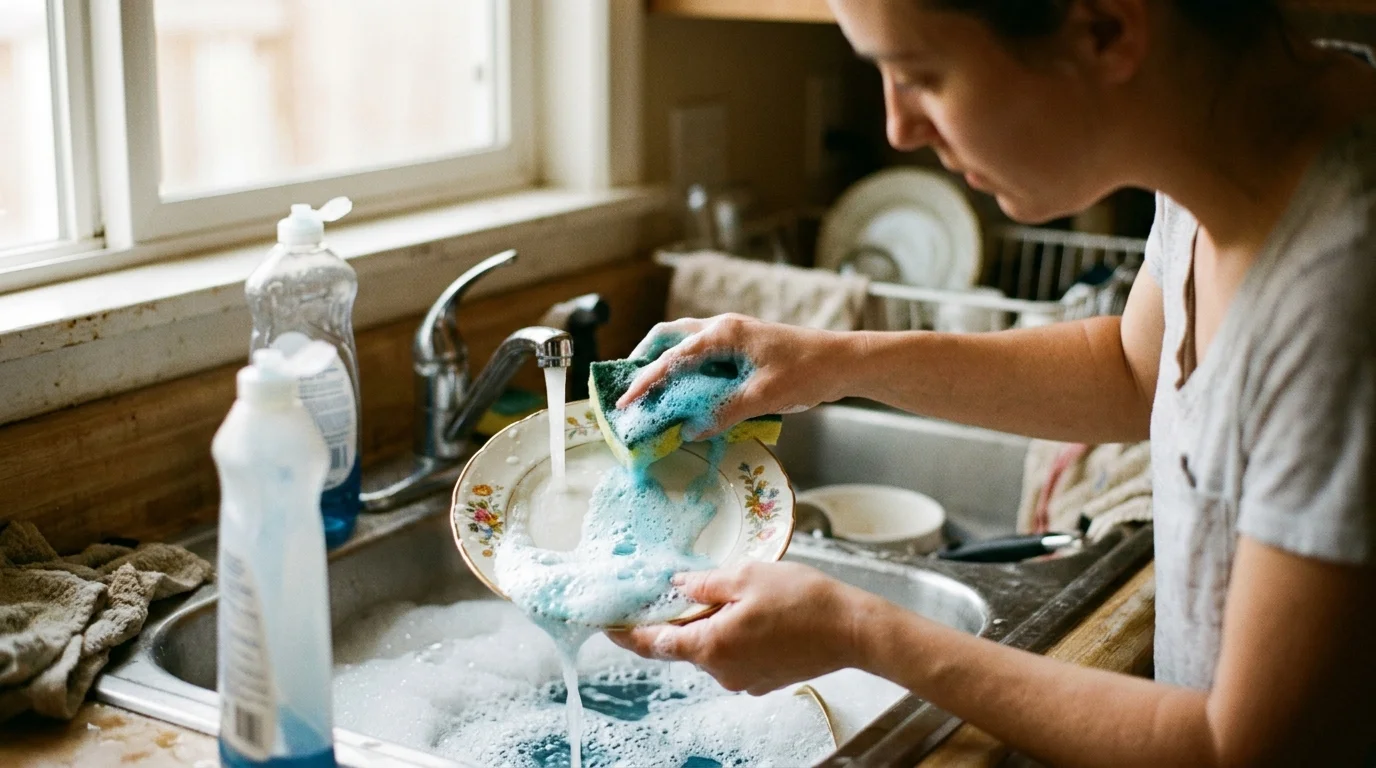
Liquid dish soap excels at lifting heavy food grease from ceramic plates, glassware, and stainless steel cookware. Because it cleans kitchenware so effortlessly, many people assume liquid dish soap serves as an ideal universal wash for home floors, leather furniture, and stone counters. This represents a costly misunderstanding of soap chemistry.
Dish soap contains high-foaming surfactants designed specifically to remain stable in concentrated standing water. When you mop hardwood floors or wipe down sealed granite countertops with dish soap, the heavy soap leaves behind an invisible, tacky film that ordinary wiping cannot remove. This soap film attracts dirt from shoe soles, turns hardwood floor finishes cloudy, and strips away the protective oils inherent to natural leather upholstery.
Furthermore, over-dosing dish soap in the kitchen sink creates massive mounds of foam that require dozens of gallons of fresh rinse water to clear completely. Learn how to use cleaning products correctly by metering your liquid soap usage precisely:
Use just two or three concentrated drops of dish soap for an entire basin of dishwater. If you want to use dish soap for general counter maintenance, mix three drops of dish soap into a 16-ounce spray bottle filled with warm water. This light dilution cleans daily spills effectively without leaving behind a sticky, dulling chemical residue on your non-porous surfaces.
7. All-Purpose Cleaners: Misinterpreting Universal Compatibility
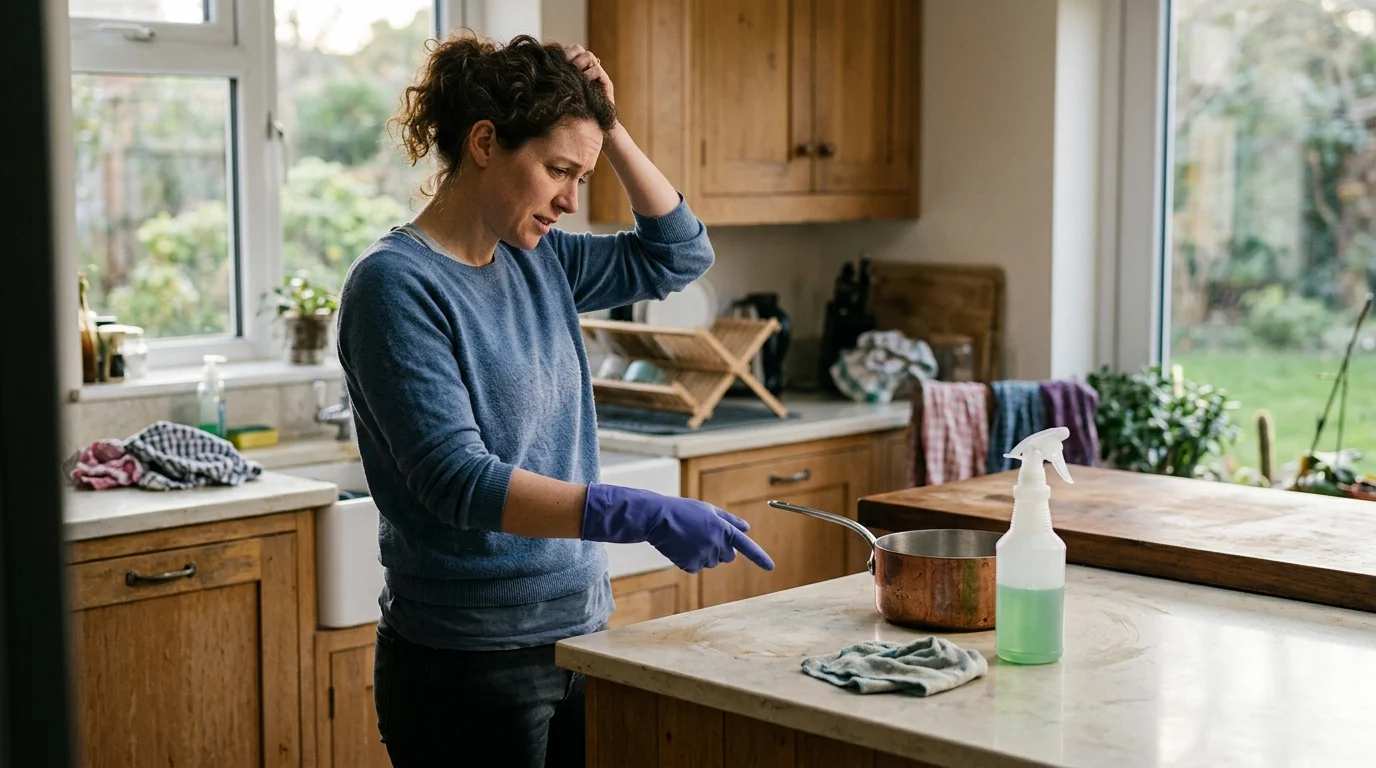
The label phrase “all-purpose cleaner” encourages users to assume a single spray bottle safely cleans every surface inside a modern home. In practice, all-purpose cleaners feature varied chemical pH balances ranging from strongly acidic to highly alkaline, making them unsuitable for delicate building materials.
Spraying a standard acidic or alkaline all-purpose cleaner onto natural stone surfaces—such as marble, limestone, or travertine—triggers an immediate chemical reaction known as etching. The acid reacts with the calcium carbonate inside natural stone, creating dull, permanent water-spot-like rings that require expensive professional repolishing to repair. Similarly, aggressive all-purpose formulas break down protective polyurethane sealants on hardwood floors, leaving raw timber vulnerable to moisture damage and warping.
Another widespread mistake involves spraying an all-purpose product and wiping it away immediately without giving the active surfactants time to surround and break down greasy soils. Optimize your routine with these smart cleaning product safety tips:
Always inspect product ingredient lists and choose dedicated pH-neutral cleaners specifically designed for natural stone and finished hardwood. When tackling greasy kitchen stove tops or sticky bathroom counters with an all-purpose cleaner, allow the liquid to sit on the surface for two to three minutes before wiping. This short dwell time lets the surfactants emulsify stubborn grease, allowing you to wipe away grime effortlessly without hard physical scrubbing.
Summary: Fixing Common Cleaning Product Mistakes
Review this quick-reference table to identify everyday cleaning product errors and implement their immediate, surface-safe fixes:
| Product | Common Mistake | Correct Method | Surface/Safety Impact |
|---|---|---|---|
| Disinfectant Sprays/Wipes | Wiping surfaces dry immediately after application. | Keep surfaces wet for full dwell time (30 seconds to 10 minutes). | Ensures full pathogen destruction and proper surface sanitization. |
| Glass Cleaner | Spraying directly on glass; cleaning in direct, hot sunlight. | Spray onto microfiber cloth; clean cool glass on overcast days. | Prevents frame rot, mirror edge corrosion, and heat streaks. |
| Household Bleach | Using as a primary dirt cleaner; mixing with acids or ammonia. | Pre-clean surfaces with soap; dilute in cool water (1/3 cup per gallon). | Prevents production of dangerous toxic gases like chloramine and chlorine. |
| Wood Furniture Polish | Spraying directly onto wood surfaces during weekly dusting. | Dust dry weekly; apply polish sparingly to cloth quarterly. | Prevents sticky wax buildup, yellowing films, and dust attraction. |
| Microfiber Cloths | Washing with fabric softeners, cotton towels, or high heat. | Wash separately in warm water; line dry or tumble on low. | Preserves electrostatic dust attraction and liquid absorbency. |
| Dishwashing Liquid | Over-dosing detergent; mopping wood floors or stone counters. | Use two drops per basin; clean surfaces with neutral products. | Eliminates sticky residues and protects sensitive stone sealants. |
| All-Purpose Cleaners | Using acidic sprays on marble; wiping grime without dwell time. | Use pH-neutral formulas on stone; let sit 2 minutes on grease. | Prevents stone etching and simplifies physical scrubbing effort. |
Essential Cleaning Product Safety Tips
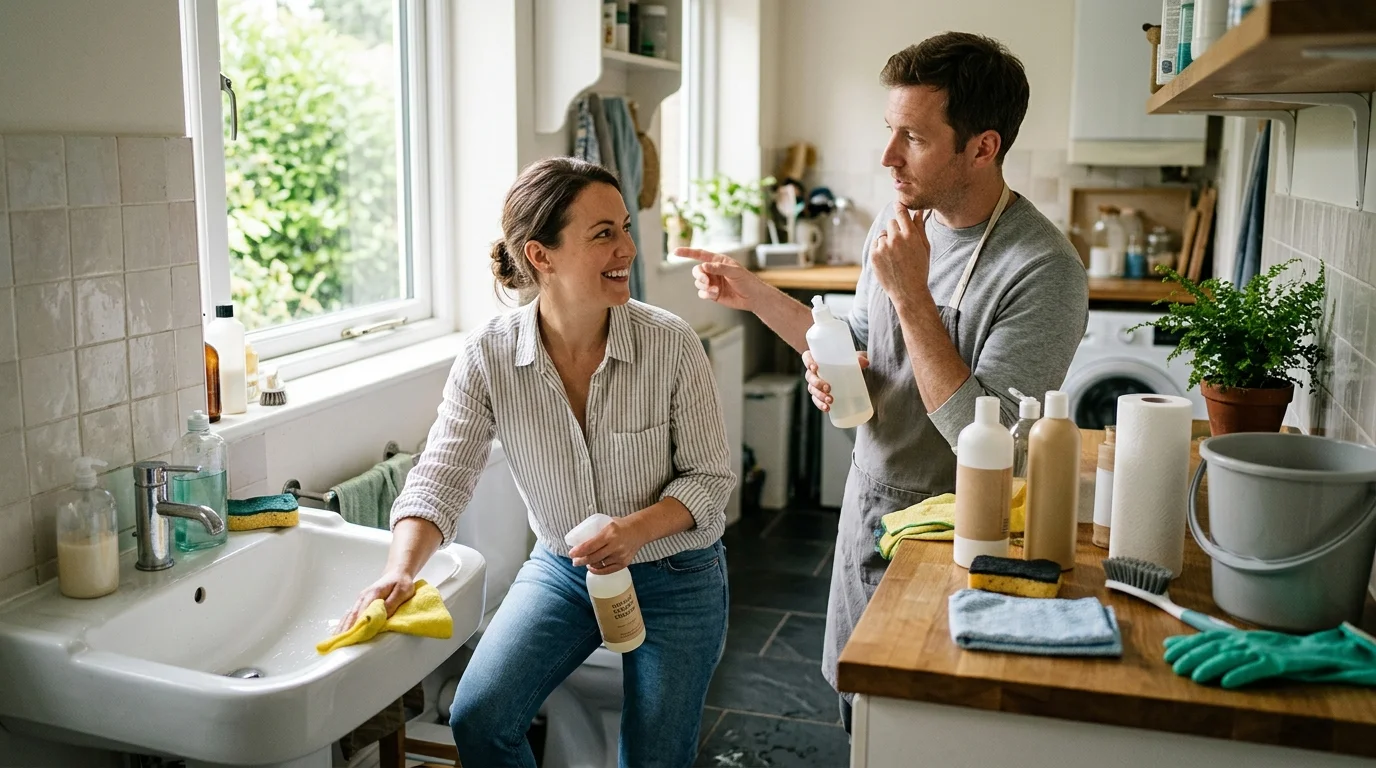
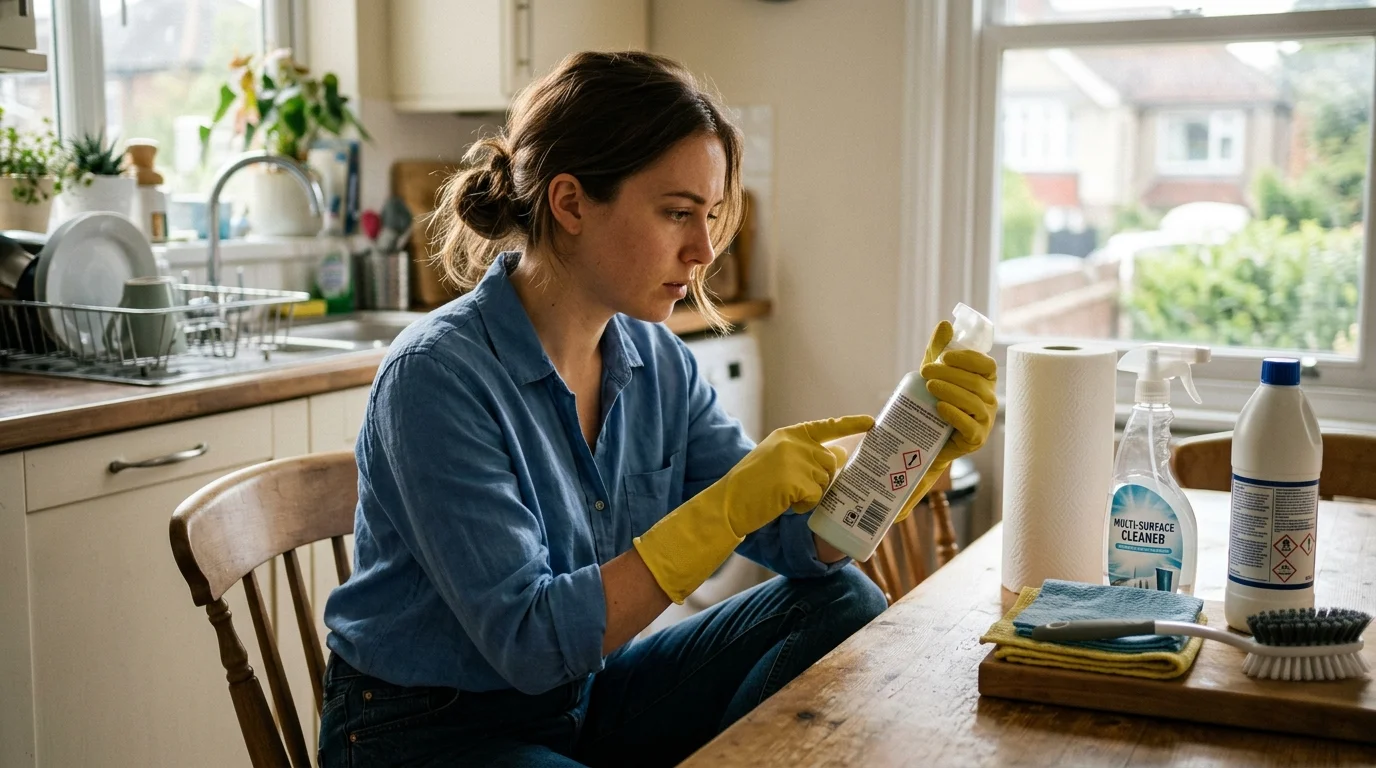
Maintaining a clean home should never put your respiratory health or personal physical safety at risk. Adopting structured, safe handling habits ensures your home remains healthy and comfortable without exposing your family to chemical hazards. Review these guidelines recommended by the American Cleaning Institute before starting your next routine cleaning session:
- Read labels completely before opening products: Always check manufacturer directions for proper dilution ratios, required dwell times, and recommended safety gear.
- Never cross-mix cleaning chemicals: Keep bleach, ammonia, hydrogen peroxide, and acidic cleaners strictly separate to eliminate the risk of dangerous gas reactions.
- Maintain active room ventilation: Open windows, run built-in bathroom exhaust fans, or set up portable circulation fans whenever using concentrated chemical cleaners.
- Wear protective equipment: Protect skin and eyes by wearing durable nitrile or rubber gloves and safety glasses during high-volume cleaning tasks.
- Store chemicals in original containers: Keep all sprays and detergents inside their original labeled packaging, safely locked away from young children and pets.

Your Next Practical Step
Take immediate action today by performing a quick five-minute audit of your primary cleaning closet. Inspect the back labels on your disinfectant wipes, sanitizing sprays, and all-purpose cleaners to identify their precise dwell-time requirements and pH warnings. Group your microfiber cloths away from cotton laundry towels, ensure your bleach sits far away from vinegar or ammonia products, and swap out direct glass spraying for cloth-first application. Making these simple, educated adjustments right now guarantees safer chemical handling, protects your home finishes, and delivers noticeably cleaner results every single week.