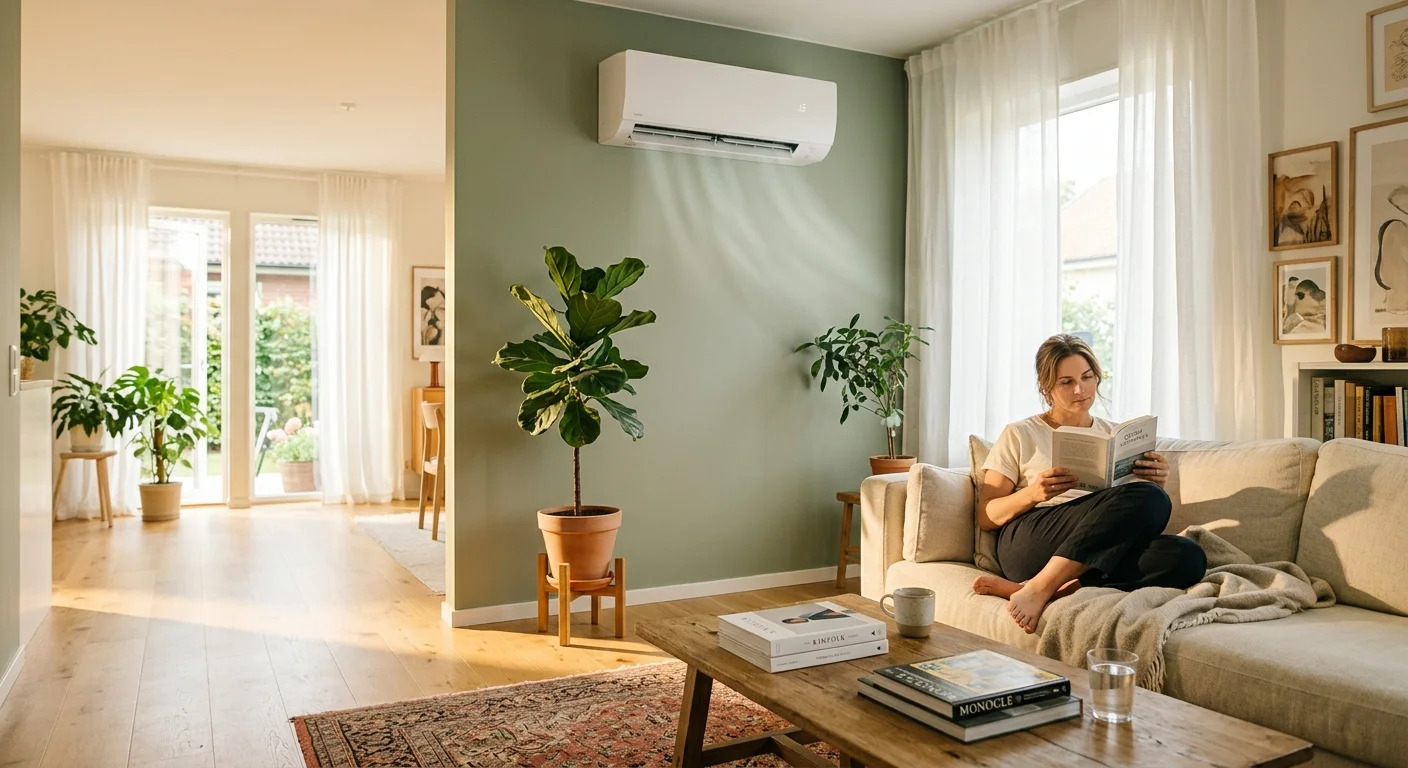
Clean air conditioning filters and coils lower your cooling costs by up to 15 percent and keep your home comfortably chilled when summer heat peaks. Instead of waiting for your AC to struggle or fail during a sweltering heatwave, you can spend a single afternoon optimizing your system for peak performance. Dirt, dust, and pet dander restrict airflow, forcing your unit to work harder and increasing your monthly energy bills. A well-maintained system runs quieter, lasts longer, and improves the air you breathe every day. Taking the time to properly clean your filters, vacuum your vents, and clear your coils removes trapped allergens and protects your most expensive home appliances.
The Financial and Mechanical Benefits of Deep Cleaning
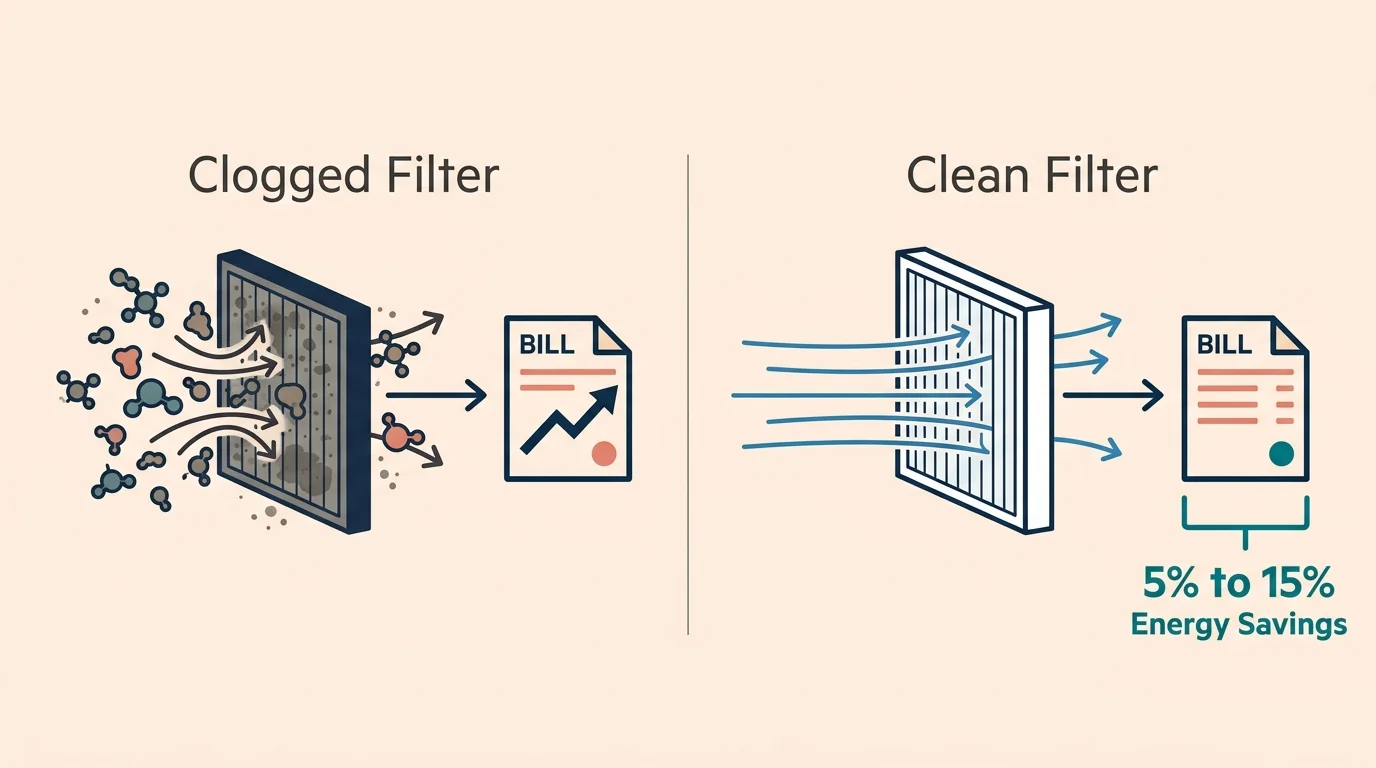
Ignoring your air conditioner until it breaks down guarantees an uncomfortable home and a massive repair bill. When your filters and coils clog with debris, your system struggles to pull in enough air. This restricted airflow forces the compressor to run continuously, driving up your utility bills while failing to properly dehumidify your living space.
Blocked airflow also causes major mechanical failures. Without enough warm room air blowing over the indoor coils, the condensation on the metal fins can freeze solid. A frozen evaporator coil halts all cooling and places immense strain on your outdoor compressor. Data from the Department of Energy shows that simply replacing a dirty, clogged filter with a clean one can lower your air conditioner’s energy consumption by 5 to 15 percent. Regular maintenance extends the life of your equipment, improves indoor air quality, and ensures you have reliable cooling during the hottest weeks of the year.
Essential Tools and Safety Gear for HVAC Maintenance
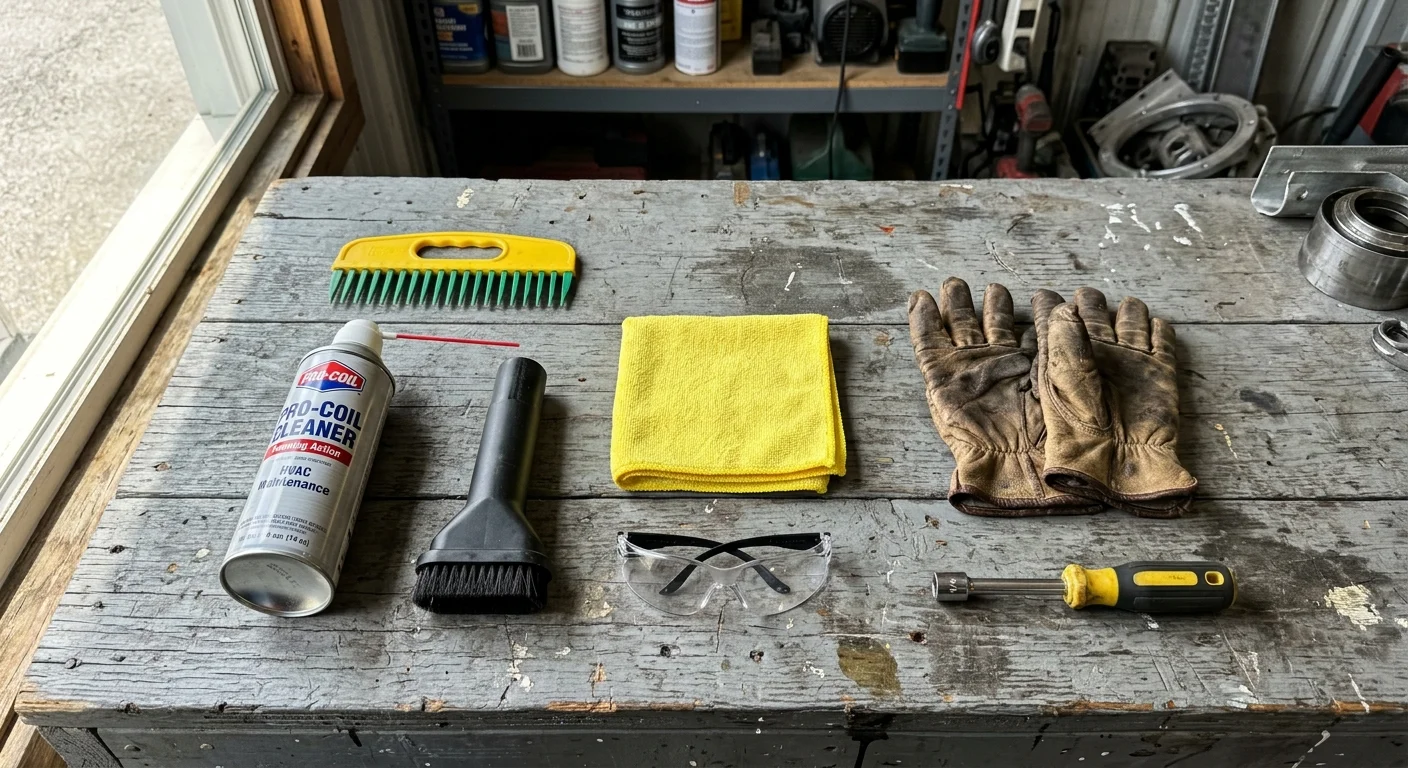
Gathering the right supplies beforehand prevents you from making extra trips to the hardware store while your system is partially disassembled. You do not need expensive specialized equipment to maintain your air conditioner, but you do need specific cleaning agents designed for fragile metal components.
- Fin comb: This inexpensive hand tool features interchangeable heads with hard plastic teeth. You use it to gently straighten aluminum coil fins that have been crushed by hail, flying debris, or accidental bumps.
- Foaming coil cleaner: Buy a non-acidic, commercial-grade foaming spray from a home improvement store. Outdoor condenser coils require a heavy-duty rinse-off formula, while indoor evaporator coils use a mild no-rinse formula that washes away naturally via condensation.
- Shop vacuum with a soft brush attachment: High suction allows you to pull cobwebs, cottonwood seeds, and pet hair out of the coils and vents before you apply any liquid cleaners.
- Microfiber cloths and dish soap: Keep these ready for washing vent covers and reusable window unit filters without scratching or degrading the materials.
- Safety gear: Wear protective glasses to shield your eyes from chemical splashback. Always wear heavy-duty work gloves to protect your hands from the incredibly sharp aluminum fins on the coils.
- Basic hand tools: Keep a 1/4-inch and 5/16-inch nut driver, a Phillips-head screwdriver, and a flathead screwdriver nearby to remove access panels and outer cages.
How to Clean Air Conditioning Filters for Maximum Airflow
Your maintenance routine depends entirely on the type of cooling system installed in your home. Filters act as the first line of defense, catching large particles before they reach the sensitive internal mechanisms.
Central Air Conditioning Systems
Most central HVAC systems use disposable pleated paper or fiberglass filters. You do not clean these; you replace them. Check the cardboard edge of your current filter to find the exact dimensions. When purchasing replacements, pay attention to the MERV (Minimum Efficiency Reporting Value) rating. A MERV rating between 8 and 11 captures pollen, dust mites, and pet dander effectively without restricting airflow. Higher ratings, like MERV 13, offer hospital-grade filtration but can severely restrict airflow in older systems.
Locate your return air vent—usually a large grille in a central hallway, ceiling, or directly on the air handler unit. Unlatch the grille, pull out the dark, dusty filter, and slide the new one in. Make sure the printed arrow on the filter frame points toward the blower motor, following the direction of the airflow. Change standard one-inch filters every 30 to 90 days, checking them more frequently if you have multiple shedding pets.
Window Units and Portable Air Conditioners
Experts at Consumer Reports strongly recommend cleaning your window air conditioner filter at the start of the season and once a month during peak usage to prevent mold spores from circulating in your living space. These units rely on reusable plastic mesh screens.
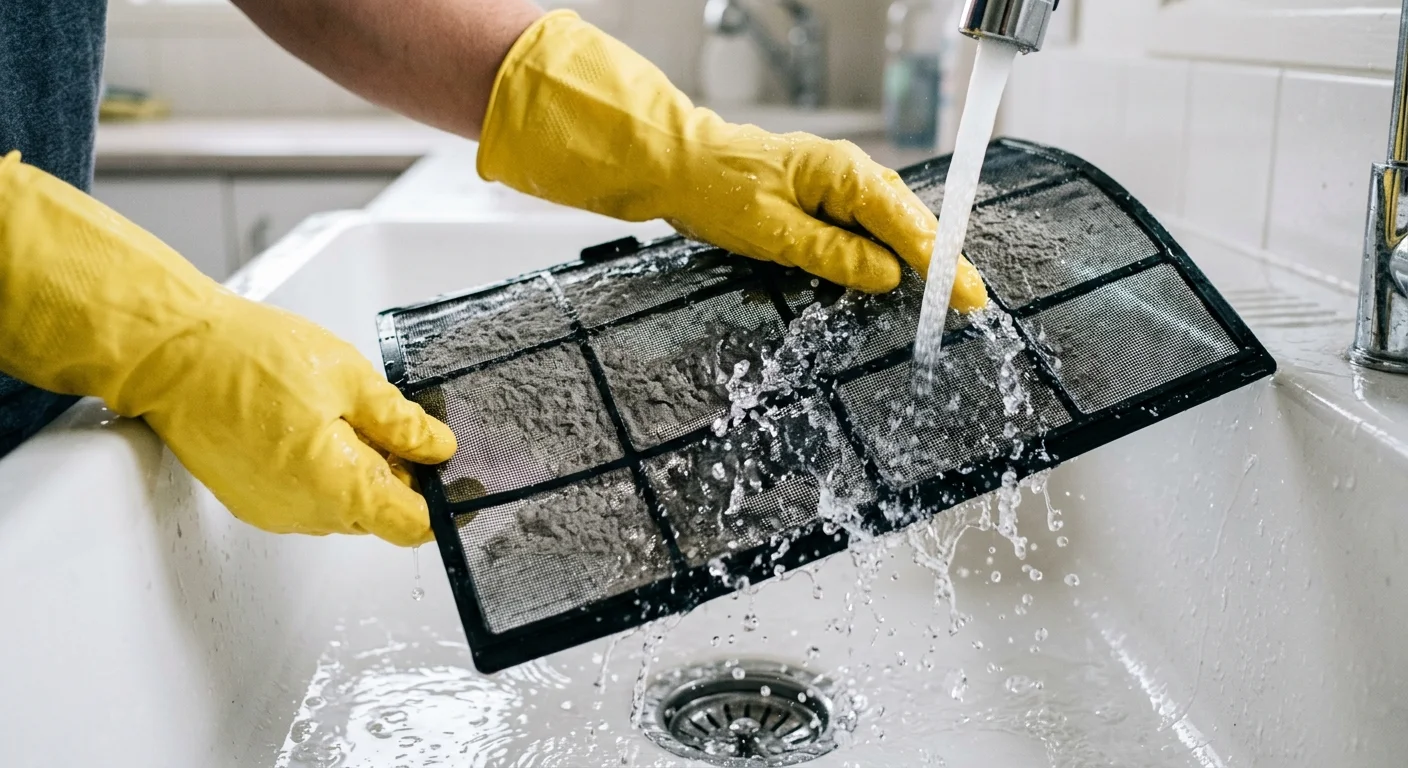
Pop the front plastic grille open or pull the filter tab extending from the side of the unit. Slide the mesh filter out and use your vacuum brush to remove the thick blanket of surface dust. Next, wash the filter in your kitchen sink using warm water and a few drops of standard dish soap. Rinse it thoroughly until the water runs clear. Let the filter air-dry completely before sliding it back into the unit. Reinstalling a damp filter introduces unwanted moisture into the air pathway, creating a breeding ground for mildew.
Ductless Mini-Split Systems
Mini-split wall units also utilize reusable mesh filters located just under the front cover flap. Lift the plastic cover until it clicks securely into place, then gently push up on the filter tabs to release them. Vacuum the screens and wash them with warm soapy water, just like window unit filters. Because mini-splits push air vigorously through small spaces, you should wash these filters every two to four weeks during the heavy summer cooling season.
How to Clean Your AC Vents and Registers
Many homeowners assume they need expensive professional duct cleaning to improve their air quality. However, according to the Environmental Protection Agency (EPA), you do not need to clean your ductwork routinely. The EPA advises scheduling professional duct cleaning only if you find substantial visible mold, notice a pest infestation, or see excessive debris clogging the passages. Instead of spending money on unnecessary duct services, focus your energy on washing the vent covers and vacuuming the immediate openings.
- Turn off the system: Shut down the air conditioner at the thermostat so no air blows dust into your face while you work.
- Remove the vent covers: Use a screwdriver to remove the screws holding the registers in place. If the covers have been painted to the wall, gently score the edges with a utility knife to prevent peeling your drywall paper.
- Wash the grilles: Submerge the metal or plastic covers in a sink filled with warm water and dish soap. Scrub them with a microfiber cloth to remove the sticky, greasy dust that standard dry-dusting leaves behind.
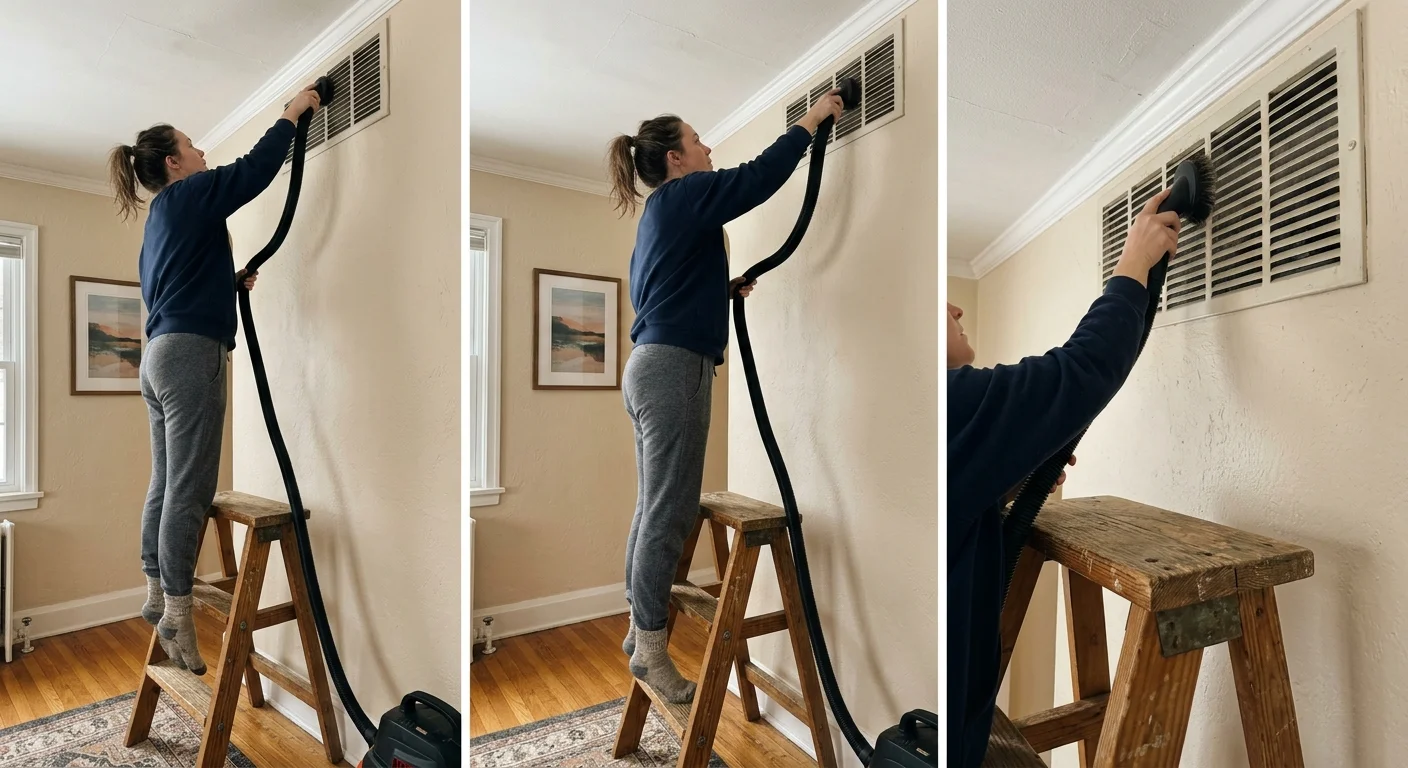
- Vacuum the boot: While the covers soak, attach the hose to your shop vacuum. Reach the nozzle down into the duct opening (called the boot) and vacuum out pet hair, stray drywall dust, and small debris that may have fallen inside.
- Dry and reinstall: Towel-dry the vent covers completely to prevent metal ones from rusting, then screw them back into place.
Clearing the Outdoor Condenser Coils
The large metal box sitting in your yard houses the compressor and the condenser coil. Its job is to release the heat absorbed from inside your home into the outside air. If the metal fins are choked with grass clippings, dirt, and leaves, the heat remains trapped.
- Shut off the power: Locate the exterior electrical disconnect box mounted on the wall near the unit. Pull the block out or flip the switch to the “off” position. For maximum safety, turn off the corresponding breaker inside your main electrical panel.
- Clear the perimeter: Trim back bushes, remove tall weeds, and clear away patio furniture. Your unit needs at least two feet of unobstructed clearance on all sides to pull in air efficiently.
- Remove the outer cage: Use your nut driver to remove the metal panels or wire grilles protecting the fins. Keep the screws in a magnetic tray so you do not lose them in the grass.
- Vacuum the exterior: Use the soft brush attachment on your shop vacuum to remove the loose debris. Always move the vacuum straight up and down, following the vertical lines of the fins. Moving side to side will instantly crush the delicate aluminum.
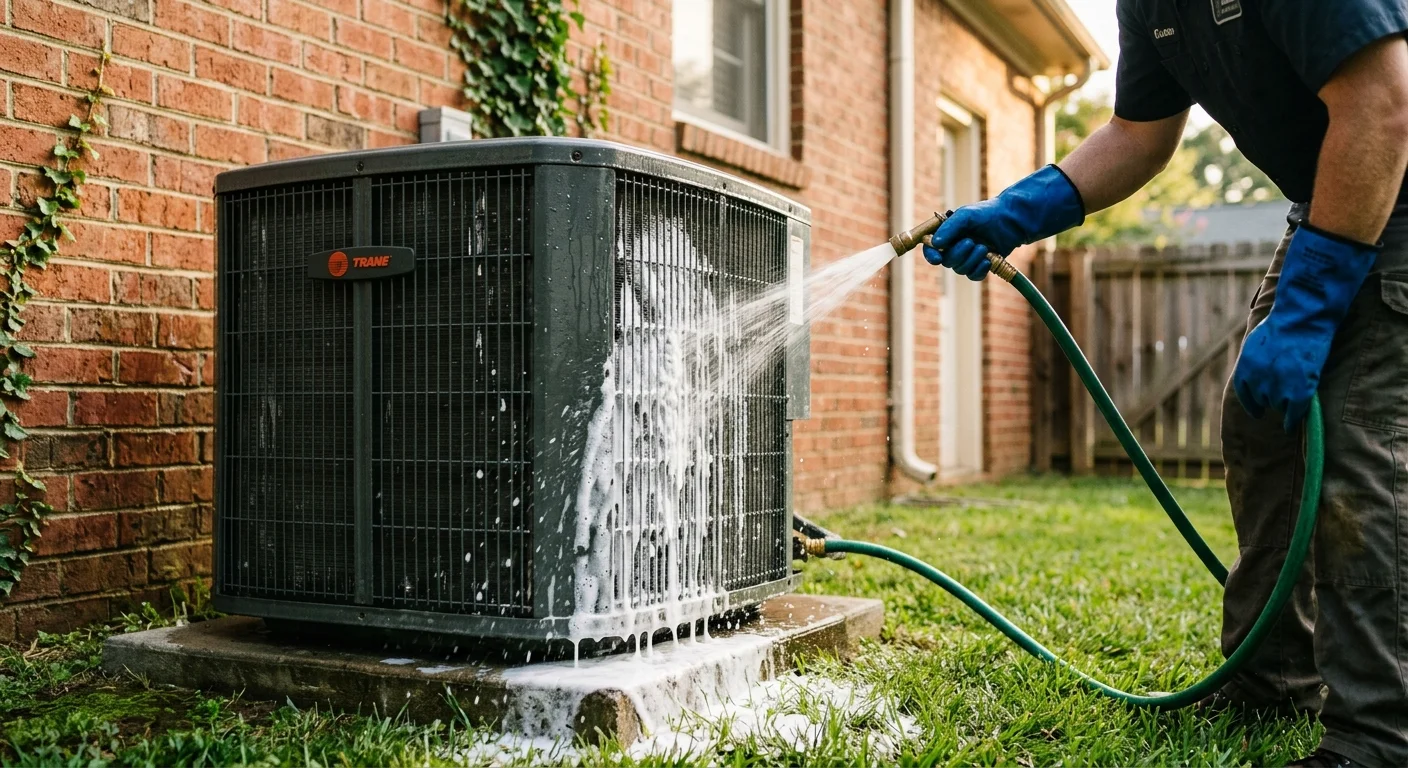
- Apply foaming cleaner: Spray your heavy-duty, rinse-off condenser coil cleaner generously over the fins. Let it sit for 10 to 15 minutes. The chemical reaction creates a thick foam that expands and pushes embedded dirt outward.
- Rinse gently: Use a standard garden hose to rinse away the foam and dirt. Spray with a gentle stream. Never use a pressure washer, as the intense force will flatten the fins and destroy the coil. If possible, spray from the inside of the unit pointing outward to flush the dirt back the way it entered.
- Straighten bent fins: Match the teeth of your fin comb to the fins per inch (FPI) on your unit. Insert the comb slightly above or below the crushed area, and gently pull it through the bent fins to straighten them.
Maintaining the Indoor Evaporator Coils
The evaporator coil sits inside your home, usually attached to the air handler in an attic, basement, or utility closet. This component gets extremely cold and absorbs the heat from your indoor air. Because it is hidden away, it is often neglected.
Cleaning the indoor coil involves working near the high-voltage electrical components of your furnace and blower motor. Always verify the power is completely off at the main breaker before opening the air handler panel. If your coil is difficult to access or sealed with heavy mastic, leave this task to a licensed HVAC technician during your annual tune-up. If you have an easily accessible panel, you can maintain it yourself.
- Remove the screws holding the triangular access panel marked “A-coil” or “Evaporator.”
- Use your vacuum’s brush attachment to gently sweep away the surface layer of dust, again using strictly vertical motions.
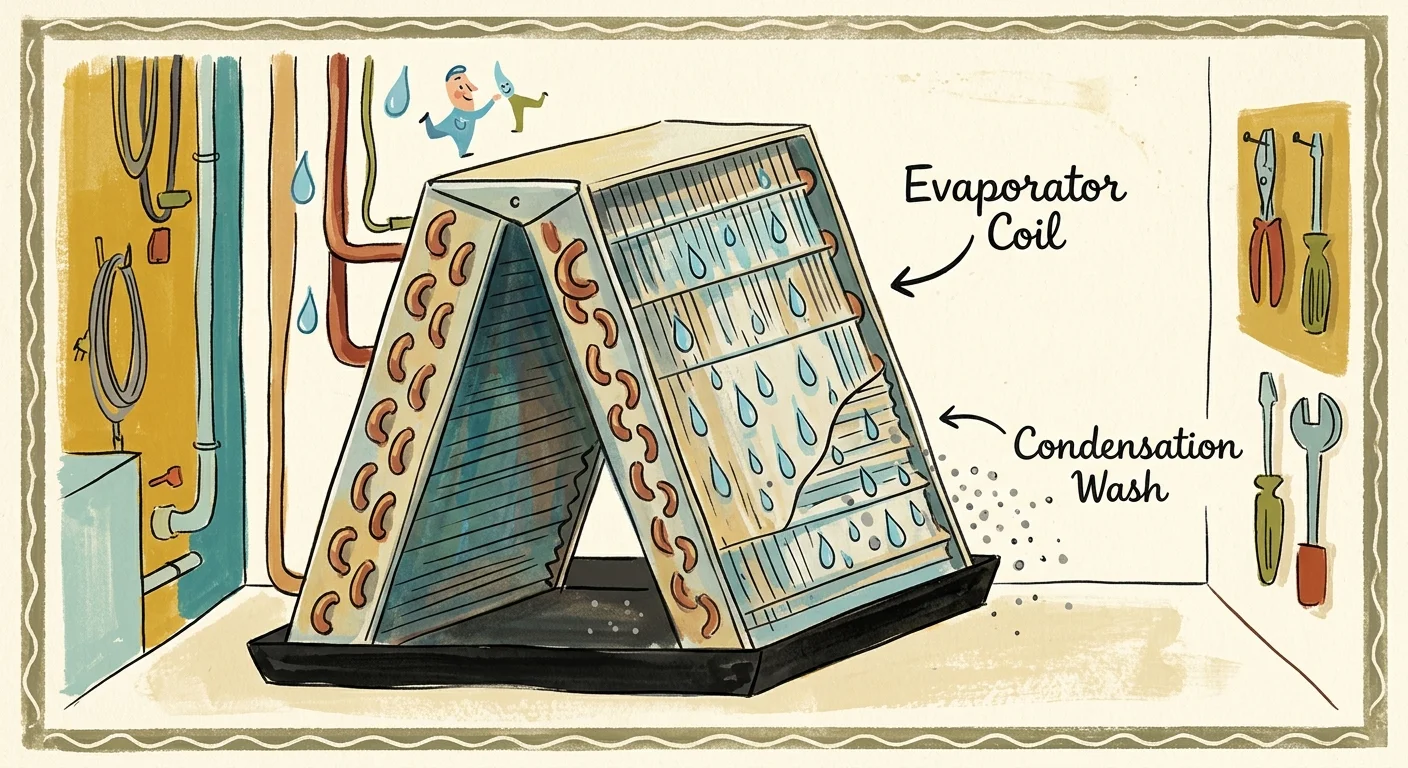
- Spray a generous layer of no-rinse indoor coil cleaner directly onto the fins.
- Do not rinse the coil with water. Close the access panel and secure it with screws. Seal the seams with specialized aluminum foil HVAC tape—do not use standard cloth duct tape, which degrades and leaks air over time.
- Turn the power back on and run the air conditioner. The natural condensation produced by the chilling coils will rinse the foaming cleaner and the loosened dirt down into the drain pan.
Unclogging the Condensate Drain Line
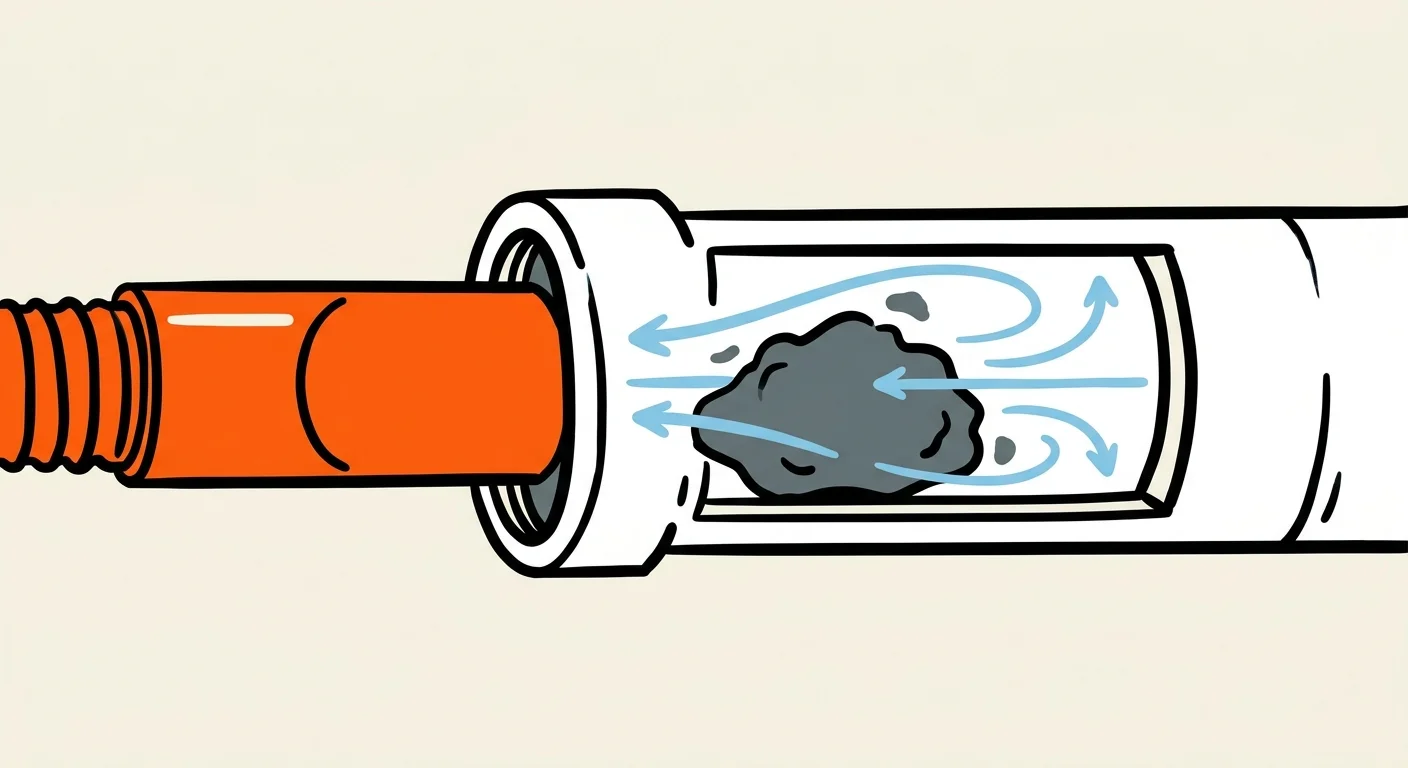
As your evaporator coil removes humidity from the air, the resulting water drips into a pan and flows outside through a white PVC pipe. Over time, algae and sludge grow inside this dark, damp pipe, causing blockages. When the line clogs, the drain pan overflows, causing severe water damage to your ceilings, walls, or floors.
To clear the line, take your shop vacuum outside to the end of the PVC drain pipe. Remove the standard filter from your vacuum so it can handle liquids. Hold the vacuum hose over the end of the PVC pipe. Wrap a damp microfiber cloth around the connection point to create a tight suction seal. Turn the vacuum on for three full minutes. This method pulls the stubborn algae plugs out of the pipe from the outside, keeping the mess out of your home.
To prevent future clogs, go to your indoor air handler. Locate the upright access cap on the PVC drain line near the coil. Pour one cup of plain white vinegar down the pipe every three months during the cooling season to kill lingering algae.
Air Conditioner Cleaning and Maintenance Schedule
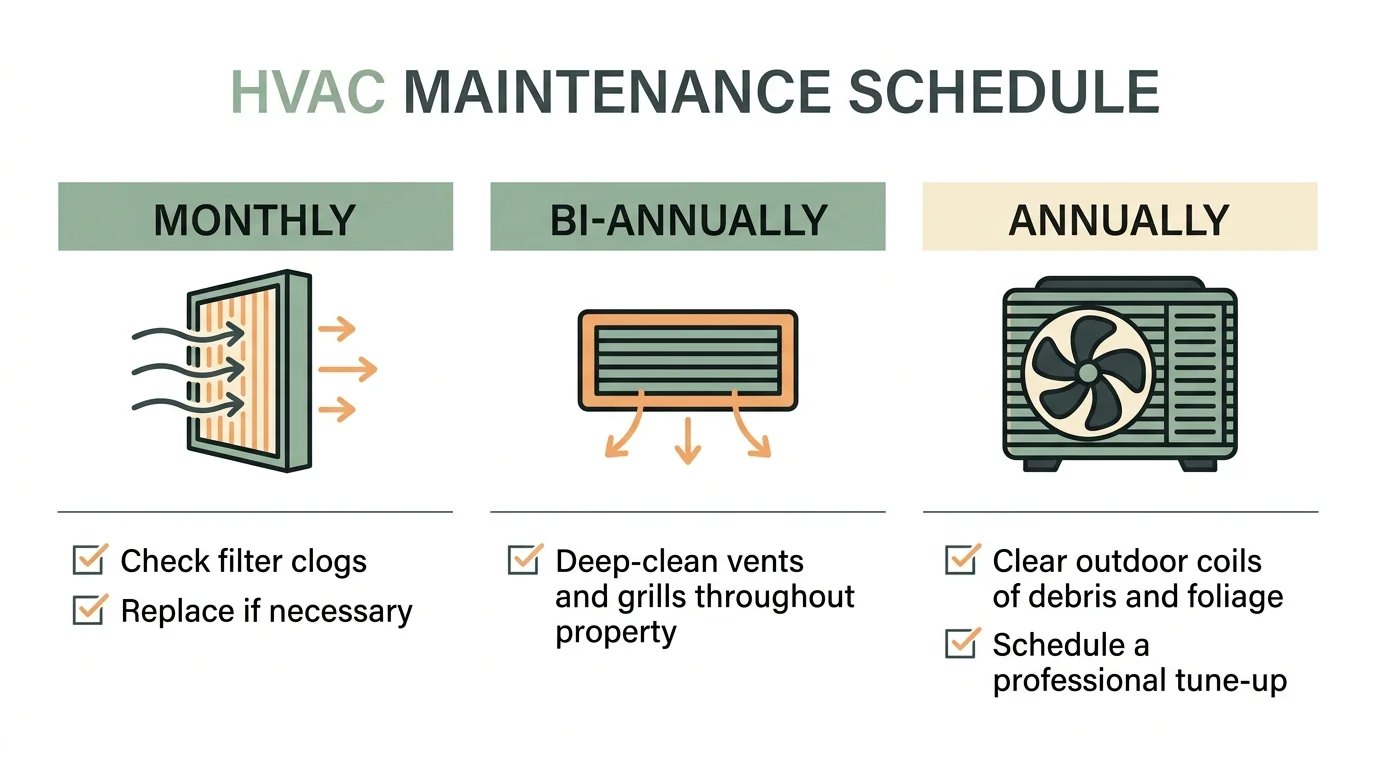
Consistency keeps your system running efficiently. Follow this practical timeline to stay ahead of expensive repairs and maintain a healthy home environment.
| Maintenance Task | Recommended Frequency | System Type |
|---|---|---|
| Inspect and replace disposable filters | Every 30 to 90 days | Central HVAC |
| Wash reusable mesh filters | Every 2 to 4 weeks during peak use | Window Units & Mini-Splits |
| Pour vinegar in condensate drain line | Every 3 months (cooling season) | Central HVAC |
| Vacuum out condensate drain pipe | Annually (Early Spring) | Central HVAC |
| Wash and dry room vent covers | Annually (Early Spring) | Central HVAC |
| Deep clean outdoor condenser coils | Annually (Early Spring) | Central HVAC |
| Apply no-rinse foam to indoor coils | Annually (By homeowner or HVAC pro) | Central HVAC |

Your Practical Next Step
Start your maintenance routine today by locating your primary air filters and checking their condition. If they are dark gray and caked with dust, write down the exact dimensions printed on the cardboard frames and purchase high-quality replacements. Simply swapping a choked filter for a fresh one will immediately improve your home’s airflow and lower the strain on your system.