Professional cleaners know that a truly fresh bathroom relies on smart daily routines rather than exhausting weekend scrubbing marathons. You can achieve that exact same long-lasting cleanliness by adopting a few strategic habits that stop grime, odors, and mold before they take hold. The secret lies in understanding how moisture behaves, allowing your products the proper time to work, and using tools that trap bacteria instead of pushing it around. Whether you want to simplify your daily chores or need an easier way to maintain a spotless home, these techniques will transform how you manage your bathroom. You will save time, reduce your physical effort, and keep your space consistently welcoming.
1. Manage Moisture to Starve Mold
Musty odors do not come from a lack of air freshener; they come from thriving microscopic mold and mildew colonies. Effective bathroom odor removal starts with eliminating the environment where odor-causing spores breed. Mold requires moisture to survive, and your bathroom provides a daily supply of steam and condensation. By eliminating that moisture quickly, you starve the mold.
The United States Environmental Protection Agency recommends keeping your indoor humidity levels between 30 and 50 percent to discourage mold growth. Hitting that target in a high-traffic bathroom requires aggressive ventilation strategies.
When you finish a shower, leave the exhaust fan running for at least twenty to thirty minutes. If your fan shuts off with the light switch, consider replacing the switch with a dedicated timer so you can walk away while the room clears. Leave the bathroom door cracked open to promote air circulation. If you do not have an exhaust fan, open a window wide and run a small oscillating fan pointing toward the door to push humid air out into larger, better-ventilated hallways.
Daily Moisture Management Checklist
- Shower walls: Squeegee water down the drain immediately after turning off the tap.
- Bath towels: Hang towels flat across a wide bar rather than bunching them on a single hook.
- Ventilation: Run the exhaust fan for a full thirty minutes post-shower.
- Shower curtain: Pull the curtain completely closed so the folds flatten out and dry efficiently.
Beyond managing daily humidity, inspect your bathroom for hidden moisture traps. Check the caulk line around your bathtub and the seal at the base of your toilet. If water seeps into these tiny cracks, mold will grow behind the walls where surface cleaning cannot reach it. Replacing degraded caulk takes only a few minutes but prevents months of frustrating mildew buildup.

2. Respect Dwell Time for Disinfectants
Most people spray a surface with a chemical disinfectant and wipe it away three seconds later. That fast swipe removes visible dirt, but it does absolutely nothing to kill the germs, viruses, and bacteria responsible for lingering smells and illnesses.
Professional cleaners practice the critical rule of dwell time. The Environmental Protection Agency states that a disinfectant must remain visibly wet on a surface for a specific amount of time to achieve its advertised germ-killing rate. Depending on the chemical formulation, this dwell time typically ranges from three to ten minutes. When you wipe the product away prematurely, you leave microscopic pathogens completely intact.
To clean your bathroom like a professional, separate the physical removal of dirt from the chemical destruction of bacteria. Disinfectants cannot penetrate heavy soil, soap scum, or toothpaste splatters. Use this proven sequence to sanitize effectively:
The Proper Disinfecting Sequence
- Clean first: Use a standard all-purpose cleaner or warm soapy water to physically wipe away hair, dust, and organic grime.
- Apply the disinfectant: Spray your chemical germ-killer generously over the high-touch areas. The surface must look thoroughly wet.
- Wait out the dwell time: Set a timer based on the product label. Use this waiting period to empty the trash can, restock toilet paper, or sweep the floor.
- Wipe and dry: Return to the sanitized surfaces and wipe them dry with a clean cloth.
Implementing this habit guarantees you are actually neutralizing the bacteria around your toilet base and sink handles rather than just pushing live germs around your countertops.
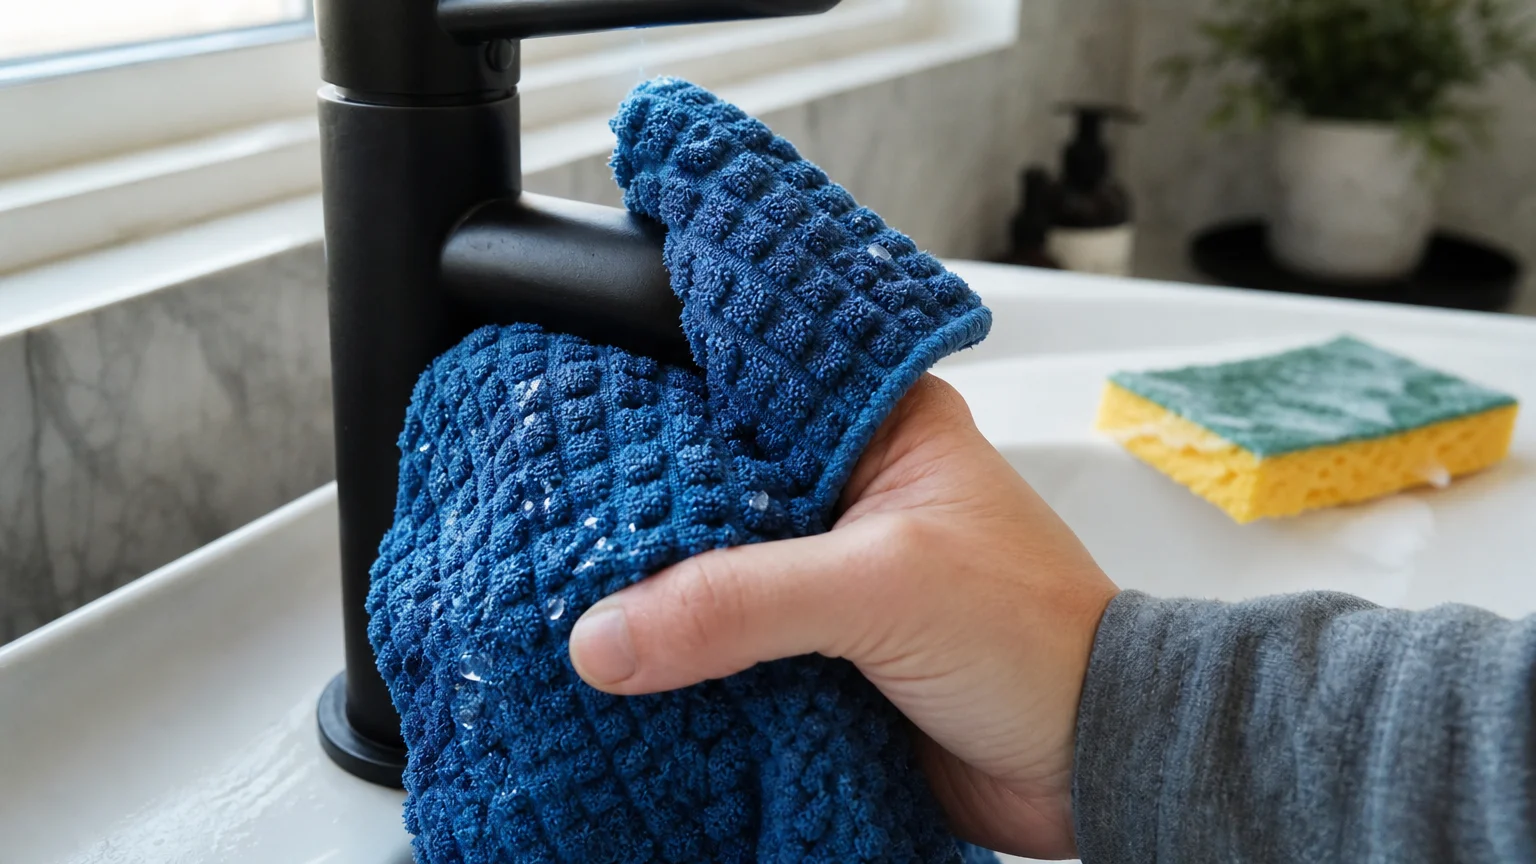
3. Harness the Power of Microfiber Over Sponges
If you clean your bathroom with a traditional cotton rag or an old kitchen sponge, you are likely working twice as hard for inferior results. Sponges harbor bacteria in their porous cavities; meanwhile, rounded cotton fibers simply push dirt and germs from one side of the sink to the other.
Professionals rely almost exclusively on microfiber technology. Microfiber cloths are woven with synthetic threads split millions of times, creating a massive surface area resembling a star shape under a microscope. These tiny crevices physically scoop up and trap microscopic particles. Environmental health research reviewed by the University of Washington found that microfiber mops and cloths can remove up to 99 percent of bacteria from surfaces, whereas traditional cotton loops only reduce surface bacteria by 30 percent.
To maximize the efficiency of your microfiber cloths, adopt the folding method. Fold the cloth in half, and then in half again. This gives you eight distinct, clean squares to work with. Wipe down your bathroom mirror with one square; when it gets damp or visibly dirty, flip the cloth to a fresh square for the countertop. This folding technique guarantees you never cross-contaminate surfaces or wipe a clean area with a soiled rag.
Proper maintenance is required to keep these cloths functional. Wash your microfiber items separately from your regular cotton towels. Never use fabric softener or dryer sheets; the waxy residue from these laundry products coats the synthetic fibers and permanently destroys their ability to trap dirt. When drying your microfiber, skip the high heat cycle on your dryer. Excessive heat can literally melt the synthetic split fibers, causing them to fuse together and lose their texture. Instead, dry them on a low heat setting or simply hang them over a drying rack.
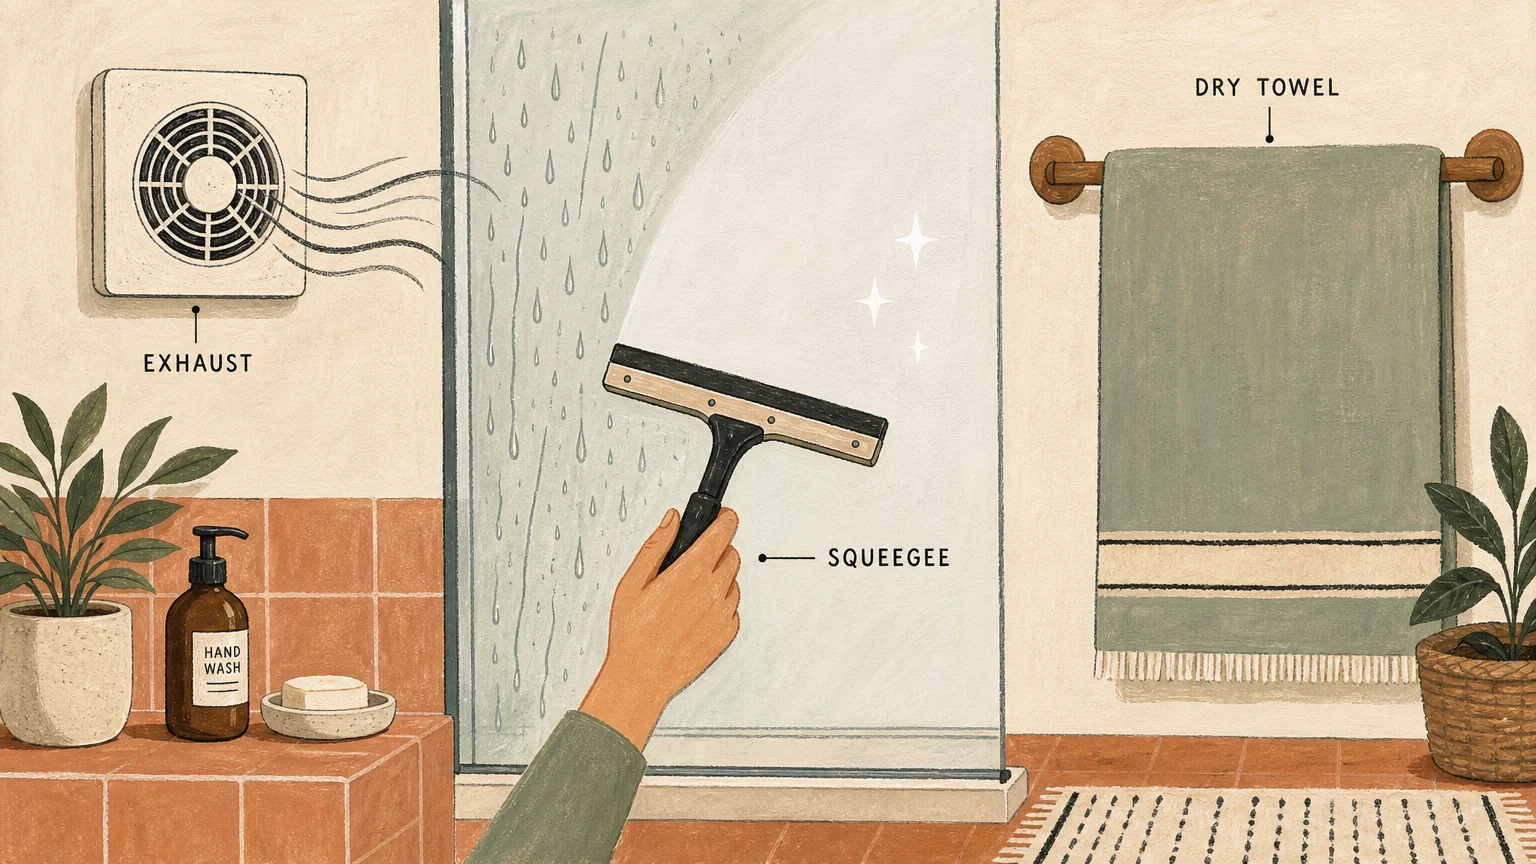
4. Dry Surfaces Daily to Prevent Soap Scum
Hard water stains and cloudy soap scum require heavy-duty scrubbing, harsh chemicals, and significant physical effort to remove. You can completely avoid this grueling weekend chore by adopting better bathroom cleaning habits, starting with a sixty-second daily drying routine.
Soap scum is not just dried soap. It forms when the fatty acids present in standard bar soap react with the calcium and magnesium minerals suspended in hard water. When you let shower water evaporate naturally, it leaves those hardened mineral deposits securely anchored to your tile, grout, and glass doors. Over time, this buildup dulls your finishes and provides a textured surface where pink bacteria and mildew easily cling.
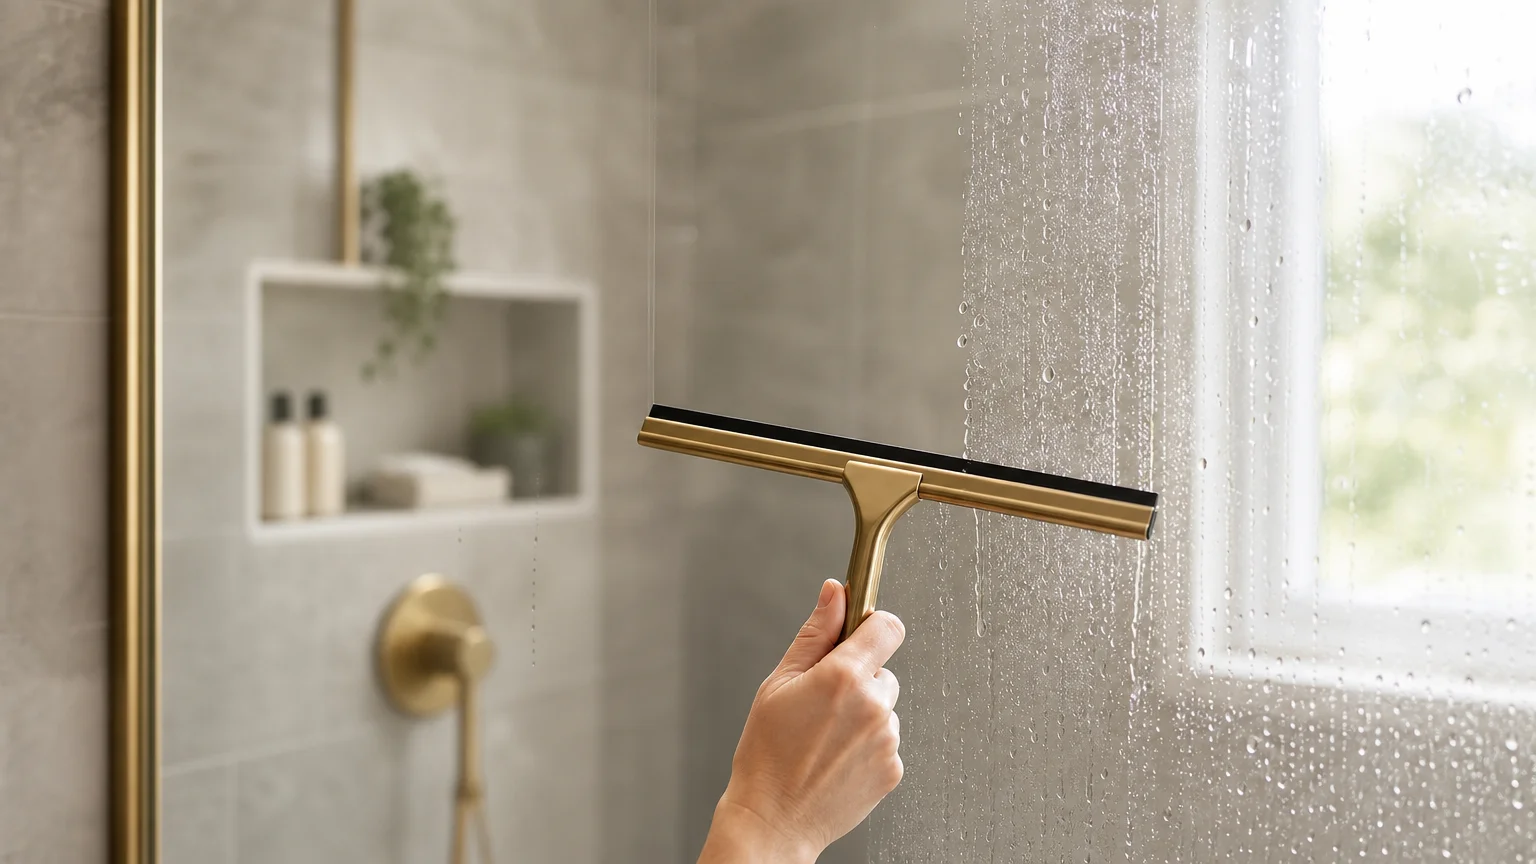
Keep a high-quality silicone squeegee hanging inside your shower enclosure. Before you even step out of the tub, take one minute to pull the water down off the glass doors and the tile walls. Directing that excess moisture down the drain stops the chemical reaction that forms soap scum.
Extend this rapid dry-down habit to your sink basin. Keep a dedicated small hand towel tucked inside your vanity cabinet. After you brush your teeth or wash your face in the evening, quickly wipe the water spots off the faucet hardware and the ceramic basin. By removing the standing water immediately, you prevent the stubborn buildup of toothpaste splatters and hard water rings.
When water sits on metal drain covers or shower handles, it eventually causes oxidation and rust. By keeping a dry towel handy, you protect the factory finish on your hardware, ensuring your bathroom looks newly renovated for years to come. This simple preventative maintenance means you will rarely need to purchase specialized rust removers or harsh acidic descalers.
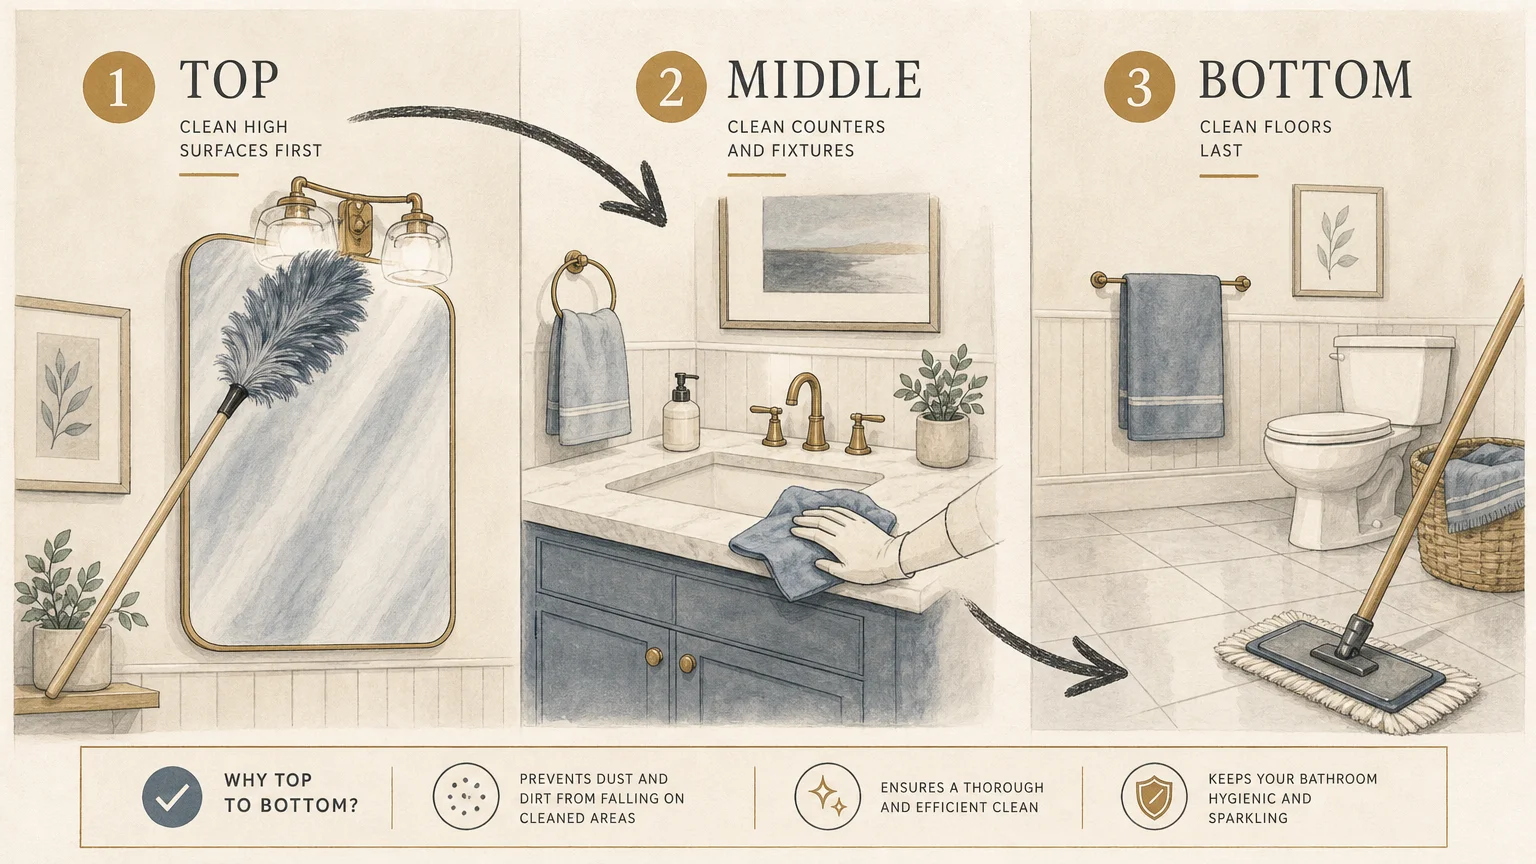
5. Clean Top to Bottom, Dry to Wet
Cleaning a bathroom without a strict sequence leads to frustrating rework. If you spray the mirror first and then sweep the floor, the dust from the broom floats upward and sticks directly to your freshly cleaned glass. If you wipe a wet sink before dusting the overhead light fixtures, dry debris falls into the damp basin and turns into a muddy mess.
One of the most valuable cleaning tips used by professionals is to employ a rigid top-to-bottom, dry-to-wet workflow. Gravity dictates that dust and dirt fall downward, so you must always start at the highest point in the room. Furthermore, introducing liquid too early creates unnecessary friction. Stray hairs sweep up effortlessly when the floor is completely dry; once hair gets wet, it clings stubbornly to tile and creates a frustrating sludge.
The Professional Cleaning Workflow
| Step | Action | Details |
|---|---|---|
| 1. Dry Dusting | Work from the ceiling down. | Use an extendable duster to clear cobwebs, wipe down the exhaust fan cover, clean light fixtures, and dust the top edge of the mirrors. |
| 2. Dry Sweeping | Remove loose debris. | Sweep or vacuum the entire floor, paying special attention to corners and behind the toilet where hair easily accumulates. |
| 3. Wet Vertical Surfaces | Clean glass and walls. | Spray and wipe the mirrors working from top to bottom. Clean the shower walls and glass doors. |
| 4. Wet Horizontal Surfaces | Clean counters and basins. | Scrub the sink, wipe down the vanity countertop, and polish the faucets. |
| 5. Toilet Disinfection | Sanitize the heaviest soil area. | Clean the toilet last to prevent cross-contaminating other areas with coliform bacteria. Start at the tank and finish at the base. |
| 6. Wet Mopping | Clean the floor and exit. | Mop the floor starting from the furthest corner and working your way backward out the door. |
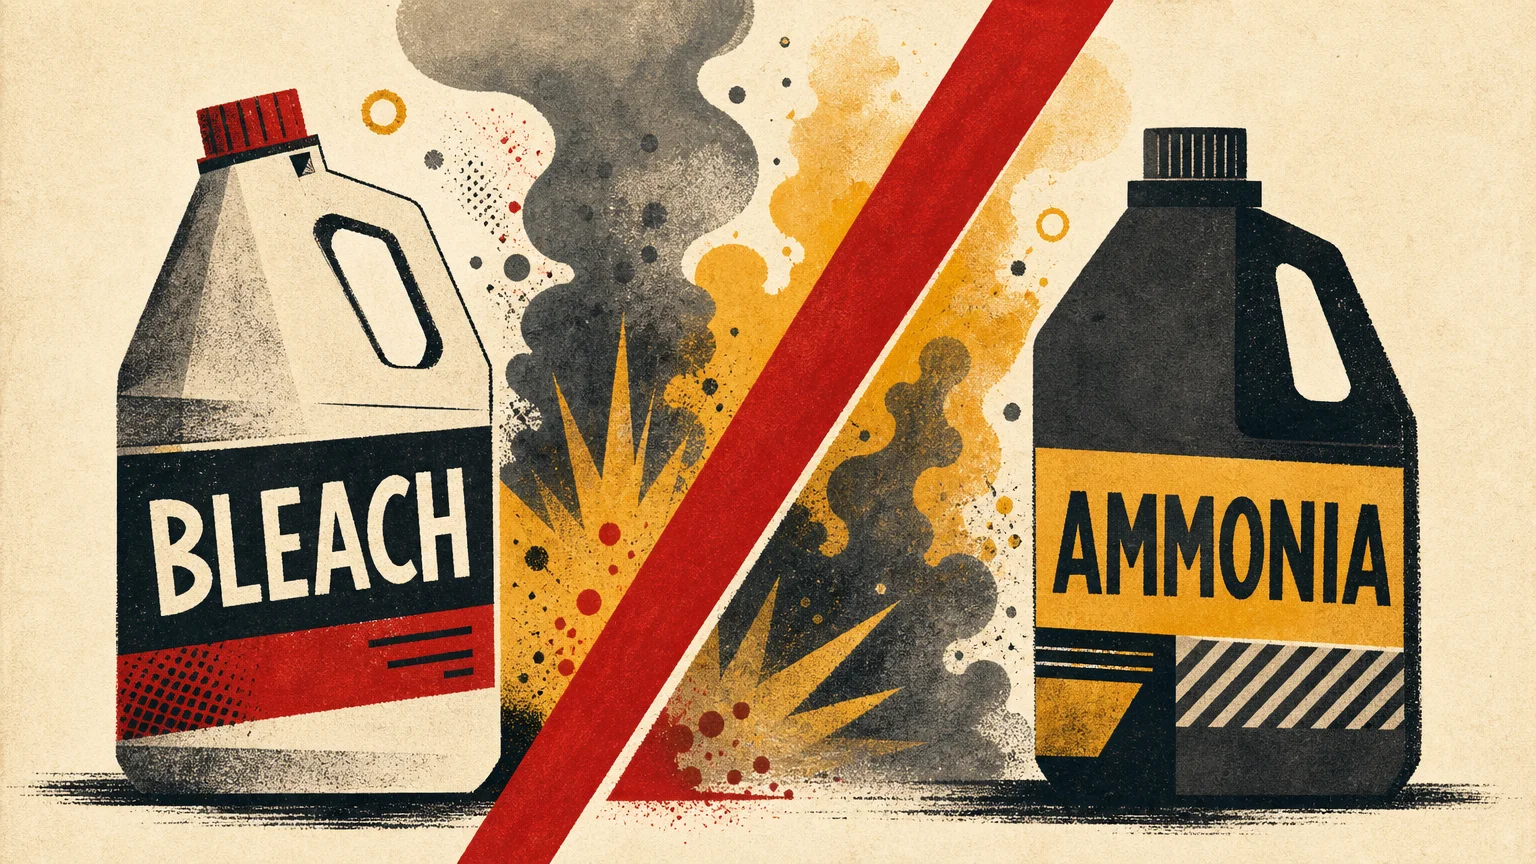
6. Keep Dangerous Chemical Combinations Out of the Bathroom
Bathrooms require powerful products to cut through mineral deposits, mold, and human grime. However, attempting to play chemist by mixing products to create a super cleaner is incredibly dangerous. Professional cleaners treat chemical boundaries with strict respect, knowing that mixing the wrong household staples can create life-threatening respiratory hazards.
The Centers for Disease Control and Prevention strictly warns that mixing chlorine bleach with ammonia produces toxic chloramine gas. This gas causes severe respiratory damage, coughing, shortness of breath, and in extreme cases, can be fatal. This is not just a theoretical risk—many common bathroom products contain these ingredients under different, less obvious names. State health department safety guidelines highlight that glass cleaners frequently use ammonia to achieve a streak-free shine, while mildew removers, grout whiteners, and drop-in toilet bowl tablets often rely on heavy doses of liquid bleach.
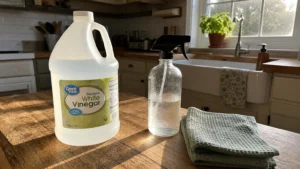
If you spray an ammonia-based glass cleaner on your bathroom mirror and then immediately scrub the adjacent sink with a bleach-based abrasive powder, the fumes will inevitably mix in the air or run together down the drain. Mixing bleach with white vinegar is equally hazardous, as it produces highly toxic chlorine gas.
To keep your bathroom safe, adopt a strict one-product-per-surface rule. If you must switch from a bleach-based cleaner to a different chemical on the exact same surface, thoroughly rinse the area with copious amounts of clean water and allow it to dry completely before applying the new product. Always keep your exhaust fan running and the bathroom door wide open whenever you use commercial cleaning agents to ensure proper ventilation.
Leave your bathroom feeling fresh right now by implementing the easiest habit first. Go place a clean, dry microfiber cloth inside your vanity drawer or hang a squeegee inside your shower. Using it for just sixty seconds tonight will give you a massive head start on a permanently cleaner, calmer bathroom tomorrow.