Knowing exactly where professional cleaners look when they enter a room allows you to focus your energy on the areas that make the most significant impact. Instead of spending hours scrubbing spaces no one sees, you can use these insights to streamline your routine and maintain a genuinely clean home with far less effort. Professionals immediately spot the neglected details that drag down the overall feel of a space, from lingering odors to smudged light switches. By shifting your attention to these specific zones, you will elevate your living environment instantly. This targeted approach prevents burnout, reduces visual noise, and ensures your house always feels welcoming, fresh, and expertly maintained, giving you more time to relax.
1. Odors and Stagnant Indoor Air Quality
When a professional cleaner steps through your front door, their nose registers the state of your home before their eyes do. You easily become “nose-blind” to the everyday smells of your own house—the lingering scent of last night’s fried fish, the dog’s favorite rug, or the musty dampness of a poorly ventilated bathroom. If the air feels heavy or stale, the home feels dirty, regardless of how thoroughly you scrubbed the floors.
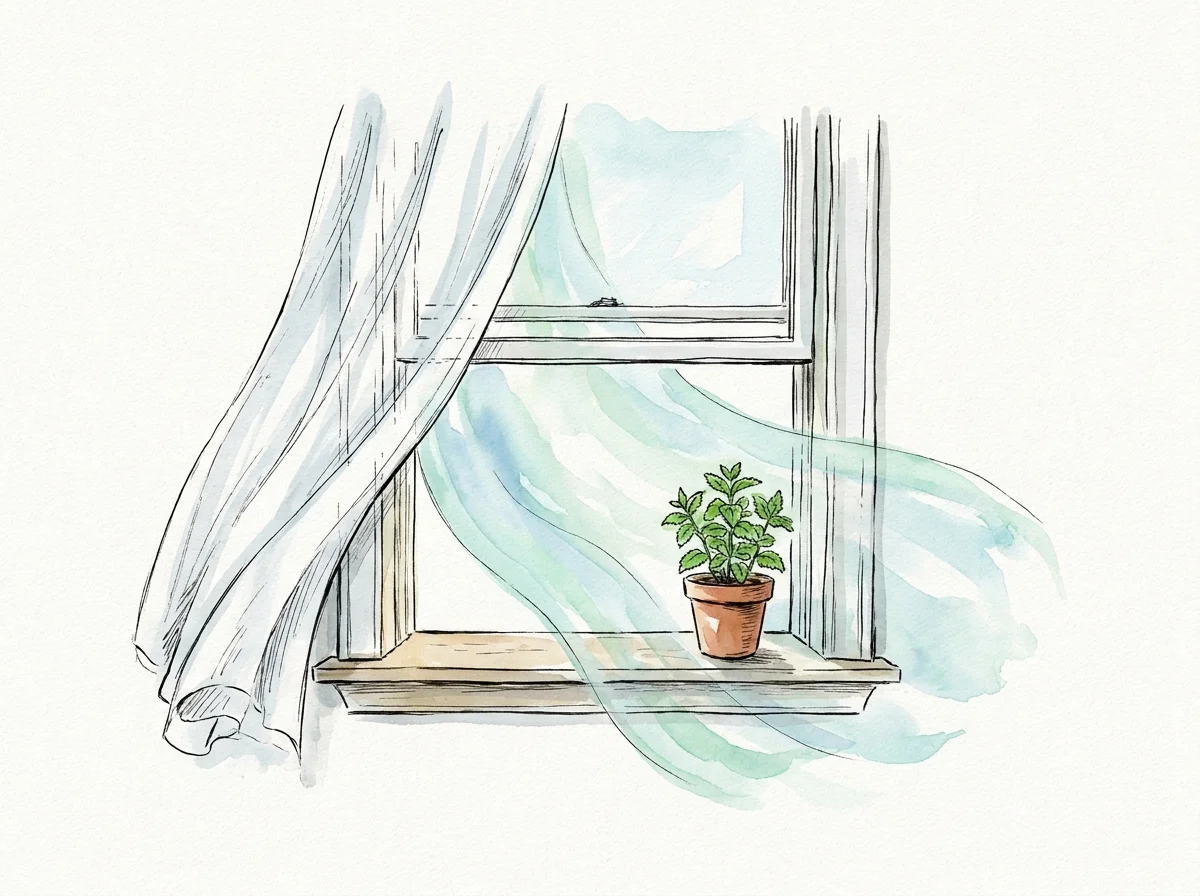
To tackle this, prioritize indoor air quality and eliminate trapped odors at the source. Start by opening your windows for just ten to fifteen minutes a day. The U.S. Environmental Protection Agency (EPA) notes that increasing ventilation by bringing outdoor air indoors is a highly effective way to reduce airborne pollutants and freshen a space. Next, turn your attention to the soft surfaces in your home. Curtains, throw pillows, and area rugs act like massive air filters, trapping odors, pet dander, and cooking grease over time. Vacuum these fabrics weekly using an upholstery attachment, and launder removable covers every few months.
If you share your home with pets, frequently wash their beds and blankets, as these quickly become the epicenter of strong household odors. Running a dehumidifier in damp basements or bathrooms also prevents the musty smell of mildew from taking root in your walls. Finally, check your HVAC filters and replace them regularly to keep clean air circulating. Avoid relying on heavy artificial air fresheners; they merely mask odors and often add volatile organic compounds to the air you breathe. True cleanliness smells like nothing at all.
2. Smudged High-Touch Surfaces
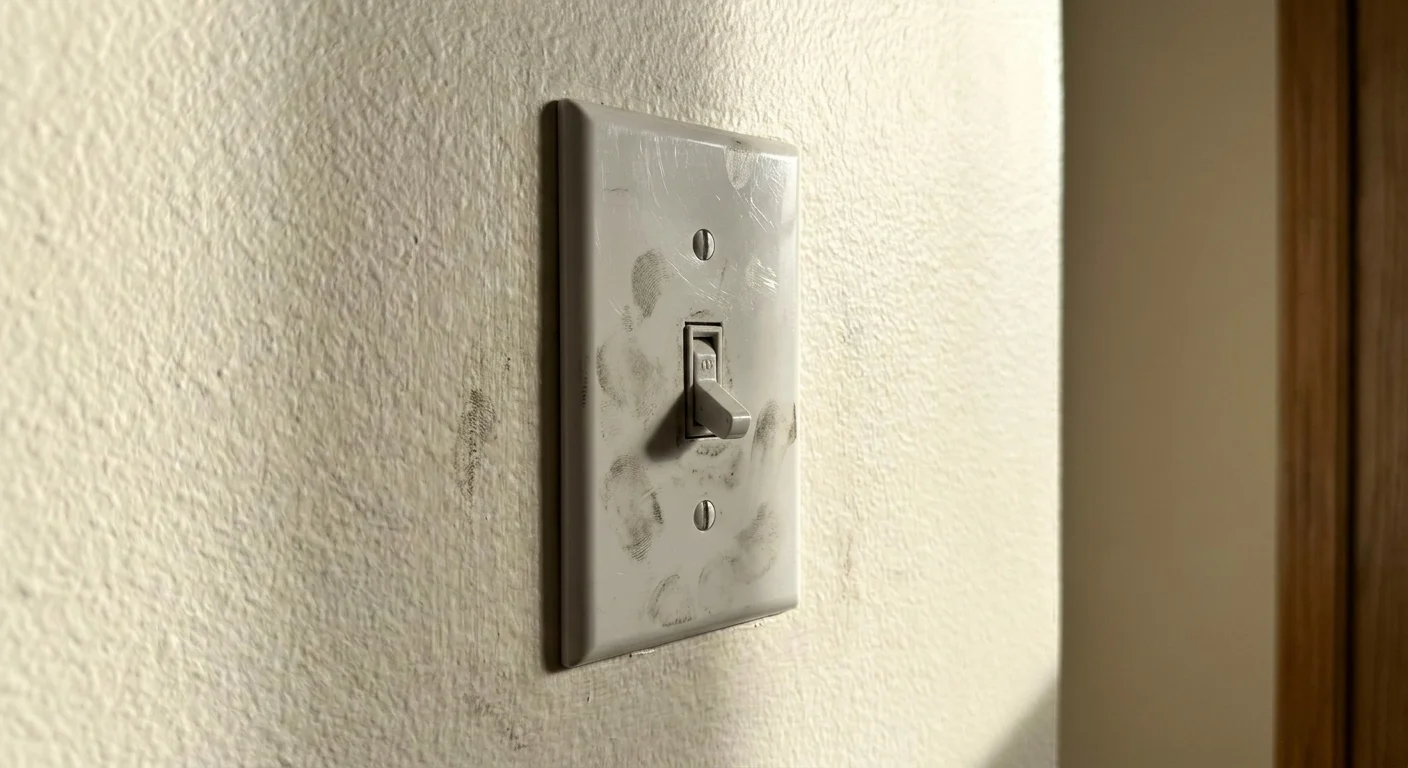
Look closely at the area directly surrounding your kitchen cabinet pulls, your bathroom door handles, and your hallway light switches. Because you touch these areas dozens of times a day, oil, dirt, and bacteria transfer from your fingertips and build up into a dark, sticky film. A seasoned cleaner’s eyes immediately dart to these smudged touchpoints because they stand out sharply against the rest of your clean walls and doors.
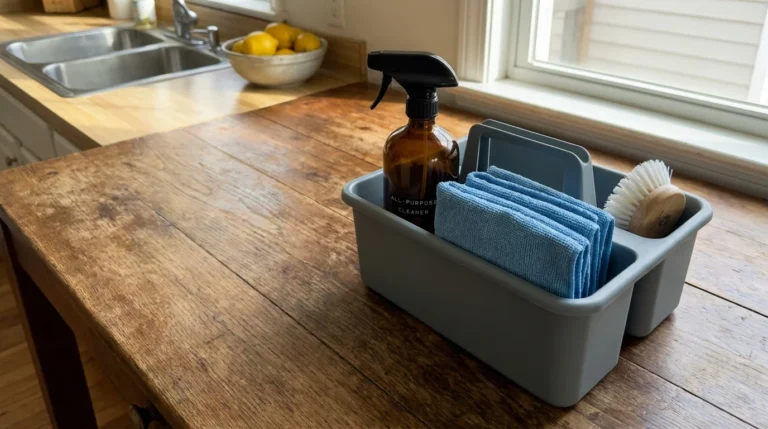
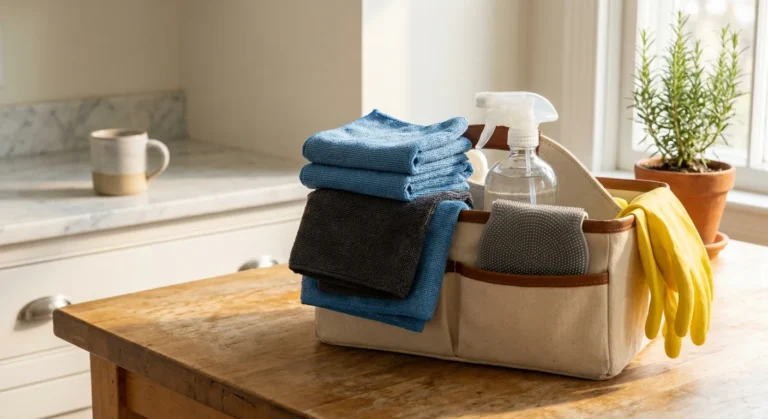
Ignoring these zones compromises both the look of your home and your health. The Centers for Disease Control and Prevention (CDC) recommends regularly cleaning high-touch surfaces like doorknobs, light switches, and countertops to prevent the spread of germs. To restore these areas, use a microfiber cloth lightly dampened with an all-purpose cleaner. Microfiber excels at grabbing oils and microscopic debris without leaving lint behind.
Keep a dedicated cloth just for this purpose to avoid cross-contamination from bathroom or kitchen cleaning. When dealing with stainless steel refrigerator handles, wipe in the direction of the grain to prevent streaking. For wooden cabinet pulls, stick to a barely damp cloth to protect the finish from warping. Be cautious when cleaning directly over electrical switches; never spray a liquid cleaner straight onto the switch plate. Instead, spray the cloth first, then gently wipe the surface. Adding a quick wipe-down of these high-traffic touchpoints to your weekly cleaning routine instantly brightens the room and makes the entire house feel meticulously detailed.
3. The Kitchen Sink and Dirty Sponges
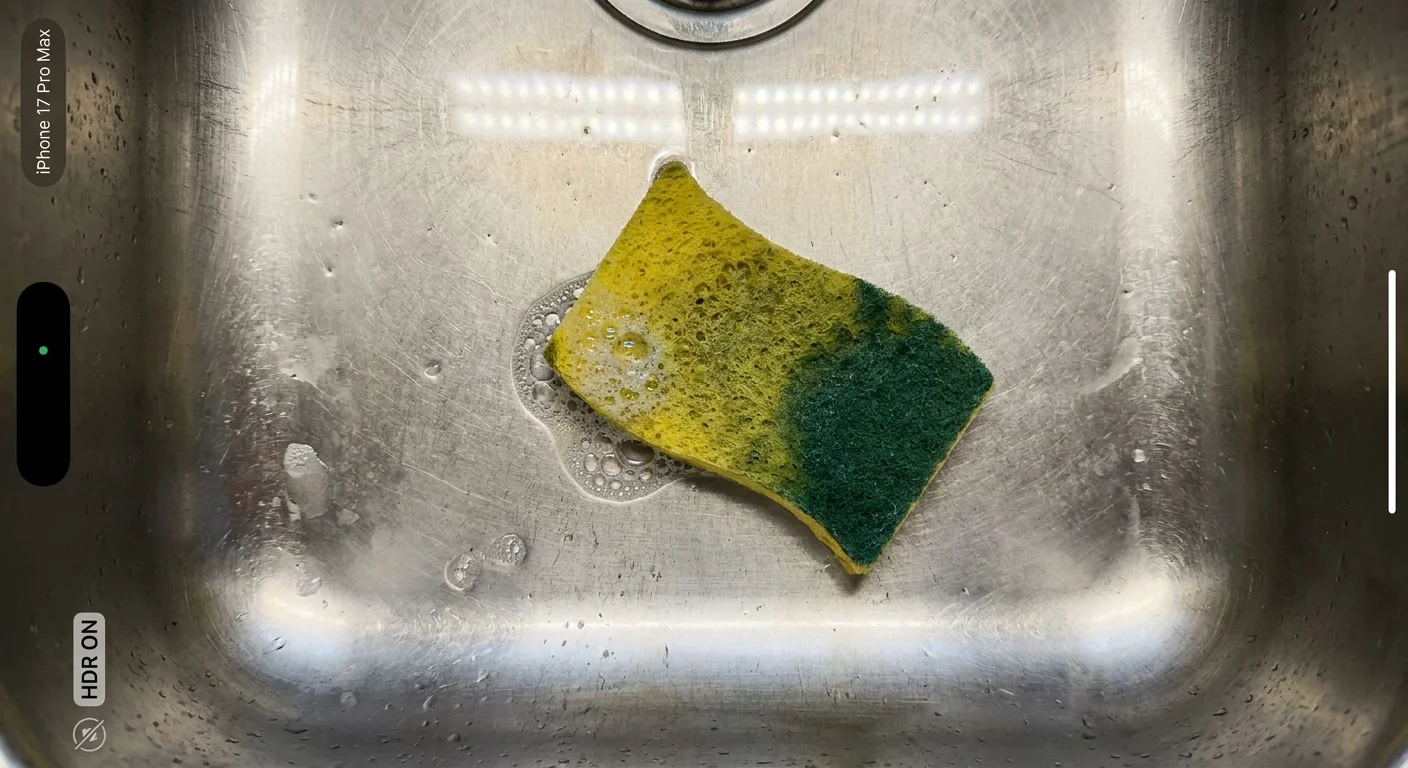
It seems deeply ironic, but the tools and zones you use to clean your dishes are often the dirtiest elements in your entire house. When assessing a kitchen, pros zero in on the sink basin, the faucet base, and the sponge sitting on the counter. A dull, grimy sink instantly ages the kitchen, and a sour-smelling sponge broadcasts that bacteria is merely being pushed around rather than eliminated.
According to a comprehensive study by NSF International, the kitchen sink frequently harbors higher concentrations of microorganisms than a bathroom toilet seat, and over 75% of kitchen sponges test positive for coliform bacteria. You cannot achieve a clean home using contaminated tools. Swap out your kitchen sponge every one to two weeks, or transition to machine-washable dishcloths that you can launder on a hot, sanitizing cycle.
When detailing your sink, pay close attention to the rim where the sink meets the countertop and the seam around the faucet base—old toothbrushes are perfect for excavating the black sludge that gathers there. Use a mild abrasive cleaner or baking soda to gently scour the basin, rinsing thoroughly to restore its shine. Do not forget the garbage disposal, which often acts as an invisible source of bad smells. Toss in a few citrus peels and a handful of ice cubes, then run the disposal with cold water to dislodge stuck food particles and freshen the drain blades.
Crucial Safety Warning: When attempting to deep clean and disinfect your kitchen, never mix bleach with vinegar or acidic drain cleaners. The Washington State Department of Health explicitly warns that combining chlorine bleach and acid products produces highly toxic chlorine gas. Always use cleaning agents separately, rinsing thoroughly with water in between applications.
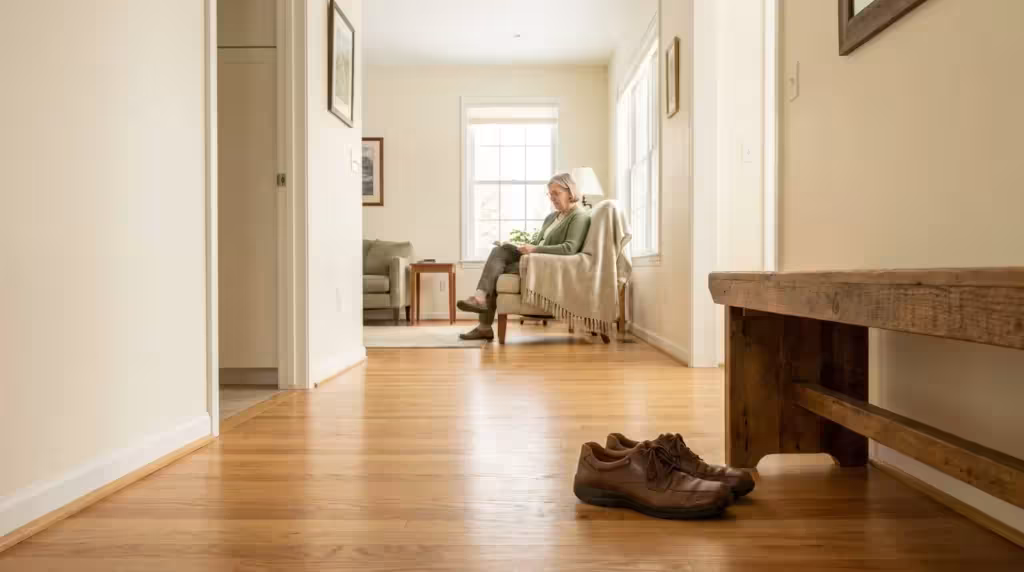
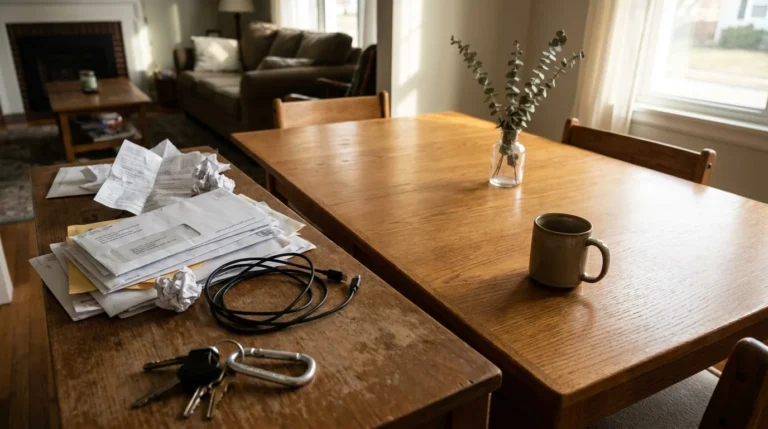
4. Clutter on Flat Surfaces
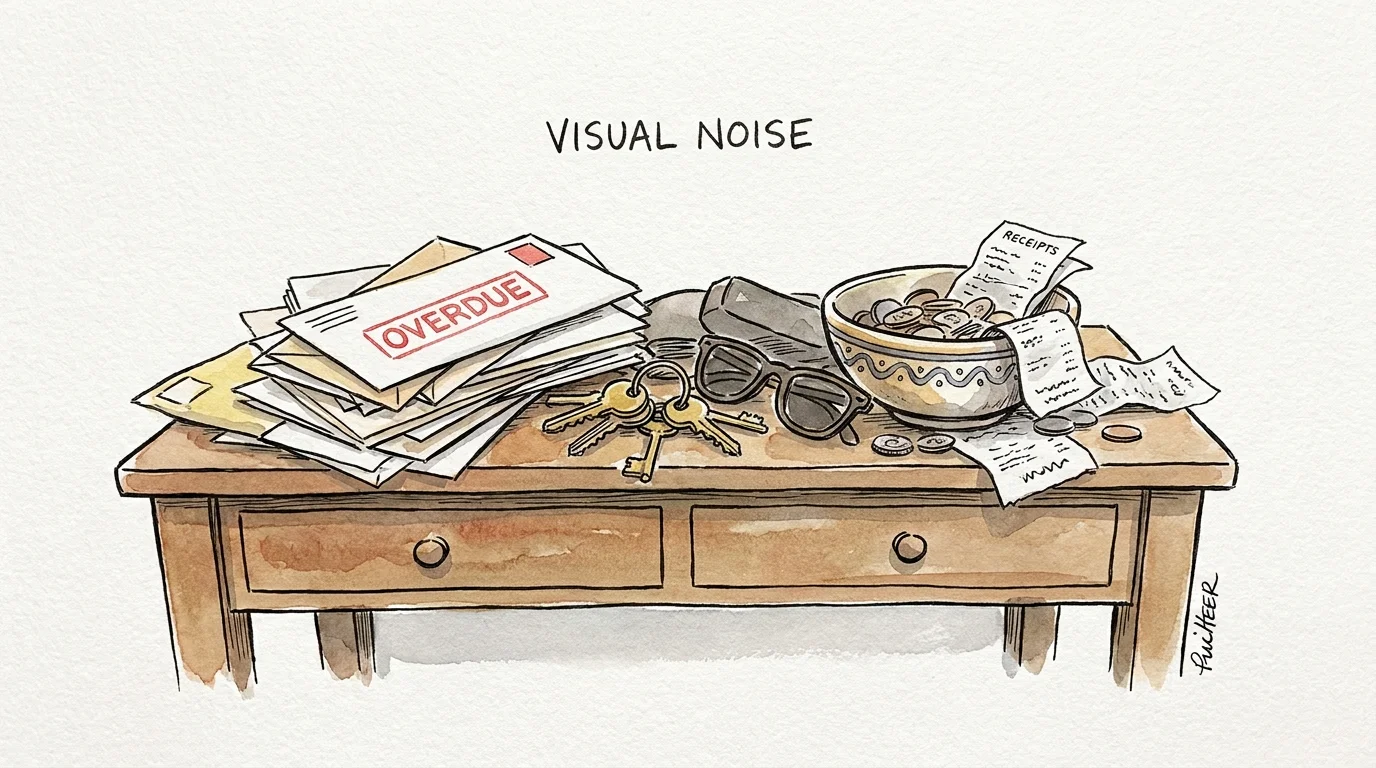
Flat surfaces act like magnets for daily life. Kitchen islands, dining room tables, entryway consoles, and bedroom dressers quickly accumulate mail, keys, half-empty water bottles, and random receipts. Expert cleaners judge a room by this horizontal clutter because it visually dominates the space. More practically, clutter makes it physically impossible to clean the surfaces efficiently. You cannot wipe down a kitchen counter if you have to pick up and move twenty individual items just to run a cloth across the granite.
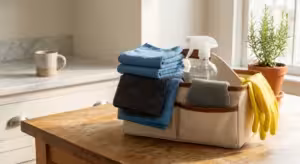
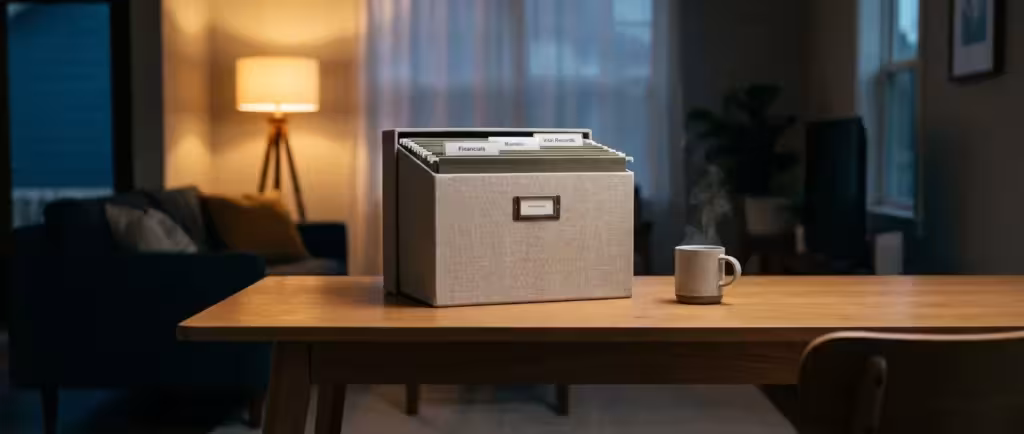
Reducing visual noise through smart organization tips drastically cuts down your cleaning time. Implement the “one-touch rule” for incoming mail and packages—when you bring something inside, deal with it immediately. Recycle the junk mail, file the bills, and put the keys on their designated hook. Set up a command center near your entryway with dedicated baskets or trays for specific items. When every object possesses a designated home, the urge to dump things on the nearest flat surface disappears.
Clear off your counters by giving every appliance and utensil a permanent home inside a cabinet or drawer. This proactive decluttering fundamentally shifts how your house operates, reducing the friction that makes home cleaning feel like a chore. When you strip away the excess items, the room instantly breathes. A clear, empty countertop reflects light better, making the space feel larger, calmer, and significantly cleaner before you even pick up a spray bottle.
5. Baseboards and Crown Molding
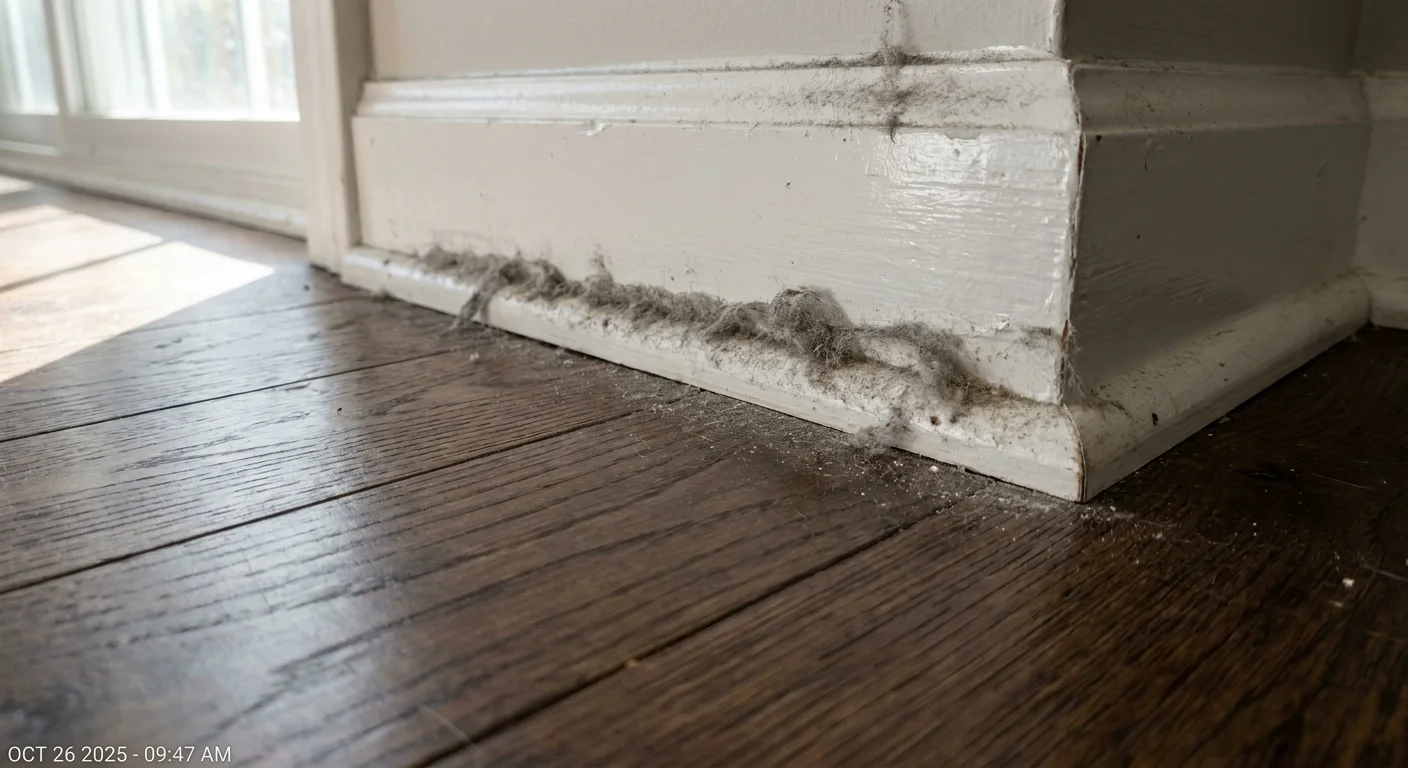
Most homeowners focus their cleaning efforts strictly at eye level. Professionals, however, look up and down. Baseboards, in particular, project outward just enough to catch an incredible amount of falling dust, pet hair, and floor debris. Over time, this loose dust mixes with moisture in the air to form a dark, sticky line that frames the entire room. When baseboards are dirty, the floors never look truly clean.
You do not need to scrub your baseboards on your hands and knees every week. Use a long-handled dry dusting wand or the brush attachment on your vacuum cleaner to trace the perimeter of the room quickly during your regular floor routine. For a deeper clean every few months, wipe the baseboards down with a damp microfiber cloth and a mild soap solution. Some professionals swear by wiping clean baseboards with a dryer sheet; the anti-static properties help repel pet hair and dust, keeping them cleaner for longer.
In the kitchen, baseboards endure an extra layer of punishment from cooking grease that settles close to the floor. For these stubborn spots, a simple wipe with a dry cloth will not suffice. Mix a few drops of grease-cutting dish soap into a bucket of warm water, and use a sponge to break down the sticky residue. Once the grease is gone, drying the baseboard prevents new dust from immediately sticking to the wet surface. Similarly, glance up at your crown molding and door frames. A quick swipe with an extendable duster removes the grey fuzz that accumulates on these high ledges, instantly sharpening the room’s aesthetic.
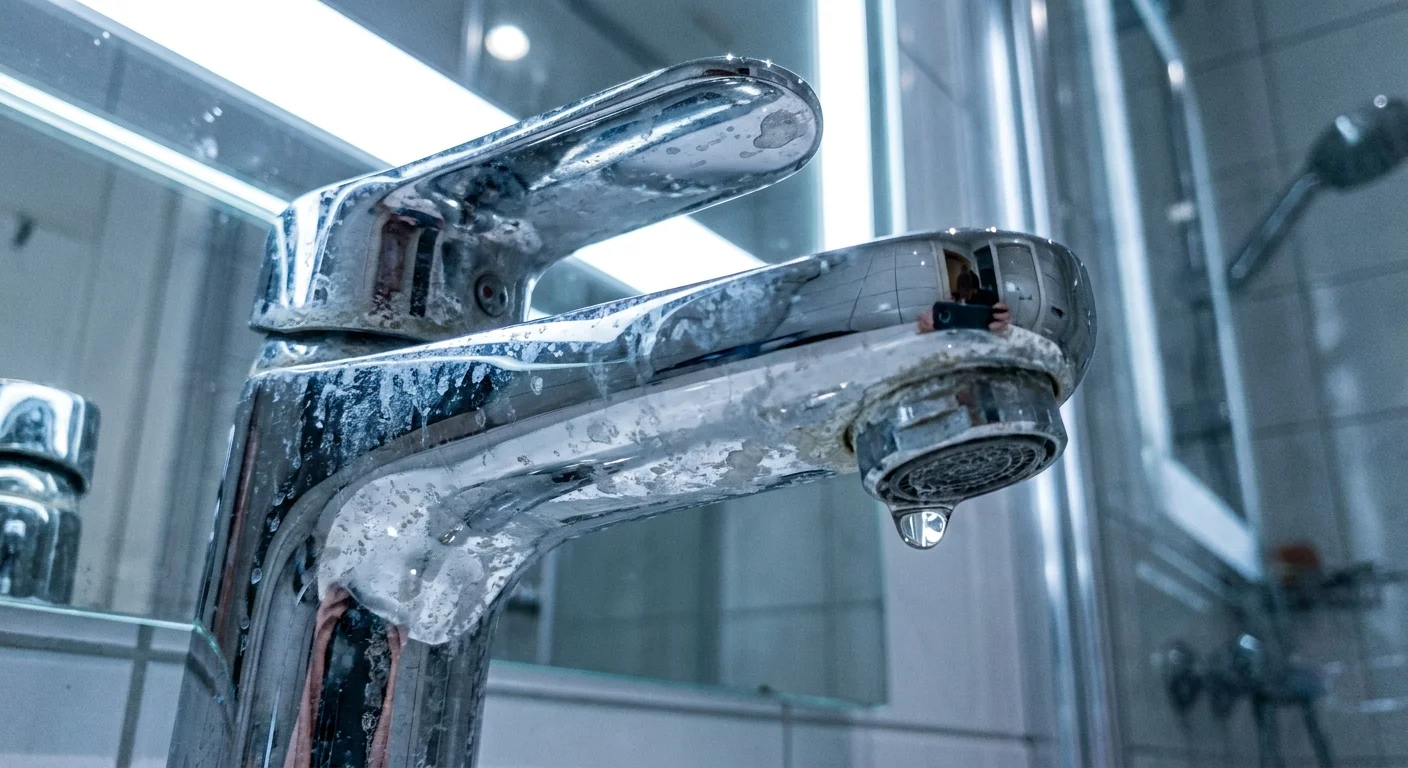
6. Water Spots and Mineral Buildup
In bathrooms and kitchens, professionals zero in on the shine—or lack thereof—on your fixtures. Hard water spots, chalky white calcium buildup, and green oxidation around faucets scream neglect. When shower glass is clouded with a foggy mix of soap scum and hard water minerals, the whole bathroom feels dingy.
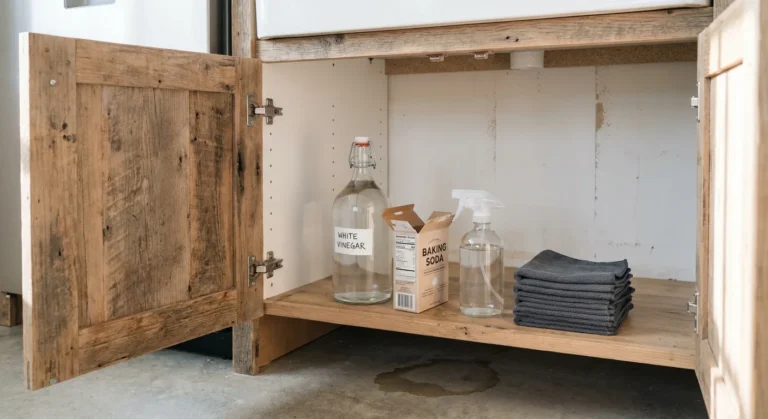
To cut through this mineral buildup, you need an acidic approach. Standard alkaline all-purpose cleaners will barely make a dent in hard water stains. Instead, soak a paper towel or microfiber cloth in white vinegar and wrap it around the affected faucet base or showerhead. Let it sit for thirty minutes to dissolve the calcification, then gently scrub away the loosened debris with a soft-bristled brush.
For glass shower doors, a daily squeegee routine takes less than thirty seconds and prevents water spots from baking into the glass in the first place. Professionals also inspect the base of the toilet and the caps covering the floor bolts, which frequently fall victim to mineral buildup and grime. Wiping these down with a targeted bathroom cleaner immediately elevates the standard of the room. When your stainless steel appliances, chrome faucets, and glass surfaces gleam without a hazy residue, the entire room looks professionally detailed.

7. Cobwebs in Forgotten Corners
Spiders work quickly, and cobwebs can appear in a matter of days. You might walk past the same corner in your hallway fifty times a week without noticing the delicate webbing near the ceiling, but a fresh set of eyes will spot it immediately. Cobwebs gather dust over time, turning into dark, stringy messes that make a space feel abandoned.
Professionals are trained to do a complete visual sweep of a room, checking the corners where the walls meet the ceiling, the spaces behind open doors, and the intricate curves of chandeliers and ceiling fans. Incorporate a “look up” step into your routine once a month. Take a long-handled duster or tie a dry microfiber cloth around the end of a broom handle, and trace the upper corners of your rooms.
Pay special attention to the areas directly above air vents, where circulating dust often catches on small webs. You should also check recessed lighting and the brackets supporting your window treatments. Spiders love these undisturbed architectural features. By aggressively sweeping these high zones, you eliminate the debris before it ever has a chance to fall onto your freshly vacuumed floors or clean furniture.
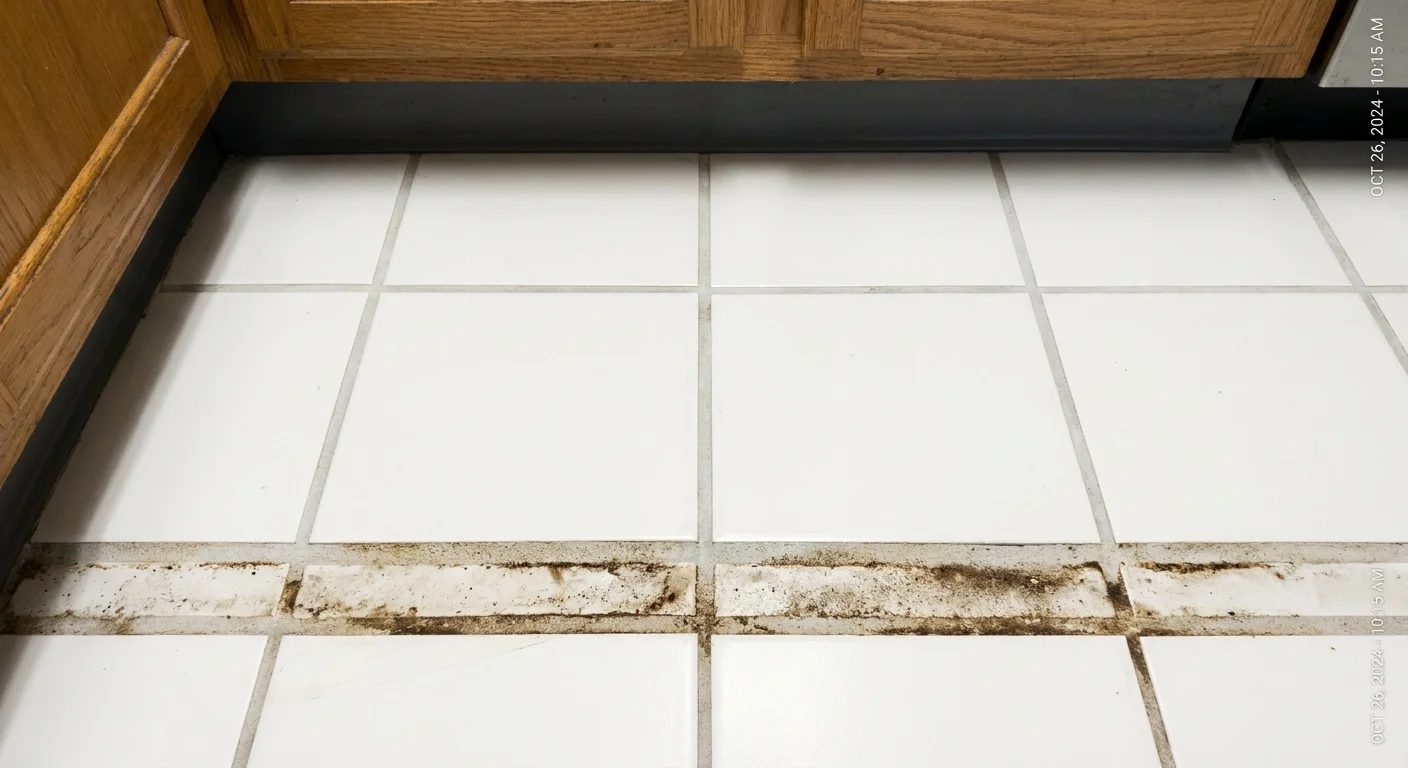
8. The Edges of Floors and Grout Lines
It is easy to push a vacuum or a mop quickly across the center of a room, but the true test of a clean home lies at the edges. The trained eye catches the perimeter where the floor meets the baseboard, the transition strips between different types of flooring, and the grout lines in tile. These subtle valleys collect crumbs, dead bugs, pet hair, and dirt that a quick mopping simply pushes aside.
Dirty grout, in particular, alters the entire color palette of your floor. What used to be light gray grout slowly turns black in high-traffic areas like the kitchen stove and the entryway. To tackle the edges, rely on the crevice tool of your vacuum cleaner before you mop. This pulls the dirt out of the corners rather than just wetting it down. If you have wall-to-wall carpeting, look closely at the edges where the carpet meets the baseboard. This area acts as a filter, trapping fine dust and showing a dark filtration line over time. Running the vacuum crevice tool aggressively along this border breaks up the compacted dust, keeping your carpets looking pristine.
For grout lines, skip the heavy bleach, which can degrade the grout over time. Instead, apply a targeted grout cleaner or a paste of hydrogen peroxide and baking soda. Scrub lightly with a stiff, narrow grout brush, wipe away the residue, and marvel at how much brighter the floor looks when the grid lines are completely clean.
Professional Cleaning Focus Checklist
Use this quick reference guide to tackle the areas professionals notice first. Keep these tools and tasks handy to streamline your weekly routine.
| Focus Area | What Pros Notice | Actionable Quick Fix |
|---|---|---|
| Indoor Air | Stale smells and heavy, musty air. | Open windows daily; wash soft furnishings and pet beds. |
| High-Touch Surfaces | Oily smudges on switches, pulls, and doors. | Wipe weekly with a dedicated damp microfiber cloth. |
| Kitchen Sink | Grime around the faucet base and smelly sponges. | Replace sponges bi-weekly; scrub the basin rim. |
| Flat Surfaces | Mail, keys, and overwhelming visual clutter. | Use the “one-touch rule” for incoming items. |
| Baseboards | Dust and hair lines framing the floor. | Swipe with a vacuum brush attachment or duster. |
| Fixtures | Hard water spots and dull mineral buildup. | Dissolve minerals with a targeted white vinegar soak. |
| Corners & Ceilings | Cobwebs and trapped dust high up. | Do a monthly visual sweep with an extendable duster. |
| Floor Edges | Debris trapped along the perimeter and dark grout. | Use the vacuum crevice tool before mopping the center. |

Your Next Step for a Cleaner Home
Pick just one room today and view it through the eyes of a professional cleaner. Look up at the ceiling corners, examine the baseboards, and check the light switches and door handles. Grab a clean microfiber cloth and spend five minutes addressing the smudges and dust in those specific zones. You will immediately see how tweaking your focus transforms the feel of the entire space, giving you the momentum you need to easily tackle the rest of the house.