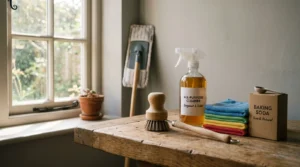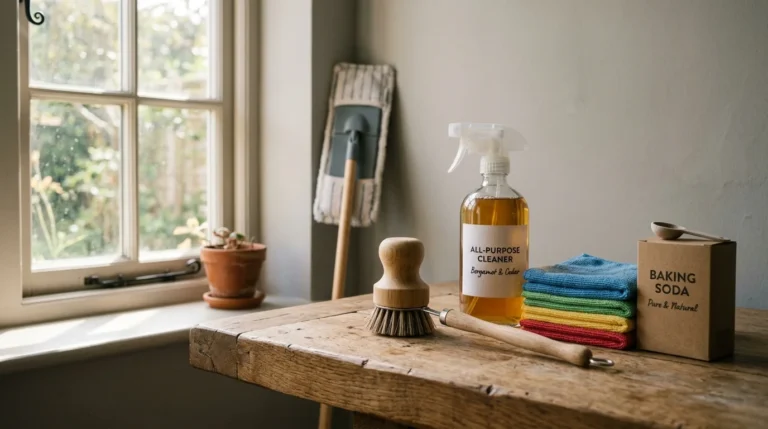
You step into your bathroom craving a relaxing soak, only to be met by a stubborn, unsightly ring around the tub—but you can eliminate that grime today using simple ingredients you already own. There is no need to expose yourself or your family to harsh fumes, burning eyes, or expensive chemical cocktails just to achieve a sparkling bathroom. Nontoxic cleaning methods rely on basic science to lift soap scum, dissolve hard water minerals, and brighten discolored surfaces without damaging your tub’s finish. By matching the right household staples to your specific bathtub material, you save money and protect your indoor air quality. Grab your supplies, and let us get that tub looking brand new.
The Hidden Costs of Conventional Bathroom Cleaners
Many people reach for heavy-duty bleach sprays at the first sign of a stubborn bathtub stain. While sodium hypochlorite—the active ingredient in household bleach—aggressively whitens surfaces and destroys organic matter, it comes with significant downsides for your respiratory system and your home’s indoor air quality. When you spray bleach in a small, enclosed space like a typical bathroom, the chemical rapidly vaporizes.
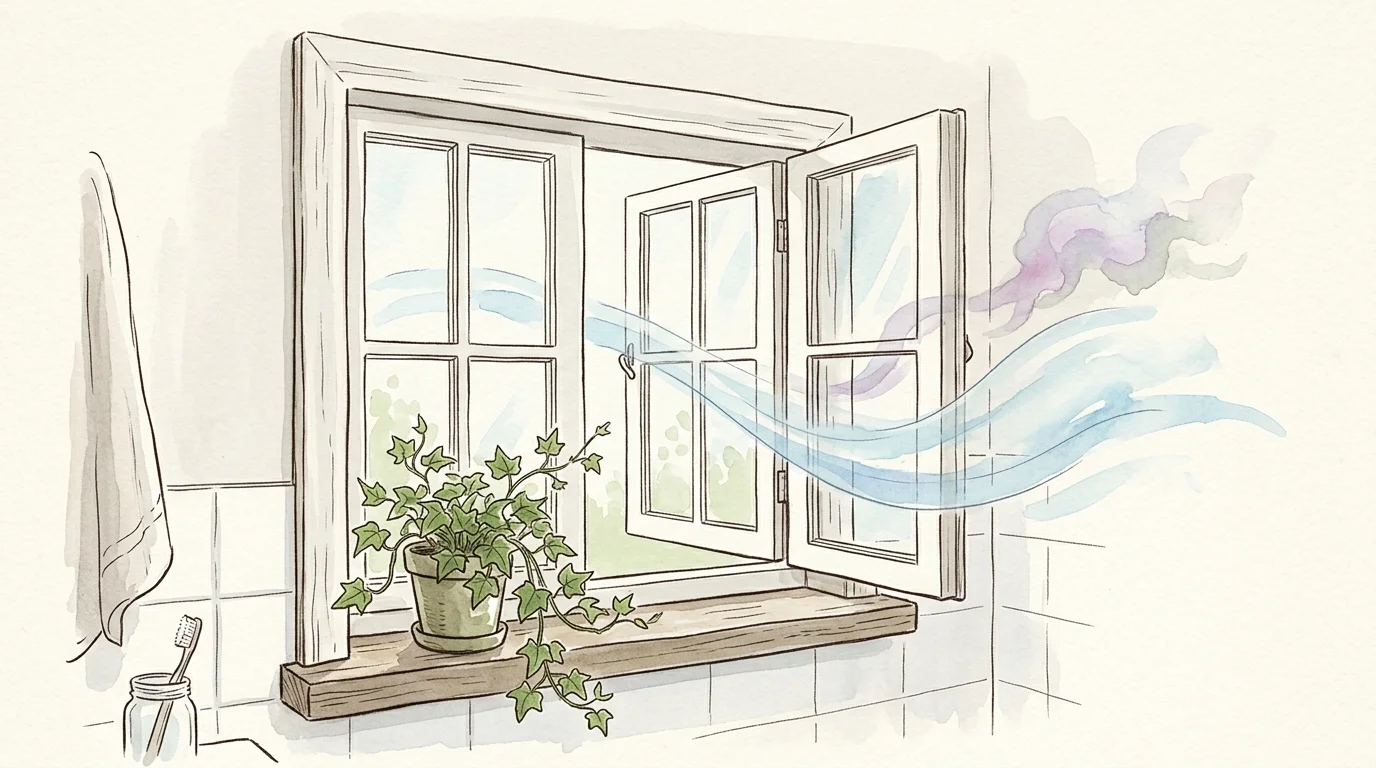
According to Centers for Disease Control and Prevention (CDC) guidelines on bleach safety, you must ensure excellent ventilation by opening windows and running exhaust fans when using these products indoors. Breathing in these concentrated vapors can irritate your lungs, trigger asthma attacks, and burn your eyes and skin. For older adults, families with young children, or anyone dealing with respiratory sensitivities, these fumes turn a simple household chore into a physical ordeal. If you live in an apartment without a bathroom window, venting these chemical fumes becomes nearly impossible.
Furthermore, when bleach interacts with other common household substances, it can produce dangerous volatile organic compounds (VOCs) that linger in the air long after you rinse the tub. If your goal is to simplify your daily routine and maintain a calm, healthy living environment, keeping aggressive chemicals out of your bathroom is a smart first step. Nontoxic cleaning methods utilize mild acids, bases, and enzymes to break down stains chemically without leaving behind a cloud of hazardous fumes or toxic residues. You can achieve a perfectly clean bathtub using safer, cheaper ingredients that likely already sit in your kitchen pantry.
Identify Your Bathtub Material Before You Scrub
Not all bathtubs handle cleaning ingredients the same way. You must know what your tub is made of before you apply any product, as using the wrong substance can permanently etch the surface or strip its protective glossy finish. Once that top layer degrades, the tub becomes highly porous, trapping dirt, bath oils, and minerals much faster than before.
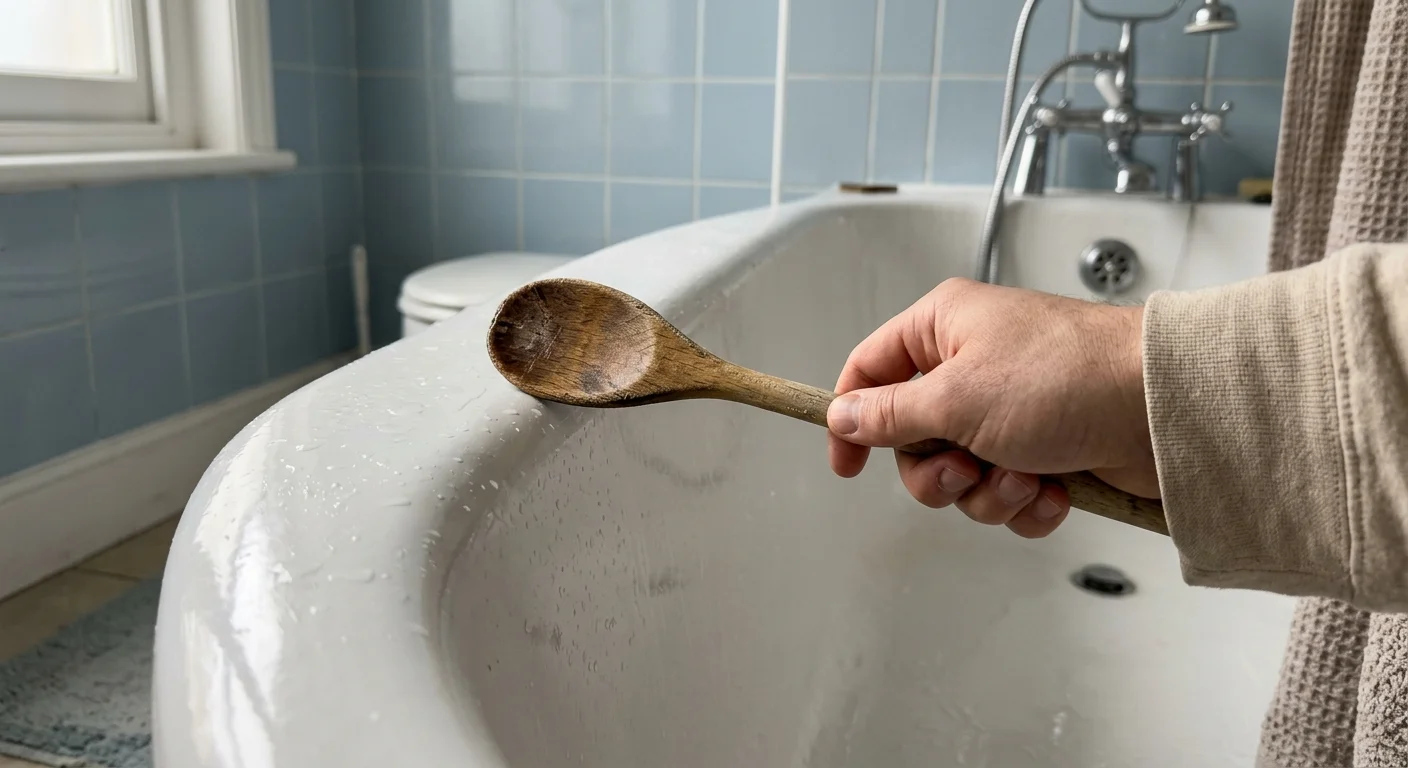
If you are unsure what your tub is made of, you can try the tap test. Gently tap the side of the tub with a wooden spoon. If it sounds hollow and feels slightly warm to the touch, it is likely acrylic or fiberglass. If it feels cold and produces a deep, solid ringing sound, you are dealing with enameled cast iron or steel.
Acrylic and Fiberglass: These are the most common materials in modern bathrooms because they are lightweight, affordable, and retain heat beautifully. However, they scratch very easily. Care instructions from major manufacturers like Kohler strongly advise against using abrasive cleansers, stiff bristle brushes, or highly acidic products. If you scrub an acrylic tub with harsh scouring powders, you will create micro-scratches that permanently dull the finish and ruin the aesthetic of your bathroom.
Porcelain-Enameled Cast Iron or Steel: These tubs feature a heavy iron or steel core coated with a baked-on enamel finish. They are incredibly durable and highly resistant to scratching. You can safely use mildly abrasive materials on porcelain, but you should avoid leaving highly acidic cleaners on the surface for extended periods, as they can eventually wear down the enamel coating.
Natural Stone or Cast Mineral: High-end tubs made from marble or cast stone require strict pH-neutral cleaners. Vinegar, lemon juice, or any other acidic cleaner will chemically react with the calcium in the stone, leaving dull, etched spots that cannot be repaired without expensive professional polishing.
| Bathtub Material | Safe Cleaning Ingredients | Cleaners to Strictly Avoid |
|---|---|---|
| Acrylic & Fiberglass | Baking soda, liquid dish soap, hydrogen peroxide, warm water | Abrasive scouring powders, stiff scrub brushes, melamine foam, bleach |
| Porcelain & Enamel | Baking soda, dish soap, hydrogen peroxide, white vinegar (short exposure) | Undiluted bleach, steel wool, highly acidic commercial cleaners |
| Natural Stone (Marble/Granite) | pH-neutral stone soap, mild dish soap, warm water | White vinegar, lemon juice, citric acid, baking soda (can be too abrasive) |
The Ultimate Nontoxic Scrub: Baking Soda and Dish Soap
Soap scum is not just dried soap. It is a stubborn, waxy layer formed when the fatty acids in your favorite bar soap chemically react with the calcium and magnesium minerals in your tap water. To effectively remove this layer, you need a degreaser to break down the oils and a mild abrasive to physically lift the residue.
Baking soda—scientifically known as sodium bicarbonate—is a mild alkaline powder that acts as a gentle scouring agent. It cuts through greasy buildup and physically lifts dirt without scratching sensitive surfaces. When you combine baking soda with liquid dish soap, you create an incredibly effective, inexpensive stain remover. Dish soap contains powerful surfactants designed to make water wetter, allowing it to penetrate and break down tough oils quickly.
Follow this simple step-by-step process for the best results:
- Clear the area: Remove all shampoo bottles, loofahs, and slip mats from the tub. Rinse the tub with warm water from the showerhead to soften the top layer of grime.
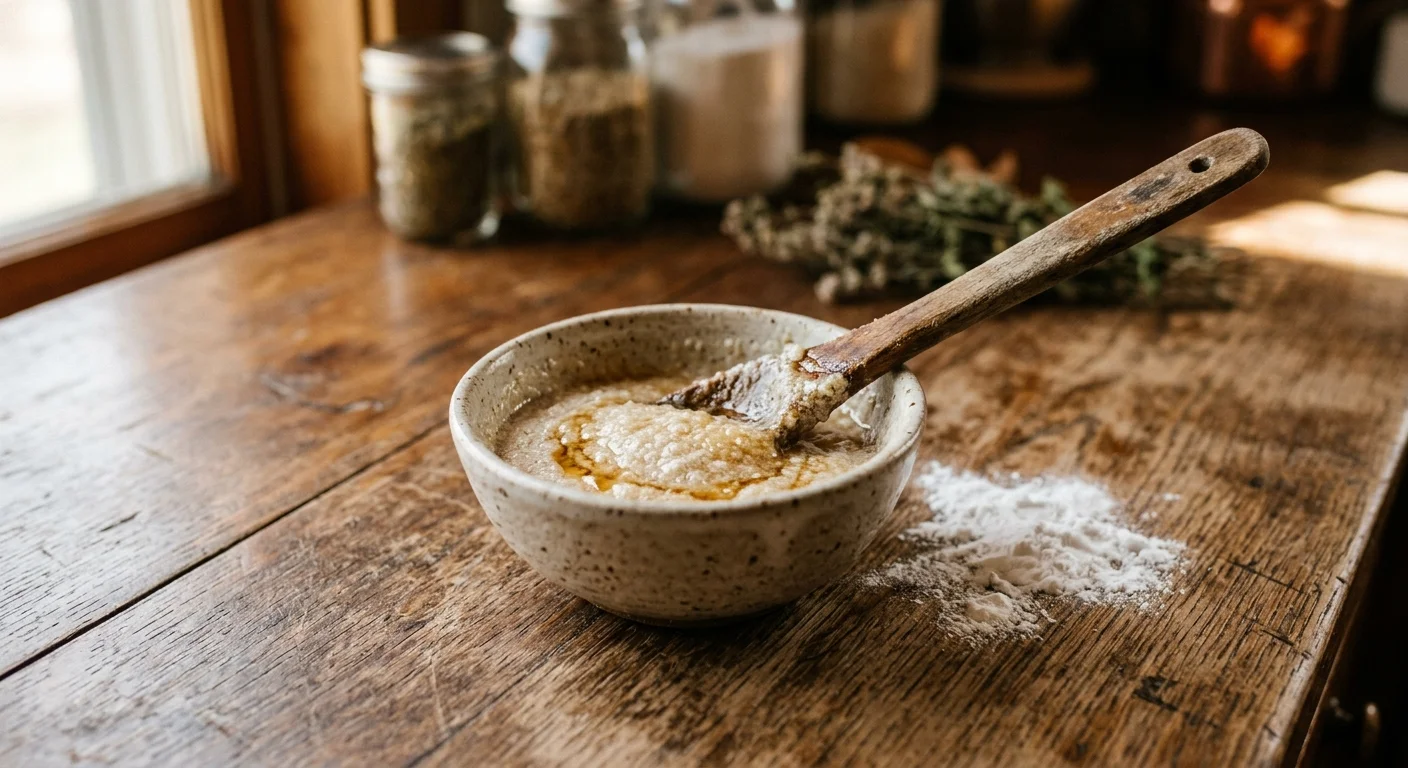
- Mix the paste: In a small bowl, combine one cup of baking soda with two to three tablespoons of liquid dish soap. Stir the mixture until it forms a thick, frosting-like paste. If it feels too dry and crumbly, add a few drops of water; if it is too runny, add a pinch more baking soda.
- Apply generously: Using a damp microfiber cloth or a soft sponge, spread the paste heavily over the stained areas. Focus on the water line and the textured bottom of the tub where dirt settles most frequently.
- Let it dwell: This is the most crucial step. Allow the paste to sit undisturbed for at least 15 to 20 minutes. Nontoxic cleaners need time to break down chemical bonds, so let the ingredients do the hard work for you.
- Scrub gently: Using a non-scratch nylon sponge, scrub the tub in small, circular motions. Let the weight of your hand do the work rather than aggressively bearing down. You will feel the baking soda gently lifting the soap scum away.
- Rinse thoroughly: Wash the gritty residue down the drain with warm water. Buff the sides with a dry towel to prevent water spots from forming.
Dissolving Hard Water and Rust Stains with Vinegar
If your tub features a chalky white buildup, yellow rings around the drain, or brown streaks dripping down from the faucet, you are dealing with hard water mineral deposits. Hard water contains high levels of dissolved calcium and magnesium. Alkaline cleaners like baking soda are practically useless against these minerals; you need an acid to dissolve them.
Standard white household vinegar contains roughly five percent acetic acid. This mild acid reacts directly with the calcium carbonate in hard water stains, breaking the hardened minerals down into water-soluble calcium acetate and carbon dioxide gas.
A common misconception in DIY household cleaning is mixing vinegar and baking soda together in a spray bottle to clean surfaces. While the resulting bubbling volcano looks impressive, it is actually a rapid chemical neutralization. The acid (vinegar) and the base (baking soda) cancel each other out, leaving you with little more than water and a type of salt. To harness the true dissolving power of vinegar, you must use it entirely on its own.
Follow this method for stubborn hard water stains:
- Warm the vinegar: Pour one cup of white vinegar into a microwave-safe bowl and heat it for 30 to 45 seconds. Warm vinegar reacts much faster with solid mineral deposits than cold vinegar.
- Soak the flat surfaces: For stains on the floor of the tub, pour the warm vinegar directly over the discolored areas and let it sit undisturbed for 30 minutes.
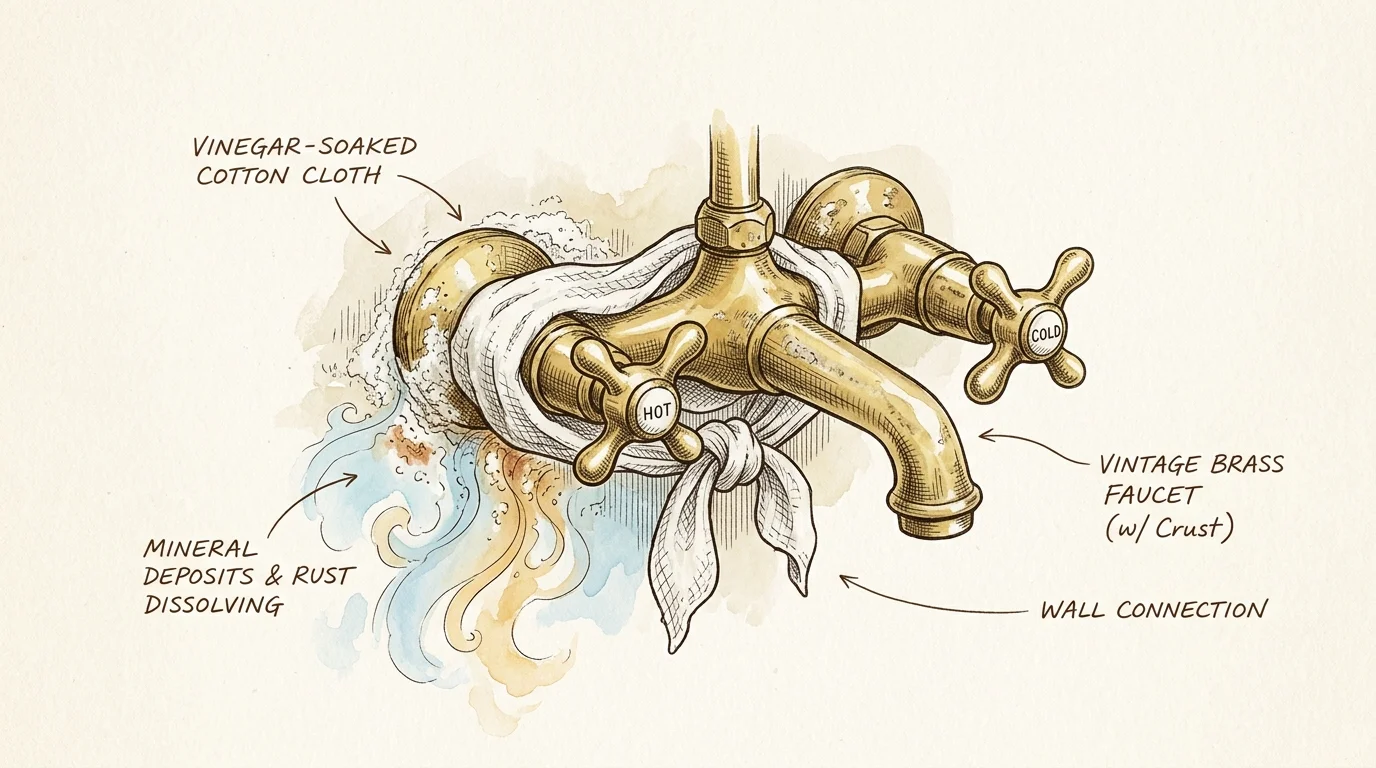
- The paper towel trick: For hard water stains on the vertical walls of the tub, soak a few paper towels or clean cotton rags in the warm vinegar. Press the saturated towels directly against the walls. The towels will cling to the sides, holding the acid directly against the stain so it does not run down the drain.
- Scrub and rinse: After 30 to 45 minutes, remove the towels and gently scrub the softened mineral deposits away with a soft brush. Rinse the area completely with fresh water. If your showerhead is also crusty, you can fill a plastic bag with warm vinegar, secure it around the showerhead with a rubber band, and let it soak overnight.
Whitening Discolored Grout and Caulk with Hydrogen Peroxide
Bathrooms provide the perfect warm, damp environment for biological growth. If you notice a slimy pink ring around the water line (often caused by an airborne bacteria called Serratia marcescens) or dark, pepper-like mildew spots creeping into your silicone caulk, hydrogen peroxide is your safest and most effective weapon.
Unlike chlorine bleach, standard three percent hydrogen peroxide breaks down completely into harmless water and oxygen, leaving zero toxic byproducts behind. It acts as a powerful oxidizing agent. When applied to mold or bacteria, it chemically destroys their cell walls and lifts organic stains out of porous grout lines through an aggressive bubbling action.
To treat mildew and bacterial stains effectively:
- Transfer to a dark bottle: Hydrogen peroxide rapidly degrades into plain water when exposed to ultraviolet light. Always keep it in its original opaque brown bottle, or attach a standard spray nozzle directly to the store-bought container.
- Spray directly: Saturate the discolored grout, caulk, or corners of the tub with the hydrogen peroxide. For deep stains in the caulk line, soak cotton balls in hydrogen peroxide and press them firmly against the caulk, leaving them there for an hour.
- Wait for the fizz: Let the solution sit for 10 to 15 minutes. You should notice a slight fizzing or bubbling action; this means the extra oxygen molecule is actively breaking down the organic stains.
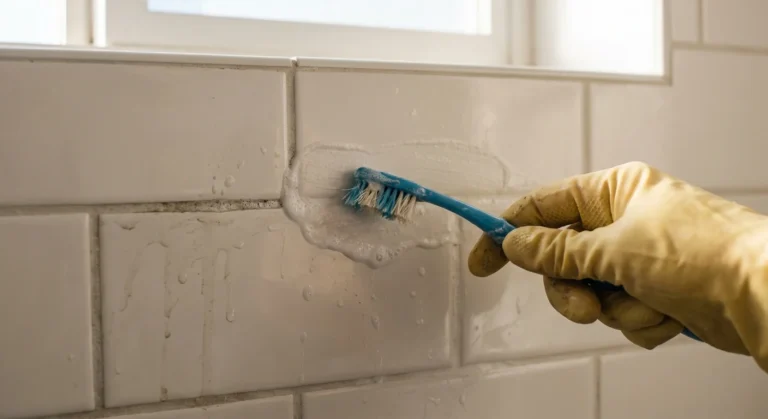
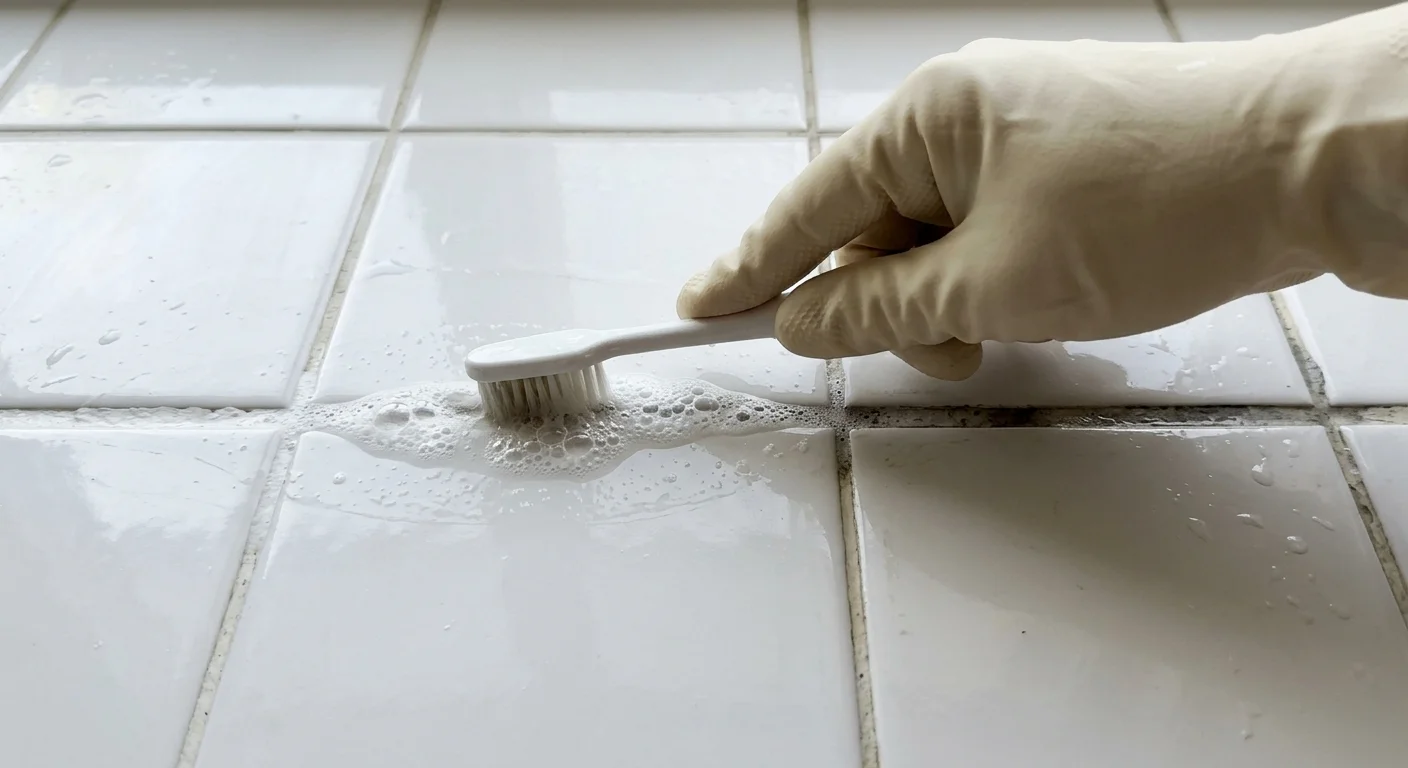
- Agitate the grout: Use a dedicated old toothbrush to scrub the tight corners and narrow grout lines.
- Rinse clean: Wash the area with warm water and wipe it completely dry.
Hazardous Mistakes to Avoid in the Bathroom
When trying to achieve a pristine bathroom, many people mistakenly believe that combining different strong cleaners will yield faster results. In reality, chemical mixing is incredibly dangerous and can lead to severe health emergencies right in your home.
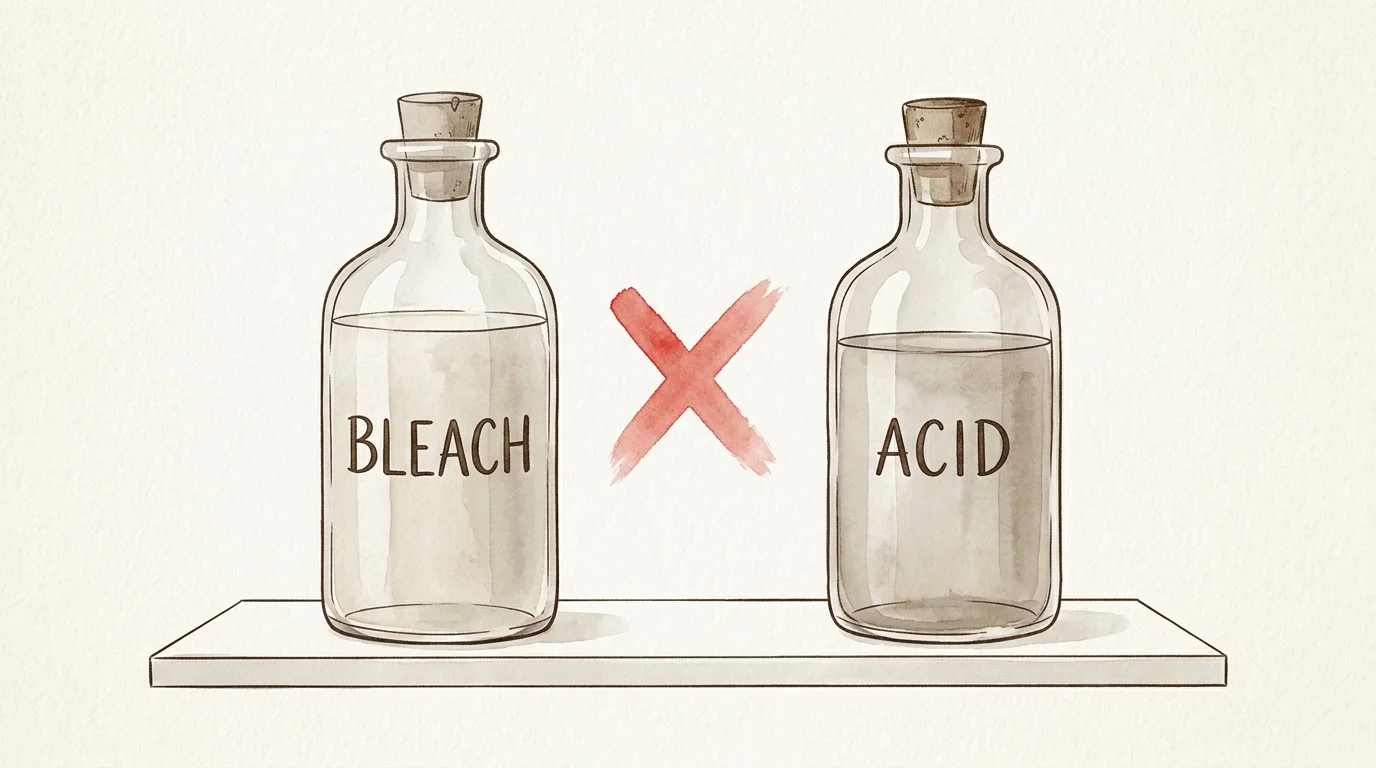
Never mix household bleach with white vinegar or any other acid. Doing so triggers a rapid chemical reaction that releases toxic chlorine gas. According to a CDC warning regarding chlorine gas exposure, inhaling this heavy gas causes severe coughing, chest pain, blurry vision, and dangerous fluid buildup in the lungs. Similarly, mixing bleach with ammonia produces deadly chloramine gas. Always stick to one cleaning agent at a time, and rinse surfaces thoroughly with clear water before applying a different product.
You should also avoid using melamine foam blocks, commonly sold as magic erasers, on glossy bathtubs. While they look and feel like soft sponges, melamine foam is actually a micro-abrasive that functions like ultra-fine sandpaper. Scrubbing your acrylic or fiberglass tub with these blocks will quickly strip the shiny factory finish, leaving dull, scuffed patches that attract dirt much faster in the future.
Finally, be wary of store-bought products claiming to be natural. The cleaning industry often engages in “greenwashing,” using earthy packaging and vague marketing words like “eco-friendly” for products that still contain harsh, petroleum-derived ingredients. For guaranteed safety, look for products certified by the Environmental Protection Agency (EPA) Safer Choice program. Products bearing this distinct label have had every single ingredient rigorously evaluated by scientists for both human health and environmental safety.

Your Weekly Maintenance Routine for a Stain-Free Tub
Deep cleaning your bathtub requires significantly less physical effort if you practice simple, consistent maintenance. Implement these practical steps into your daily and weekly routine to prevent hard water buildup and soap scum from bonding to the surface in the first place.
- Squeegee the walls: Keep a small squeegee or a dedicated microfiber cloth inside the shower. Spend 30 seconds wiping the moisture off the tub walls immediately after you bathe. Removing the standing water prevents mineral deposits from drying onto the surface.
- Switch your soap: Traditional bar soaps contain talc and fatty acids that bind with minerals to create stubborn soap scum. Switching to a liquid body wash dramatically reduces the amount of waxy residue left behind in your tub.
- Run the exhaust fan: Turn on your bathroom ventilation fan before you turn on the water, and leave it running for 20 minutes after you finish bathing. Pulling the humid air out of the room prevents mold and mildew spores from taking root in your caulk and grout lines.
- Perform a weekly spot check: Keep a spray bottle filled with a one-to-one ratio of white vinegar and water under your bathroom sink. Once a week, lightly mist the tub and wipe it down with a damp cloth to neutralize early hard water deposits before they solidify.
Take five minutes today to identify your bathtub’s specific material and mix up a small test batch of the baking soda and dish soap paste. Apply it to a small, hidden corner of your tub and let it sit. Once you see how effortlessly the grime lifts away with a gentle scrub—without filling your home with stinging, artificial fumes—you will never want to go back to harsh chemical cleaners.