Summer brings longer days, warmer weather, and open windows—but it also brings an unexpected layer of household grime that demands your attention. While you are busy enjoying the sunshine, heat and humidity are quietly working together to turn everyday dust into stubborn dirt, breed bacteria in hidden spots, and trap allergens inside your home. Tackling these specific problem areas now saves you time and prevents costly appliance repairs later. From hardworking air conditioning filters to the depths of your kitchen trash can, certain household items bear the brunt of summer conditions. By focusing on these eight surprisingly grimy spots, you can maintain a cleaner, healthier, and much more comfortable living space all season long.

Air Conditioning Filters and Vent Covers
Your heating, ventilation, and air conditioning system works relentlessly during the summer months. As it circulates cooled air throughout your rooms, the filter traps airborne dust, pet dander, and incoming pollen. Summer humidity often makes this dust sticky, causing it to cling not only to the filter media but also to the slatted vent covers on your walls and ceilings.
When you neglect this household cleaning task, airflow restricts, forcing your system to consume more energy and pushing allergens back into your living space. According to EPA guidelines on indoor air quality, you should replace your standard HVAC filter every 60 to 90 days. However, more frequent replacement is absolutely necessary when the system runs continuously or during high-pollen and wildfire smoke events.
To address the vents themselves, turn off your system to prevent blowing dust while you work. Use a vacuum with a soft brush attachment to pull loose dust from the grates. For sticky, humid grime, unscrew the vent covers entirely and wash them in your sink using warm water and a squirt of dish soap. Dry them completely with a microfiber cloth before reattaching them to prevent rust and moisture buildup in your drywall.
Kitchen Trash Cans and Recycling Bins
Heat acts as a powerful incubator. Even if you keep your home nicely air-conditioned, the ambient temperature inside a closed trash can rises quickly during the summer. Seasonal produce scraps—like watermelon rinds, peach pits, and corn husks—contain incredibly high moisture levels. When you combine organic food waste with summer heat, bacteria multiply at an alarming rate.
The Centers for Disease Control and Prevention (CDC) notes that the bacteria responsible for foodborne illnesses thrive in warm, moist environments. A leaky garbage bag quickly turns the bottom of your bin into a hazard zone filled with odor-causing germs.
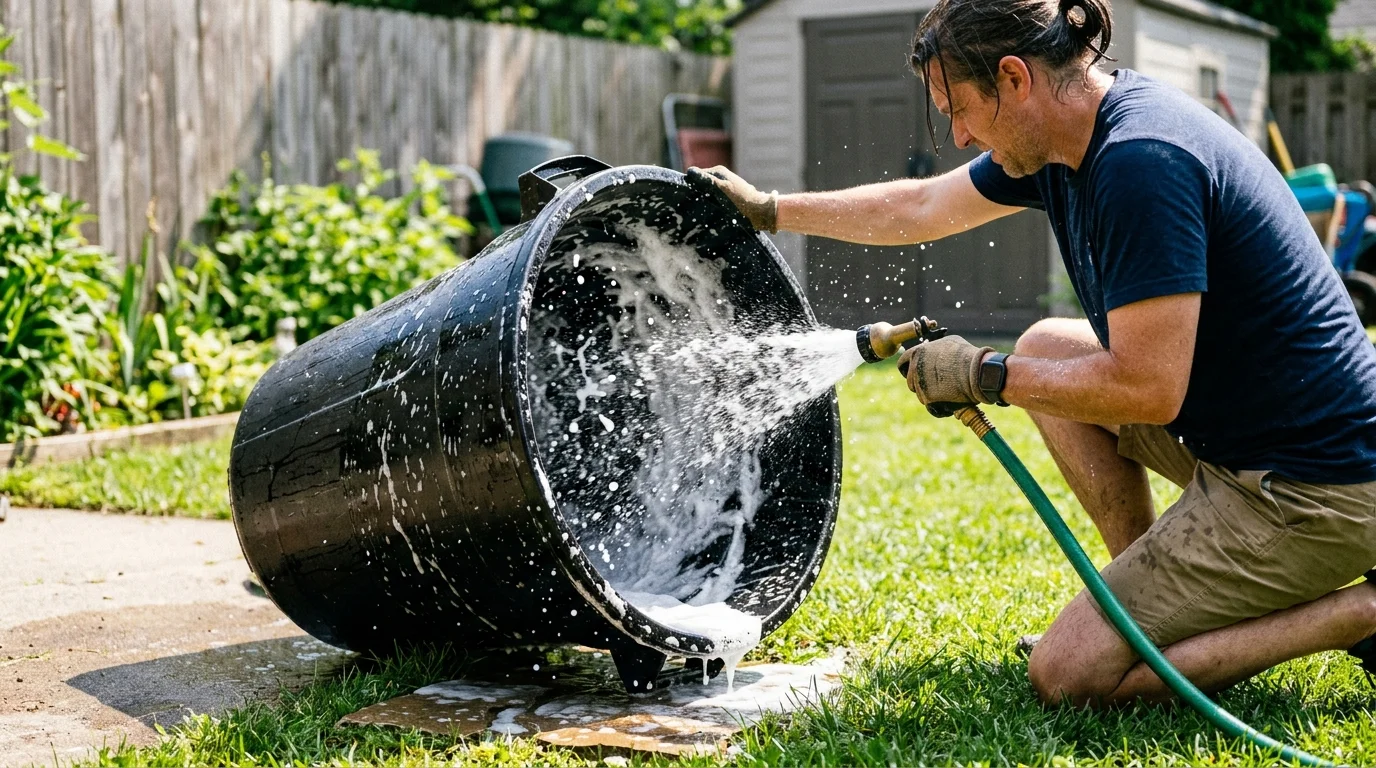
Do not just wipe the lid; give the entire bin a deep clean. Take your empty trash can outdoors on a sunny day. Squirt generous amounts of grease-cutting dish soap or an enzyme-based cleaner directly into the bottom. Use a garden hose with a high-pressure nozzle to blast the interior walls, then scrub stubborn spots with a long-handled brush dedicated specifically to garbage duty. Let the bin sit upside down in direct sunlight to dry, allowing the ultraviolet rays to provide natural disinfecting power. To prevent future odors, line the bottom of the fresh bag with a handful of baking soda.
Refrigerator Condenser Coils
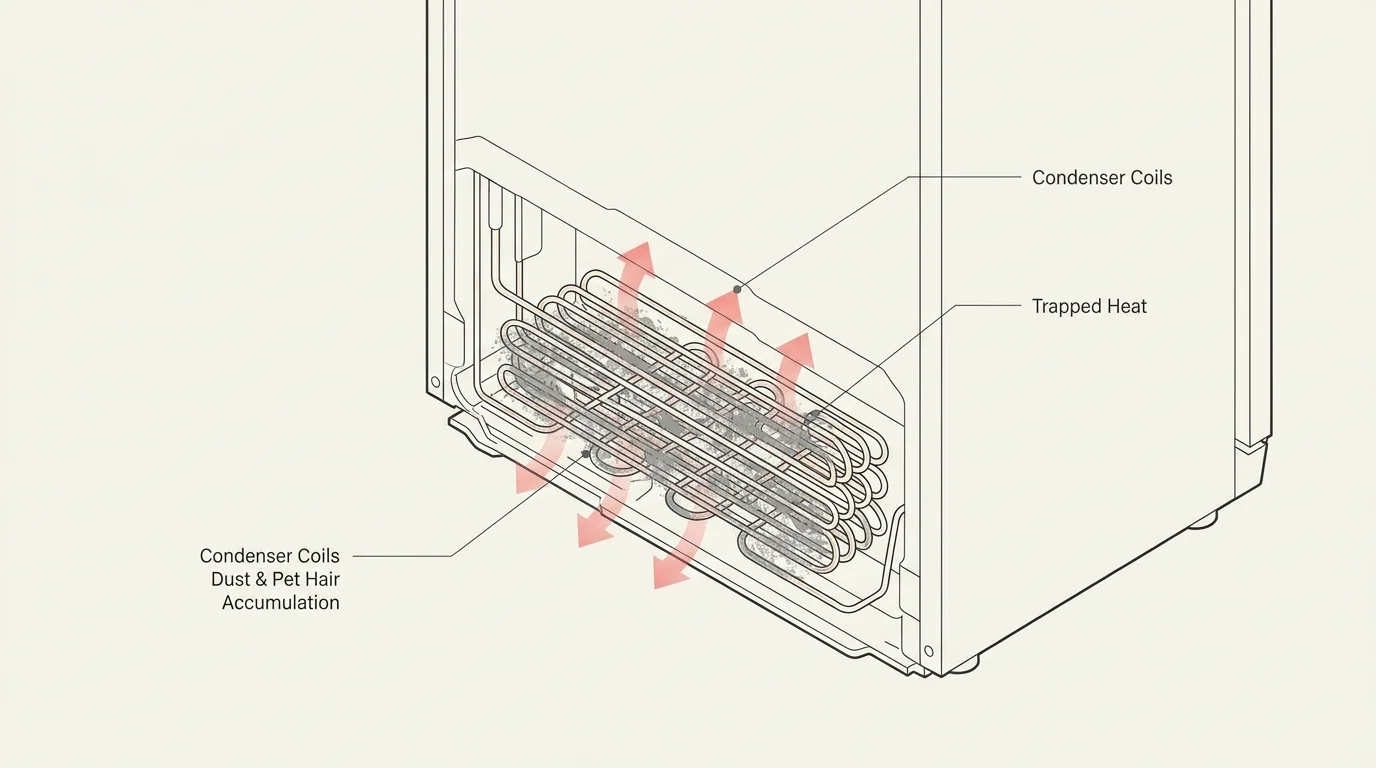
Your refrigerator works much harder to maintain its internal chill when your kitchen gets hot. The condenser coils—usually located at the bottom behind a base kickplate or on the back of the appliance—release heat from inside the unit. During the summer, these coils suck up shedding pet hair, dust, and cooking grease at an accelerated rate.
When the coils become coated in grime, they cannot release heat effectively. In fact, research indicates that dirty condenser coils can increase your refrigerator’s energy consumption significantly, causing up to a 17 percent efficiency loss. Regular home maintenance in this area saves money and extends the life of your appliance.
Follow this simple cleaning checklist to restore your refrigerator’s efficiency:
- Disconnect the power: Pull the refrigerator away from the wall and unplug it from the outlet to ensure your safety.
- Locate the coils: Remove the front base grille or look at the back of the appliance, depending on your specific model.
- Brush away debris: Use a specialized, bendable coil-cleaning brush to loosen the packed-on dust, pet hair, and sticky lint.
- Vacuum the area: Attach the long crevice tool to your vacuum cleaner and safely suck up the dislodged debris from deep inside the housing.
- Clean the floor: Sweep and mop the flooring underneath the fridge before plugging it back in and sliding it into its proper place.

Outdoor Furniture Cushions and Umbrellas
Outdoor fabrics take a massive beating during the warmest months of the year. They absorb human sweat, oily sunscreens, bug sprays, and spilled barbecue sauce. When you add high humidity and sudden summer rainstorms to the mix, you get the perfect recipe for stubborn mildew spots and ground-in dirt.
Always check the manufacturer’s instructions for your specific fabric before you start scrubbing. Most high-quality, solution-dyed acrylics are treated to resist water, but dirt trapped on the surface will still grow mold if left unattended.
Start by brushing off dry dirt with a soft-bristle brush before it becomes embedded in the woven fibers. For general cleaning, mix one-fourth cup of mild dish soap with a gallon of lukewarm water. Apply the mixture with a sponge, let it soak into the fabric for a few minutes, and rinse thoroughly with a garden hose. For tough mildew stains on durable outdoor fabrics, manufacturers often recommend a stronger solution consisting of one cup of bleach and one-fourth cup of mild soap per gallon of water. Always stand cushions upright on their zipper edge to air dry completely. Never put outdoor casings in a mechanical dryer, as the high heat destroys their protective weather-resistant coatings.
Ceiling Fan Blades
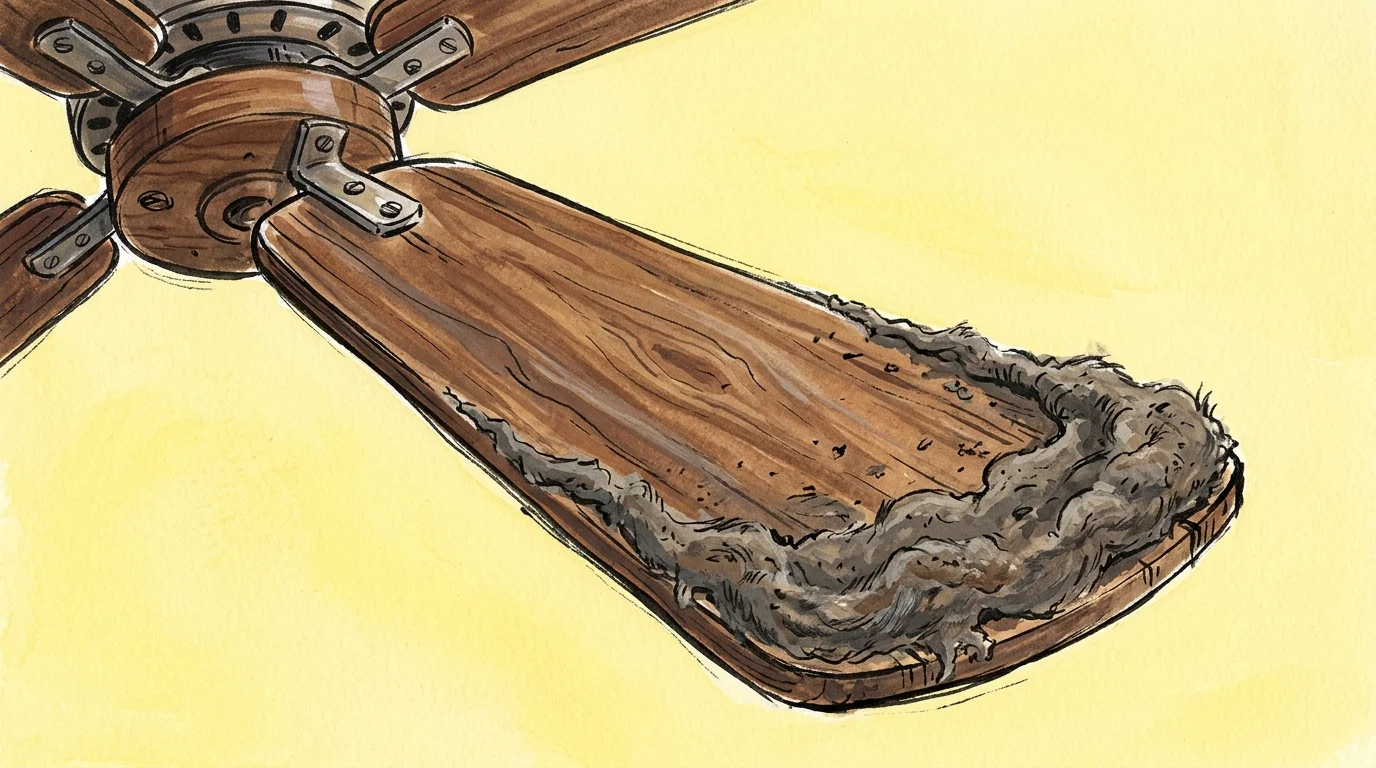
Ceiling fans run almost nonstop from June through September. You might assume that the constant spinning prevents dust from settling, but the exact opposite is true. The leading edges of the fan blades slice through the air, actively collecting microscopic particles. Summer humidity then acts like glue, cementing that dust into a thick, sticky paste that a standard feather duster simply cannot remove.
If you try to wipe the blades with a dry rag, you will send a shower of grime falling onto your furniture and rugs below. Instead, use the pillowcase trick to capture the mess cleanly.
Grab an old, clean pillowcase and set up a sturdy stepladder. Slide the pillowcase completely over one fan blade. Press your hands against the top and bottom of the blade, then slowly pull the pillowcase toward you. All the heavy, grimy dust gets trapped inside the fabric enclosure. Once the bulk of the debris is gone, wipe down each blade with a microfiber cloth dampened with a gentle all-purpose cleaner to cut through the remaining sticky residue. While you are up there, verify that the directional switch on the motor housing is set to spin counterclockwise, which pushes a cool breeze straight down into the room.
Window Tracks and Screens
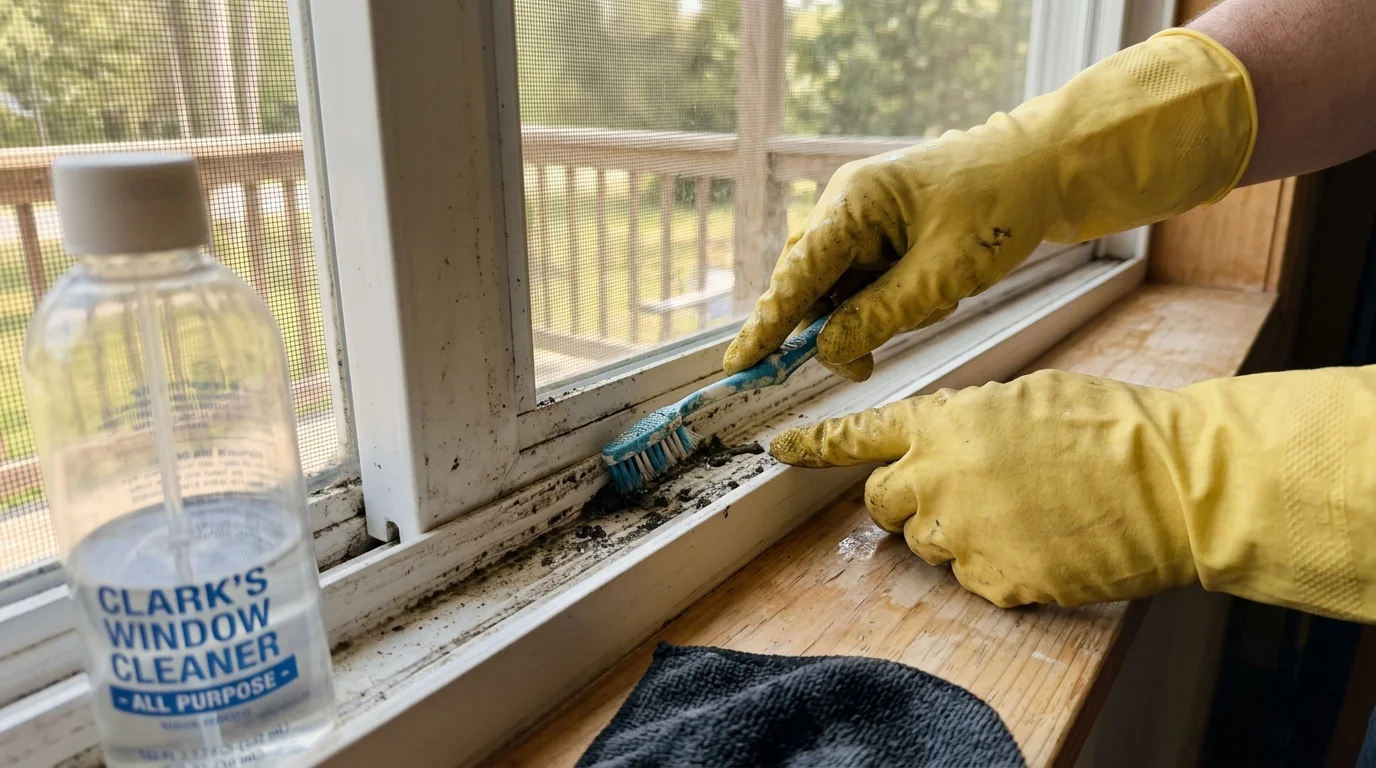
Summer is the prime season for throwing open the windows to catch a refreshing cross-breeze. Unfortunately, open windows invite floating pollen, exhaust soot, and small insects directly into your window tracks. When heavy summer thunderstorms blow rain against the glass, all that loose debris turns into a hard, baked-on mud that prevents your windows from sliding smoothly.
Do not try to wipe wet mud with a paper towel—you will only push the grime deeper into the tight corners. Follow these steps for a flawless clean:
- Start dry by using your vacuum cleaner’s narrow brush attachment to suck up dry pollen, dead bugs, and loose dirt.
- Sprinkle baking soda generously over the tracks, then pour a small amount of white vinegar over the powder. Allow the mixture to fizz and lift the dirt for about five minutes.
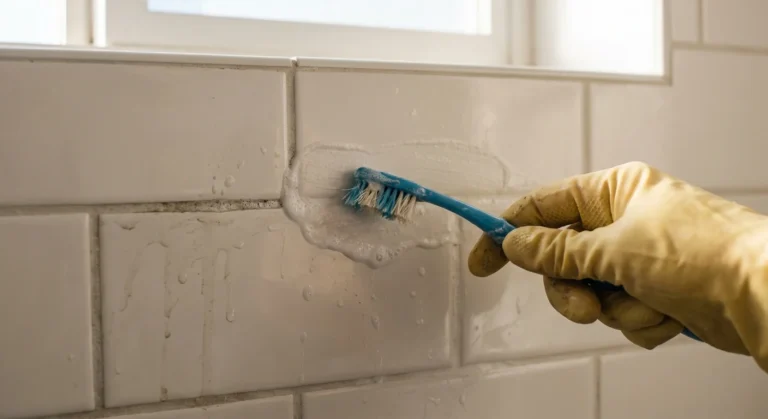
- Scrub the tight corners and the areas where the window sash rests using an old toothbrush. Do not use sharp metal tools like flathead screwdrivers, as you risk gouging the vinyl or aluminum and damaging the weatherstripping.
- Wipe away the muddy slurry with a disposable rag, then do a final pass with a damp microfiber cloth to reveal a perfectly clean track.
To finish the job, pop the window screens out of their frames, lean them against an exterior wall, and wash them gently with a bucket of soapy water and a soft brush. Rinse them with a garden hose on a low-pressure setting to avoid stretching the delicate mesh.
Washing Machine Drums and Rubber Gaskets
Your washing machine processes a unique and challenging type of laundry during the summer: dripping wet swimsuits, damp beach towels, and clothes soaked with sweat and yard-work grime. Think about the sheer volume of chlorine, saltwater, and heavy sunscreen lotions your clothes absorb during these months. All of those compounds end up circulating through your washer.
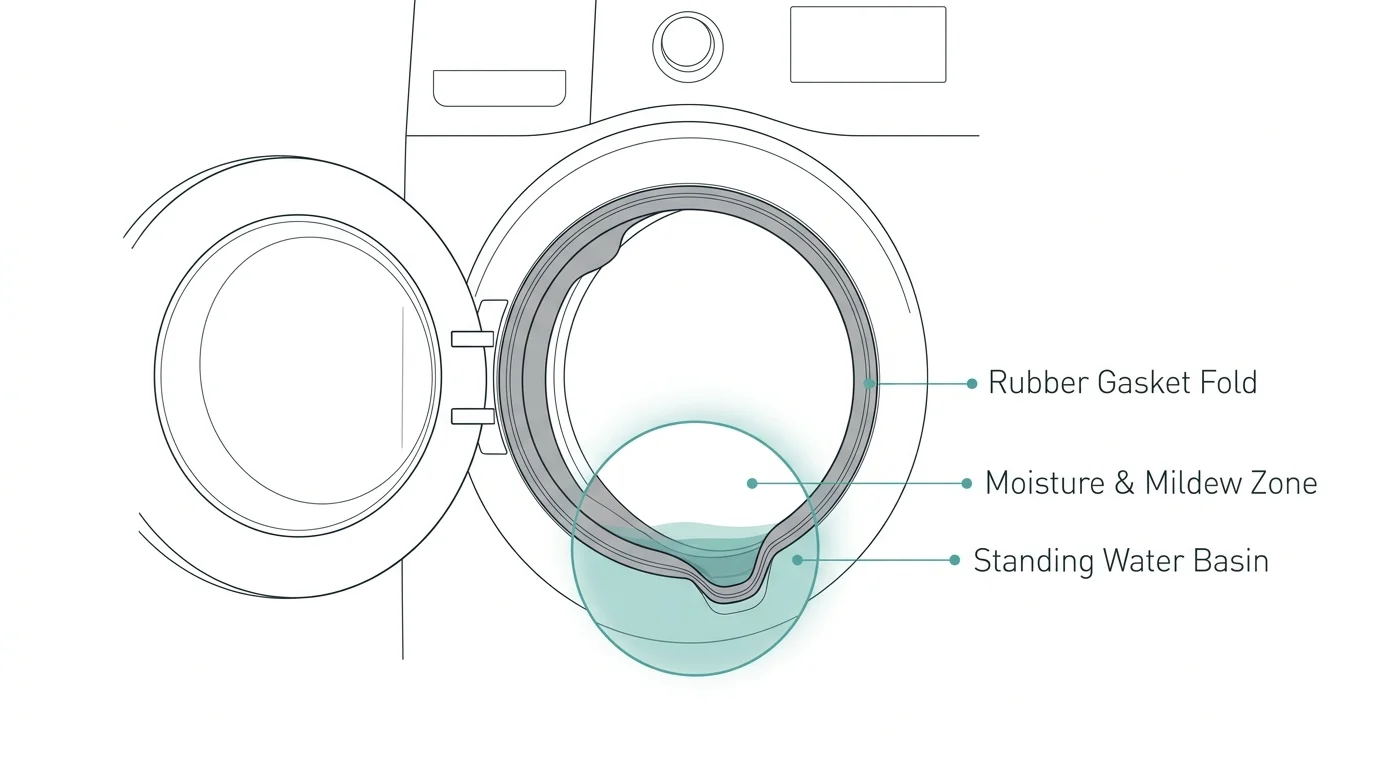
This excess moisture, combined with the warm ambient air in your laundry room, creates an ideal breeding ground for mold and mildew. Front-loading machines are especially vulnerable to developing a sour, swampy smell originating from the thick rubber door gasket.
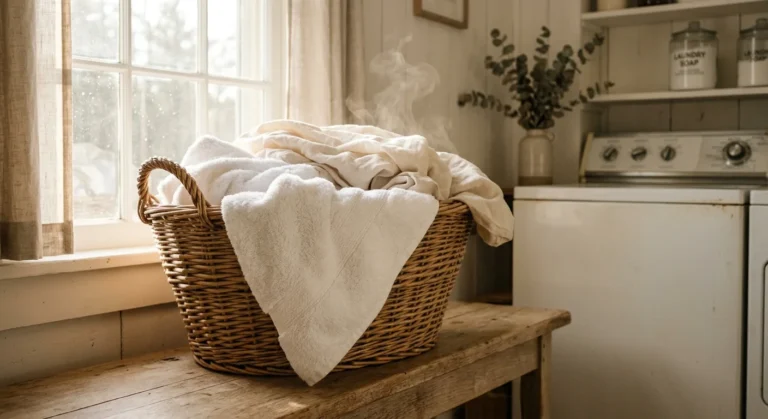
Keep an old towel near the machine and make it a habit to quickly wipe out the folds of the rubber gasket after your final load of the day. You will likely pull out pet hair, sand, and gray sludge that hides in that crease. Most importantly, never close the washing machine door immediately after a cycle. Leave it ajar to allow the interior drum to air out and dry completely. Once a month, run a dedicated tub-cleaning cycle using hot water and a commercial washing machine cleaner to flush out hidden buildup.
Entryway Rugs and Doormats
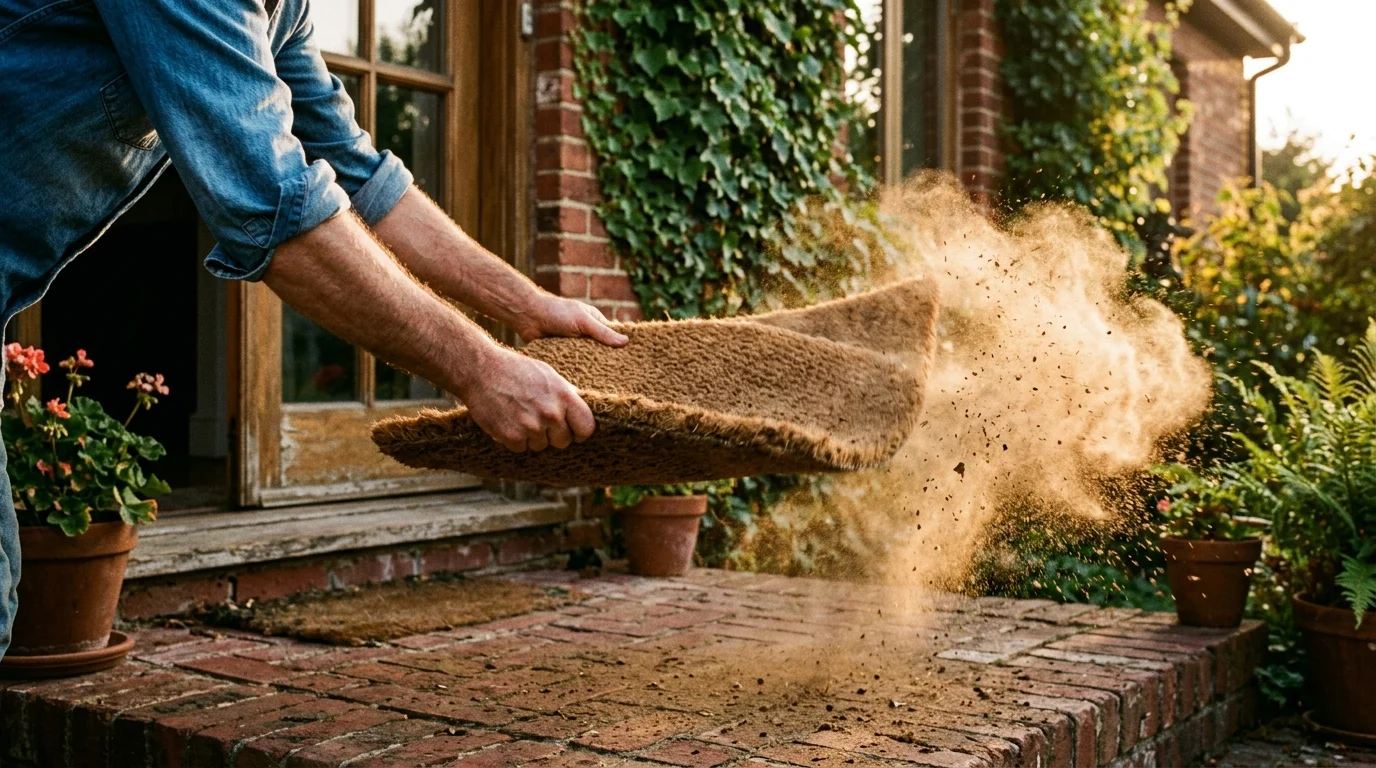
Summer foot traffic tracks in a distinct variety of mess. Between trips to the local pool, weekend gardening projects, and children running in and out of the yard, your entryway mats collect an impressive amount of sand, grass clippings, mud, and driveway oil. If you do not perform routine cleaning on these transition zones, that abrasive dirt gets carried further inside, scratching your hardwood floors and dulling your interior carpets.
Implement a two-mat system for the best results: place one rugged mat outside the door and a softer, washable rug directly inside. Wait for a dry, sunny day to tackle the heavy-duty outdoor coir or rubber mats. Vigorously shake the mat out in the yard, or hang it over a sturdy fence and hit it with a broom handle to dislodge deeply trapped dirt. Avoid vacuuming natural coir mats with a motorized beater bar, as the aggressive spinning bristles will tear out the coconut fibers and ruin the texture.
For indoor rugs, check the care label carefully. If the rug is machine washable, run it through a gentle cycle with cold water. Skip the dryer entirely; hang the rug outside to air dry so the rubber backing does not melt, warp, or crack in the heat.
Take One Small Step This Weekend
Do not let this list overwhelm your weekend plans. You do not need to tackle all eight of these grimy areas in a single afternoon. Pick just one or two high-impact spots to focus on first. Start with the tasks that directly affect your indoor air quality and appliance longevity—such as swapping out your dirty AC filter and vacuuming the refrigerator coils. Once you check those critical items off your list, you can move on to the more visible cleaning tips like washing the outdoor cushions and clearing the window tracks. By dedicating just a few minutes to these specific areas now, you will keep your home smelling fresh, running efficiently, and completely ready for whatever the rest of the summer brings.