Preparing your home for colder weather requires more than swapping lightweight throw blankets for heavy wool covers and wiping down kitchen counters. Tackling overlooked high-impact maintenance projects now protects your structural investment, slashes winter energy bills, and shields your family against preventable household fire risks. While most seasonal cleaning routines focus on visible surface dust, hidden buildup inside appliance vents, heating registers, and drainage systems works silently against your home’s efficiency. By integrating these six frequently skipped autumn cleaning tasks into your fall home maintenance schedule, you ensure a safer, warmer, and far more comfortable living environment all winter long.
1. Vacuuming Dryer Vents Beyond the Lint Trap
Standard lint traps capture only about 60 to 70 percent of the airborne debris your clothes shed during a single drying cycle. The remaining fibers pass directly into your dryer exhaust ductwork, accumulating along corrugated walls over time. When airflow becomes restricted, heat builds up rapidly inside the machine; this creates a severe fire risk right as fall laundry loads grow heavier with sweatshirts, blankets, and denim. According to detailed fire safety reports from the National Fire Protection Association, failure to clean dryer vents remains the leading cause of home clothes dryer fires, accounting for thousands of preventable structural fires annually.
Beyond safety concerns, clogged ductwork forces your dryer to run two to three times longer per load. This extra runtime inflates your monthly electric or gas utility bill and causes unnecessary mechanical wear on motor components. Clearing this hidden pathway takes less than thirty minutes and pays immediate dividends in utility savings and home safety.
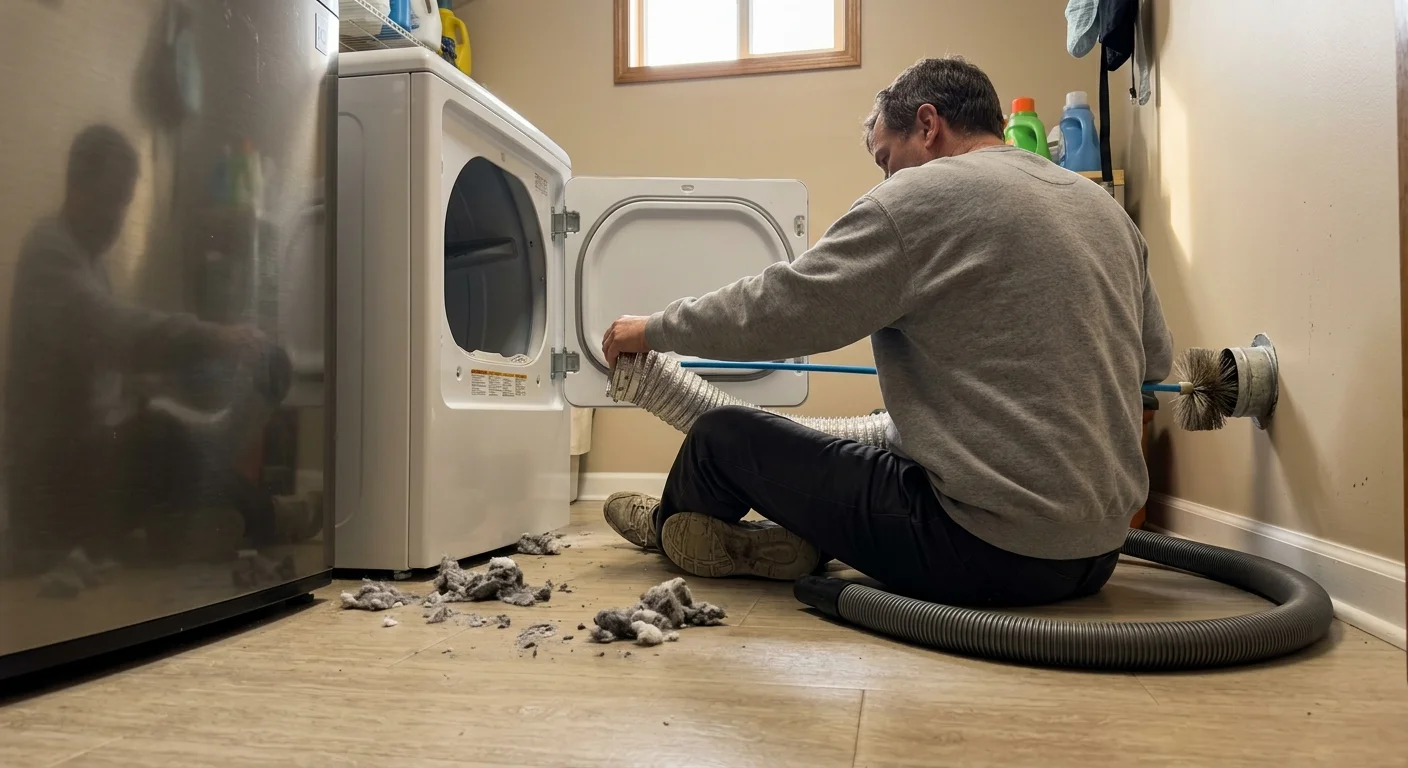
Step-by-Step Dryer Vent Cleaning:
- Pull your dryer away from the wall and unplug the electrical cord (or shut off the gas supply line valve safely).
- Loosen the metal clamp securing the flexible duct hose to the back of the appliance and disconnect the pipe.
- Insert a flexible, rotary dryer vent brush attached to a cordless drill into the wall pipe; spin it gently while pushing inward to dislodge packed lint.
- Vacuum out loosened debris using a shop vacuum equipped with a long hose attachment.
- Walk outside and inspect your exterior exhaust vent flap—clean away trapped lint, clear bird nests, and verify that the flap louvers open and close freely.
- Reconnect the ductwork tightly with metal vent tape rather than standard duct tape, which dries out and fails under high heat.
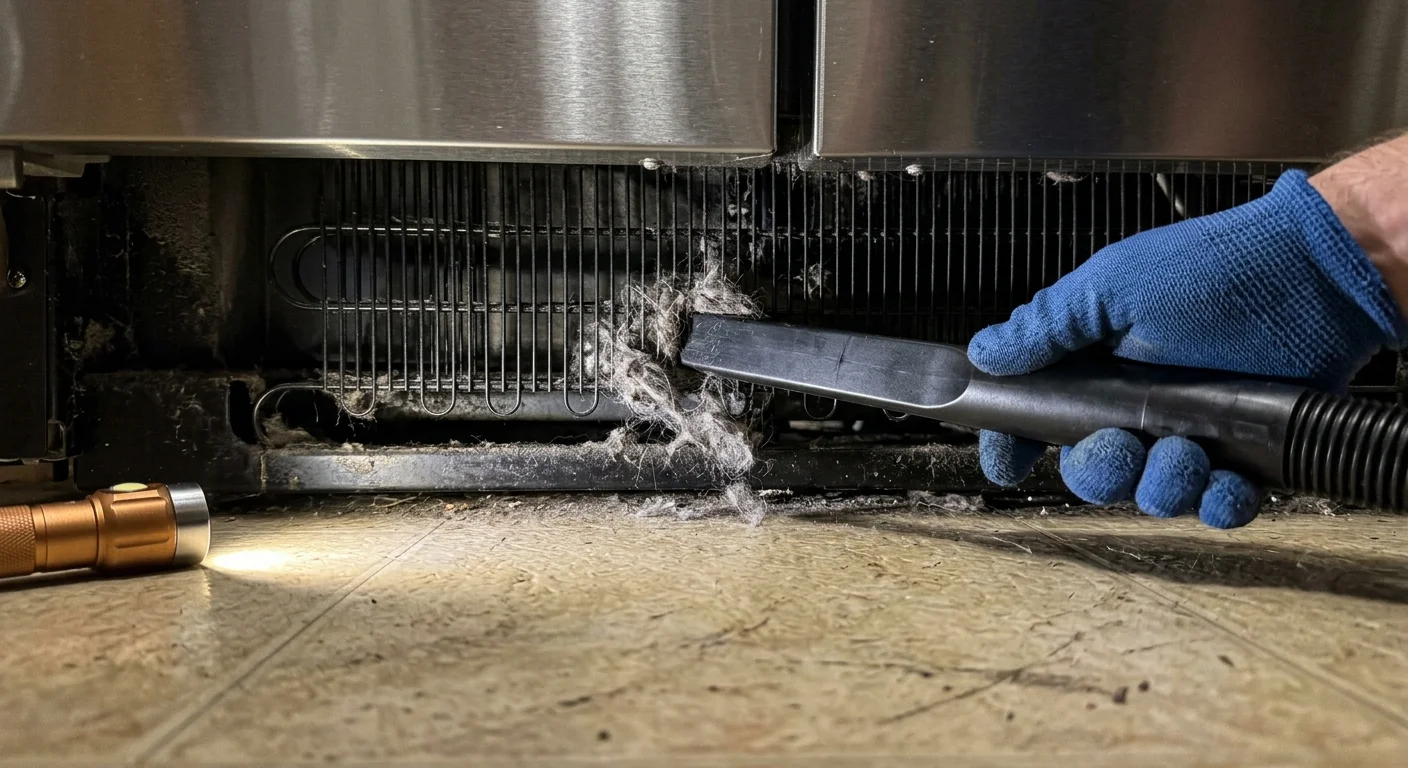
2. Vacuuming Refrigerator Condenser Coils and Base Trays
You probably wipe down refrigerator shelves weekly, yet you might neglect the mechanical core humming quietly underneath or behind the cabinet. Condenser coils release heat removed from inside the fresh food and freezer compartments. As dust, pet hair, and cooking grease coat these coils during spring and summer, the grime acts as a thermal blanket. Your refrigerator compressor must run continuously and work up to 30 percent harder just to maintain safe food storage temperatures.
This added strain shortens the working lifespan of an expensive household appliance while adding noticeable charges to your electric bill. Official energy guidance from the U.S. Department of Energy highlights routine coil maintenance as one of the simplest home tasks to optimize appliance efficiency and trim electricity costs throughout the year.
To restore peak efficiency, pull your refrigerator out carefully to avoid scratching your flooring, and disconnect the power cord. Snap off the plastic toe-kick panel at the front base or remove the lower metal access panel on the back. Gently run a long, narrow condenser coil brush between the metal windings to loosen caked-on dust. Follow up with your vacuum’s narrow crevice tool to collect all dislodged debris. Finally, slide out the plastic drip pan beneath the coils, scrub away stagnant water or film with warm soapy water, dry it thoroughly, and reassemble the unit.
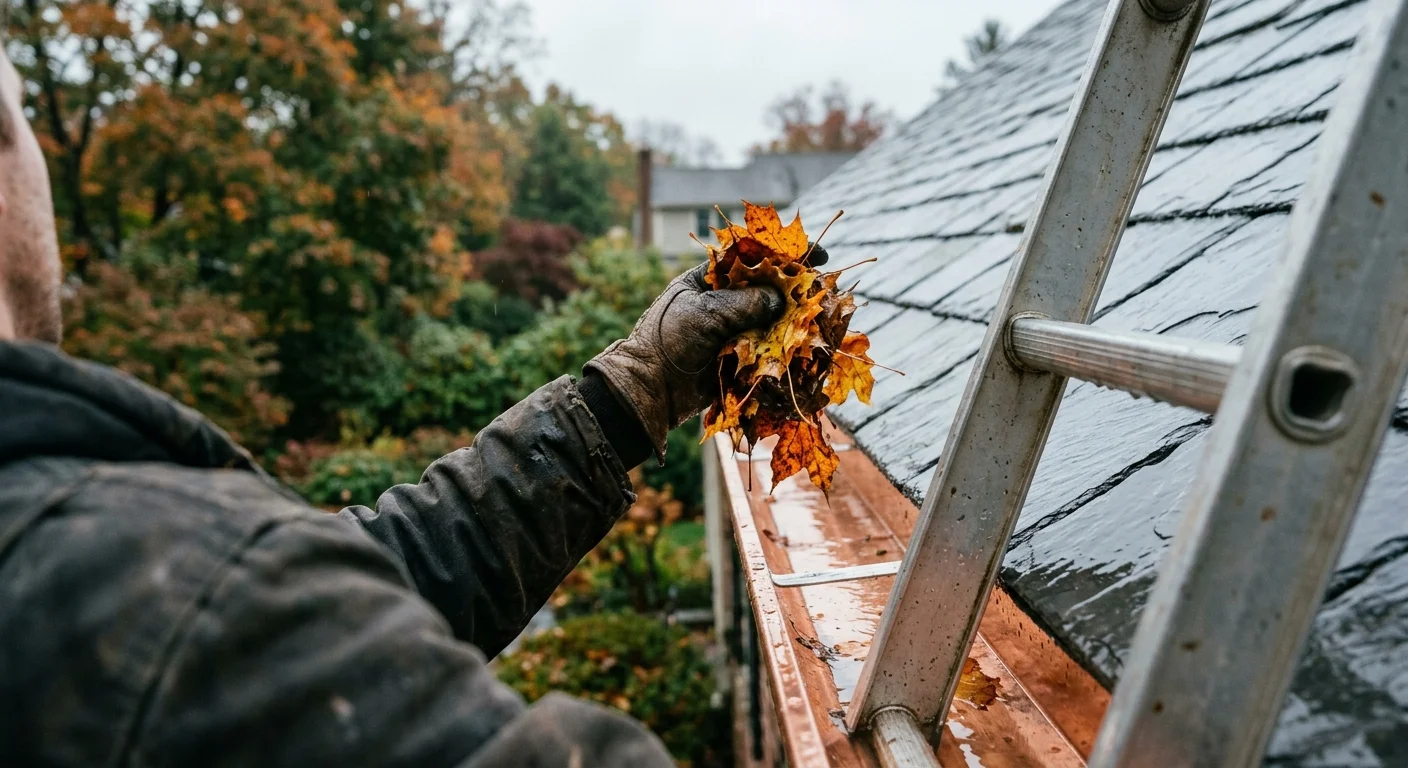
3. Flushing Rain Gutters and Verifying Downspout Flow
Clearing fallen leaves from gutters is a staple seasonal chore, but simply scooping loose leaves out of top troughs leaves the job half done. Decaying foliage forms a dense, clay-like organic sludge at the bottom of gutter channels that chokes downspout openings. When late autumn rains and winter freeze-thaw cycles hit, blocked gutters overflow; this sends water cascading down exterior siding, behind soffits, and directly toward your home’s foundation.
Trapped standing water also creates massive ice dams during freezing weather. As water freezes along cold roof eaves, it forces melting snow backward underneath asphalt shingles, causing costly ceiling leaks, interior drywall damage, and structural wood rot. Executing this essential task properly requires thorough flushing, not just surface scooping.
Gutter Maintenance Protocol:
- Set your extension ladder on firm, level ground, adhering strictly to ladder safety guidelines established by the U.S. Consumer Product Safety Commission before ascending.
- Wear heavy-duty waterproof work gloves and scoop out packed sludge using a flexible plastic gutter scoop.
- Insert a high-pressure garden hose nozzle into the top of each downspout, flushing remaining dirt while verifying rapid, clear drainage at ground level.
- Clear stubborn downspout clogs using a small plumbing snake or by tapping gently on metal elbow joints to dislodge trapped debris.
- Attach flexible downspout extenders or concrete splash blocks to ensure water discharges at least five feet away from your foundation walls.

4. Deep Cleaning HVAC Registers and Upgrading Air Filters
During warm months, your heating vents collect dust, pet dander, dead skin cells, and microscopic outdoor pollen. When your central furnace ignites for the first time in autumn, forced hot air blasts these accumulated contaminants straight into your bedrooms and living areas. Ignored floor registers also serve as collection traps for small toys, crumbs, and hair that emit subtle, unpleasant burnt odors when warm air circulates.
Running your heating system with a dirty air filter restricts critical airflow across the furnace heat exchanger. This restriction forces your heating system to work harder, raises your monthly fuel consumption, and can cause the system to overheat and shut down during extreme cold snaps. Implementing smart fall cleaning tips like upgrading your filtration safeguards your budget and your family’s lungs.
Take the time to unscrew floor, wall, and ceiling vent covers throughout your entire house. Wash metal and plastic grilles in a sink filled with warm water and mild dish soap, scrubbing off grime with a microfiber cloth. While the grilles dry, insert a vacuum hose deep inside the duct openings to pull out heavy settled dust. Finish by replacing your central air filter with a fresh unit rated between MERV 8 and MERV 13, aligning with indoor air quality recommendations from the U.S. Environmental Protection Agency. Keep furniture, thick rugs, and drapes at least twelve inches away from supply and return vents to preserve balanced system circulation.
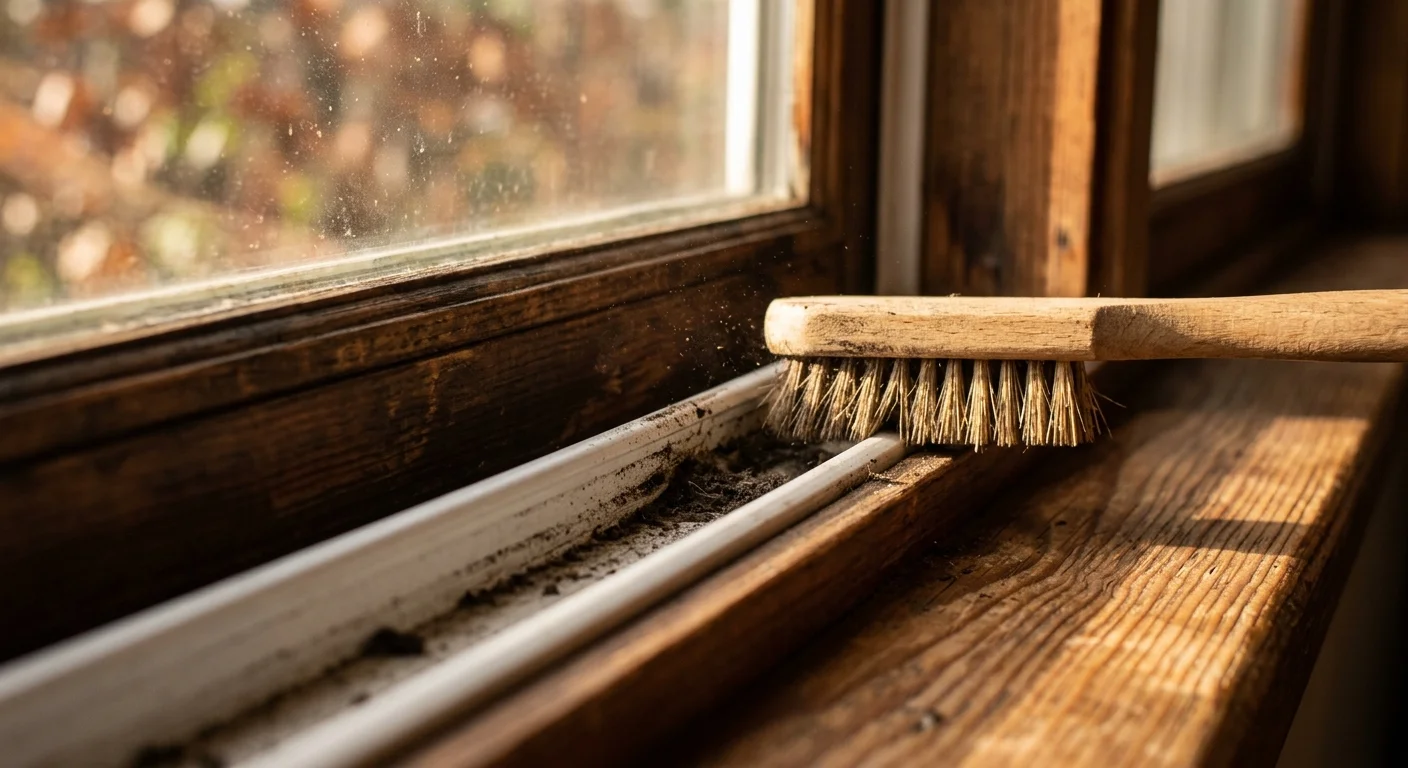
5. Scrubbing Window Tracks and Inspecting Weatherstripping
Closed windows keep freezing winter winds outside, but filthy window tracks compromise window seals and create breeding grounds for indoor mold growth. Throughout spring and summer, dirt, airborne pollen, and insect debris settle inside lower track channels. As winter temperatures drop, warm interior humidity meets cold glass, forming heavy condensation that drips down into these dirty tracks.
This wet sludge creates an ideal habitat for toxic black mold while eroding wooden window frames and corroding metal sliding mechanisms. In addition, torn or flattened weatherstripping allows icy cold drafts to slip indoors—causing your heating system to run constantly to maintain a comfortable indoor temperature.
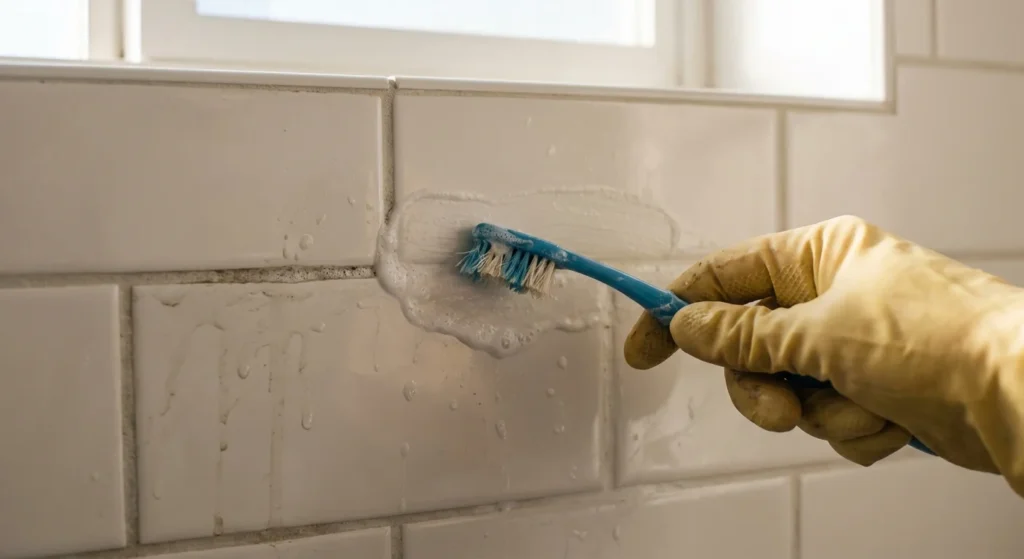
Begin by vacuuming loose dust and dead insects out of the window tracks using a narrow nozzle. Lightly sprinkle baking soda along the track channel, then spray white distilled vinegar over the powder to create a fizzing cleaning foam. Let the solution sit for five minutes to break down hard grime, then scrub tight corners using an old toothbrush or a stiff detail brush. Wipe the slurry clean with paper towels, dry the track thoroughly, and lubricate sliding tracks with silicone spray. Finally, hold a lit candle or incense stick near window frame edges on a windy day; replace any flattened, torn, or brittle weatherstripping where drafty air makes the flame flicker.
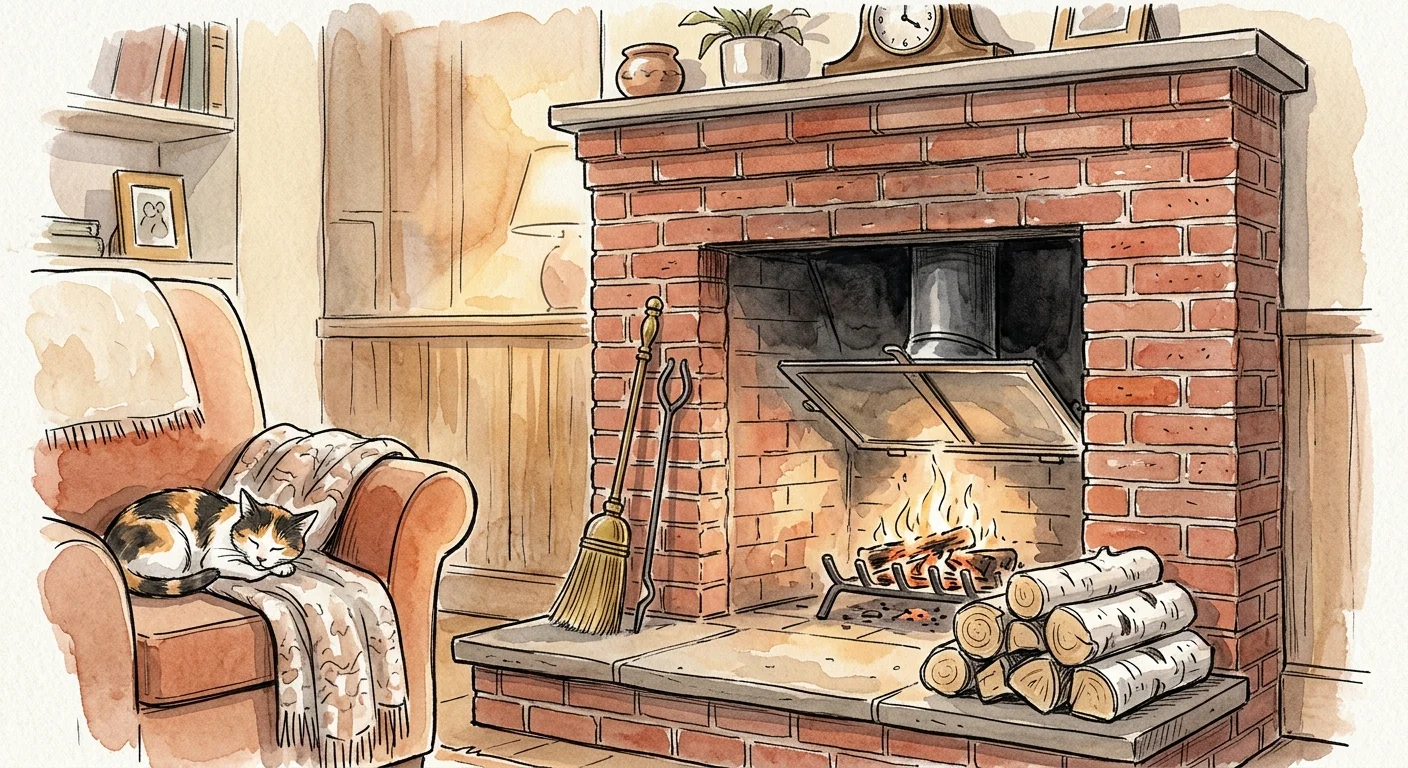
6. Sweeping Fireplace Flues and Inspecting Fireplace Hearth
Lighting your fireplace without thorough autumn preparation introduces serious fire and toxic gas hazards into your home. Burning wood leaves behind creosote—a highly flammable, tar-like byproduct—along the inner lining of your chimney flue. Over time, thick creosote buildup can ignite, causing violent chimney fires that reach temperatures above 2,000 degrees Fahrenheit and easily spread into roof framing.
Furthermore, nesting birds, leaves, or deteriorating brickwork can block your chimney cap during spring and summer months. A blocked chimney prevents combustion gases, including odorless carbon monoxide, from venting safely outside. Incorporating flue inspections into your seasonal cleaning checklist ensures cozy fires stay safe.
Shine a high-powered flashlight up into your chimney flue with the damper locked wide open. Look for animal nests, cracked firebricks, or flaky black creosote deposits. If you observe creosote buildup thicker than one-eighth of an inch, hire a certified professional chimney sweep before lighting your first fire of the season. For basic hearth maintenance, clean glass doors using a specialized soot remover, vacuum cold ash from the firebox with an ash-rated vacuum, and install fresh batteries in all home carbon monoxide detectors.
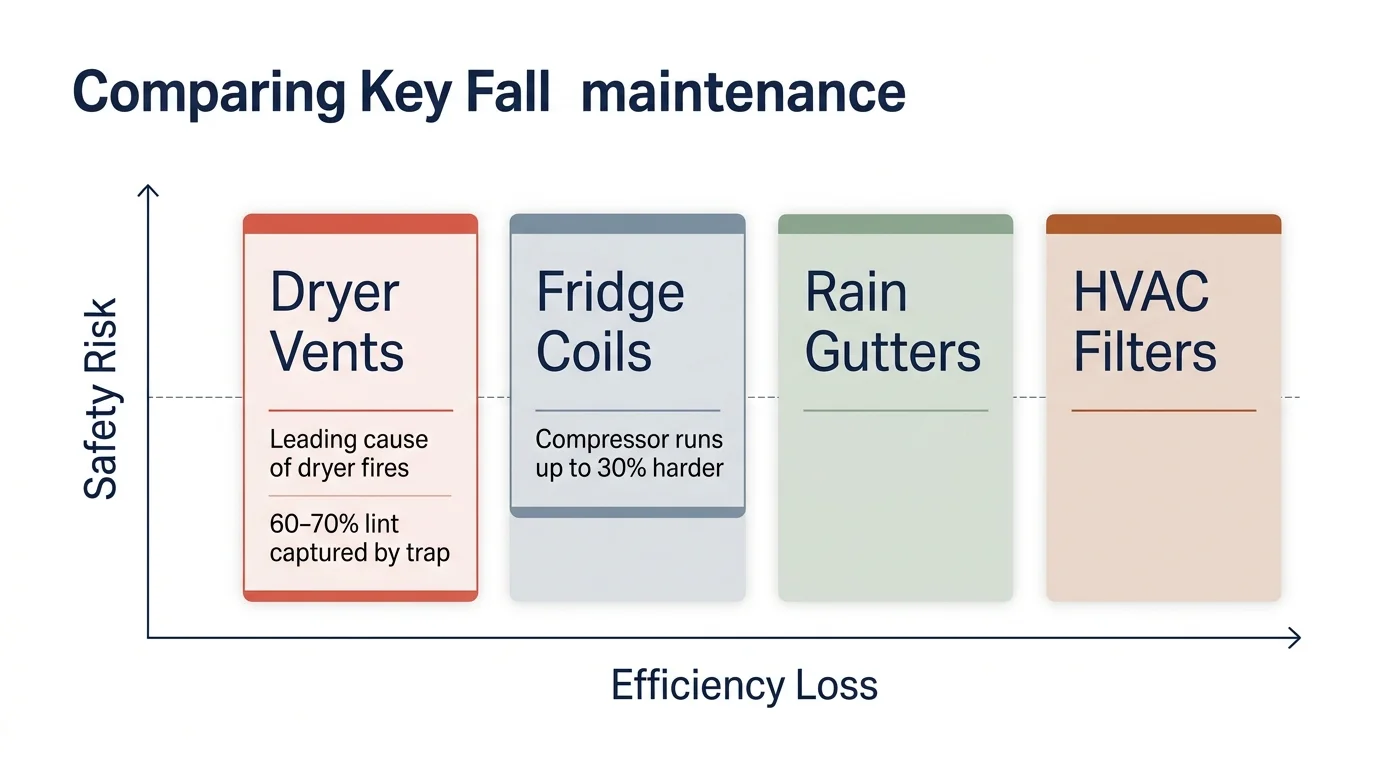
Essential Fall Home Maintenance Comparison
To help you organize your autumn cleaning tasks efficiently, the table below outlines the ideal frequency, required tools, and primary practical benefits for each high-value home project.
| Maintenance Task | Recommended Frequency | Essential Tools Needed | Primary Home Benefit |
|---|---|---|---|
| Dryer Vent Cleaning | Once per year (Fall) | Rotary vent brush, shop vacuum, metal tape | Prevents household fires; cuts drying time |
| Refrigerator Coil Cleaning | Twice per year (Spring/Fall) | Coil brush, vacuum crevice tool | Lowers electric bills; extends appliance life |
| Gutter & Downspout Flush | Twice per year (Late Spring/Fall) | Ladder, gutter scoop, hose, downspout extensions | Prevents ice dams and foundation flooding |
| HVAC Register & Filter Care | Filter every 1–3 months; vents in Fall | Warm soapy water, vacuum hose, MERV 8-13 filter | Improves air quality; protects furnace motor |
| Window Track Deep Clean | Twice per year (Spring/Fall) | Baking soda, vinegar, toothbrush, silicone spray | Stops mold growth; eliminates cold winter drafts |
| Fireplace & Flue Inspection | Once per year (Early Fall) | Flashlight, ash shovel, soot cleaner, CO detectors | Prevents chimney fires and toxic gas buildup |
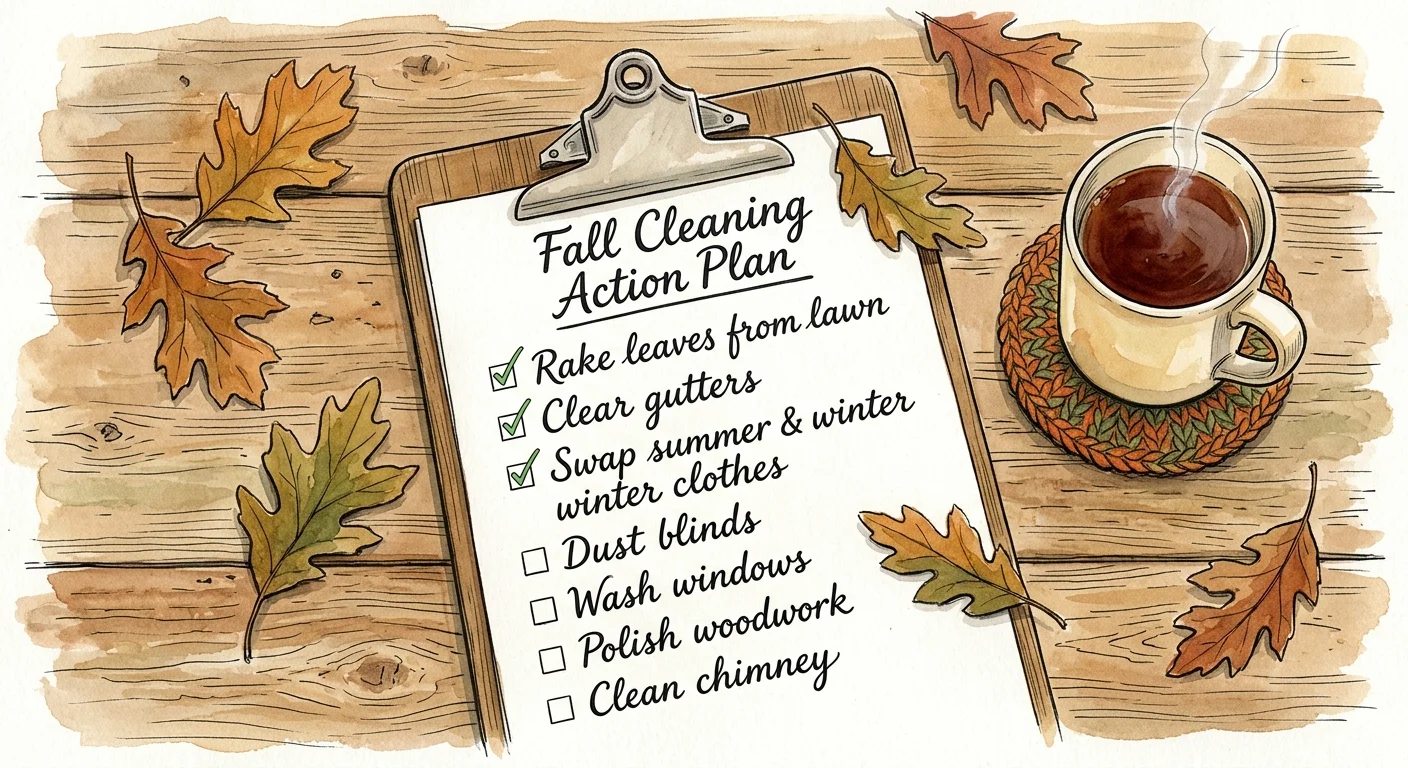
Quick Fall Home Maintenance Checklist
Keep your seasonal maintenance on track by crossing off these vital home targets before the first hard freeze hits your region:
- Inspect and clear exterior dryer vent flap hood.
- Clean refrigerator coils and wash out the drip pan.
- Flush gutters and extend downspouts five feet from walls.
- Wash HVAC registers and install a fresh MERV-rated filter.
- Scrub window tracks and replace brittle weatherstripping.
- Inspect chimney flue and test all carbon monoxide alarms.
Your Actionable Next Step
Do not let this list overwhelm you. Pick just one task from this list—such as replacing your HVAC filter and washing floor registers—and complete it this weekend. Taking action on single high-impact tasks builds immediate momentum, protects your household investment, and ensures your home remains safe, efficient, and cozy all season long.