Your kitchen countertops endure a daily barrage of spilled coffee and oily splatters, but restoring their original gleam takes far less effort than you might think. By adopting a few targeted cleaning strategies, you can dissolve stubborn grease and buff away dulling residue without relying on harsh, abrasive chemicals. Whether you maintain polished granite, durable quartz, or classic laminate, understanding your material’s specific needs prevents permanent damage while simplifying your evening routine. From selecting the perfect microfiber texture to mastering the art of the dry buff, these straightforward techniques will transform your sticky, lackluster prep station into a smooth, luminous focal point that makes the entire room feel impeccably clean.
Swap Harsh Chemical Sprays for a pH-Neutral Soap Solution
Many homeowners instinctively reach for heavy-duty degreasers, bleach-based sprays, or DIY vinegar mixtures when tackling kitchen messes. Unfortunately, these highly acidic or alkaline substances represent the fastest way to ruin a beautiful surface. Acidic ingredients like vinegar and lemon juice will slowly eat away the protective sealant on natural stone, leading to dull, cloudy patches known as etching. Similarly, bleach can permanently discolor the resin binders used in engineered quartz countertops, stripping away their natural gloss.
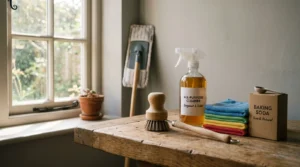
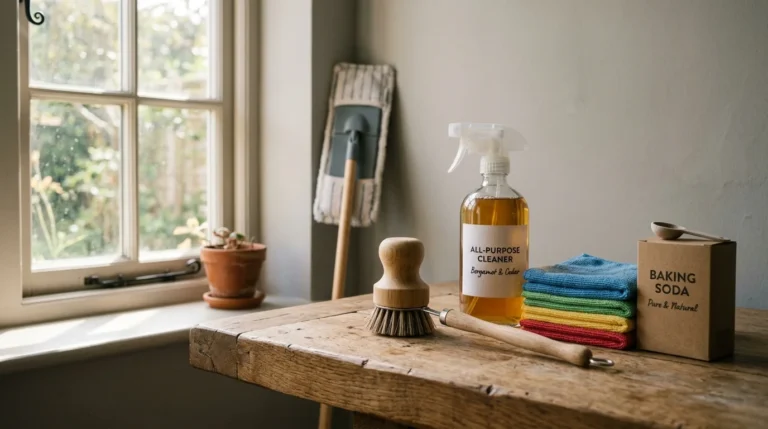
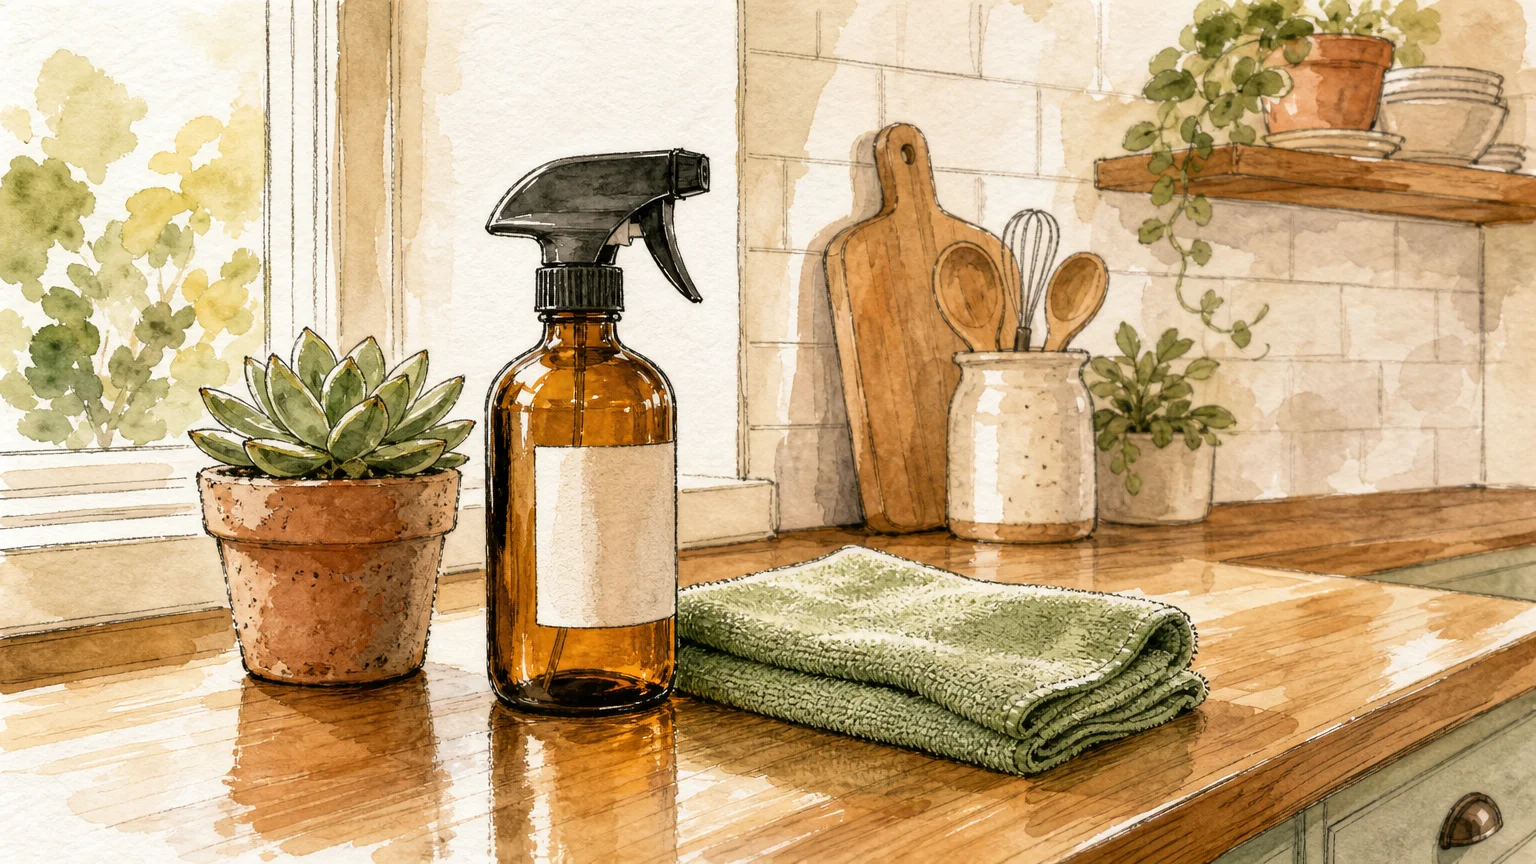
Rather than spending excess money on specialty commercial sprays, you can achieve a flawless, safe clean using a basic pH-neutral solution. Standard dish detergent excels at cutting through everyday kitchen grease; its chemical structure naturally binds to oils and lifts them away from the stone. More importantly, normal soap effectively breaks down the lipid barriers surrounding most household bacteria, neutralizing micro-critters without requiring harsh additives. Health authorities like the FDA emphasize that plain soap and water are highly effective for everyday hygiene, meaning you do not need caustic chemicals to maintain a sanitary prep area. If you prefer buying pre-made products, look for brands certified by the EPA Safer Choice program to ensure the ingredients are pH-neutral and gentle on both your home and the environment.
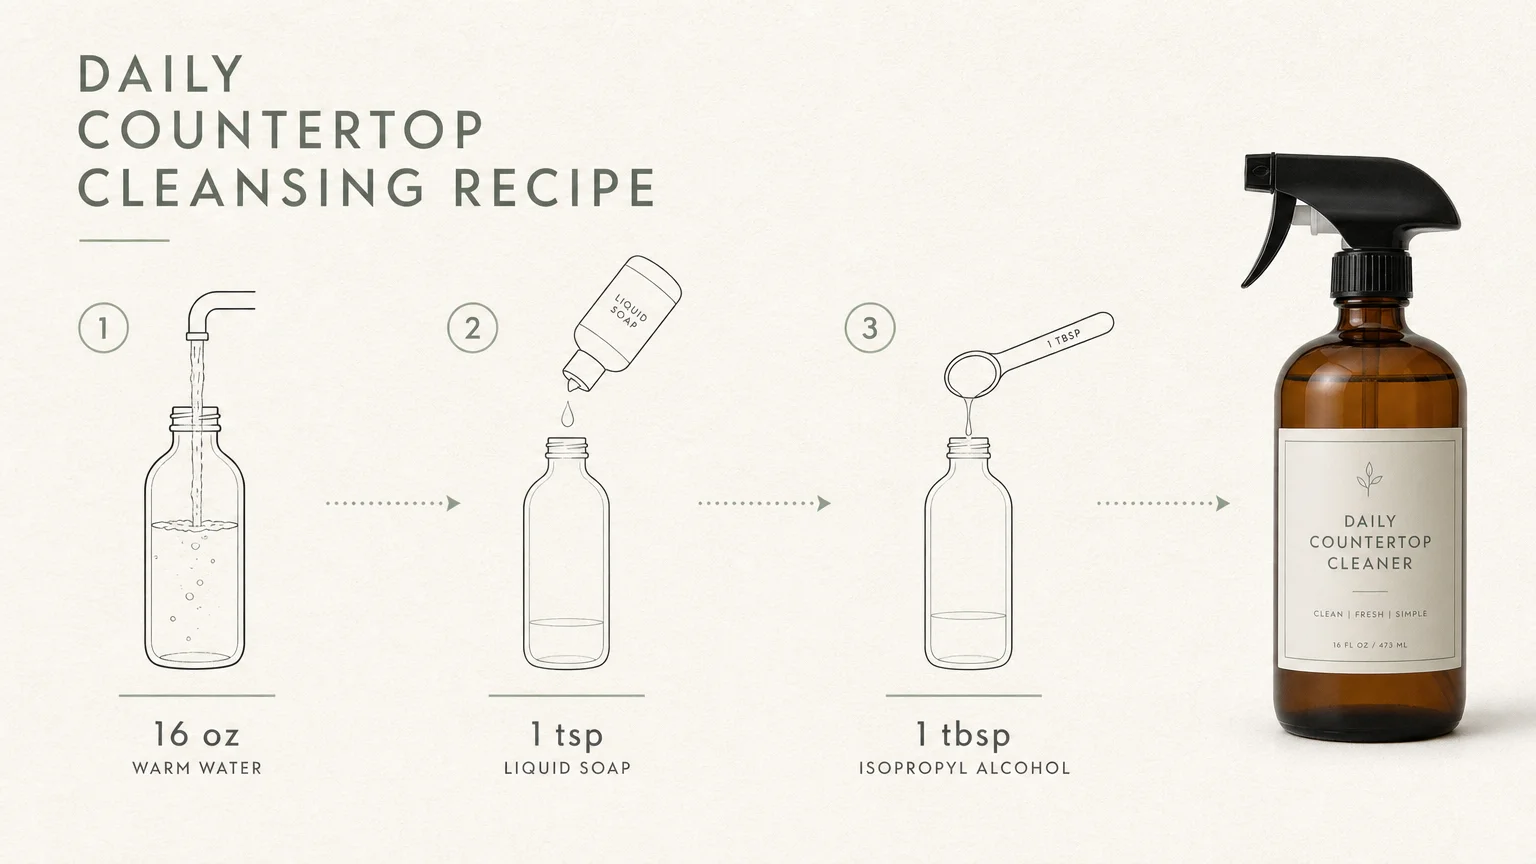
Your Daily Countertop Cleansing Recipe
- Fill a clean, empty spray bottle with sixteen ounces of warm tap water.
- Add exactly one teaspoon of a gentle, bleach-free liquid dish soap. Avoid using too much soap, as excess suds will leave behind a cloudy film that obscures the shine.
- Add one tablespoon of 70 percent isopropyl alcohol to speed up the evaporation process and reduce streaks.
- Gently swirl the bottle to combine the ingredients without creating massive foam.
- Store this bottle under your sink for your daily evening reset.
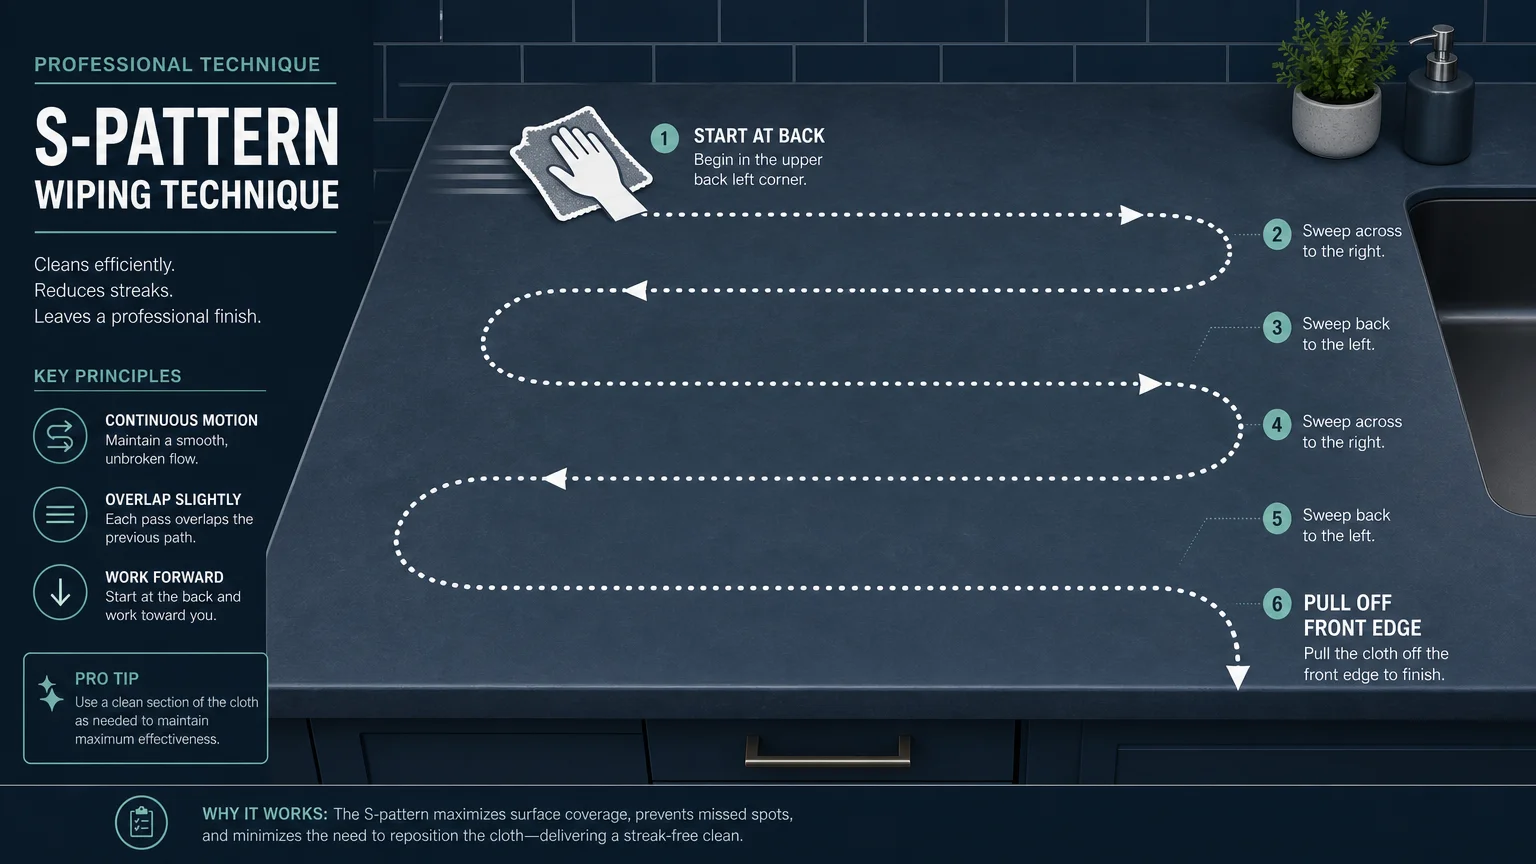
Adopt the S-Pattern Wiping Technique to Eliminate Streaks
If you regularly wipe down your kitchen and still notice hazy swirls catching the afternoon light, your wiping technique is likely the culprit. Most people instinctively clean surfaces using vigorous, scrubbing circles. While this motion feels productive, it merely pushes grease, food particles, and dirty water back over the exact areas you just attempted to clean; this redistribution of soil is the primary cause of frustrating streaks.
Professional residential cleaners avoid this problem by utilizing the S-pattern method. By working systematically from the back of the counter toward the front edge, you capture debris and pull it entirely off the surface rather than grinding it into the polish. This method saves you time and significantly reduces the amount of physical scrubbing required.
To execute the S-pattern properly, start at the top corner of your countertop section, right against the backsplash. Pull your damp microfiber cloth horizontally across the surface. Once you reach the opposite edge, pivot the cloth downward slightly and sweep back in the other direction, slightly overlapping your first pass. Continue this fluid, snake-like motion until you reach the front edge of the counter, where you can easily sweep any trapped crumbs into your hand or a dustpan. Pairing this technique with a flat-weave microfiber cloth ensures you lift oils away cleanly, leaving nothing behind but a smooth, reflective surface.
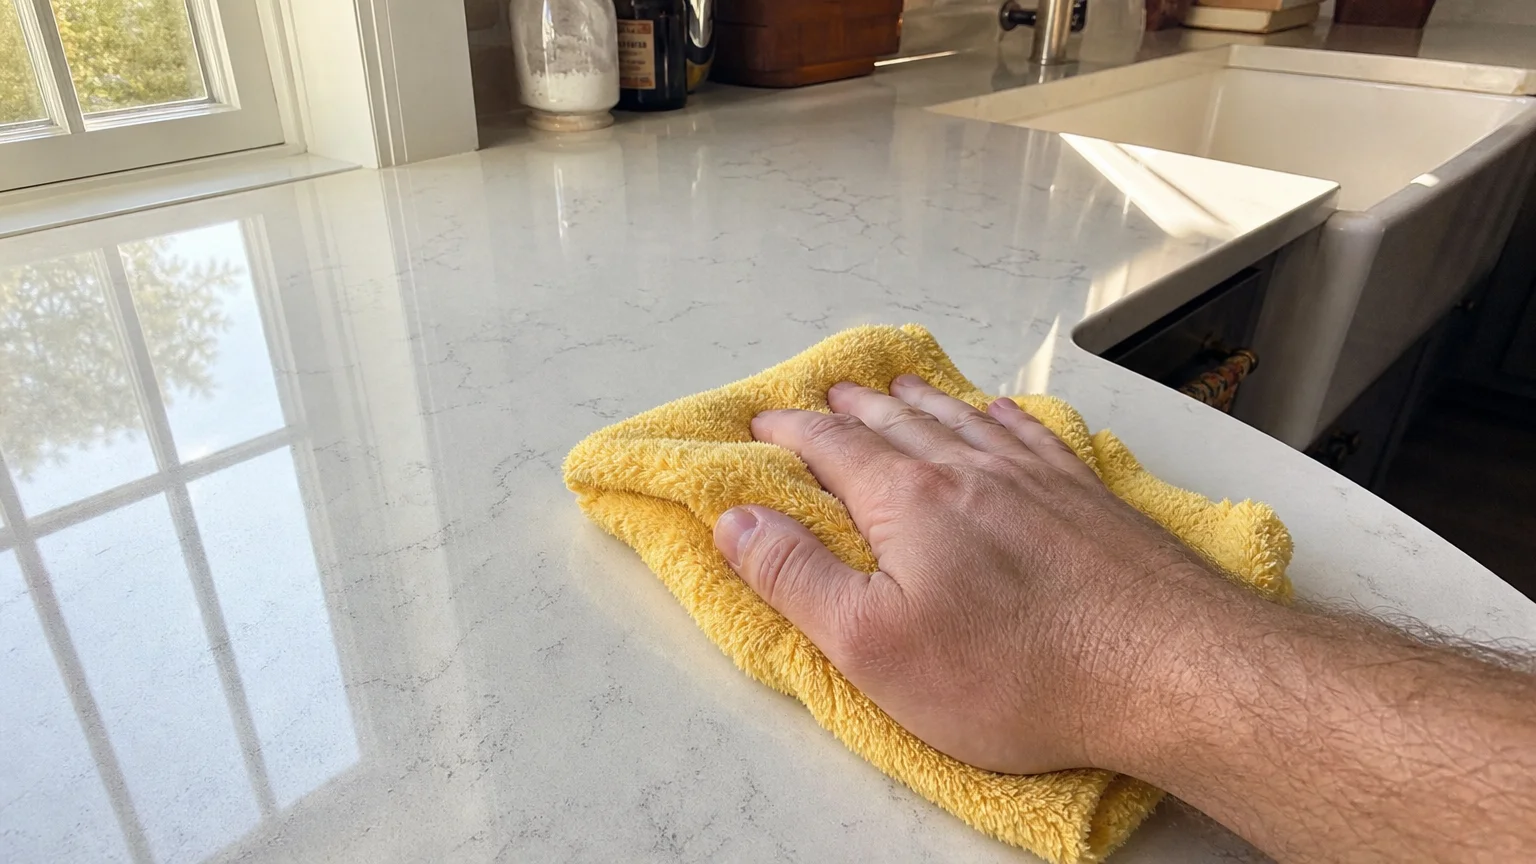
Perform a Routine Dry Buff for a Mirror-Like Finish
Removing spills and sticky spots represents only the first half of the equation; the true secret to restoring a factory-level shine lies in the drying process. When you allow your countertops to air-dry, the moisture eventually evaporates, but it leaves behind trace minerals from your tap water and minuscule amounts of residual soap. Over weeks and months, this invisible mineral deposit accumulates into a stubborn haze that dulls your beautiful kitchen surfaces.
To combat this gradual dulling, you must introduce a dedicated dry buffing step into your kitchen routine. Immediately after you finish wiping down the counters with your damp, soapy cloth, grab a completely dry, clean microfiber cloth or a specialized glass-polishing towel. Vigorously rub the surface to absorb all remaining moisture before it has a chance to evaporate on its own.
This quick friction not only eliminates the risk of hard water spots but also acts as a gentle polish for the stone. The dry fibers catch any lingering smudges you might have missed during the wet clean. While adding an extra step might sound tedious, dry buffing takes less than sixty seconds for an average-sized kitchen, and the immediate, mirror-like payoff is well worth the minimal exertion. If you want to make your kitchen feel professionally detailed before hosting guests, the dry buff is your most valuable tool.
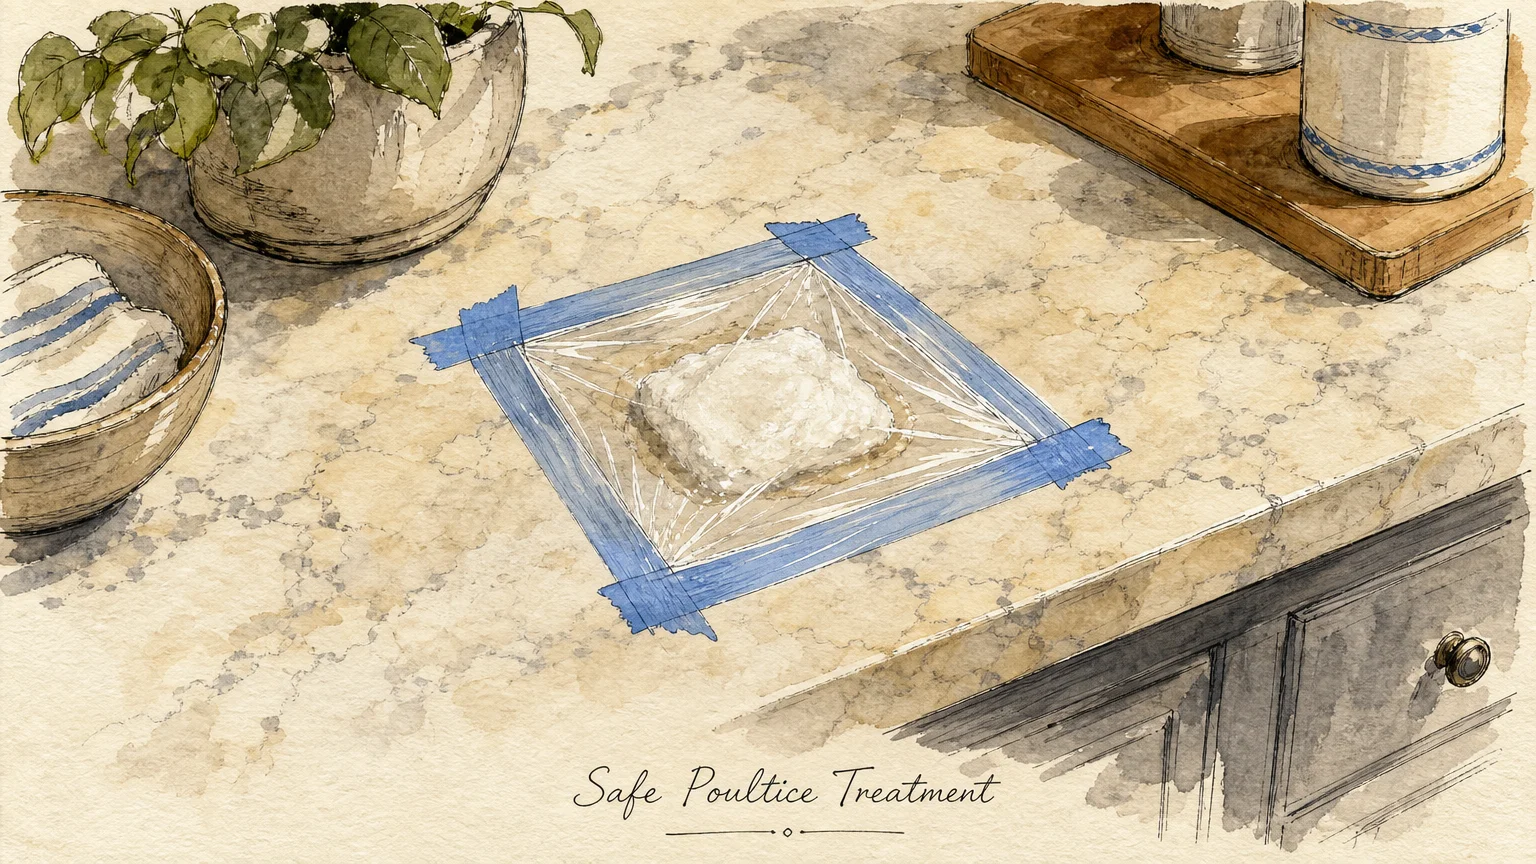
Treat Stubborn Spills with a Safe, Non-Abrasive Poultice
No matter how diligent you are, life happens. A splash of red wine goes unnoticed behind the coffee maker, or a dash of turmeric stains the island during dinner prep. When faced with dried, brightly colored messes, the immediate temptation is to grab a heavy-duty scouring pad or a gritty powdered cleanser and scrub until the stain vanishes.
You must resist this urge completely. Rough, abrasive scrubbers and harsh powders create microscopic scratches across the finish of your stone or laminate, which scatter light and create a dull, hazy look. This scattering effect makes the countertop appear permanently cloudy. Instead of forcing the stain out through friction, you should draw it out gently using a homemade poultice.
A poultice works through capillary action, safely pulling the trapped pigment up and out of the countertop pores. For tough stains on stain-resistant surfaces like quartz, you can create a paste using baking soda and water; simply apply it to the stain, let it sit for five to ten minutes, and gently wipe it away with a soft cloth. For highly porous natural stones like light-colored granite, you may need to let the paste sit covered with plastic wrap for twenty-four hours to draw out deep oil or wine stains. The stain will lift away with the paste, preserving your smooth, reflective finish without a single scratch. Always test a small, inconspicuous area first to ensure the mixture does not alter your specific finish.
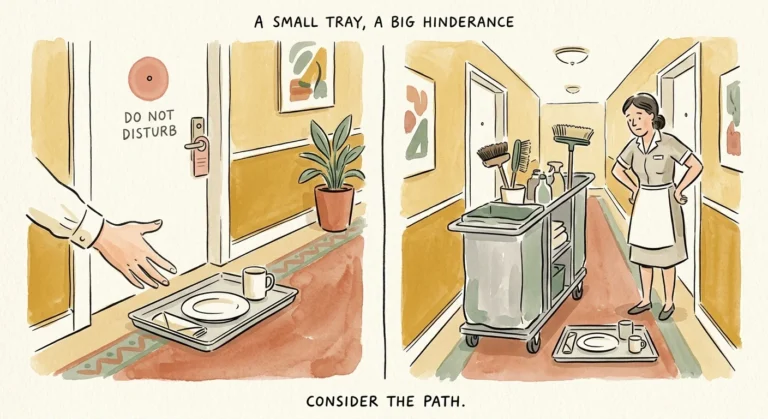
Clear the Visual Clutter to Maximize the Reflective Surface
A countertop cannot shine if you cannot actually see it. One of the most overlooked aspects of making a kitchen look pristine is managing the visual clutter that inevitably accumulates on flat surfaces. Mail, spice jars, cutting boards, and small appliances not only block natural light from bouncing off the stone, but they also create physical obstacles that make daily wiping a frustrating chore.
When your counter is crowded, you are much more likely to clean around objects rather than moving them, which allows grease and dust to build up in hidden corners. To instantly elevate the look of your kitchen, evaluate every item living on your surface. If you use an appliance less than three times a week—like a stand mixer or a specialty blender—find a permanent home for it inside a cabinet or pantry.
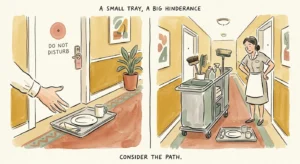
For the items that must remain out, such as your coffee machine or a canister of cooking utensils, use the concept of boundary organization. Place these daily essentials onto a decorative wooden, metal, or acrylic tray. By grouping loose items onto a single tray, you consolidate the visual noise. When it comes time to clean, you simply lift one tray, wipe the vast expanse of shiny counter beneath it, and set it back down. Maximizing the amount of exposed, uninterrupted surface area allows overhead lighting to reflect beautifully, giving the entire kitchen an airy, expansive glow.
Respect the Temperature Limits of Your Countertop Material
Heat damage is a silent killer of countertop shine, particularly because the damage happens instantaneously and is often irreversible. While materials like granite and quartzite boast high natural heat resistance, setting a scorching frying pan directly onto the stone can still cause thermal shock, leading to hidden micro-fissures or weakened sealants. For engineered surfaces, the risk is even more severe.
Quartz countertops are manufactured by blending natural quartz dust with polymer resins to create a durable, non-porous slab. While this resin provides incredible flexibility and stain resistance, it possesses a strict thermal threshold. Exposing quartz to temperatures above 300 degrees Fahrenheit can actually melt or scorch those binding resins, leading to discoloration or permanent cracks. Leading surface manufacturers like Caesarstone explicitly warn against placing hot cookware directly on quartz, advising homeowners to always use protection.
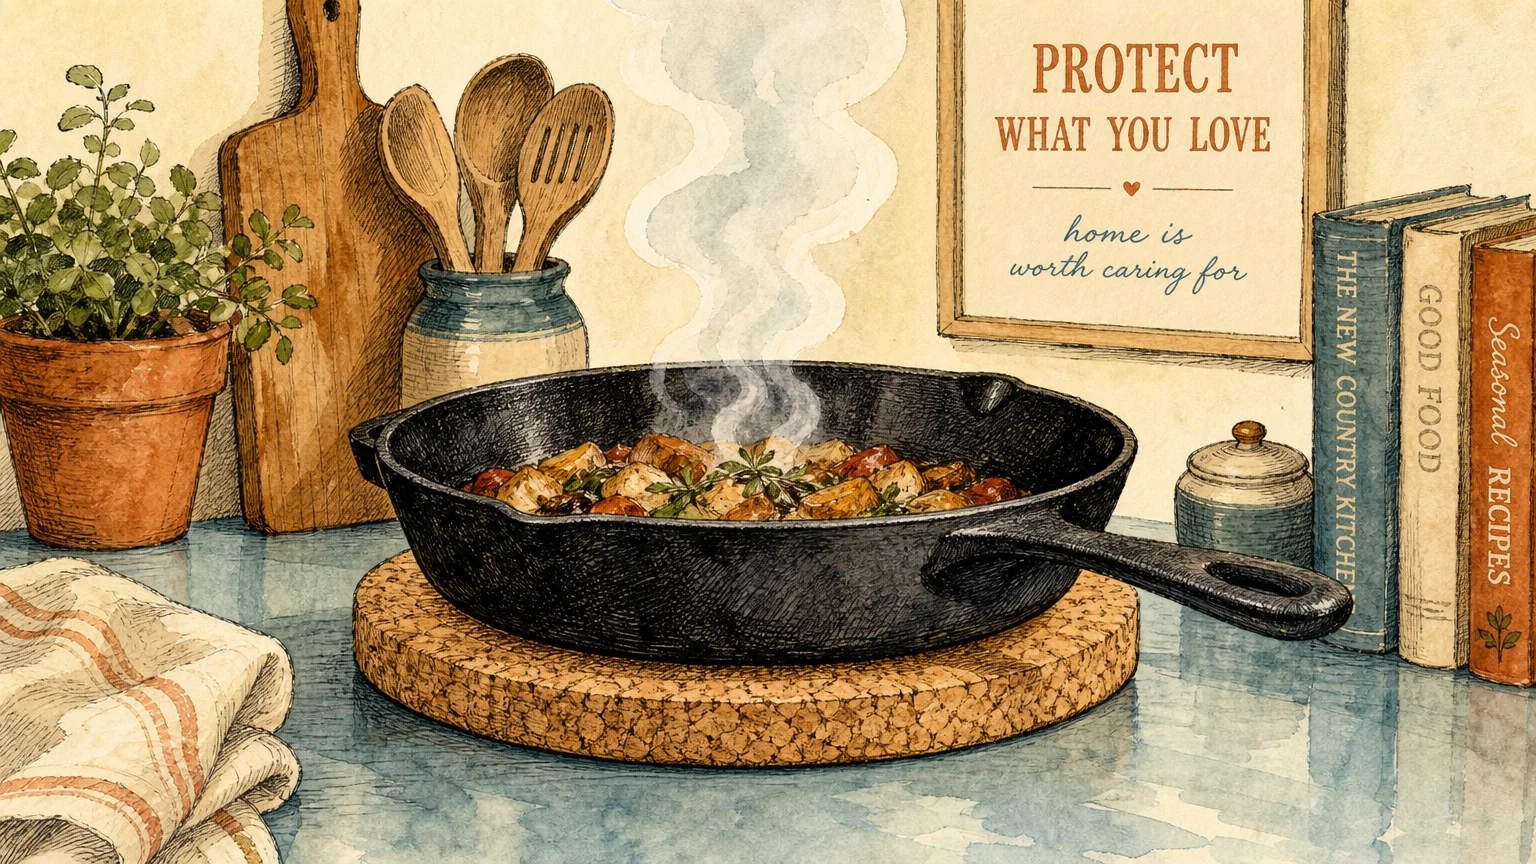
To preserve your pristine finish, you must build strict heat-protection habits into your daily cooking routine. Keep a stack of sturdy cork trivets or heat-resistant silicone mats in a drawer right beside your stove. Make it a non-negotiable rule to place a trivet down before moving a hot baking sheet from the oven. If you frequently use heat-generating countertop appliances like slow cookers, air fryers, or toaster ovens, slide a protective mat underneath them to prevent residual heat from baking into the surface over time. Protecting your counters from intense temperatures ensures the surface remains perfectly smooth and glossy for decades.
Schedule a Yearly Sealant Test for Natural Stone
If you have natural stone counters like granite, marble, or quartzite, their brilliant shine relies heavily on a microscopic barrier known as a penetrating sealer. Because natural stone is inherently porous, it contains tiny interconnected channels. A high-quality sealant fills these pores, preventing liquids from seeping below the surface. When a sealant wears down through daily use, oils and moisture absorb into the stone, creating dark, dull patches that no amount of surface cleaning will fix. In contrast, engineered quartz is naturally nonporous and never requires sealing or reconditioning.
Fortunately, determining whether your natural stone counters need a fresh coat of protection takes only seconds. You should perform the water drop test at least once a year, preferably near high-traffic zones like the sink or the stove, to ensure your granite remains protected.
The Water Drop Test
- Ensure your countertop is completely dry and free of crumbs.
- Flick a few large drops of clean tap water directly onto the surface.
- Set a timer for ten minutes and observe how the water behaves.
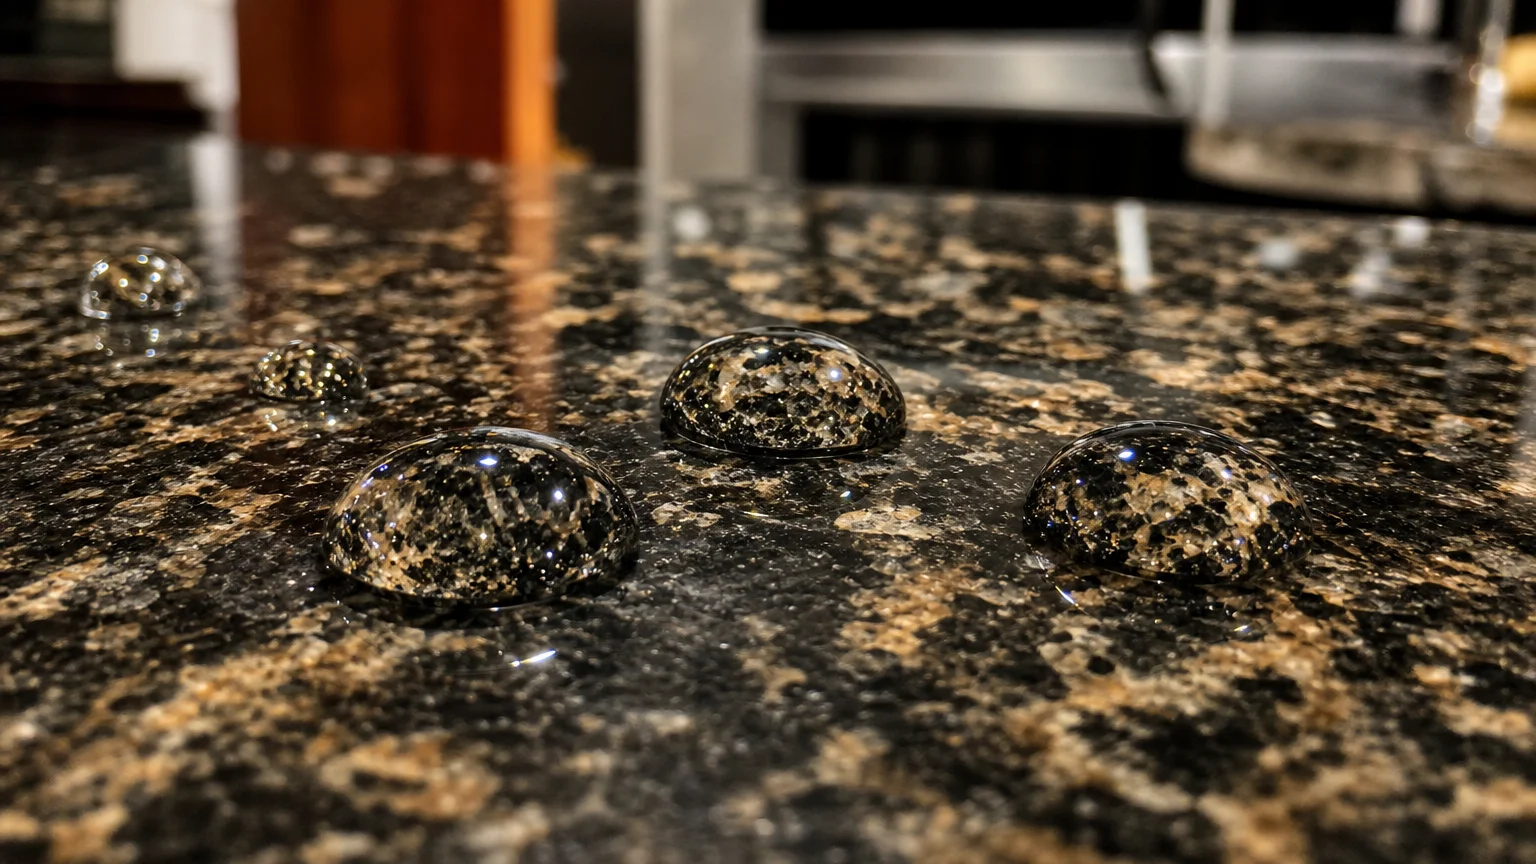
- If the water remains perfectly beaded on the surface like a tightly rounded dome, your sealant is strong.
- If the water spreads out, flattens, or darkens the stone beneath it, your protective barrier has failed.
Applying a new layer of sealant is a surprisingly simple weekend project. You can purchase commercial-grade, impregnating stone sealers from any home improvement store. After thoroughly cleaning and drying the counter, simply wipe the liquid sealer onto the stone, allow it to penetrate for the time specified on the bottle, and carefully buff away the excess. Maintaining this invisible shield keeps environmental contaminants out and locks your natural, radiant shine in.
Countertop Care Cheat Sheet
| Material | Daily Cleaning Routine | Biggest Threat to Shine | Needs Yearly Sealing? |
|---|---|---|---|
| Granite | pH-neutral soap and water | Acidic cleaners (vinegar, lemon) | Yes |
| Quartz | Mild dish soap and water | Direct heat (scorching the resin) | No |
| Marble | Dedicated stone cleaner | Abrasive scrubbing pads | Yes |
| Laminate | Mild dish soap and water | Standing water near seams | No |
Your Practical Next Step
You do not need to overhaul your entire kitchen to start seeing a brighter, cleaner space today. Right now, go grab your current all-purpose cleaning spray and check the back label; if it contains bleach, ammonia, or high levels of citric acid, move it to the bathroom or the garage. Replace it with a simple spray bottle filled with warm water and a single drop of gentle dish soap. Tonight, after dinner, wipe your counters down using the S-pattern and take sixty extra seconds to dry buff the surface with a clean microfiber cloth. You will wake up tomorrow morning to a kitchen that feels noticeably brighter, calmer, and beautifully maintained.