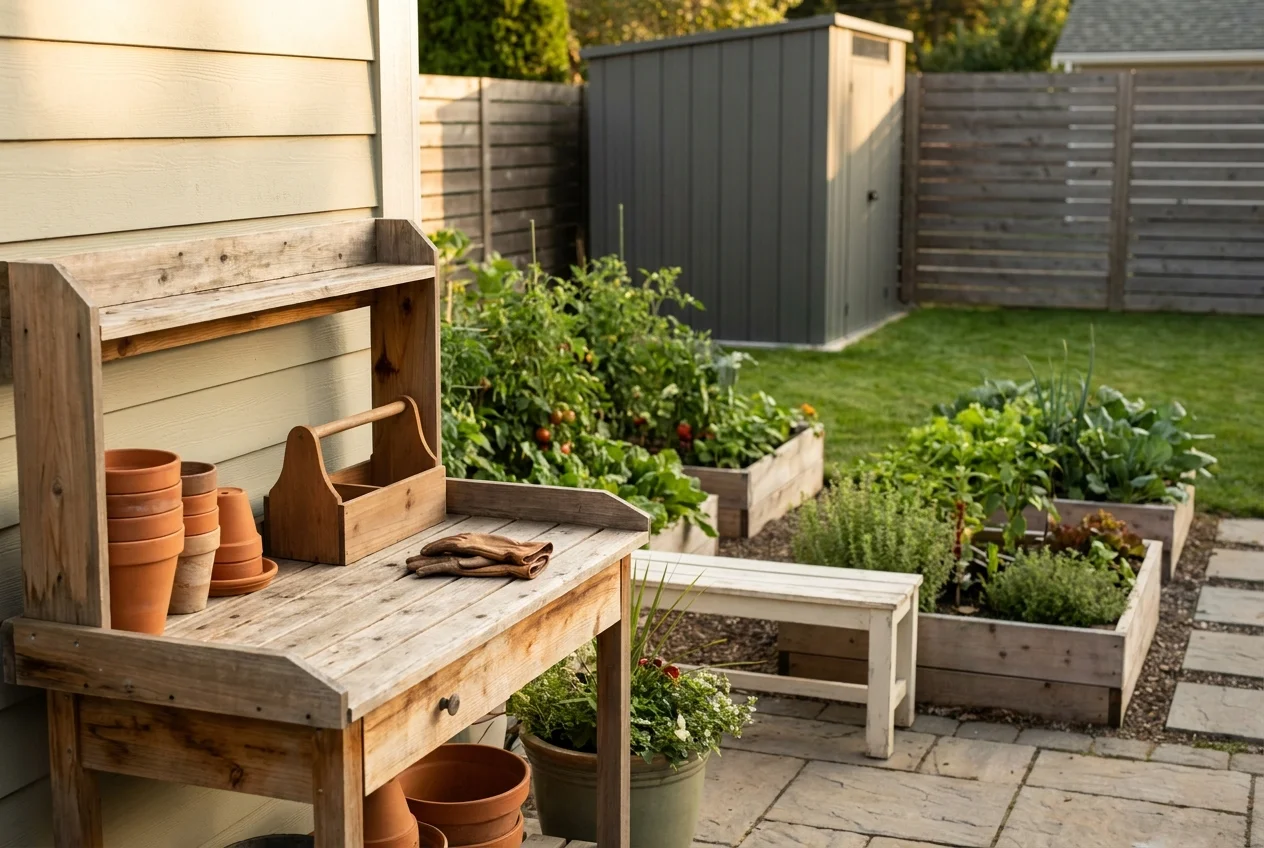
You want your backyard to be a peaceful retreat, not a storage ground for tangled hoses and scattered trowels. Reclaiming your outdoor space starts with practical garden organization ideas that streamline your routines and clear visual clutter. Whether you manage a sprawling landscape or a compact patio, implementing smart outdoor storage solutions transforms how you use your yard. Setting up dedicated zones for tools and supplies eliminates the daily frustration of hunting for misplaced shears. An organized garden layout makes watering, weeding, and pruning physically easier and far more enjoyable. Use these straightforward steps to tackle garden decluttering and create a cleaner, calmer, and easier-to-manage haven right outside your back door.
01 Group Tools and Supplies by Garden Zone
Think of your garden exactly like a well-designed kitchen. You would never store your daily cooking pots in the bedroom closet; likewise, you should not store your vegetable seeds and tomato ties in the distant garage if your raised beds sit squarely on the back patio. Establishing point-of-use storage is the foundation of a highly functional, organized garden layout. By keeping the items you need exactly where you use them, you eliminate unnecessary trips back and forth across the yard.
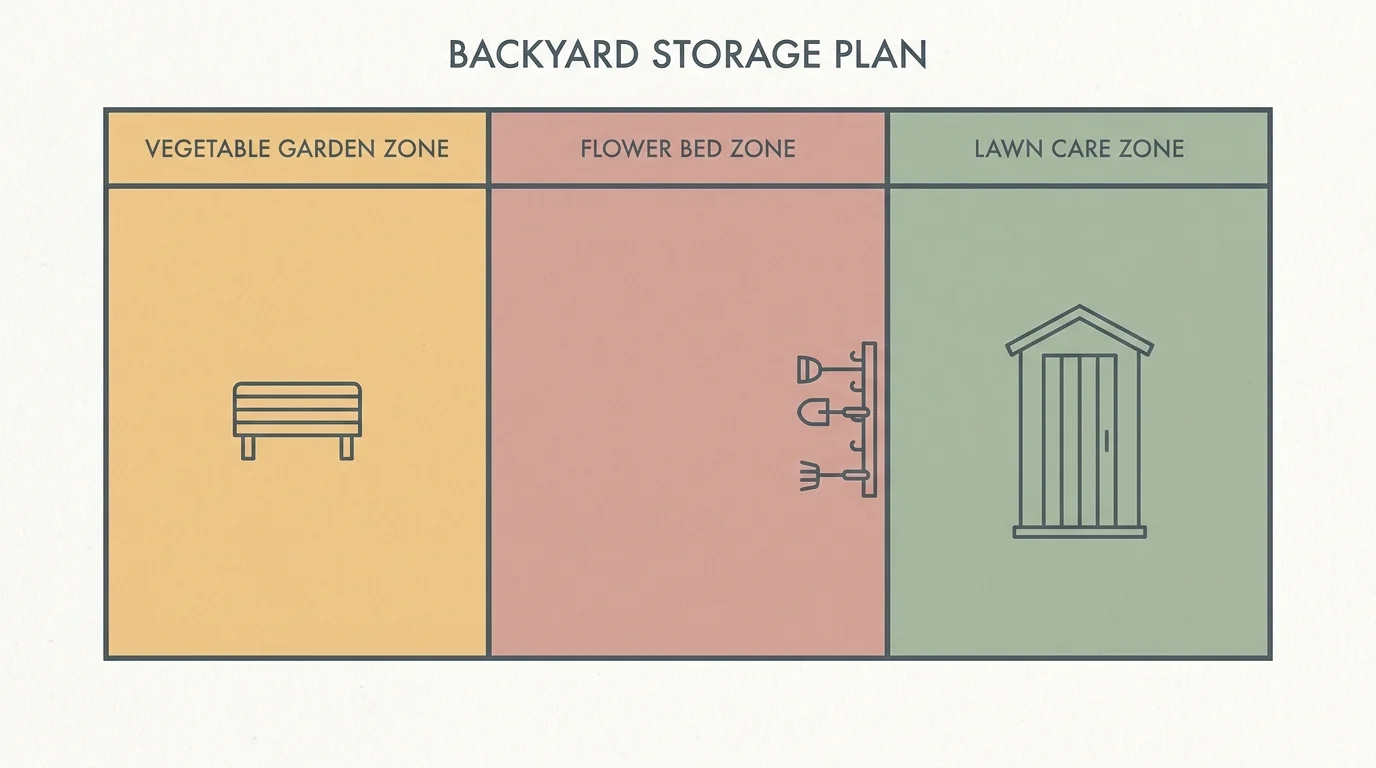
Start by dividing your yard into specific activity zones. You might designate a vegetable garden zone, a decorative flower bed zone, and a lawn care zone. Equip each area with its own specialized storage container. A small, weatherproof bench near your raised beds can hold your favorite hand trowel, pruning snips, and a spool of garden twine. A larger shed near the driveway easily houses your heavy lawnmower, edging equipment, and bulk bags of mulch. For older adults looking to simplify their routines, this zone defense conserves physical energy and turns overwhelming garden chores into quick, manageable tasks.
02 Implement Weatherproof Outdoor Storage Solutions
Leaving bags of potting soil to dissolve in the rain or allowing metal tools to rust in the morning dew instantly creates a neglected atmosphere. To maintain a crisp and tidy aesthetic, you must invest in high-quality outdoor storage solutions that shield your gear from moisture and intense ultraviolet rays. Plastic bags of compost and soil look messy and invite rodents to tear them apart for nesting material. Transferring these bulk items into durable, weatherproof containers instantly upgrades the visual appeal of your yard.
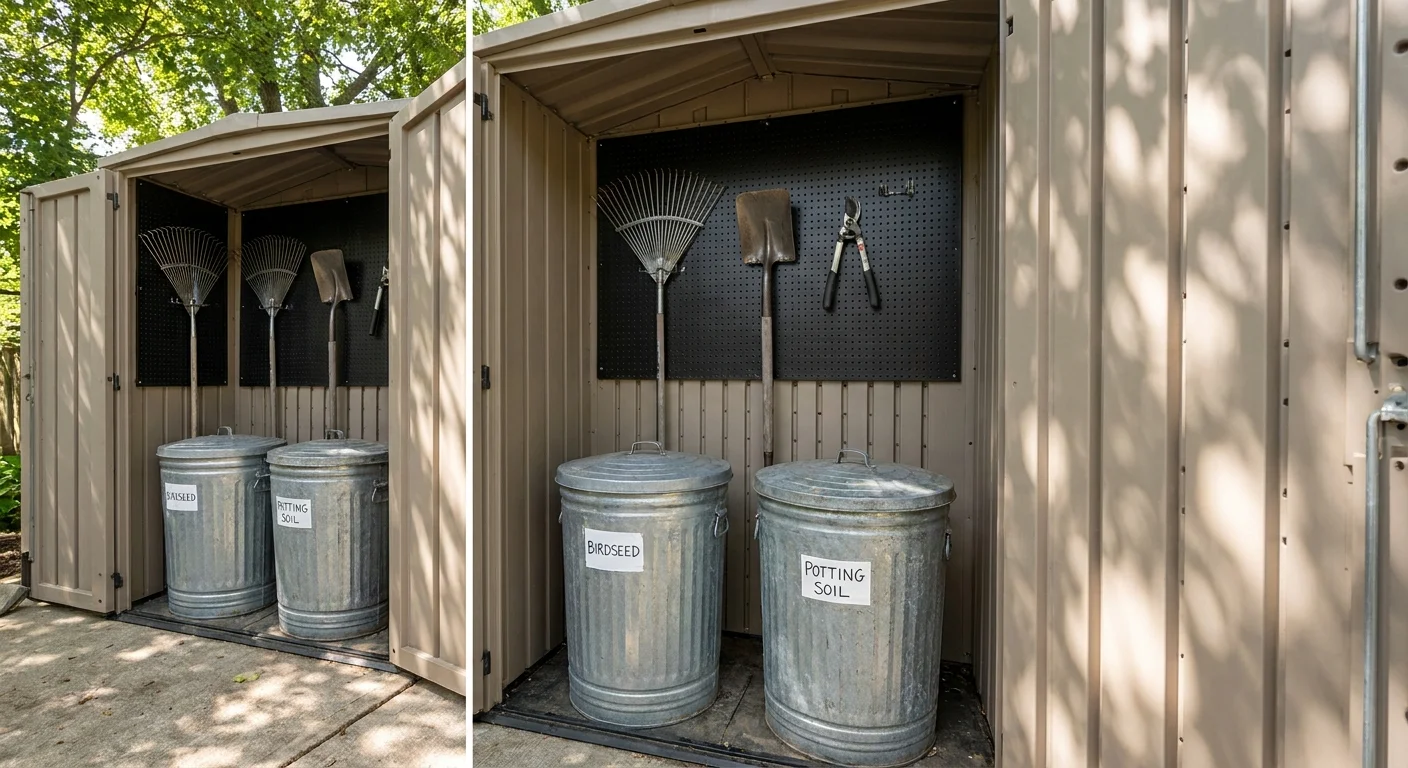
Galvanized metal trash cans serve as phenomenal storage bins for birdseed, potting soil, and dry fertilizers. Mice and squirrels cannot chew through heavy-duty steel, and the tight-fitting lids keep the contents completely dry. For larger items, resin deck boxes provide an ideal home for patio furniture cushions, children’s outdoor toys, and coiled hoses. If you lack garage space for long-handled shovels and rakes, install a slim, vertical storage shed against a sturdy fence line. Equip the interior walls with a heavy-duty pegboard or a track system with steel hooks. Hanging your tools off the ground prevents the wooden handles from rotting and keeps the floor space entirely clear for your lawnmower or wheelbarrow.
03 Manage Standing Water to Prevent Mosquitoes
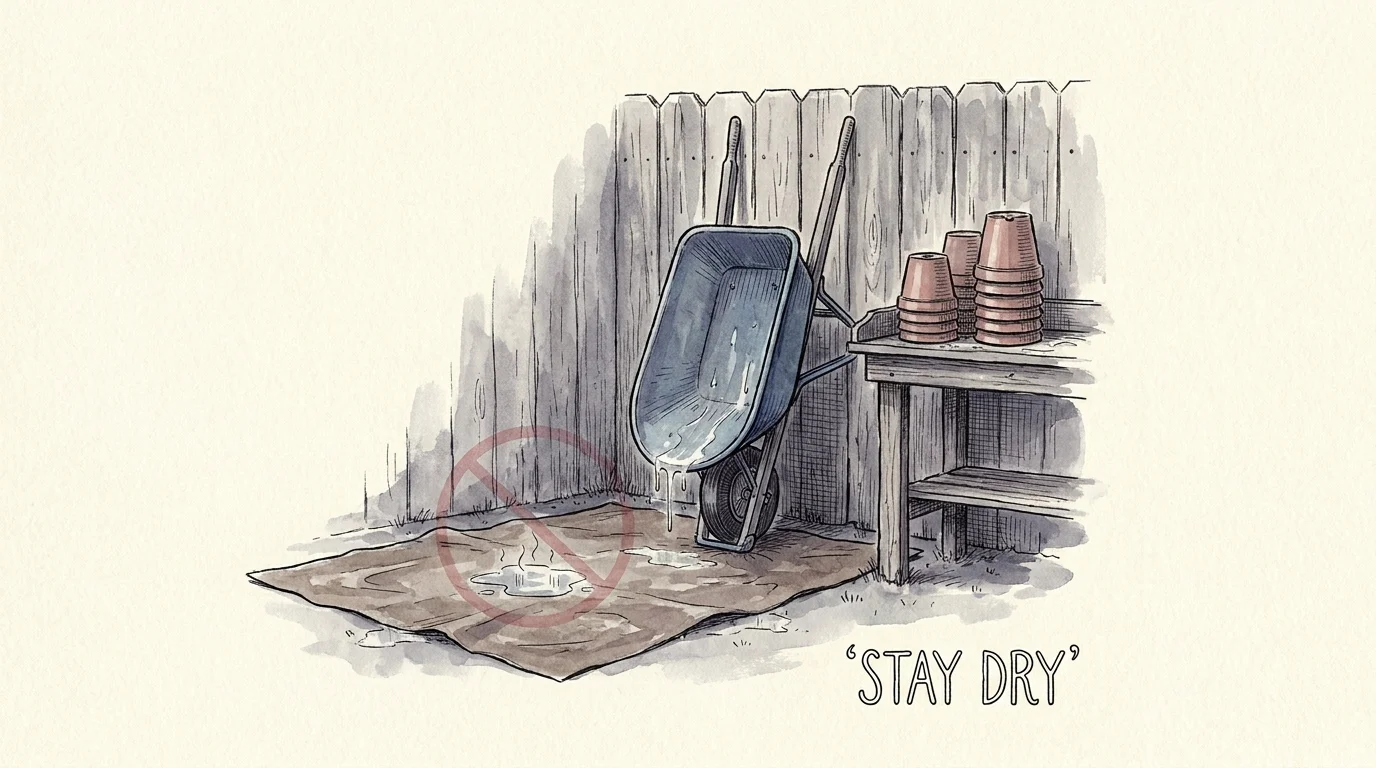
Backyard organization goes beyond simple aesthetics; it directly impacts the health and comfort of your outdoor living space. Haphazardly stored equipment frequently collects rainwater, turning an innocent pile of empty plant pots into a breeding ground for pests. Storing wheelbarrows upright, leaving plastic storage bins uncovered, or allowing equipment tarps to sag creates shallow pools of stagnant water. Mosquitoes require only a tiny amount of water to lay their eggs, and a disorganized yard offers them countless opportunities.
The Centers for Disease Control and Prevention (CDC) advises emptying, scrubbing, turning over, covering, or throwing out items that hold water at least once a week. Incorporate this vital health practice directly into your garden organization strategy. Store all empty buckets, watering cans, and wheelbarrows completely upside down. When purchasing outdoor storage boxes, check the bottom for drainage; if the container lacks them, use a drill to create a few small holes in the base so trapped water can easily escape. Shake out protective tarps after a heavy rainstorm, and discard any cracked plastic saucers that no longer serve your potted plants.
04 Secure Fertilizers and Chemicals Safely
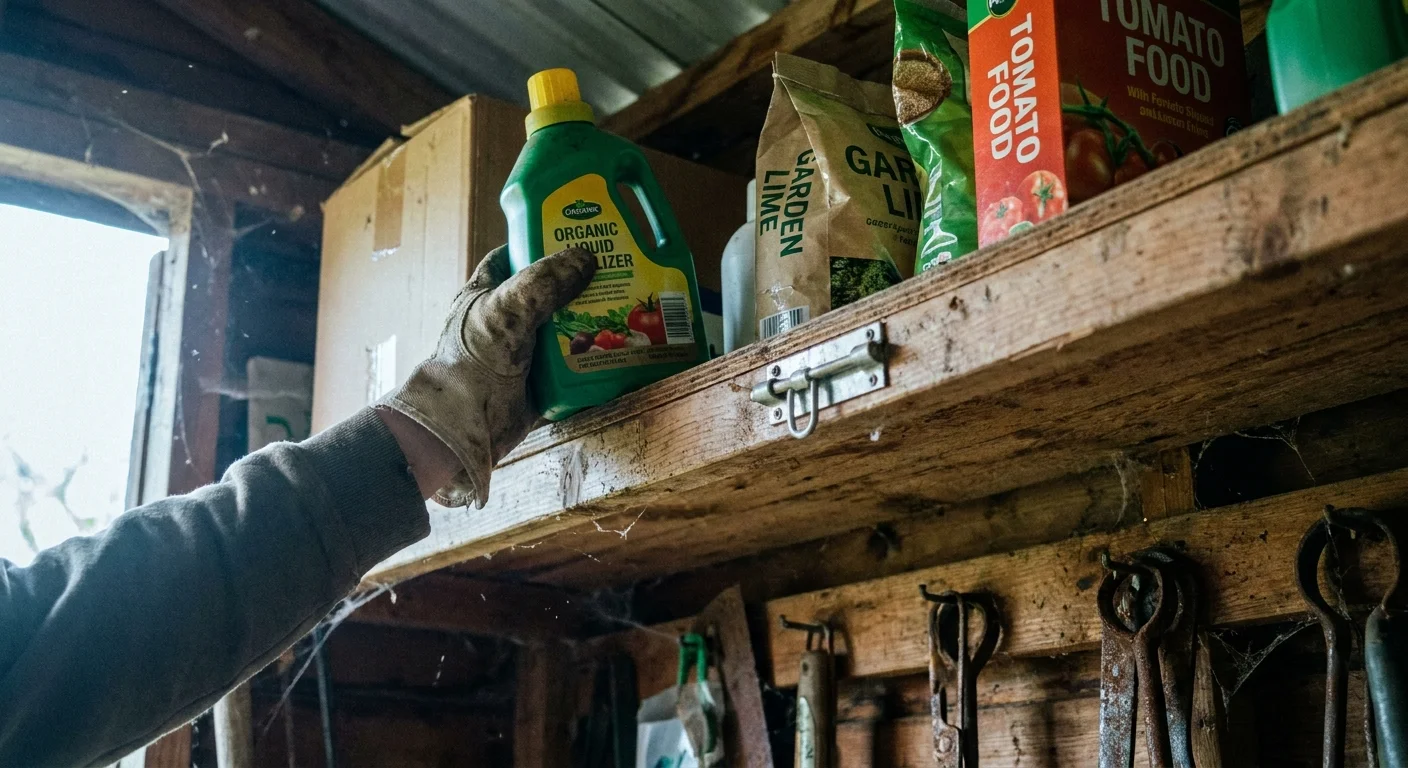
A cluttered, dusty shelf filled with half-empty bottles of weed killer, liquid fertilizers, and pest repellents creates visual chaos and poses a serious safety hazard. Securing these potent items is a non-negotiable step in garden organization. Proper chemical storage protects your family, safeguards curious pets, and extends the effective shelf life of the products you buy.
The Environmental Protection Agency (EPA) provides strict guidelines for pesticide storage, heavily recommending that you always keep these products in their original containers with the warning labels and instructions clearly visible. Never transfer a chemical to a generic plastic bottle or a repurposed food container; you or someone else might easily mistake it for something benign. Designate a specific, lockable cabinet inside your garage or a sturdy outdoor shed exclusively for these treatments. Pay close attention to temperature requirements. Extreme heat degrades the active ingredients in many fertilizers, while freezing temperatures cause liquid pesticides to expand and rupture their plastic seams. To maintain immaculate shelves, place your liquid bottles inside a shallow, heavy-duty plastic tray. If a bottle ever leaks or tips over, the tray catches the spill, preventing the chemical from ruining your cabinet or seeping onto the floor.
05 Create a Dedicated Potting Station
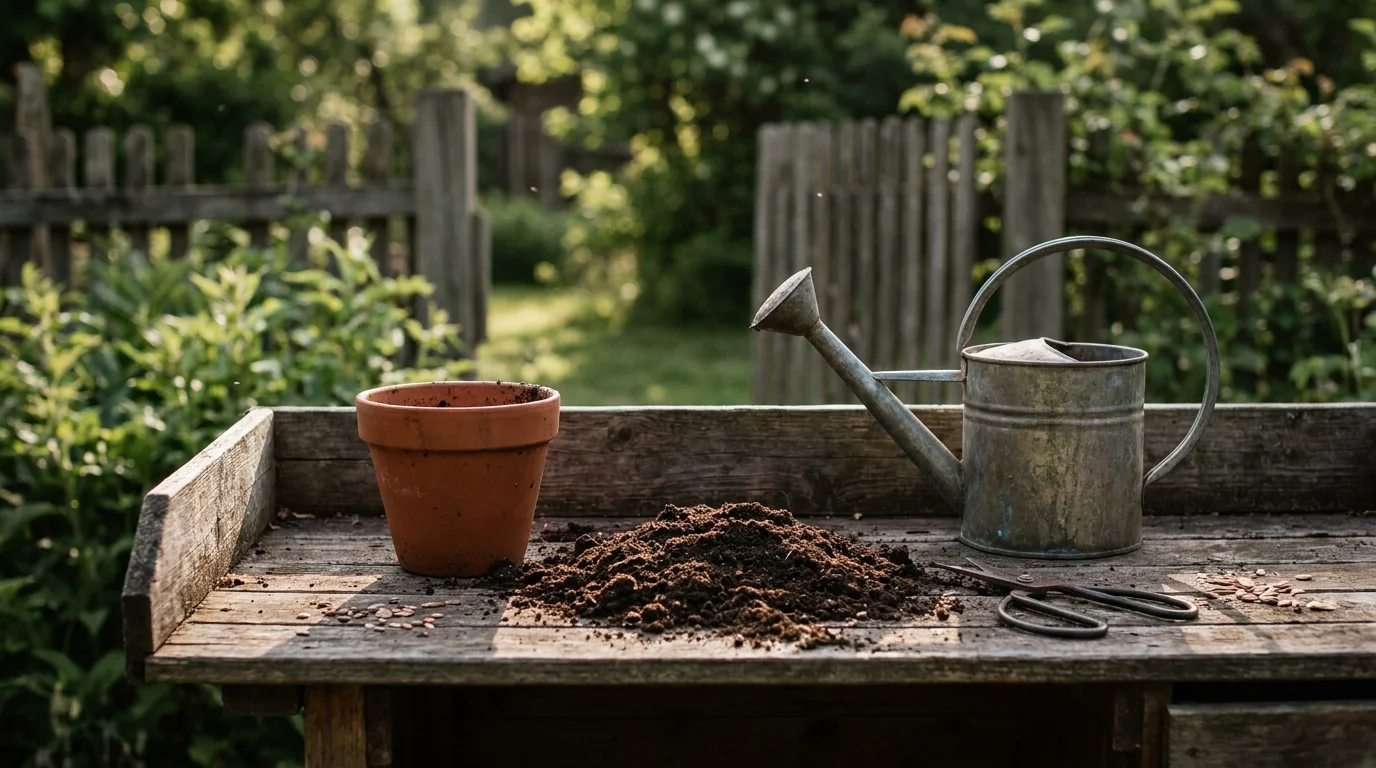
If you find yourself constantly sweeping spilled topsoil off your dining patio or struggling to find your root stimulator when planting new seedlings, you need a centralized workspace. An organized garden layout thrives on designated activity areas. Bending over a low patio table or kneeling directly on concrete to fill containers takes a severe physical toll on your knees and lower back. Building or buying a dedicated potting bench solves the mess and protects your body.
Select a potting bench with an ergonomic working height—ideally around 36 inches, closely mimicking a standard indoor kitchen counter. A well-designed bench features a smooth, slatted top allowing loose soil to fall through into a collection bin below, rather than accumulating on your work surface. Mount a row of sturdy hooks along the side of the bench to hang your favorite trowel, a soil scoop, and a stiff-bristled cleaning brush. Utilize the lower shelves to store your galvanized soil bins and watering cans. Keep a small, lidded trash can right beside the bench so you can immediately discard torn soil bags, broken nursery pots, and plastic plant tags. Centralizing this messy task keeps the rest of your yard pristine.
06 Master Backyard Organization with a Firewood Storage Plan
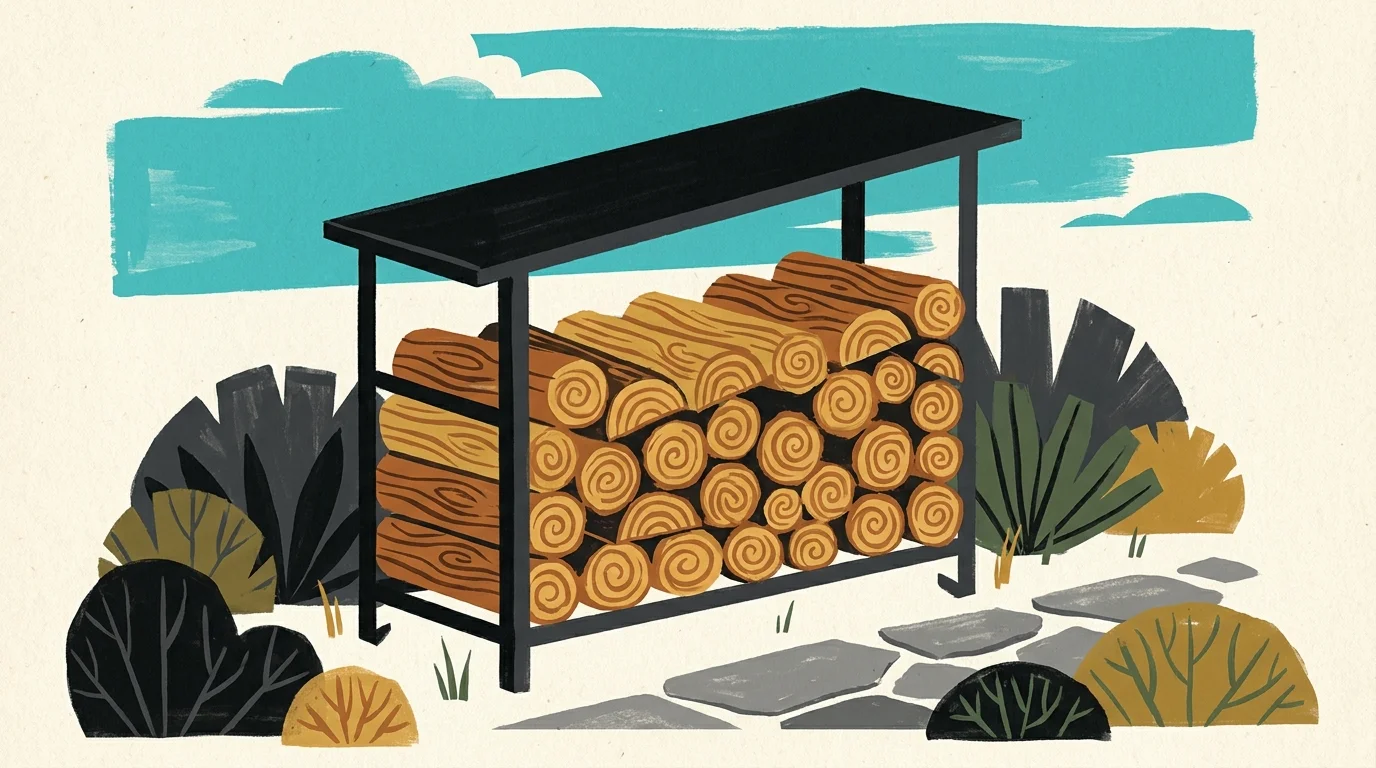
A collapsed, rotting pile of firewood shoved haphazardly against the side of your house instantly ruins the look of an organized yard. Beyond being a major eyesore, poorly stacked wood acts as a powerful magnet for destructive pests. Storing firewood directly against your home’s foundation provides an easy, hidden bridge for termites, carpenter ants, and mice to breach your living space.
To safely integrate fuel storage into your backyard organization, experts at Cornell Cooperative Extension recommend locating your primary woodpile at least 30 feet away from your home. Always elevate the wood entirely off the ground using a metal firewood rack, heavy wooden pallets, or a base of parallel cinder blocks. This crucial gap prevents the bottom layer of wood from rotting in the damp soil and significantly improves the airflow needed to season the logs. Stack the wood neatly with the bark side facing upward to naturally shed rain. If you use a tarp to protect the pile from heavy snow or rain, only cover the top quarter of the stack; covering the sides traps ground moisture inside, leading to rapid fungal growth and decay.
07 Tame Hoses and Irrigation Equipment
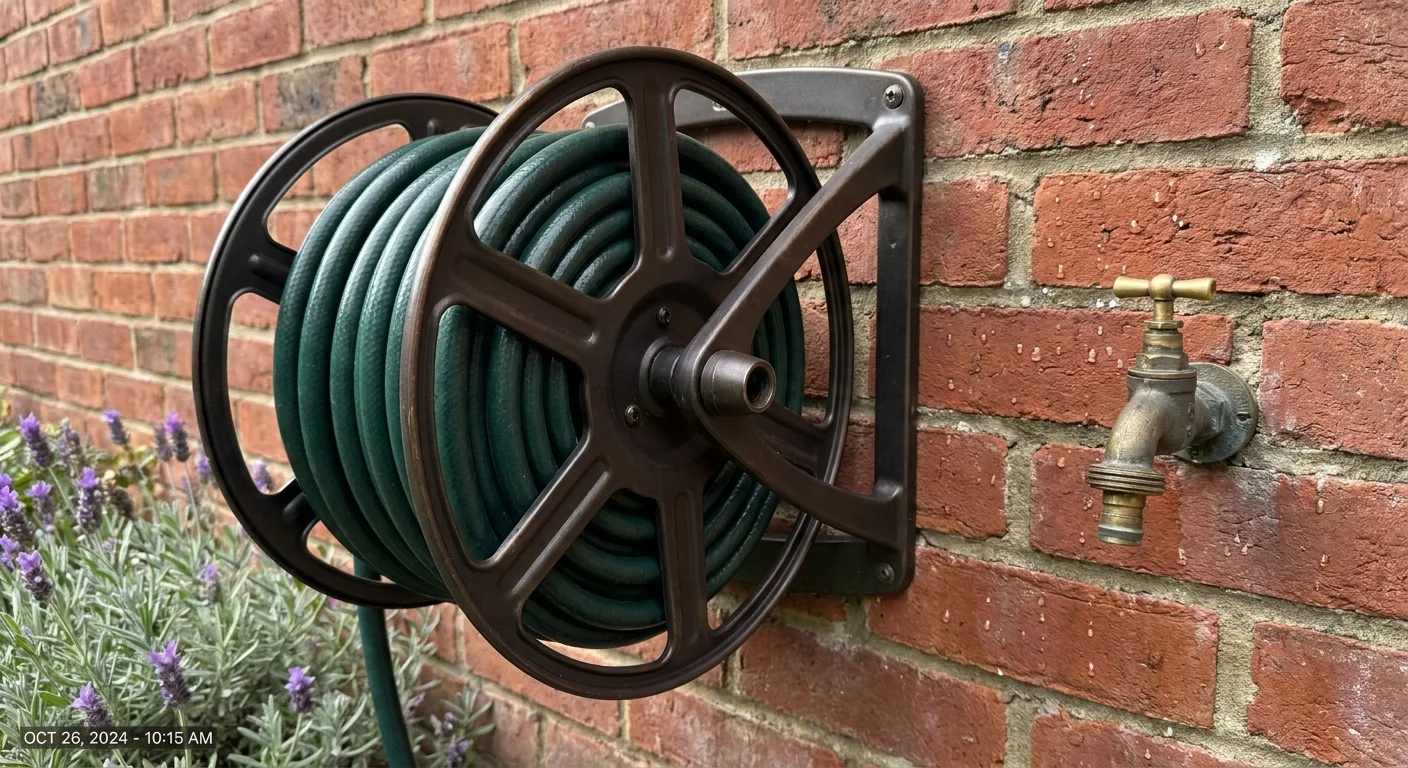
A fifty-foot garden hose left snaking across the lawn is the fastest way to make an outdoor space look chaotic. Loose hoses act as dangerous tripping hazards, damage delicate grass, and quickly degrade when left baking in the midday sun. Taming your irrigation equipment yields immediate visual rewards and makes your daily watering routine much smoother.
Abandon the frustrating habit of trying to loop a stiff hose over a single weak nail. Install a high-quality, wall-mounted hose reel featuring a built-in hand crank, or invest in a decorative resin hideaway box that sits neatly on the patio. If you have a large property, consider installing standalone metal hose posts near your distant flower beds to keep the lines elevated and untangled. Upgrade your setup by installing brass quick-connect fittings on your spigots, nozzles, and sprinklers. These inexpensive adapters allow you to snap attachments on and off instantly without twisting, leaking, or reaching for a wrench. When winter approaches, thoroughly drain your hoses, coil them loosely, and store them inside the garage to prevent the rubber from freezing and splitting.
08 Set Up a Clean and Efficient Composting Bin
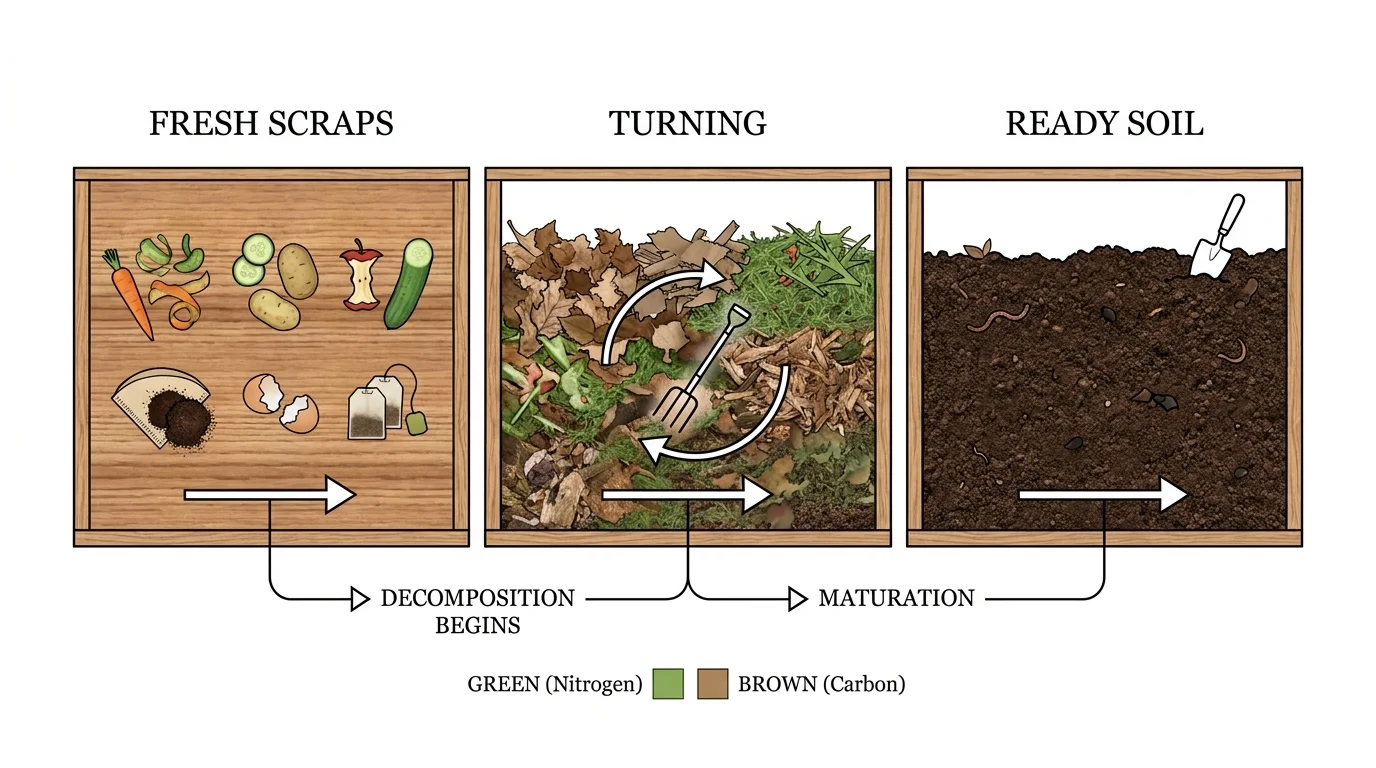
Composting transforms your daily kitchen scraps and yard trimmings into incredibly rich soil, but a disorganized, open pile simply looks like a trash heap. An unmanaged mound of food waste attracts neighborhood raccoons, breeds flies, and generates unpleasant odors. To maintain a beautifully organized garden, you must give your compost a defined, contained structure.
Review the EPA guidelines for composting at home, which emphasize that an effective, odor-free compost system requires a careful balance of “browns” (such as dead leaves, twigs, and shredded paper) and “greens” (such as grass clippings and vegetable scraps), along with adequate moisture. To keep this process visually tidy, install a dual-chamber rotating compost tumbler or build a secure, three-bin wooden system backed with heavy hardware cloth. A tumbler hides the decomposing material entirely out of sight and allows you to mix the contents with a quick spin, preventing foul smells. Keep a tightly sealed metal bucket under your kitchen sink to collect daily scraps, and empty it into your outdoor bin twice a week to keep the workflow neat and efficient.
09 Streamline Small Hand Tools with a Grab-and-Go Caddy
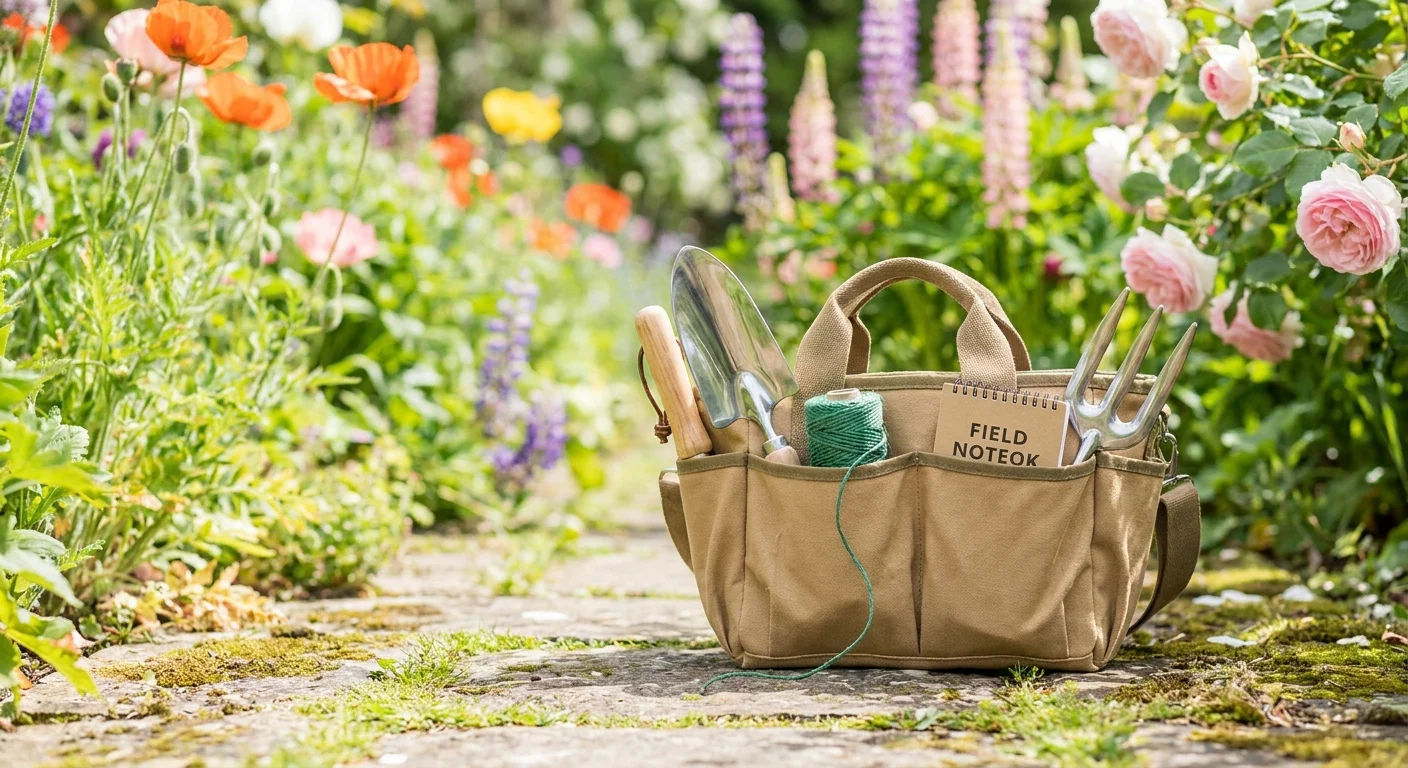
The majority of garden clutter consists of small, easily misplaced items. Pruning shears, packets of twine, half-used seed envelopes, gardening gloves, and plant markers easily scatter across patio tables, window sills, and potting benches. Hunting for your favorite pair of snips wastes valuable time and creates a frustrating start to your gardening session.
Solve this by creating a highly portable grab-and-go caddy. A heavy-duty canvas bucket organizer is an exceptional tool for this job. This fabric sleeve slips directly over a standard five-gallon plastic bucket, providing dozens of small, easily accessible exterior pockets. Assign a specific pocket for your pruners, your weeding knife, a permanent marker, sunscreen, and bug spray. Leave the large interior of the bucket completely empty. When you walk the yard to deadhead flowers or pull weeds, you toss the debris directly into the bucket’s center. Once you finish your chores, you simply dump the weeds into your neatly structured compost bin and return the fully stocked caddy to its designated hook in the shed.
10 Perform Routine Garden Decluttering at the End of Each Season
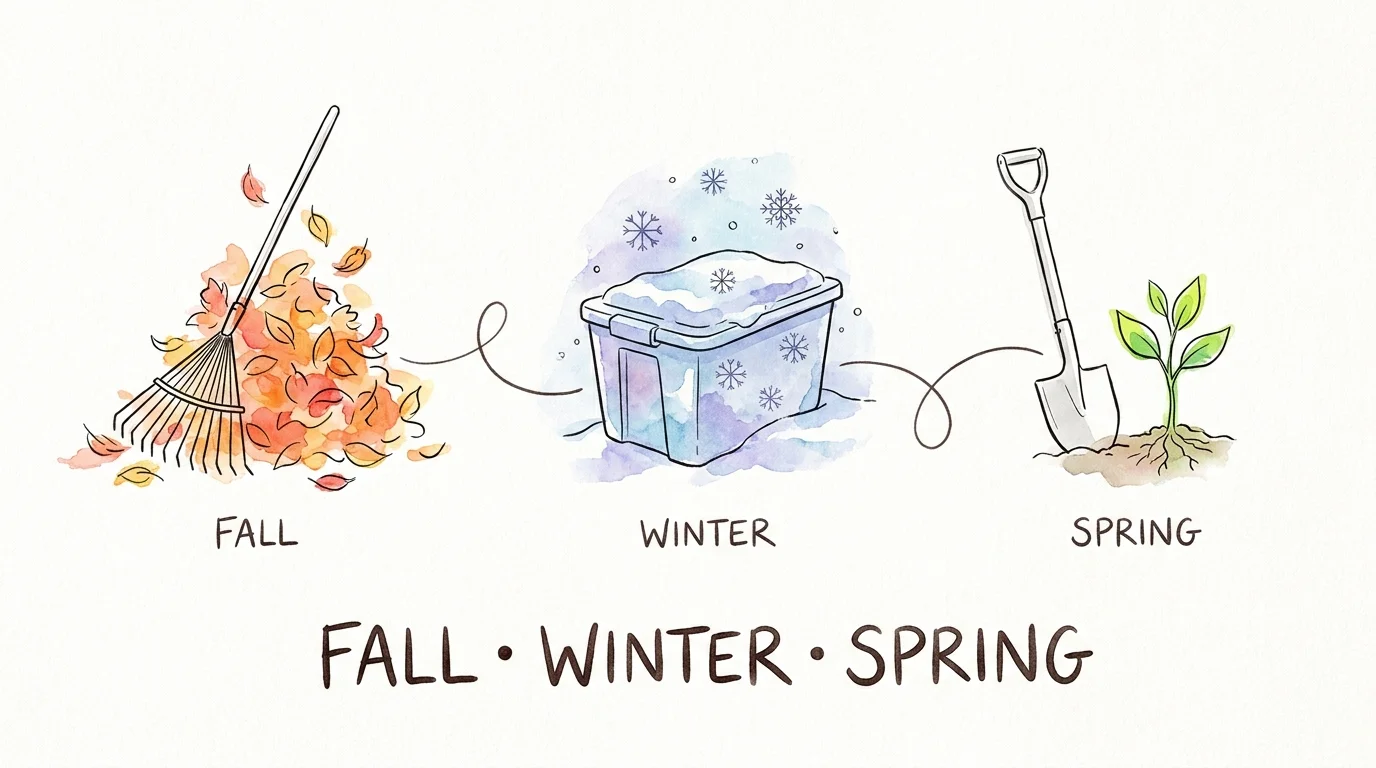
True garden organization requires ongoing maintenance. A space feels cluttered when it holds onto items that no longer serve a purpose. Rusted tools with splintered handles, cracked plastic nursery pots, and stiff, unusable gloves frequently pile up in the corners of sheds and garages. Implementing a strict seasonal decluttering schedule stops this accumulation before it becomes overwhelming.
Use the following checklist table to guide your routine garden decluttering efforts throughout the year. Treating these tasks as seasonal appointments keeps your outdoor storage solutions highly functional and visually appealing.
| Season | Key Decluttering Task | Practical Benefit |
|---|---|---|
| Spring | Sort through seed packets and liquid fertilizers. Discard expired seeds and heavily separated or crystallized liquids. | Prevents wasting valuable planting time and garden space on products that will fail to produce results. |
| Summer | Recycle or discard cracked plastic nursery pots, broken saucers, and torn soil bags as you empty them. | Eliminates mosquito breeding grounds and instantly cleans up the visual space around your potting bench. |
| Autumn | Evaluate your hand tools. Discard stiff, holy gloves and safely recycle tools with irreparably broken handles or heavy rust. | Frees up prime storage real estate in your shed for winter equipment and prevents safety hazards. |
| Winter | Drain, coil, and inspect all hoses. Throw away cracked nozzles and hardened rubber gaskets. | Ensures you start the following spring with a leak-free, highly efficient irrigation setup. |
Your Practical Next Step
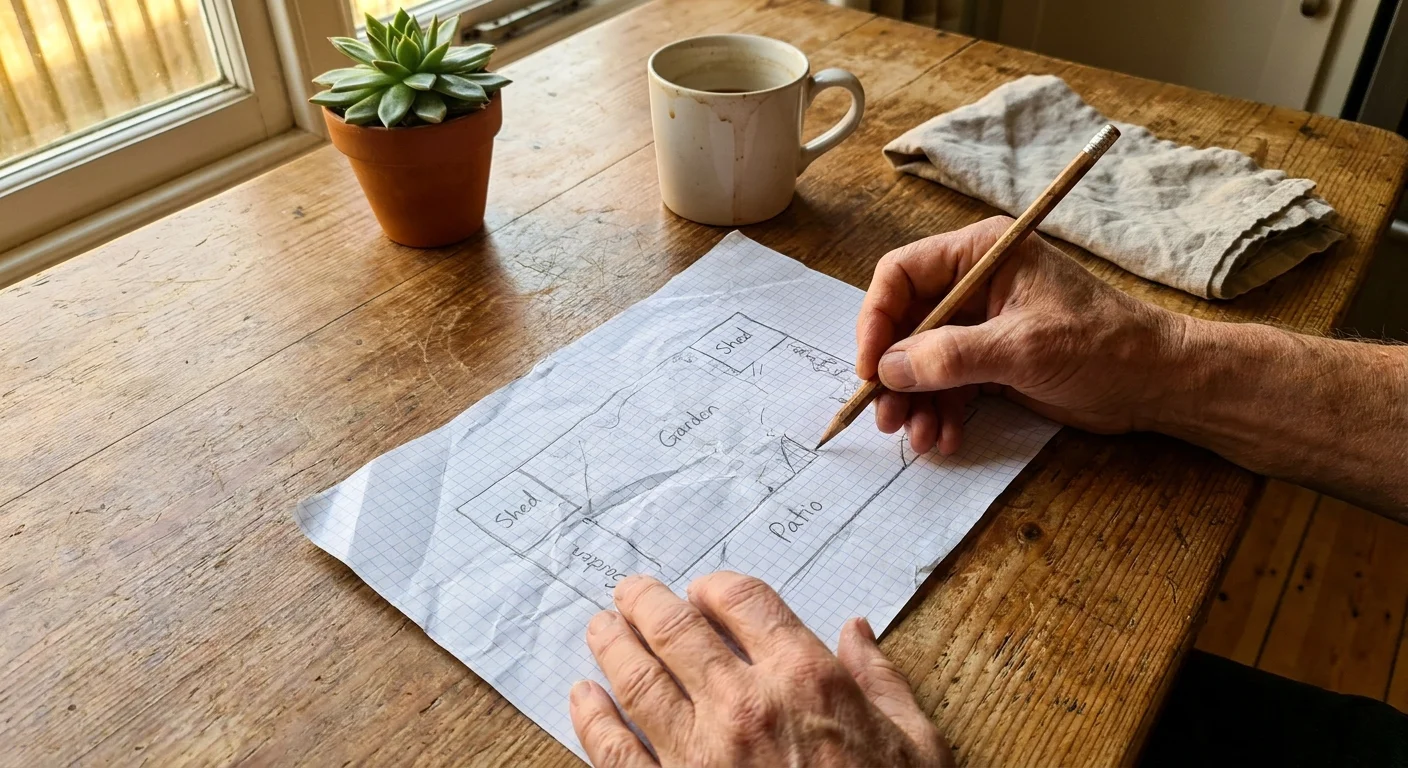
You do not need to overhaul your entire property in a single weekend. Grab a heavy-duty trash bag right now, step outside, and spend just fifteen minutes walking your yard. Focus solely on obvious trash—throw away cracked plastic plant markers, toss out torn bags of potting soil, and discard any irreparably rusted tools lying around the patio. This fast, high-impact sweep instantly breaks the visual clutter and builds your momentum for a fully organized outdoor space.