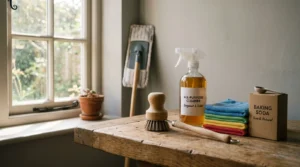
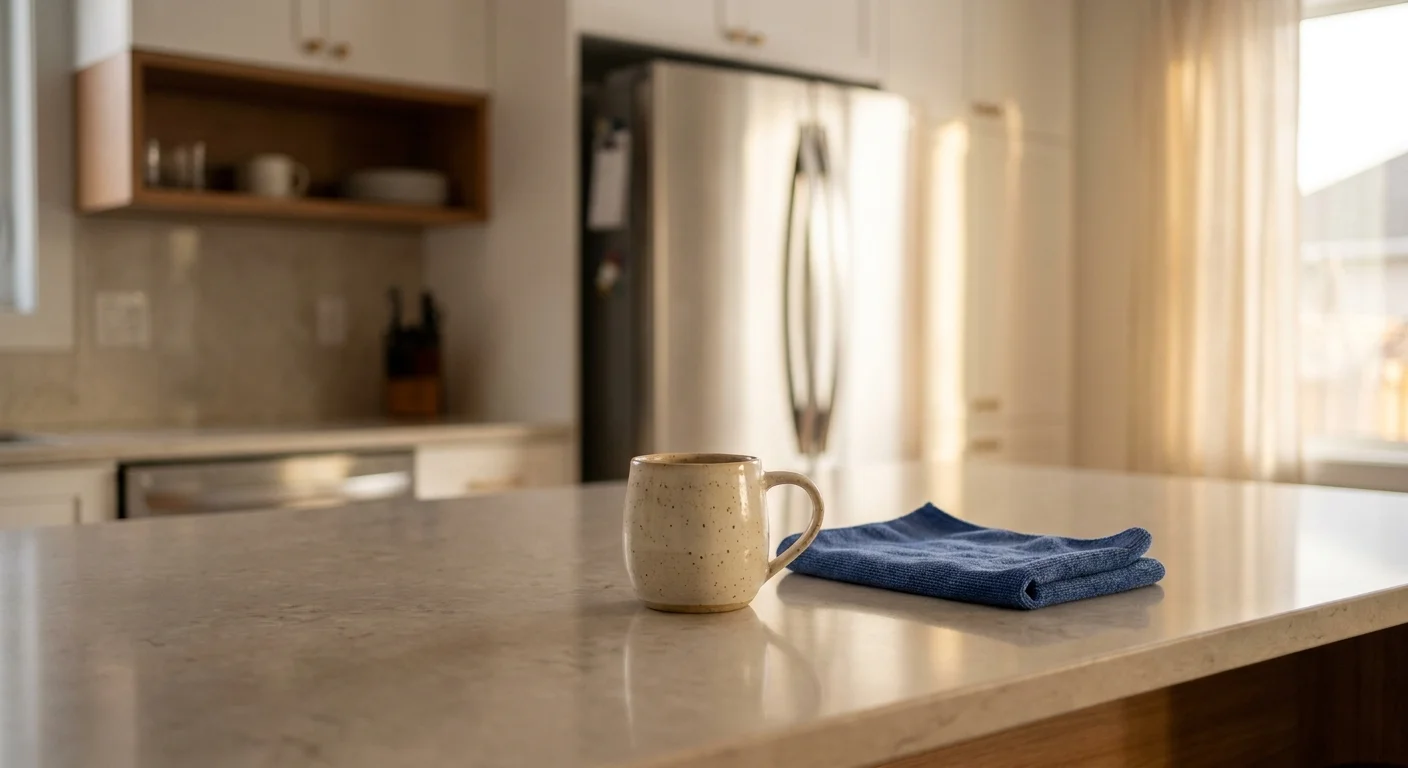
You scrub your countertops and vacuum your floors, but lingering grime still hides in the exact places you rely on to keep your home fresh. If you want a cleaner, calmer, and easier-to-manage space, you need to target the invisible dust traps and moisture zones that actually impact your daily health and appliance performance. Regular surface cleaning only goes so far when mold grows inside your washing machine or dust suffocates your refrigerator’s motor. By addressing these easily forgotten trouble spots, you will eliminate musty odors, extend the life of your expensive appliances, and drastically reduce the allergens floating through your air. Grab your microfiber cloths and a flashlight—it is time to uncover the hidden buildup.
1. Behind and Under the Refrigerator
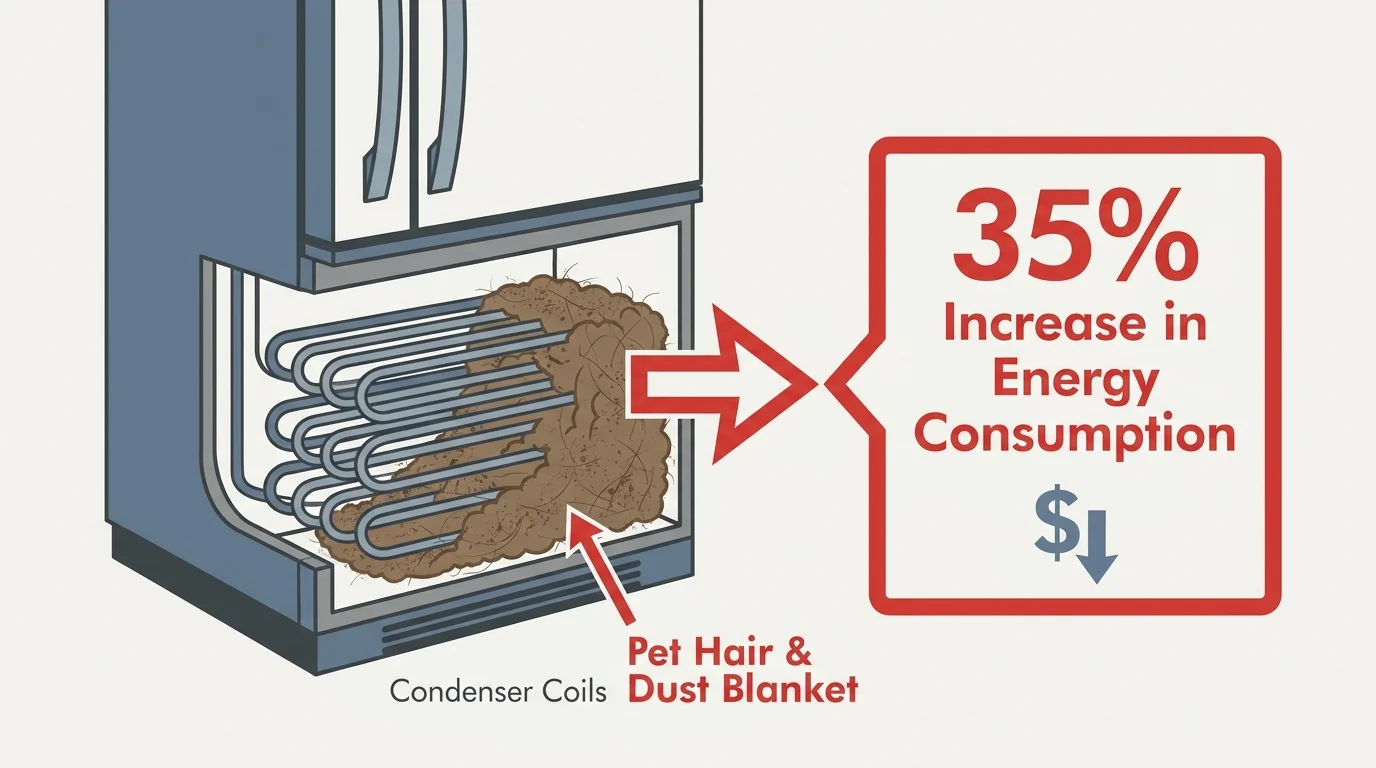
Your refrigerator works around the clock to keep your perishables safe, but the condenser coils powering that effort are notoriously neglected. Located either behind a kickplate at the bottom front of the unit or exposed across the entire back exterior, these coils act as a vital heat exchange system. As the built-in fan blows air across them, they inevitably suck in pet hair, loose lint, and household dust.
When this debris forms a thick blanket over the coils, the appliance can no longer release heat efficiently. The compressor must run longer and hotter to maintain a safe internal temperature. In fact, according to guidance from the U.S. Department of Energy, dirty condenser coils can increase a refrigerator’s energy consumption by as much as 35 percent while simultaneously shortening its operational lifespan.
Cleaning these coils requires minimal tools and yields immediate efficiency benefits. Always unplug the refrigerator before starting; safety must come first when working near electrical components. If your coils sit behind the front kickplate, gently snap the grille off. Use a specialized, long-handled coil brush to loosen the compacted dust, then follow up with the crevice tool on your vacuum cleaner to pull the debris out completely. If you have indoor pets that shed heavily, make this a biannual habit. Keeping this hidden area clear saves you money on your monthly electric bill and postpones the need for costly appliance replacements.
2. Washing Machine Seals and Dispensers
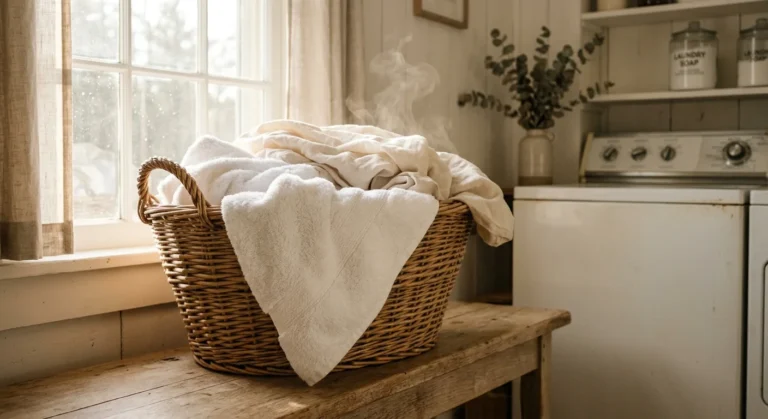
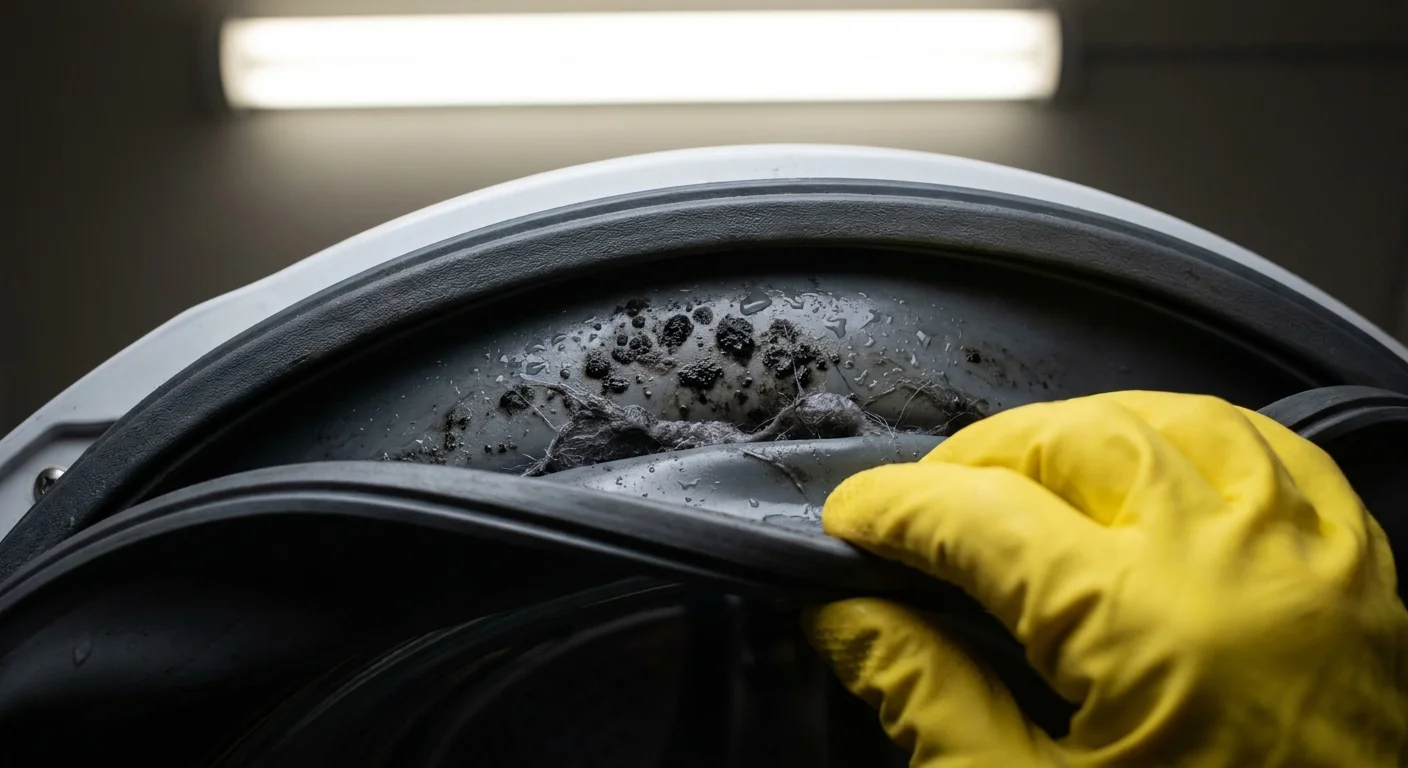
You rely on your washing machine to sanitize your clothing, yet it frequently harbors the very contaminants you want to wash away. Front-loading washing machines are especially vulnerable to hidden grime. The thick rubber gasket—the seal that prevents water from spilling onto your laundry room floor—features multiple deep folds. These folds trap excess moisture, stray lint, and residual fabric softener after every wash.
When you close the washing machine door between cycles, you create a dark, damp, and warm environment inside the drum. The Centers for Disease Control and Prevention (CDC) notes that mold and mildew thrive rapidly under these exact indoor conditions where moisture remains trapped. If your freshly washed towels carry a sour, musty odor instead of a clean scent, a contaminated rubber gasket is likely the culprit.
To eliminate this hidden dirt, you need a targeted cleaning approach that tackles the mold roots without degrading the rubber seal. Follow this simple process:
- Expose the hidden dirt: Put on protective gloves and gently pull back the folds of the rubber gasket to reveal the trapped debris and black mildew spots.
- Apply a safe cleaning agent: Spray the affected area generously with either white vinegar or 3% hydrogen peroxide. Never mix these two chemicals together, and avoid heavy chlorine bleach whenever possible, as repeated bleach exposure can prematurely crack and degrade the rubber.
- Scrub the crevices: Use an old, soft-bristled toothbrush to gently scrub the tight spaces where mold takes root.
- Wipe and dry: Use a damp microfiber cloth to remove the loosened sludge, then wipe the entire gasket thoroughly dry.
- Run a maintenance cycle: Run the machine empty on its hottest water setting to flush out any lingering spores.
To prevent future buildup, leave the washing machine door slightly ajar after every load to allow proper air circulation. Additionally, remove the detergent dispenser drawer once a month and wash it in the sink; gooey, undissolved detergent trapped behind the drawer provides a constant food source for fungal growth.
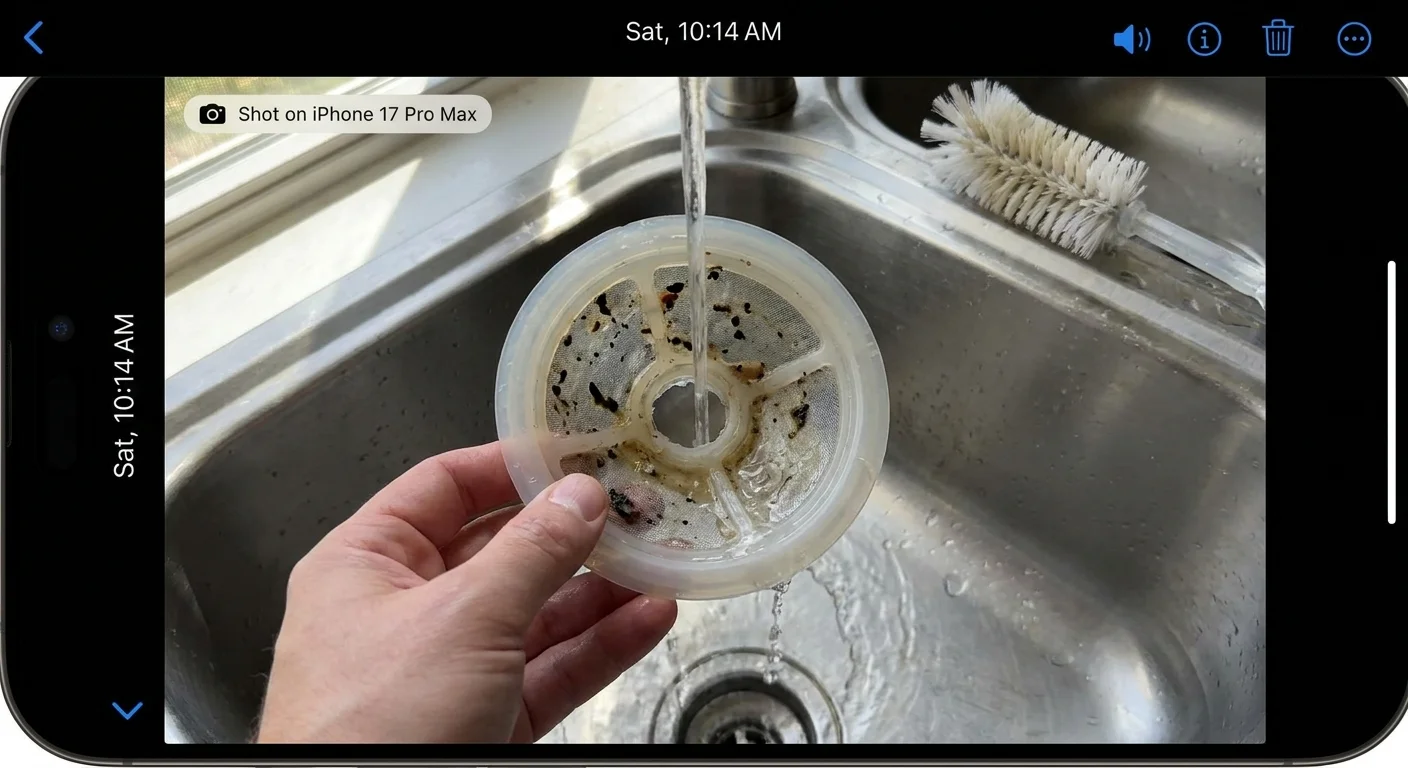
3. Inside the Dishwasher Filter
Many people assume that a machine designed to spray hot, soapy water is entirely self-cleaning. Unfortunately, dishwashers require manual intervention to stay hygienic. Modern dishwashers operate much more quietly than older models because they use internal filtration systems rather than noisy, built-in hard food disposers. This means the soft pasta, coffee grounds, and grease washed off your dirty plates do not magically disappear—they get trapped in the filter assembly at the bottom of the tub.
A clogged filter severely restricts water flow. When the pump cannot push enough clean water through the spray arms, your dishes emerge with baked-on food particles or a gritty film. Whirlpool’s appliance maintenance guidelines explicitly warn that running a dishwasher with a loose or heavily clogged filter can eventually damage the appliance’s internal motor.
Cleaning this hidden trap is a straightforward process you should perform monthly:
- Access the filter: Pull the bottom dish rack completely out of the machine to expose the floor of the tub.
- Remove the assembly: Locate the cylindrical filter, which usually sits seated beneath the lower spray arm. Give it a quarter-turn counterclockwise and lift it straight up. Depending on your model, there may also be a flat mesh screen underneath that lifts right out.
- Wash with gentle friction: Rinse the filter under warm running water in your kitchen sink. Use a few drops of mild dish soap and a soft sponge to break down grease and calcium deposits. Never use a wire brush or an abrasive scouring pad; these harsh tools will tear the delicate micro-mesh screen and ruin the filter.
- Reinstall securely: Lock the clean filter back into place by turning it clockwise until you feel it click securely. A loose filter will allow debris to bypass the screen and clog the inner pump.
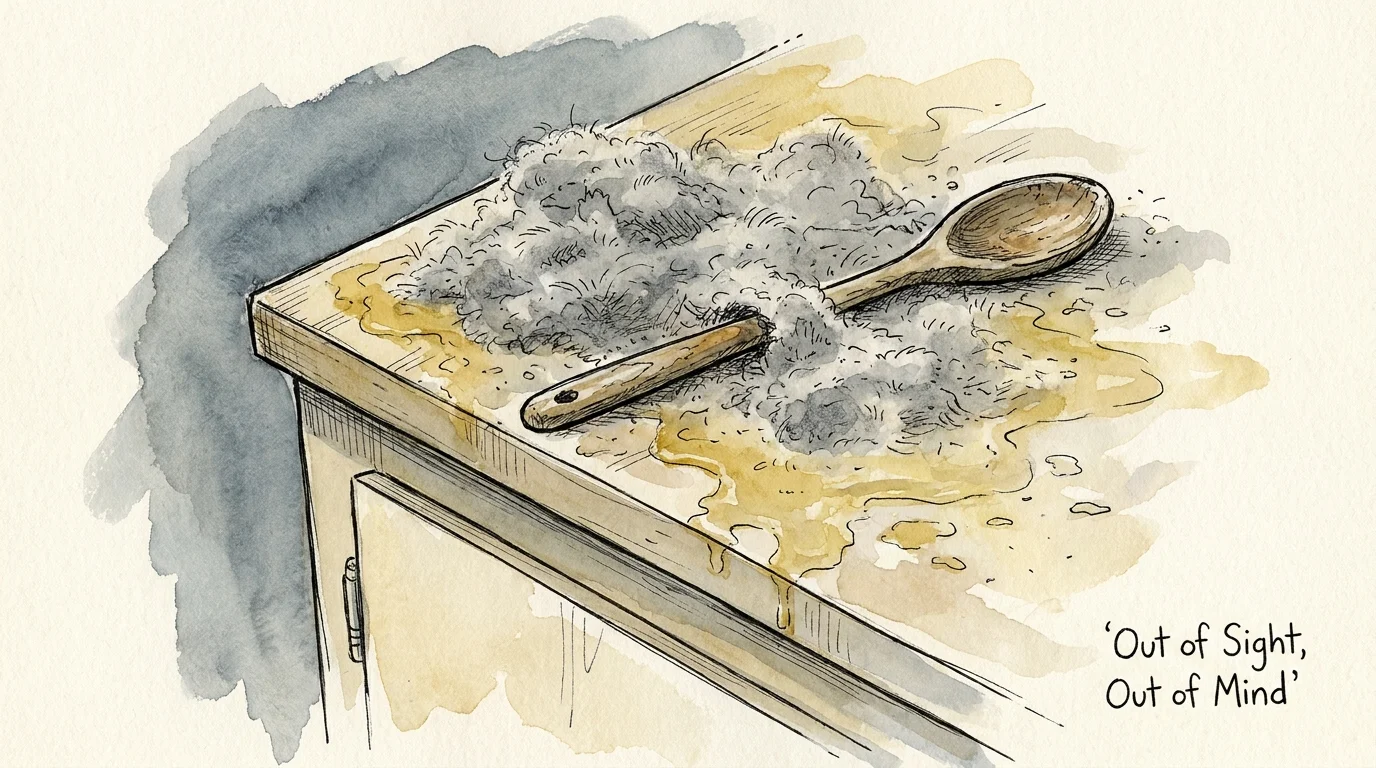
4. Top of Kitchen Cabinets and Appliances
Most home cleaning routines stop at eye level, leaving the highest horizontal surfaces entirely forgotten. The spaces above your upper kitchen cabinets and the top of your refrigerator accumulate a very specific, stubborn type of grime. Whenever you fry bacon, sear a steak, or boil heavily seasoned soups, microscopic aerosolized grease particles float upward. As this grease settles on your high cabinets, it acts like a sticky glue for the everyday dust floating through your home.
Over several months, this mixture hardens into a thick, tacky sludge that a dry duster cannot easily remove. Attempting to wipe it away with a standard paper towel often just smears the grease further into the wood finish or appliance casing, creating an even bigger mess.
To tackle this tough buildup safely, use a degreasing dish soap mixed with warm water. Dampen a heavy-duty microfiber cloth in the soapy solution, wring it out completely, and lay it over the sticky surface for a few minutes. The warm water helps soften the hardened grease, making it much easier to wipe away without intense, exhausting scrubbing.
Once you get these high surfaces perfectly clean, employ a simple preventative trick used by professional organizers. Lay sheets of wax paper or parchment paper completely flat across the top of the cabinets. The paper will catch all the rising grease and settling dust. Next year, instead of spending an hour scrubbing sticky grime, you can simply carefully fold up the dirty paper, throw it away, and lay down fresh sheets in a matter of minutes.

5. TV Remotes and Electronics Keyboards
You touch your television remote control, computer keyboard, and video game controllers every single day. You probably also eat snacks, pet your dog, or open mail right before touching them. Despite being handled constantly by unwashed hands, these electronic accessories rarely make it onto the weekly chore list. Crumbs, skin cells, and natural body oils get pressed deep into the seams around the buttons, creating a perfect breeding ground for bacteria.
Scientific studies consistently highlight television remotes as some of the most heavily contaminated objects in any indoor environment. A major microbiology study featured by CBS News demonstrated that TV remotes in hotel rooms routinely hold high levels of bacteria and contaminants, matching the germ levels found on toilet surfaces and bathroom sinks. Your living room remote faces similar daily exposure from everyone in your household.
Cleaning electronics requires a careful touch, as liquid seepage will destroy the internal circuitry.
- Prep the device: Always remove the batteries before you begin cleaning. This prevents accidental button presses and protects the power source from shorting out.
- Clear the crevices: Turn the remote or keyboard upside down and gently tap it to dislodge loose crumbs. Take a dry, wooden toothpick and carefully trace the seams around every single button to dig out compacted grime.
- Disinfect the surface: Lightly dampen a lint-free microfiber cloth with 70% isopropyl alcohol. Never spray any liquid directly onto the device. Wipe down the entire hard surface, focusing heavily on the most frequently touched volume and channel buttons. The alcohol cuts through human oils instantly and evaporates quickly, minimizing the risk of moisture damage.
6. Ceiling Fan Blades and Exhaust Vents
Just like the tops of your kitchen cabinets, ceiling fans are out of your direct line of sight. However, unlike cabinets, ceiling fans actively circulate the air you breathe. Dust naturally settles thickly on the wide blades while the fan sits idle during cooler months. The moment you switch the fan on, the spinning blades fling that accumulated dust, pet dander, and pollen directly into the air, coating your freshly cleaned furniture and aggravating seasonal allergies.
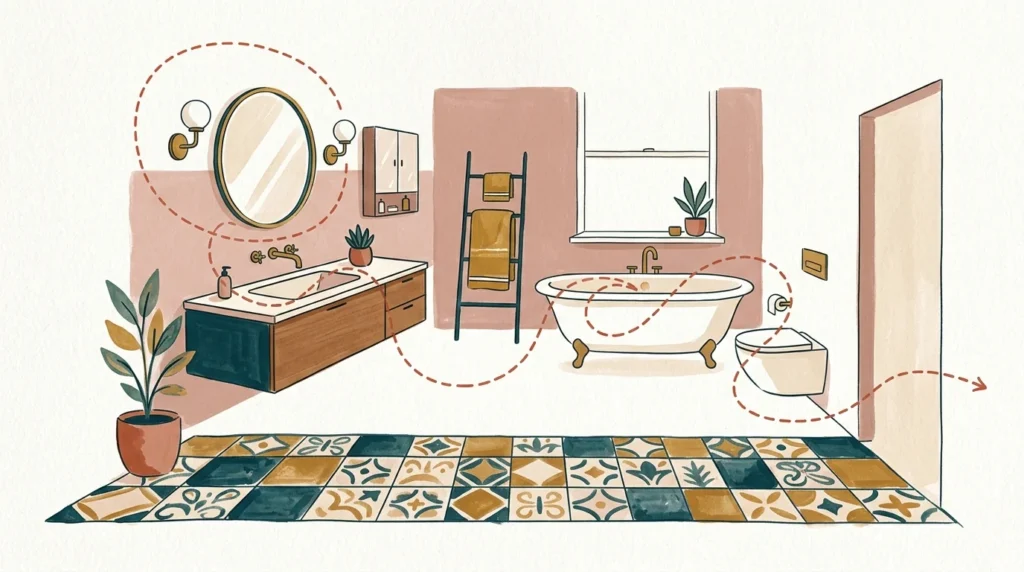
Bathroom exhaust vents face a similar problem. These small fans work hard to pull humid air out of your bathroom to prevent the mold growth mentioned earlier. Unfortunately, the slatted vent covers get completely choked with a paste made from airborne toilet paper lint, aerosol hairspray, and settling dust. A clogged exhaust fan cannot move air efficiently, leaving your bathroom damp and prone to peeling paint.
Cleaning ceiling fan blades can be a messy job if done incorrectly. Using a standard duster simply pushes the dirt off the edges, raining dust bunnies down onto your bed or sofa. Instead, use the pillowcase method. Ensure the fan’s power switch is completely off. Slide an old pillowcase completely over one fan blade. Press your hands against the top and bottom of the blade, and slowly pull the pillowcase toward you. All the dust gets trapped neatly inside the fabric bag. Once you finish all the blades, take the pillowcase outside, shake it out, and toss it straight into the washing machine. For exhaust vents, use the brush attachment on your vacuum cleaner to pull the lint away from the slats without pushing it deeper into the motor.
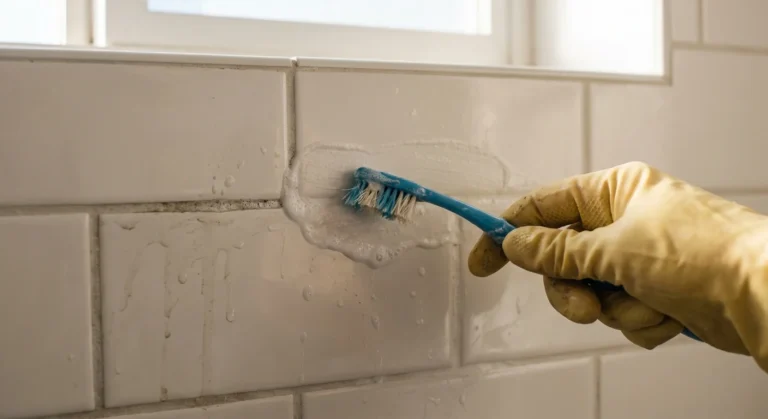
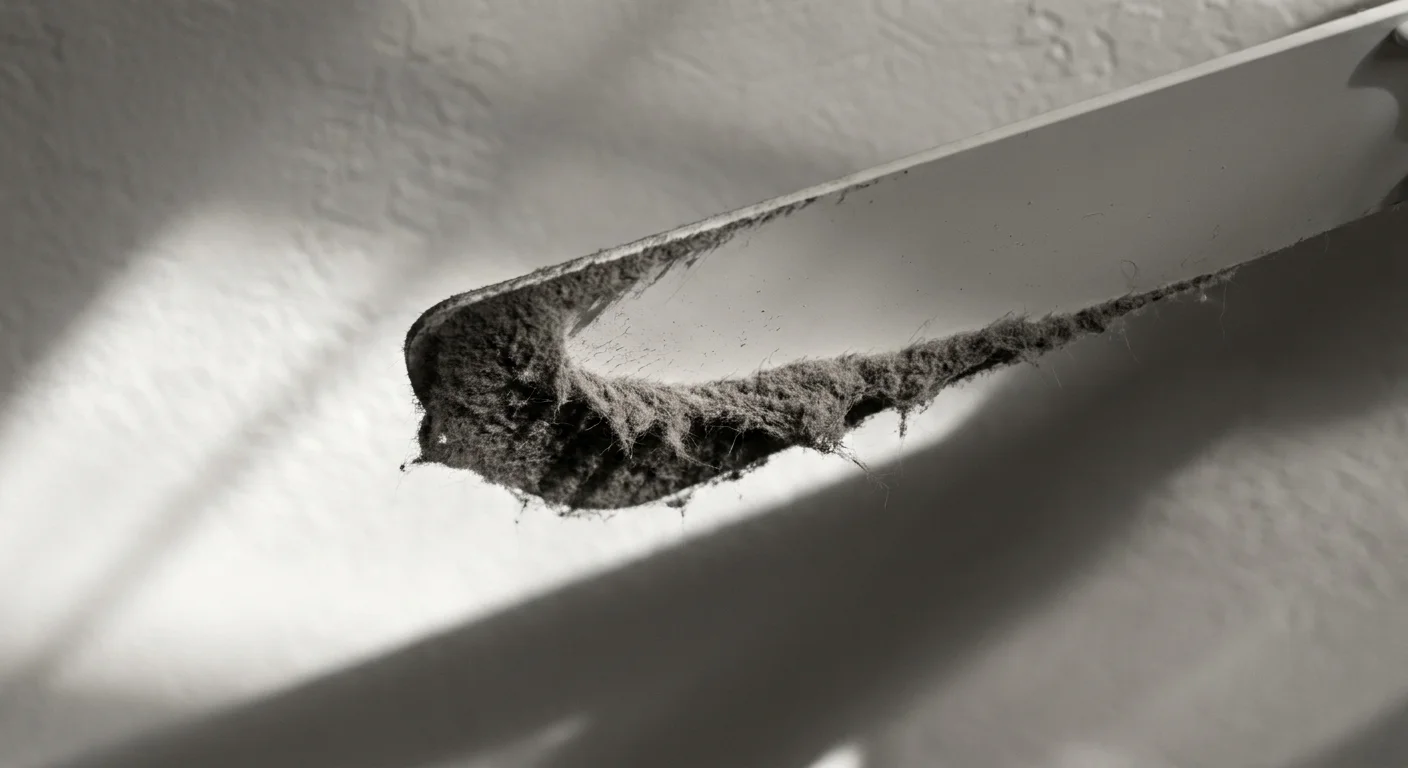
7. Baseboards and Door Frames
Gravity ensures that every particle of dust floating in your home eventually falls. While you regularly vacuum your rugs and sweep your hardwood floors, the baseboards acting as the border between your walls and floors quietly collect a thick layer of grime. Door frames—specifically the upper molding and the recessed panels—also gather dust that goes unnoticed until a streak of afternoon sunlight illuminates the buildup.
Dirty baseboards drag down the aesthetic of an entire room. Even if you mop the floors beautifully, scuffed and dusty baseboards will make the space look neglected. Furthermore, pet hair constantly static-clings to the painted wood, ensuring allergens remain in the room even after you vacuum the carpet.
If you want to maintain a sharp, clean-looking home, make baseboard detailing a monthly habit. You do not have to spend hours on your hands and knees to achieve this. Vacuum the crevices first using a narrow attachment to remove loose dirt so you do not accidentally create mud when you wipe them down. If you experience back pain or simply prefer to avoid bending down, secure a damp microfiber cloth over the bristles of a clean sweeping broom using a rubber band. You can walk the perimeter of the room, using the broom to easily wipe away dust and pet hair from the baseboards while standing completely upright. For stubborn shoe scuffs near entryways, a lightly moistened melamine sponge will lift the black marks without requiring heavy scrubbing.

Hidden Dirt Cleaning Schedule
Knowing where the dirt hides is only the first step; managing it before it builds up is the key to an easier-to-manage home. Use this practical maintenance schedule to incorporate these forgotten zones into your regular routine without feeling overwhelmed.
| Hidden Dirt Spot | Ideal Cleaning Frequency | Primary Tools Needed |
|---|---|---|
| Refrigerator Coils | Every 6 Months | Coil brush, vacuum crevice tool |
| Washing Machine Gasket | Monthly | White vinegar, old toothbrush |
| Dishwasher Filter | Monthly | Warm water, dish soap, soft sponge |
| High Cabinets & Appliances | Every 3 to 6 Months | Degreaser, wax paper |
| TV Remotes & Keyboards | Weekly | Toothpick, 70% isopropyl alcohol |
| Ceiling Fans & Vents | Every 3 Months | Old pillowcase, vacuum brush attachment |
| Baseboards & Trim | Monthly | Microfiber cloth, broom handle |
Make Your Next Move
Tackling all seven of these hidden dust traps at once will leave you exhausted. Instead of aiming for immediate perfection, pick just one small, manageable area to address this weekend. If you have ten minutes before your favorite show starts, grab a toothpick and some rubbing alcohol to detail your television remote. If you are already loading the dishwasher tonight, pull out the bottom rack and rinse the filter assembly in the sink. By slowly integrating these overlooked spaces into your habits, you will protect your expensive appliances, breathe noticeably cleaner air, and finally enjoy the truly clean home you deserve.