Stop spending your weekends exhausted by endless chores when a few shifts in strategy can cut your cleaning time in half. Professional cleaners tackle messy homes quickly and efficiently because they rely on proven systems, not sheer elbow grease. They understand that rushing through steps, using the wrong tools, or skipping basic prep work ultimately creates more labor. You can achieve a spotless home with far less effort simply by adopting their daily habits. By eliminating common inefficiencies—like battling streaks on hot glass or scrubbing surfaces before products activate—you protect your time, energy, and home investments. Here are the everyday habits and frustrating traps the experts avoid so you can finally simplify your housekeeping routine.
1. Scrubbing Before Letting Products Dwell
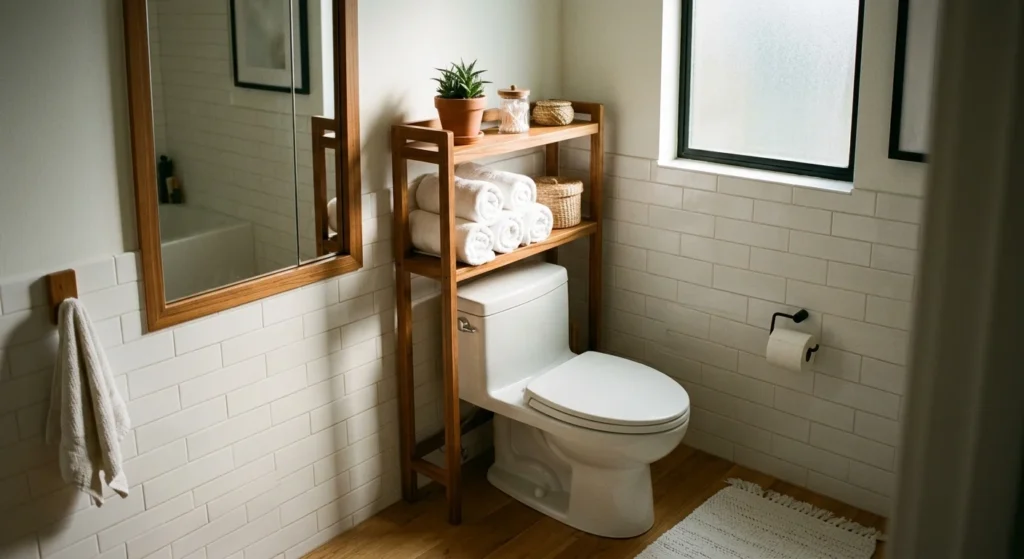
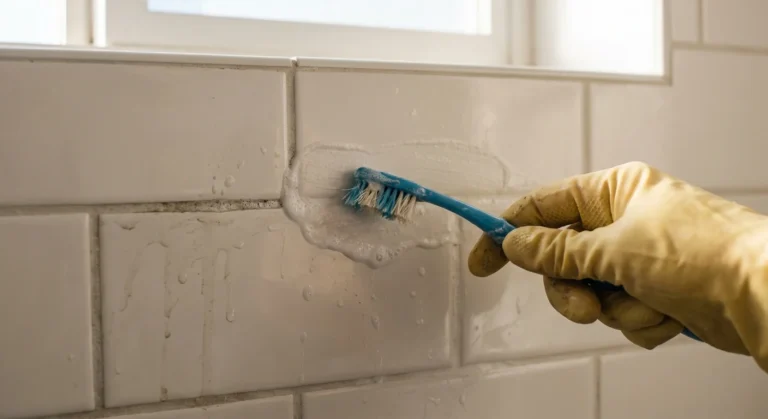
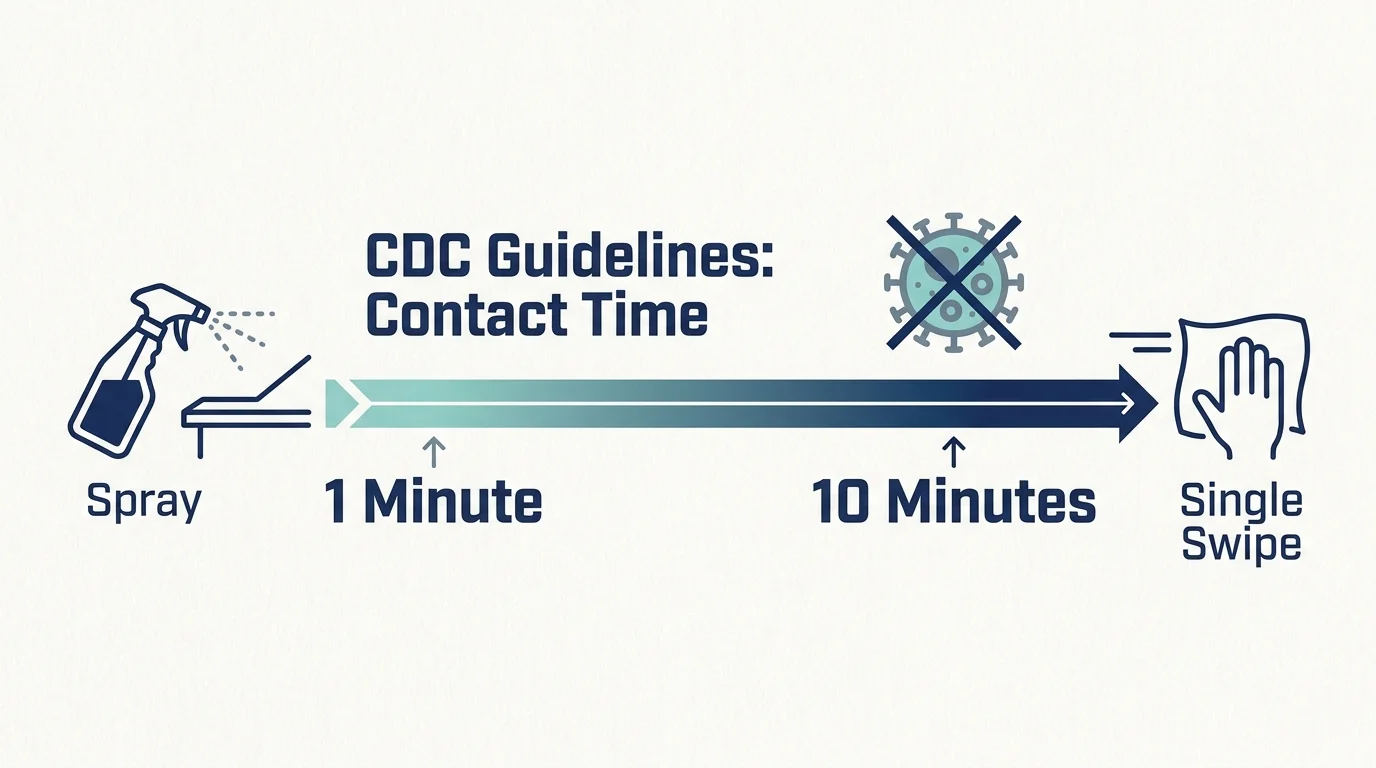
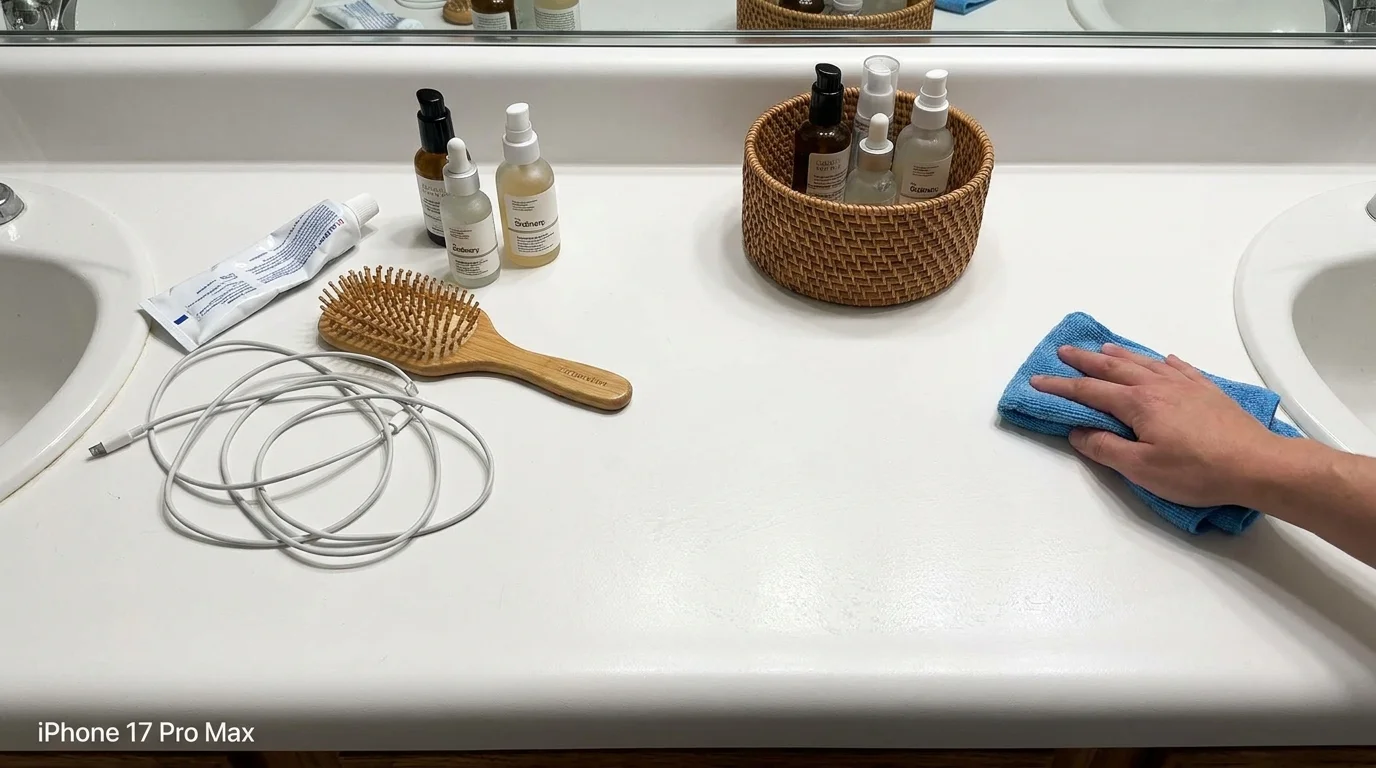
Professional cleaners know that chemical formulas need time to break down grime, dissolve grease, and kill pathogens. When you spray a bathroom sink and immediately wipe it away, you force yourself to scrub vigorously to remove the mess. Worse, you completely bypass the product’s disinfecting properties. The Centers for Disease Control and Prevention (CDC) guidelines emphasize the importance of contact time—also known as dwell time—which is the specific duration a disinfectant must remain visibly wet on a surface to effectively eliminate the germs listed on its label. Depending on the product, this contact time can range from one minute to ten full minutes. If the surface dries before the time is up, the germs survive.
Instead of wasting energy scrubbing, change your workflow. Spray your heavily soiled surfaces first. Coat your shower tiles, apply the toilet bowl cleaner, and mist the bathroom sink. Then, simply walk away. Use those active waiting minutes to empty the trash can, wipe down the mirrors with glass cleaner, or restock the toilet paper. When you return to the sink and the shower a few minutes later, the soap scum and toothpaste splatters will wipe away with a single swipe. You save your shoulders from the strain of aggressive scrubbing, and you ensure your home is actually sanitary.
2. Cleaning Windows in Direct Sunlight
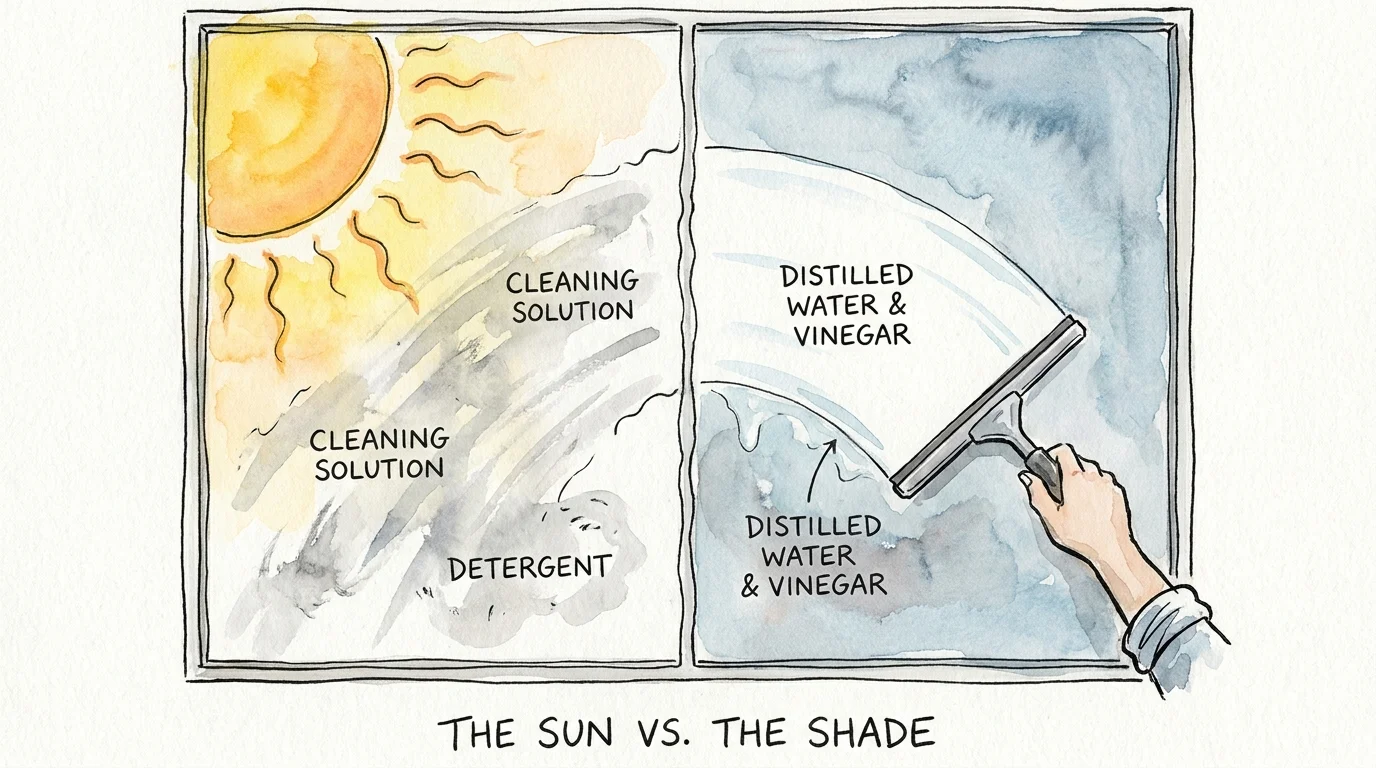
Washing glass on a beautiful, sunny afternoon feels like the right move to brighten up your home, but professional window cleaners avoid this timing entirely. Direct sunlight rapidly heats the windowpanes, fundamentally changing the way your cleaning solutions behave. When the glass is hot, the water and cleaning agents evaporate almost instantly upon contact. This rapid drying process leaves behind a hazy film of detergent and concentrated mineral deposits, forcing you to chase stubborn streaks and re-wash the exact same pane of glass multiple times. You essentially create more work for yourself by fighting the weather.
For a flawless, crystal-clear finish, professionals carefully time their exterior cleaning. Wash your windows on an overcast day, or wait until the sun has moved over the house so the glass sits completely in the shade. The cooler surface allows the cleaning solution to remain wet long enough to break down dirt, bird droppings, and environmental dust. Furthermore, skip the paper towels, which leave annoying lint fibers behind and merely push dirty water around. Instead, use a high-quality rubber squeegee. By applying a simple mixture of distilled water and white vinegar, and pulling the squeegee in a smooth, continuous motion, you remove the liquid completely before it has a chance to dry into a streak. Keep a dry microfiber cloth tucked in your pocket to wipe the squeegee blade between every single pass. This small habit prevents drips and ensures a professional-grade shine in a fraction of the time.
3. Mopping Hardwood Floors with a Saturated Mop
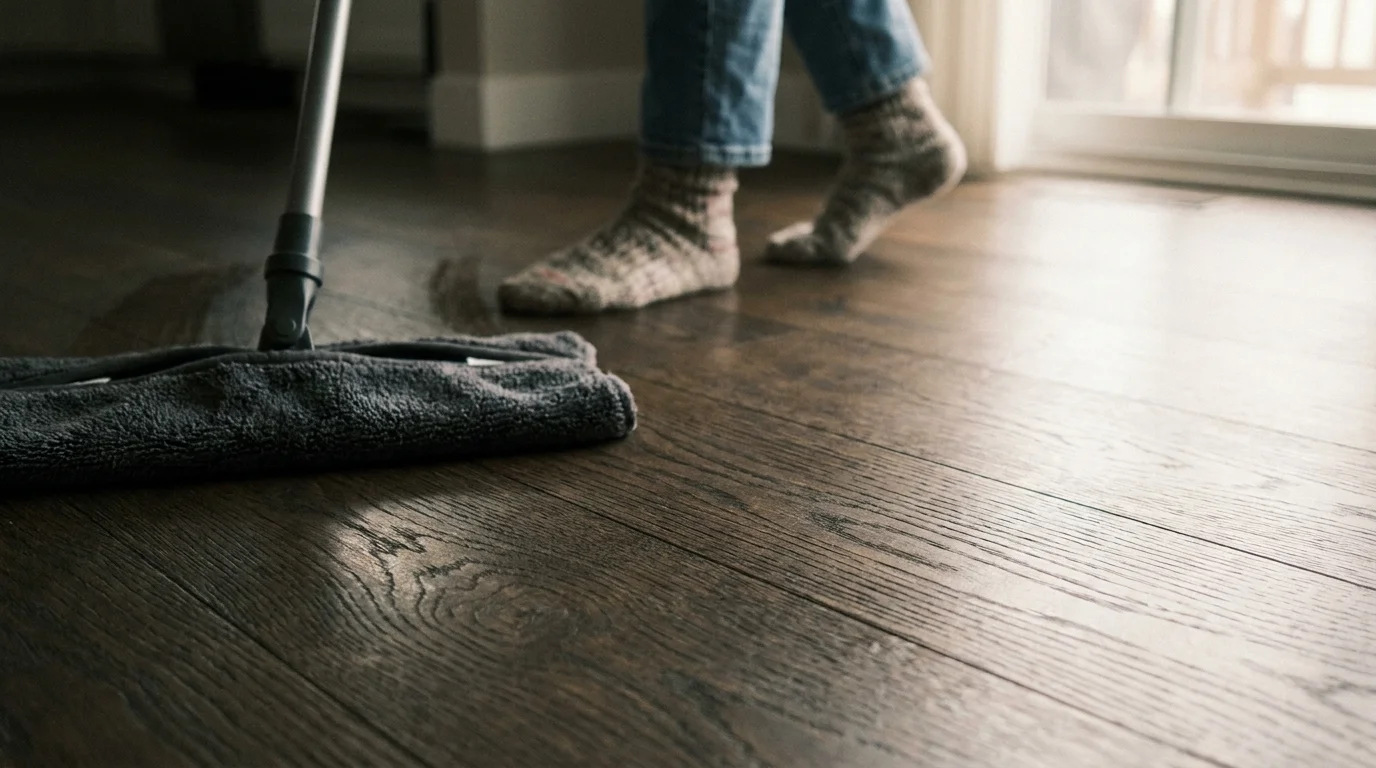
Sloshing a bucket of soapy water onto your living room floor is a massive waste of time—and a fast track to expensive property damage. Hardwood floors add immense value to your home, but they are highly vulnerable to moisture. The National Wood Flooring Association warns that excessive water easily seeps into the microscopic seams between the planks. Once the wood absorbs this moisture, it expands. Over time, this repeated expansion causes the floorboards to warp, cup along the edges, or buckle entirely. Professionals never use soaking wet string mops or heavy-duty steam mops on hardwood surfaces, as the heat and pressure actively force moisture deep into the grain.
To protect your investment and save time, adopt the professional dry-mopping method. First, thoroughly sweep or vacuum the floor using a hard-floor setting to remove abrasive grit and sand that could scratch the finish. Next, put away the heavy bucket. Instead, lightly mist a pH-neutral hardwood floor cleaner directly onto the floor in small, manageable sections. Follow immediately with a flat microfiber mop. The microfiber material is highly absorbent and slightly abrasive, allowing it to lift dirt away without leaving standing water behind. Because you are using minimal liquid, the floor dries almost instantly, eliminating the need to block off the room while you wait. If you encounter a sticky spill, spot-clean that specific area with a slightly damp cloth rather than re-mopping the entire room.
4. Wiping Kitchen Counters with an Old Sponge
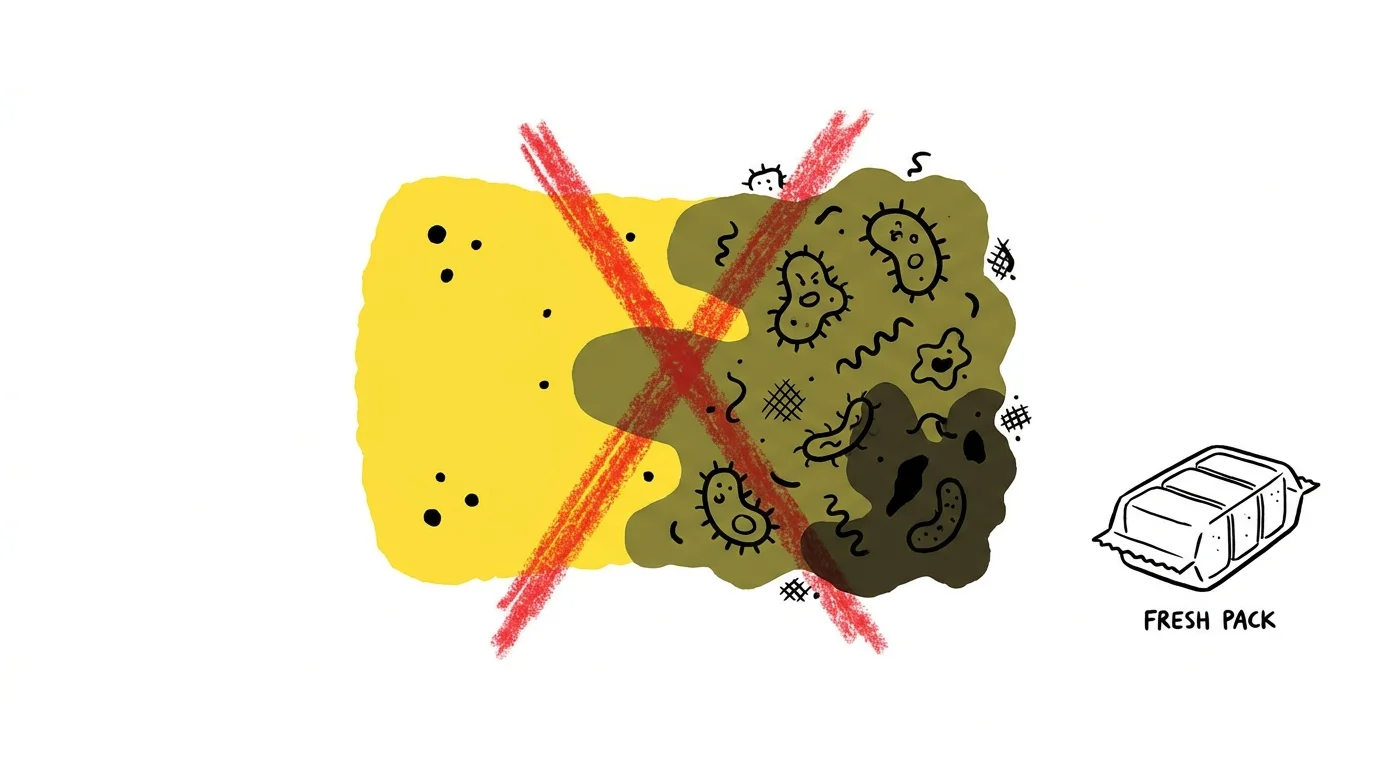
A professional cleaner will never attempt to sanitize a home using contaminated tools. Sponges are incredibly efficient at absorbing liquids, which unfortunately makes them the perfect breeding ground for dangerous microbes. A comprehensive household germ study conducted by the National Science Foundation (NSF) tested everyday items and found a shocking reality: over 75 percent of dish sponges and rags contained coliform bacteria. This is a family of bacteria that includes Salmonella and E. coli, and its presence strongly indicates potential fecal contamination right in your kitchen.
When you use a foul-smelling, outdated sponge to wipe down your kitchen counters, you are not actually cleaning. You are simply spreading millions of dangerous bacteria across the exact surfaces where you prepare your family’s food. This cross-contamination forces you to work harder, as you eventually have to go back and properly disinfect the area. To stop wasting your time pushing germs around, you must maintain a strict sanitizing routine for your tools. You can kill the bacteria by tossing a wet sponge into the microwave for one to two minutes, or by running it through a complete hot cycle in your dishwasher. Better yet, professionals often bypass sponges entirely in favor of color-coded microfiber cloths. By assigning a specific color to the bathroom and a different color to the kitchen, you completely eliminate the risk of cross-contamination and ensure every wipe actually removes dirt.
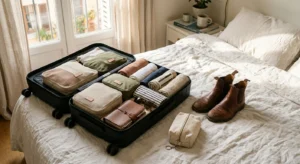
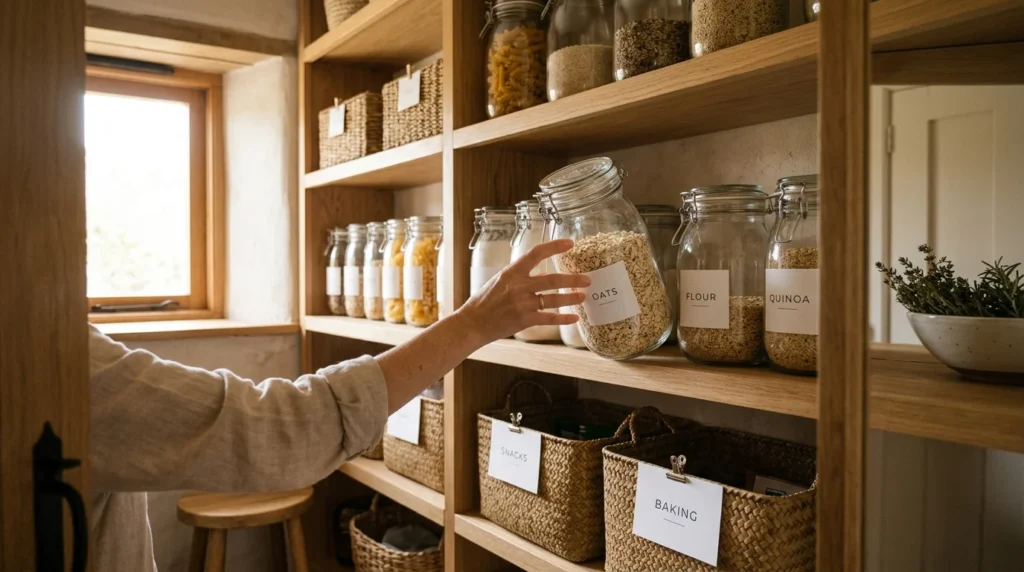
5. Cleaning Around Everyday Clutter
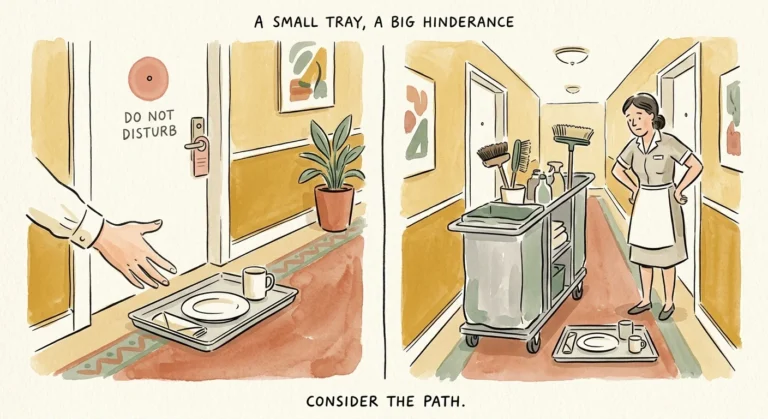
Trying to dust a coffee table covered in mail, remotes, half-empty water glasses, and scattered magazines forces you to pick up each individual item, wipe the small space underneath it, and carefully put it back down. This disjointed method completely destroys your physical momentum and drastically multiplies the time it takes to clean a single room. Professionals understand the vital difference between organizing and cleaning; they save massive amounts of time by dealing with the physical clutter before a single drop of liquid cleaner leaves the bottle. Cleaning around everyday obstacles is a frustrating, unnecessary waste of energy.
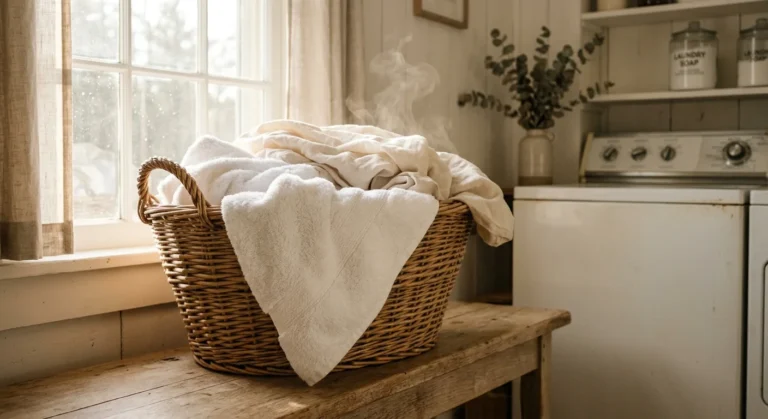
Before you begin scrubbing, execute a rapid clearing phase. Grab a large laundry basket and walk briskly through the room. Pick up everything that does not belong on the countertops, the tables, or the floor, and place it directly into the basket. Do not stop to find the perfect home for each item yet; your only goal is to expose the flat surfaces. Once the horizontal spaces are completely clear, you can spray your cleaner and wipe the entire expanse in one smooth, sweeping motion. You will be amazed at how quickly you can polish a dining table or a kitchen island when you do not have to navigate a complex maze of objects. After the room is sparkling clean, take your basket and distribute the gathered items to their proper resting places. By separating the organizing from the cleaning, you keep your heart rate up and finish the job much faster.
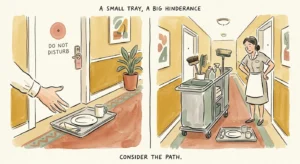
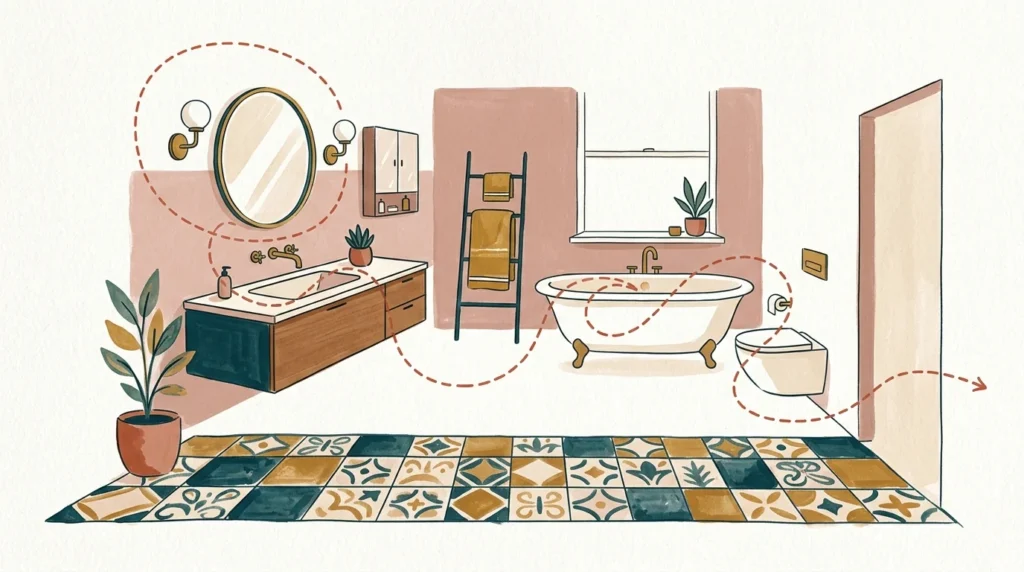
6. Working Without a Directional System
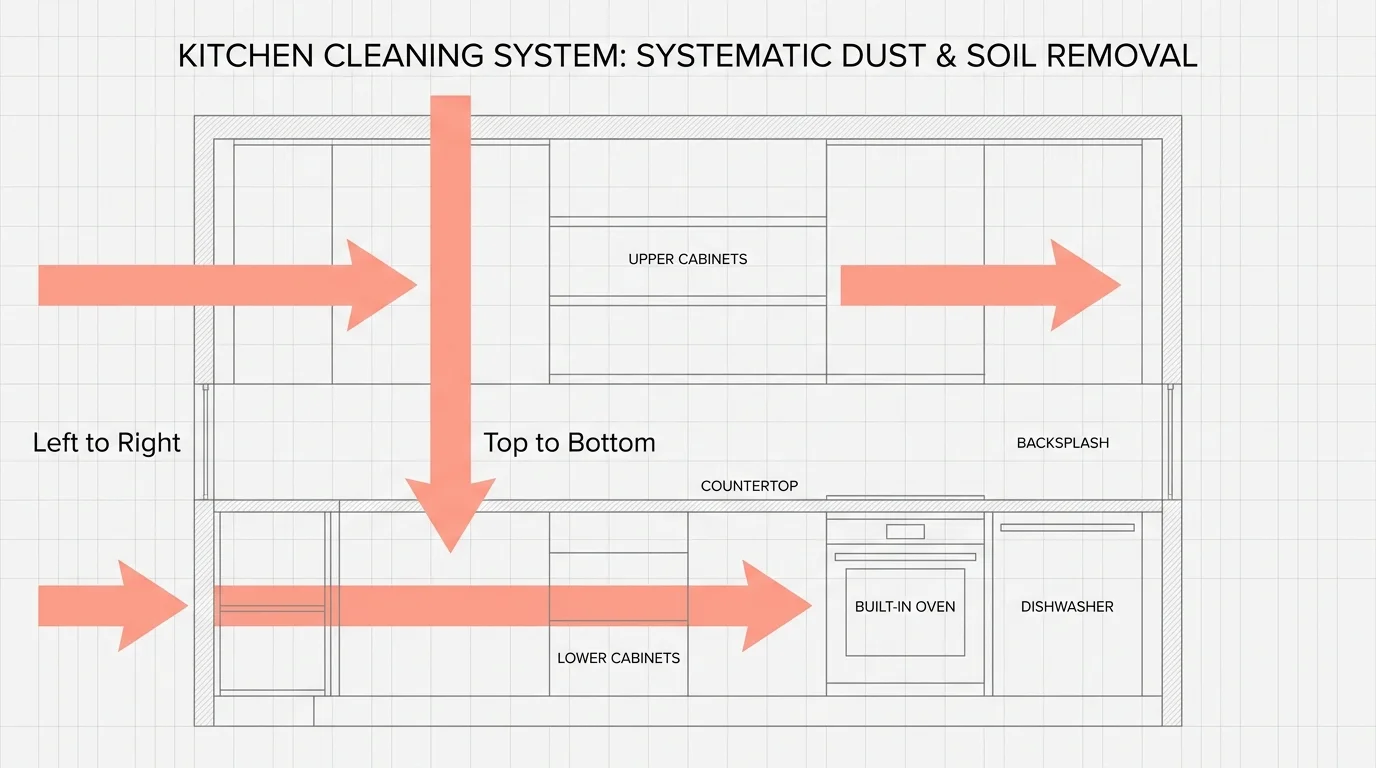
Amateur cleaners often bounce around a room randomly based on whatever catches their eye. They might wipe a smudged mirror, bend down to vacuum the rug, and then grab a duster to reach a dirty ceiling fan. This chaotic approach guarantees you will have to re-clean surfaces. When you dust a ceiling fan after vacuuming the floor, the dislodged debris inevitably falls onto your freshly cleaned rug, forcing you to pull the vacuum out a second time. Professionals rely on a strict directional system to completely eliminate this frustrating double work. They follow clear rules: clean from top to bottom, and move from left to right.
By establishing a consistent pattern, you naturally ensure that you never miss a spot and never backtrack over completed territory. You move confidently through the space, saving time and physical energy.
To optimize your routine, follow this simple step-by-step room clearing checklist:
- Gather your supplies: Before stepping into the room, place all necessary sprays, cloths, and dusters into a portable caddy so you never have to leave the room to grab a forgotten tool.
- Start at the ceiling: Use an extendable duster to clean ceiling fans, crown molding, and tall light fixtures first. Let gravity pull the dust down to the floor.
- Move left to right: Pick a starting point at the door frame and work your way around the room’s perimeter. This eliminates guesswork and backtracking.
- Wipe the mid-level surfaces: Clean the countertops, tables, window ledges, and open shelving as you encounter them on your perimeter walk.
- Address the soft upholstery: Vacuum the couches, armchairs, and decorative pillows to capture settling dust.
- Finish with the hard floors: Sweep or vacuum the accumulated debris from the floor, then mop your way backward out the door.
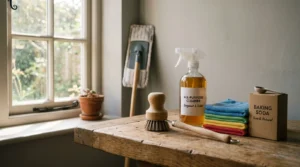
7. Juggling a Dozen Highly Specialized Cleaners
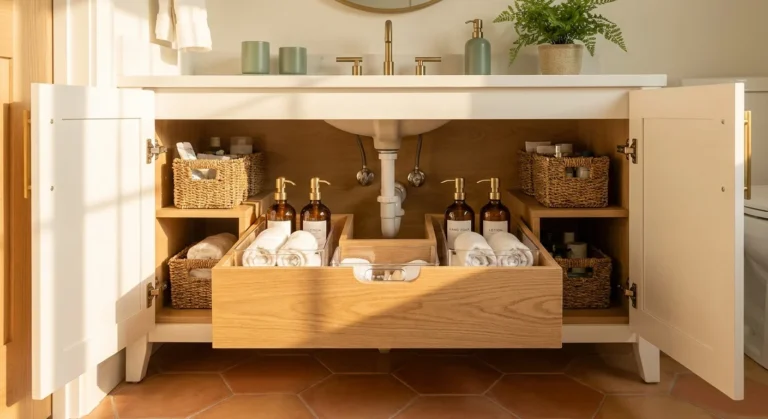
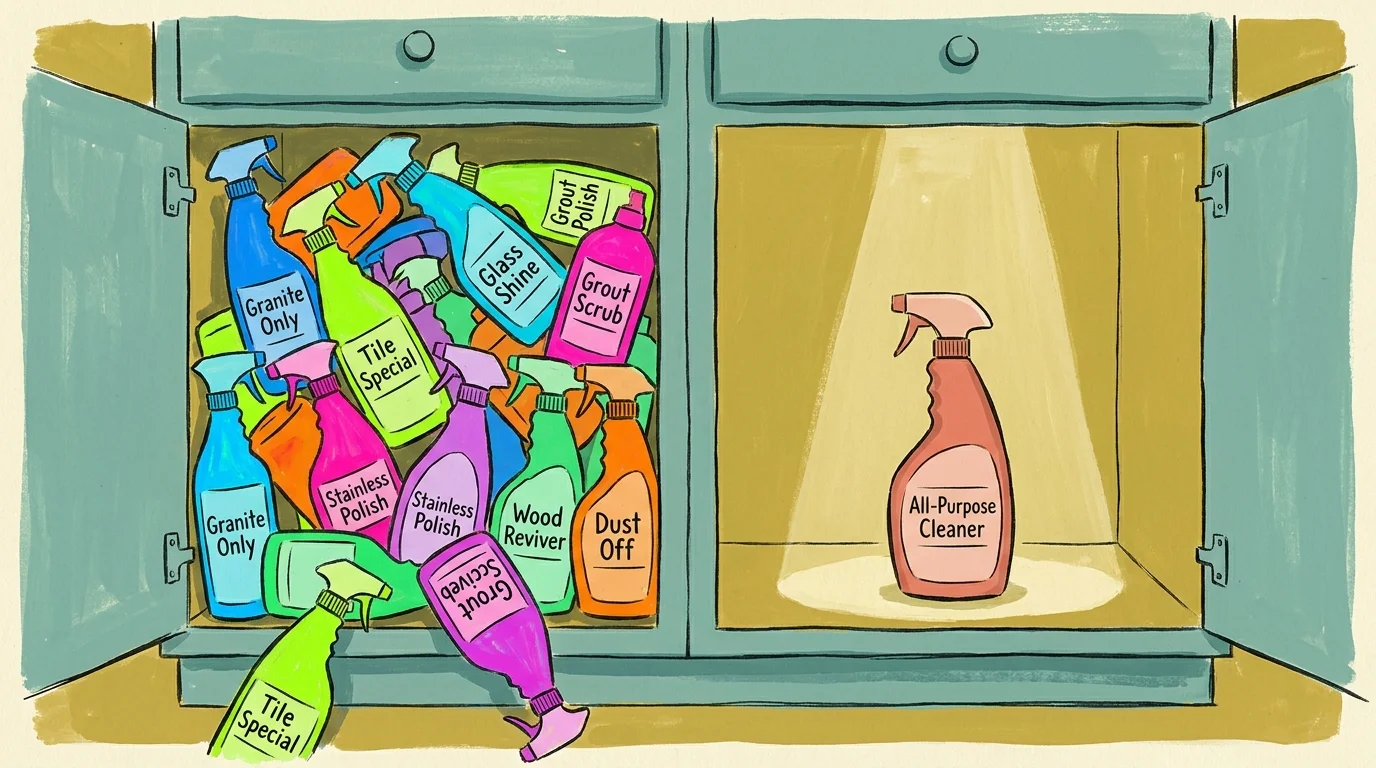
Marketing campaigns work incredibly hard to convince you that you need a highly specialized, brightly colored bottle for every single surface in your home. They sell you one specific product for the stainless steel refrigerator, another for the granite countertops, a third for the glass shower doors, and a fourth just for the wooden baseboards. Carrying around an overflowing, heavy cleaning caddy and constantly swapping out bottles severely slows down your pace. Every time you stop to find the right cleaner for a small task, you interrupt your workflow and waste valuable minutes.
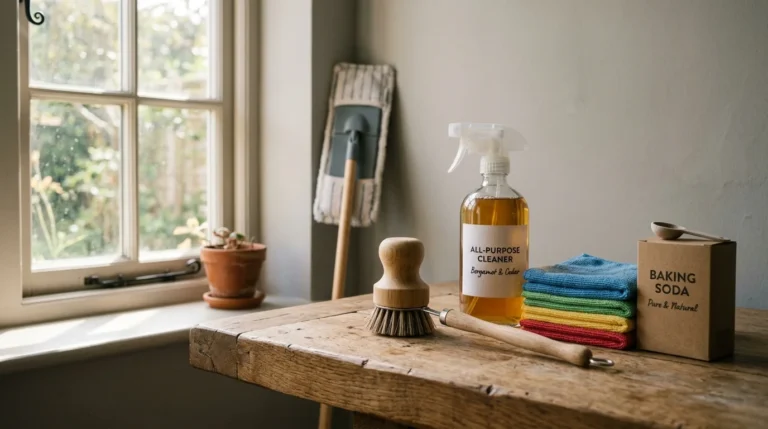
Professional cleaners streamline their kits to maximize speed and efficiency. They know that a massive arsenal of chemicals is expensive, heavy, and largely unnecessary. Instead, they typically carry just a few versatile, high-quality products that can safely tackle the vast majority of household dirt. A standard professional kit usually includes a heavy-duty degreaser for stubborn kitchen splatters, a reliable glass cleaner for windows and mirrors, a mild abrasive like baking soda or a specialized paste for bathtub rings, and a general all-purpose disinfecting spray for everyday touchpoints. By drastically reducing your chemical inventory, you eliminate decision fatigue. You will save money at the grocery store, lighten the physical load you carry around the house, and breeze through your chores without constantly stopping to evaluate which formula to use next. A simpler toolkit directly translates to a faster, more effective cleaning session.

Take Your Next Practical Step
Simplifying your housekeeping routine does not require you to buy expensive new gadgets, hire a pricey service, or dedicate your entire weekend to scrubbing on your hands and knees. It only requires you to intentionally rethink your approach and stop repeating the habits that slow you down. Start small by choosing just one professional strategy to implement this week.
If you normally clean your windows on a bright Saturday afternoon, hold off until you get a cloudy day to avoid chasing streaks. If you usually start scrubbing the bathroom sink the exact moment you spray it, intentionally let the product sit for a few minutes while you wipe down the mirror. Or, grab a laundry basket to clear the clutter off your living room tables before you pick up a duster. By working smarter, relying on efficient systems, and allowing your tools to do the heavy lifting, you will naturally create a cleaner, calmer home. More importantly, you will win back hours of your free time to actually relax and enjoy the space you worked so hard to maintain.