Step 5: Label – The Secret to Long-Term Success
If containing your items is how you create order, labeling is how you keep it. This step may seem like overkill for a single drawer, but it is the single most effective way to ensure your hard work sticks. Labels are tiny signposts that make tidying up effortless. They remove the mental energy required to remember where things go, turning the act of putting something away into a simple matching game.
Labels are not just for you; they are a crucial communication tool for everyone else in your household. When your spouse or a grandchild needs a pen, a clear label guides them directly to it. More importantly, it shows them exactly where to put it back. This simple act prevents others from unintentionally undoing your organizational work.
Here are a few simple and effective ways to label the compartments in your new utility drawer:
The Gold Standard: A Label Maker
A simple electronic label maker is a fantastic investment for any home organization project. The labels are neat, durable, and incredibly easy to read. For optimal accessibility, especially in households with older adults or anyone with vision impairment, choose a large, clear, sans-serif font (like Arial or Helvetica). High contrast—black text on a white or light-colored label—is always best.
Simple and Effective: Tape and Marker
You don’t need fancy equipment to create effective labels. A roll of masking tape, painter’s tape, or even plain white address labels and a permanent marker work perfectly well. Write in clear, block letters. The goal is clarity, not calligraphy.
The Pro Tip: Label the Bottom
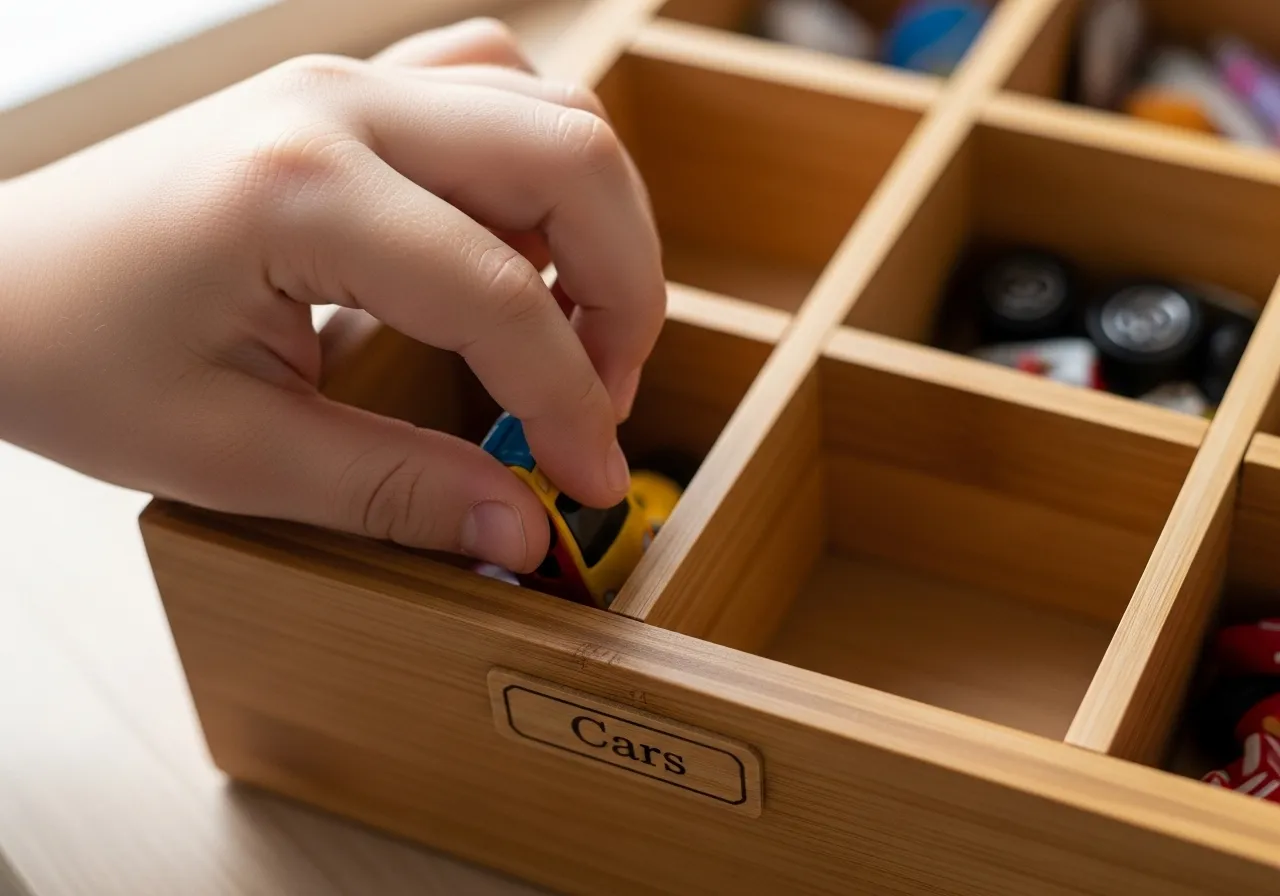
Here’s a small detail that makes a big difference: place your label on the bottom surface of the drawer organizer compartment, not on the side. Why? Because the label will always be visible, even when the compartment is full of pens or batteries. When an item is removed, the label underneath confirms its home, prompting you to return it to the right spot.
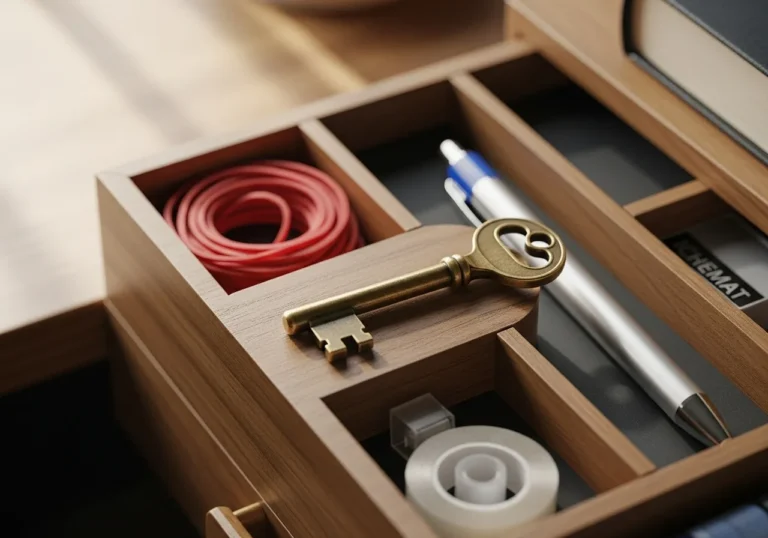
What should your labels say? Keep them simple and direct. Use one or two words to describe the category. Examples include:
WRITING (for pens, markers)
CUTTING (for scissors, box cutter)
TOOLS (for screwdriver, pliers)
LIGHT (for flashlight)
POWER (for batteries)
FASTEN (for clips, rubber bands)
MEASURE (for tape measure)
Take five minutes to create and apply your labels. This final touch solidifies your new system, turning a collection of containers into an intuitive, functional map. You have now completed the core setup of your organized drawer. The final piece of the puzzle is learning how to keep it this way with minimal effort.