Step 4: Contain – The Art of Drawer Dividers
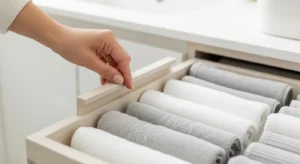
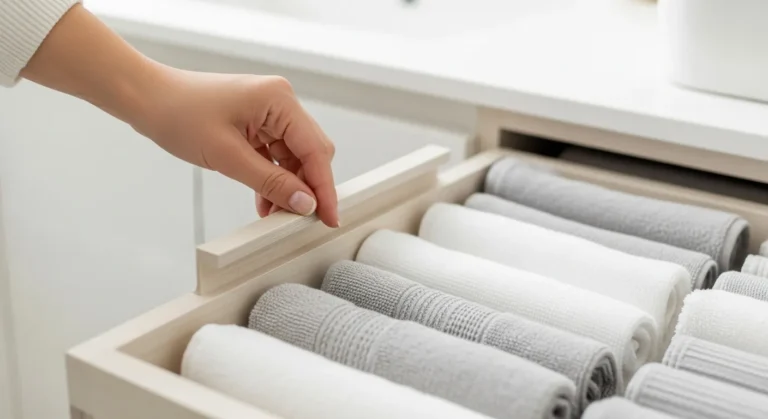
Now we move to the most visually satisfying step: containing your items. This is where you create a specific, designated home for everything in your “Keep” pile. The goal is to create a system of “zones” within the drawer, so items are grouped by category and don’t slide into a jumbled mess the first time you close the drawer too quickly.
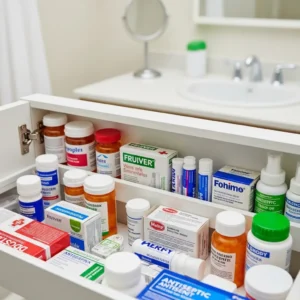
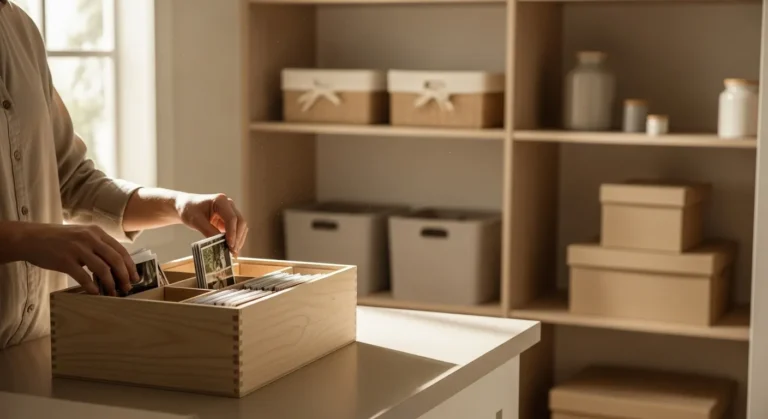
A common organizing mistake is what we call the “container-first” approach: buying a bunch of pretty bins and dividers before you’ve even edited your belongings or measured your space. This often leads to wasted money and organizers that don’t actually solve your problem. We are doing it the right way: you’ve already edited your items and you have your drawer’s precise measurements written down. Now you can confidently choose the perfect containers.
Drawer dividers come in many shapes and styles. Here are the most common options:
Expandable Trays: These are often made of bamboo or plastic and slide to adjust to the width of your drawer. They typically have long compartments perfect for pens, scissors, and tools. They are a great all-in-one solution for standard-sized drawers.
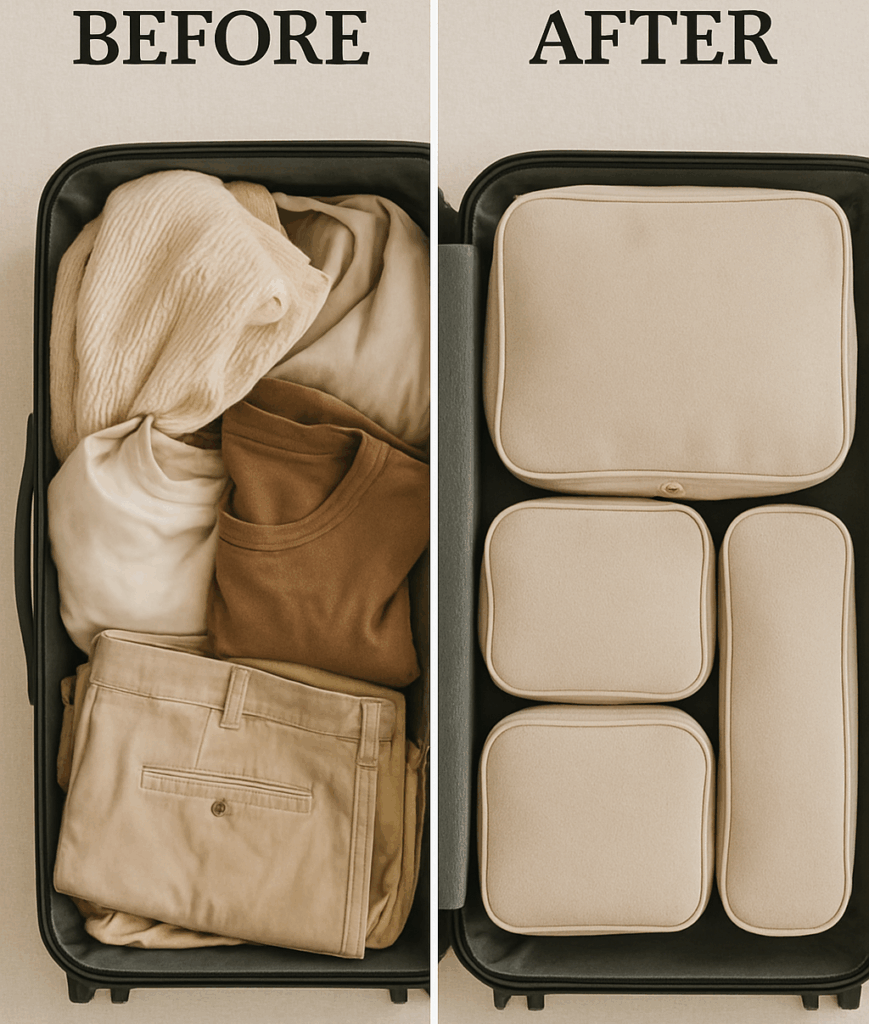
Modular Individual Bins: This is our favorite method for maximum customization. These are small, single-compartment bins, usually plastic or acrylic, that come in various square and rectangular sizes (e.g., 3×3 inches, 3×6 inches, 6×9 inches). You can mix and match them like puzzle pieces to create a layout that perfectly fits both your drawer and your specific items. Look for sets that have interlocking features or non-slip feet to keep them from shifting.
DIY Dividers: You can also create your own dividers using small, sturdy cardboard boxes (like those from smartphones or jewelry) or by cutting down larger boxes to fit. This is a budget-friendly option, though it may be less durable over time.
Let’s walk through a worked mini-example to see how this comes together.
WORKED MINI-EXAMPLE: The Kitchen Utility Drawer Layout
Imagine your drawer’s interior measurements are 14 inches wide, 21 inches deep, and 3.5 inches high. You’ve edited your items and need homes for pens, scissors, a tape measure, a flashlight, batteries, binder clips, and a few small tools.
Here’s how you could map out a layout using modular bins:
Zone 1: The Front (High-Frequency Items)
This is the first area you see when you open the drawer. It’s for things you use most often.
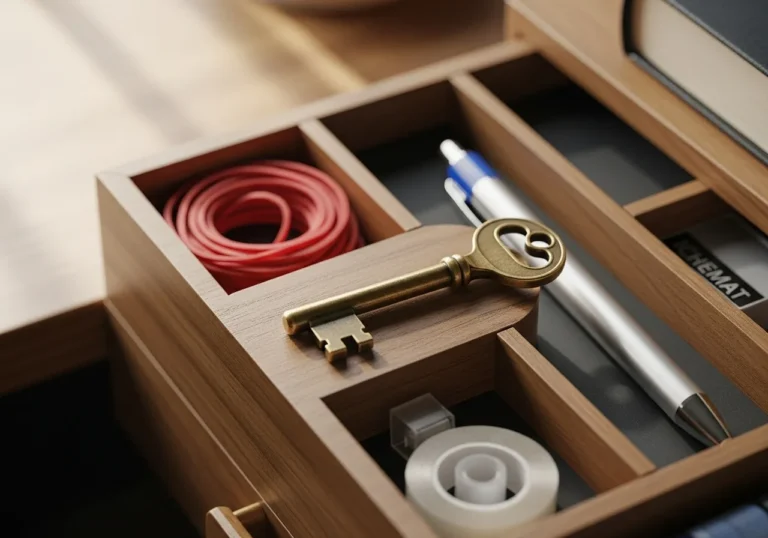
Layout: Place one 3-inch by 12-inch bin horizontally across the front. This is perfect for pens, a marker, and your letter opener or scissors. Next to it, place a 3-inch by 3-inch bin for your small collection of binder clips or paper clips. This uses up the full 14-inch width (1 inch of wiggle room is fine) and 3 inches of depth.
Zone 2: The Middle (Tools and Power)
This is the core of your utility station.
Layout: Behind the front bins, use one 6-inch by 9-inch bin for your multi-bit screwdriver and pliers. Next to it, place another 6-inch by 9-inch bin for your flashlight and spare AA/AAA batteries. This combination fills the 14-inch width (with some space) and uses another 9 inches of depth.
Zone 3: The Back (Less-Frequent Items)
This is for items you need, but not every day.
Layout: In the remaining space at the back, you could use one 8-inch by 9-inch bin to hold your tape measure, a small roll of tape, and a book of stamps. This flexible space can hold bulkier items.
By using this “zoning” strategy, every single item has a logical, contained home. You’ve used simple container math to ensure a snug fit, and you can now see at a glance what you have and where it lives. The chaos is officially contained.