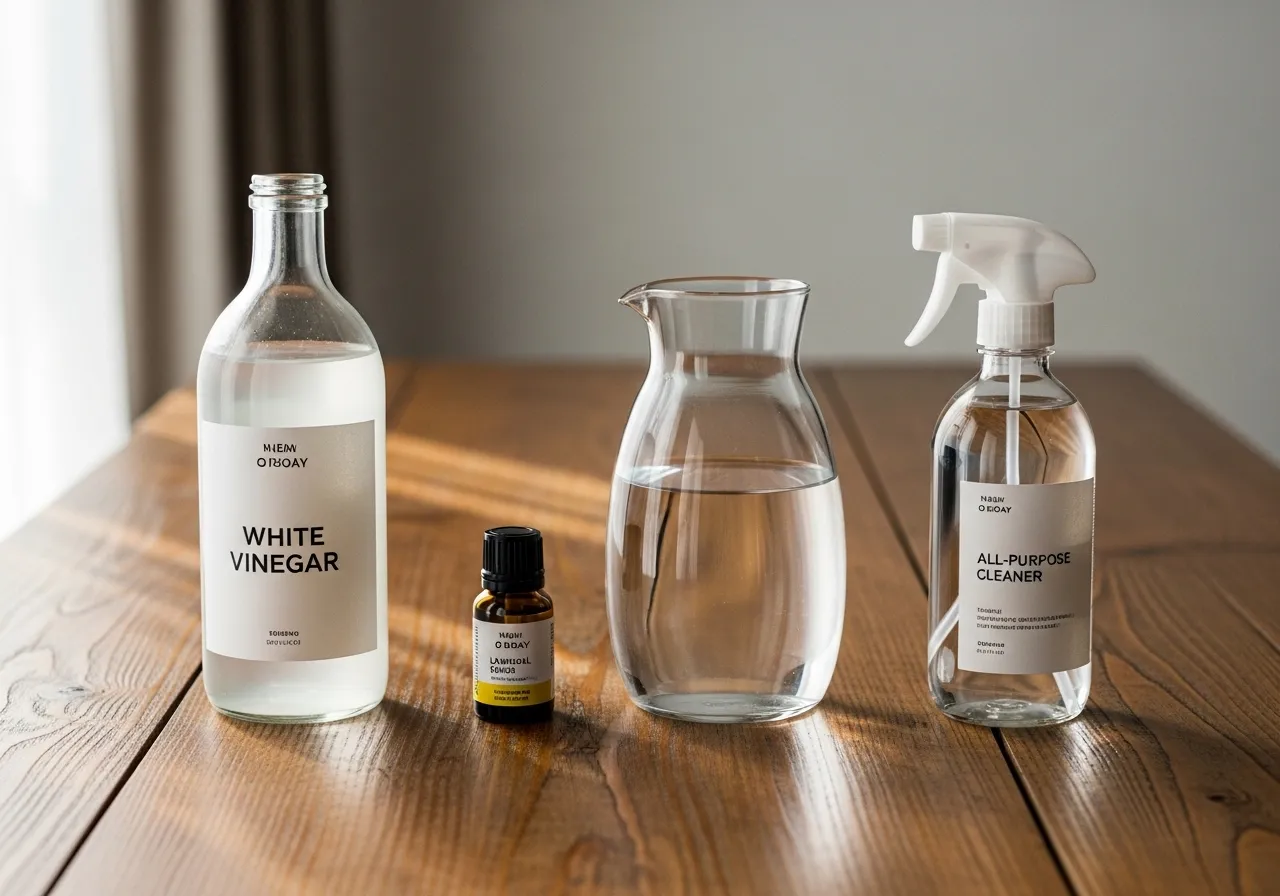
Recipe 1: The Everyday All-Purpose Cleaner
If you make only one homemade cleaner, this should be it. This simple spray is perfect for tackling daily messes on a wide variety of surfaces throughout your home. It’s a versatile solution that replaces multiple store-bought bottles, simplifying your routine and saving space under the sink. This homemade all-purpose cleaner recipe is a cornerstone of any green cleaning arsenal.
The Recipe: Simplicity in a Bottle
This recipe is based on a simple one-to-one ratio, making it easy to remember and scale up or down as needed.
Ingredients:
1 part Distilled White Vinegar
1 part Water (distilled is best, but tap is okay)
Optional: 5-10 drops of essential oil for scent (like lemon or lavender)
Instructions:
Pour the water and vinegar directly into a clean, empty spray bottle. If you’re using essential oils, add them now. Screw the nozzle on tightly and give the bottle a gentle shake to combine the ingredients. That’s it! Your cleaner is ready to use.
A little mini-math: For a standard 16-ounce spray bottle, you would use 1 cup (which is 8 ounces) of water and 1 cup of vinegar. If you have a larger 32-ounce bottle, you’d use 2 cups (16 ounces) of each.
How to Use Your All-Purpose Cleaner
Using this cleaner effectively follows a simple four-step process known as the “order of operations” in cleaning.
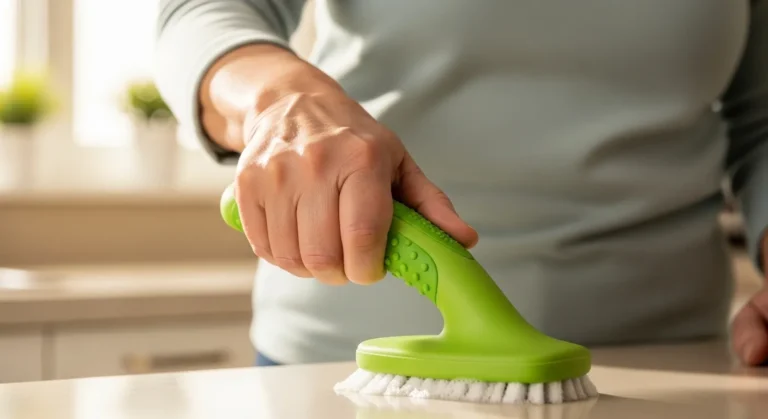
Step 1: Dry Remove. Before you spray, wipe away any loose crumbs, dust, or debris with a dry cloth or brush. Cleaning a wet, crumb-covered counter just makes mud.
Step 2: Apply and Dwell. Lightly spray the surface with your cleaner. Don’t saturate it. Let the cleaner sit on the surface for about 30 seconds to a minute. This is called dwell time, and it gives the vinegar’s acid a chance to start breaking down grime and residue, so you don’t have to scrub as hard.
Step 3: Agitate and Wipe. Using a clean microfiber cloth, wipe the surface clean. For stickier spots, you might need to apply a little gentle pressure.
Step 4: Dry (If Needed). For surfaces like stainless steel, you may want to use a second, dry microfiber cloth to buff the surface and prevent water spots.
Crucial Surface Safety: Where to Use It (and Where Not To)
Vinegar is acidic, which is what makes it such a great cleaner. However, that same acidity can damage certain materials. Knowing where it’s safe is key.
YES – Use It Here:
Laminate Countertops: Perfect for wiping down daily spills and messes.
Glass and Windows: (We have a dedicated recipe for this, but this one works in a pinch).
Ceramic and Porcelain Tile: Great for bathroom and kitchen tiles.
Stainless Steel Appliances: Spray on a cloth, not the appliance, and wipe with the grain of the steel to avoid streaks.
Inside the Refrigerator: A safe and effective way to clean shelves and drawers (ensure you rinse food-contact surfaces with water afterward).
Some Sealed Floors: For vinyl or sealed tile floors, you can use a very diluted version (about 1/2 cup of vinegar in a gallon of warm water) for mopping. Never use on waxed floors.
NO – Never Use It Here:
Natural Stone Surfaces: This is the most important one to remember. Never use vinegar on marble, granite, travertine, or limestone. The acid will react with the calcium carbonate in the stone and cause etching, which looks like a dull, permanent spot. For these surfaces, use a pH-neutral cleaner, which means it is neither acidic nor alkaline, or a cleaner specifically designed for stone.
Unsealed Grout: The acid can slowly eat away at unsealed or damaged grout over time. If your grout is sealed properly, occasional use is fine, but you should rinse it afterward.
Hardwood Floors: While some people use very diluted vinegar on modern, polyurethane-sealed hardwoods, it’s risky. The acid can dull the finish over time. Always check your floor manufacturer’s cleaning recommendations. It’s safer to use a pH-neutral cleaner designed for wood.
Electronic Screens: Do not use this on your TV, computer monitor, or phone. It can damage the anti-glare coatings.