Before You Begin: The Golden Rules of DIY Cleaning
Before we start mixing, it’s essential to establish a foundation of safety and good practice. These simple rules will ensure your homemade cleaning journey is both successful and secure. Think of this as setting up your workshop; having the right knowledge and tools on hand makes all the difference.
Safety First: Your Non-Negotiable Checklist
Your well-being is the top priority. While our recipes use common household ingredients, they are still chemicals and need to be handled with respect.
Never, Ever Mix Certain Chemicals. This is the most important rule. Mixing certain cleaners can create dangerous toxic gases. The most critical combinations to avoid are:
Bleach and Ammonia: This combination creates chloramine gas, which can cause severe respiratory damage.
Bleach and Acid (like Vinegar): This creates chlorine gas, a chemical weapon used in World War I. Even a small amount can cause chest pain, shortness of breath, and other serious health issues.
Vinegar and Hydrogen Peroxide: Mixing these in the same container creates peracetic acid, a highly corrosive substance that can irritate your skin, eyes, and respiratory system.
When in doubt, use one cleaner, rinse the surface thoroughly with water, and then use another if needed. Never mix them in the same bottle or on the same surface at the same time.
Label Everything Clearly. As soon as you mix a cleaner, label the bottle. Use a permanent marker to write the contents (e.g., “Vinegar All-Purpose Cleaner”), the recipe (e.g., “1:1 Vinegar & Water”), and the date you made it. This prevents accidental misuse and helps you keep track of freshness.
Ensure Good Ventilation. Always clean in a well-ventilated area. Open a window or turn on an exhaust fan, especially when working with vinegar, whose scent can be strong. Good airflow helps any fumes dissipate quickly.
Protect Yourself. Consider wearing rubber gloves, especially if you have sensitive skin or will be cleaning for an extended period. This protects your hands from the drying effects of ingredients like vinegar and baking soda.
Store Safely. Keep all cleaners, homemade or store-bought, in a secure location out of the reach of children and pets. A high cabinet or a locked cupboard is ideal.
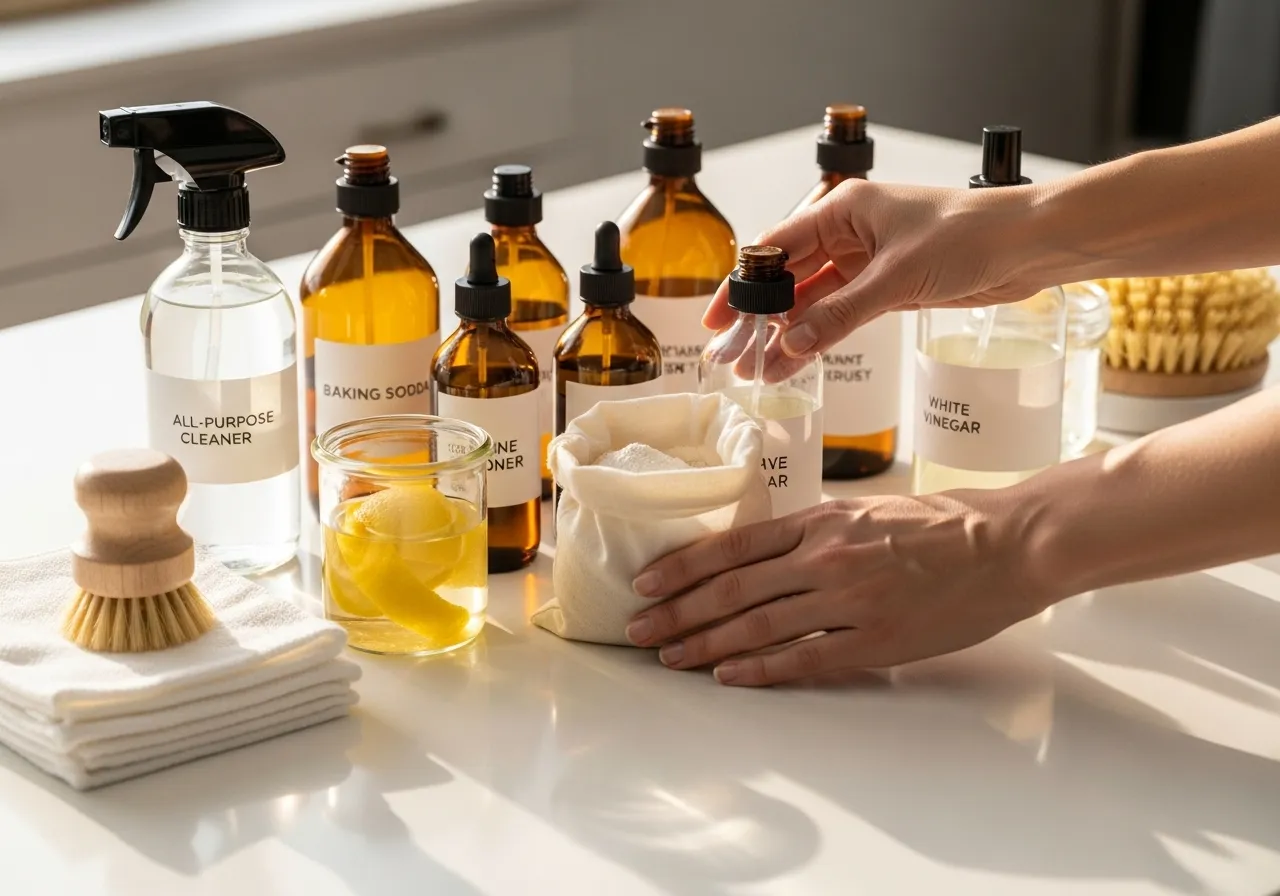
Your Simple DIY Cleaning Pantry
You don’t need a whole cabinet of specialized ingredients. These few staples will form the backbone of all our non-toxic cleaning recipes.
Distilled White Vinegar: The workhorse of green cleaning. Its acetic acid content makes it effective at cutting through grease, dissolving mineral deposits (like hard water stains), and neutralizing odors. Always use “distilled white vinegar” with 5% acidity, not apple cider or other flavored vinegars that could stain surfaces.
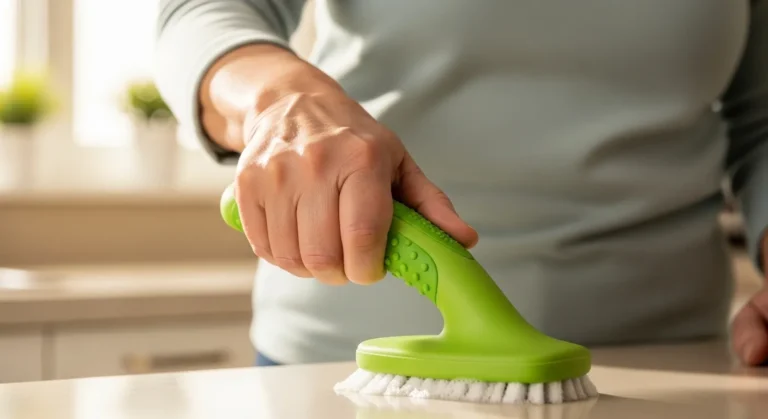
Baking Soda (Sodium Bicarbonate): This gentle abrasive is fantastic for scrubbing without scratching. It’s a mild alkali, which helps it dissolve dirt and grease. It is also a brilliant natural deodorizer.
Mild Dish Soap: Look for a simple, biodegradable liquid dish soap without degreasers, bleach, or antibacterial additives. Castile soap, which is made from vegetable oils, is an excellent alternative.
Water: For many recipes, tap water is fine. However, if you have very hard water, using distilled water will prevent mineral spots and streaks, especially in glass cleaners. Distilled water also helps your homemade cleaners last a bit longer as it contains no impurities.
Optional Essential Oils: A few drops of an essential oil like lavender, lemon, tea tree, or peppermint can be added to your cleaners for a pleasant scent. It is important to understand that in these small quantities, they are for fragrance only and do not add significant disinfecting power.
The Patch Test: Your Secret to Surface Safety
Before you spray a new cleaner all over your beautiful countertops or floors, you must perform a patch test. This simple step can save you from costly damage.
Find a small, hidden spot on the surface you want to clean. This could be behind an appliance, in a corner, or on the underside of a shelf. Apply a small amount of your DIY cleaner, follow the cleaning instructions, and let it dry completely. Check for any discoloration, dullness, or damage. If it looks good, you can proceed with confidence. Every surface is different, so this five-minute test is always worth your time.