Your fridge is one of the main elements of your kitchen, and since you use it that much, you might want to learn about some of the most amazing tips to deep clean your fridge.
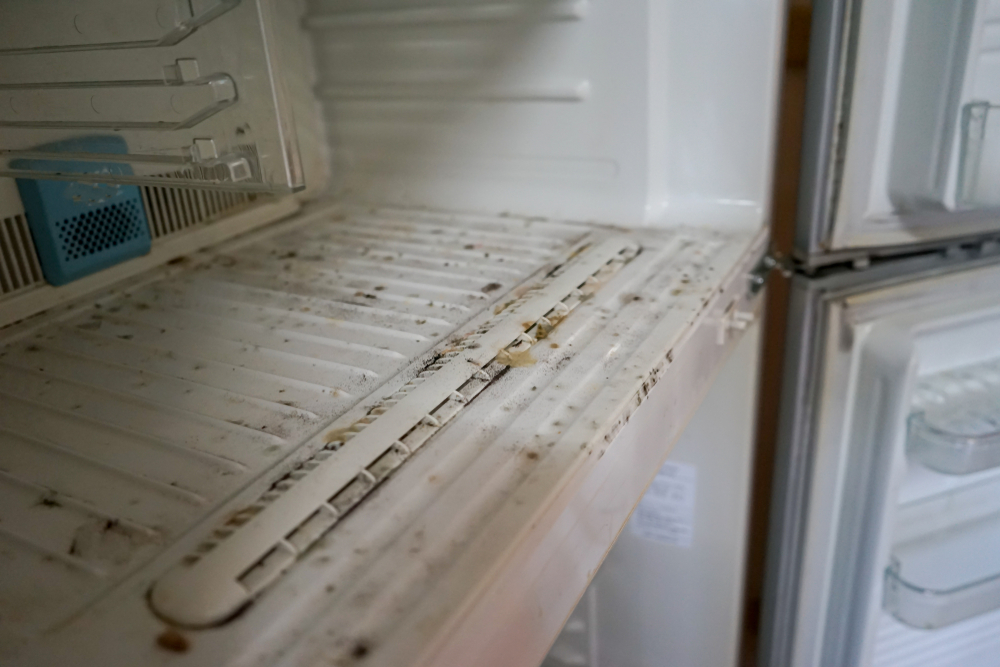
You’ve probably already known that just a quick wipe-down won’t do the job. Food residue can easily build up on the inside as well as on the outside if you don’t do some regular upkeep. This can lead to stains and a funky smell coming from your fridge every time you open it.
The last thing you want while preparing dinner or after returning from the grocery store is to open the fridge and find a total mess, or even worse, be grated by a bad odor.
So, are you ready to discover how to deep clean your fridge? Read on and find out how to improve food hygiene and reduce waste.
1. Planning
You need to deep clean your fridge every three or six months. This is the perfect amount of time between cleanings if you want to have a bacteria-free and squeaky-clean fridge.
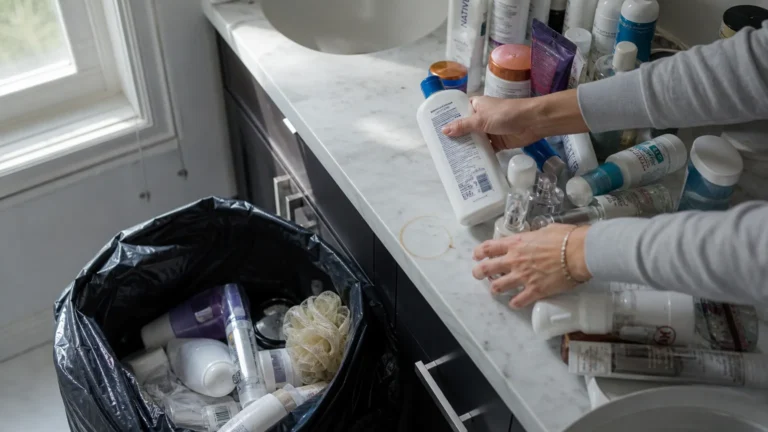
If you want to always respect this timeframe, you will need some good planning. You don’t want to start cleaning right after you go to make groceries. This is not the best idea because deep cleaning a fridge requires you to take out all of the food.
You can plan the cleaning just before you go to the store when you have less food in the fridge. This will make all of the work so much easier.
All of your diary products and meats should be placed in a cool bag. Remember to put some pre-chilled bag blocks inside. In this way, you stop bacteria from multiplying.
Also, all the food that is past its prime should be put in the bin immediately.
2. First step to deep clean your fridge: Start with your shelves and drawers
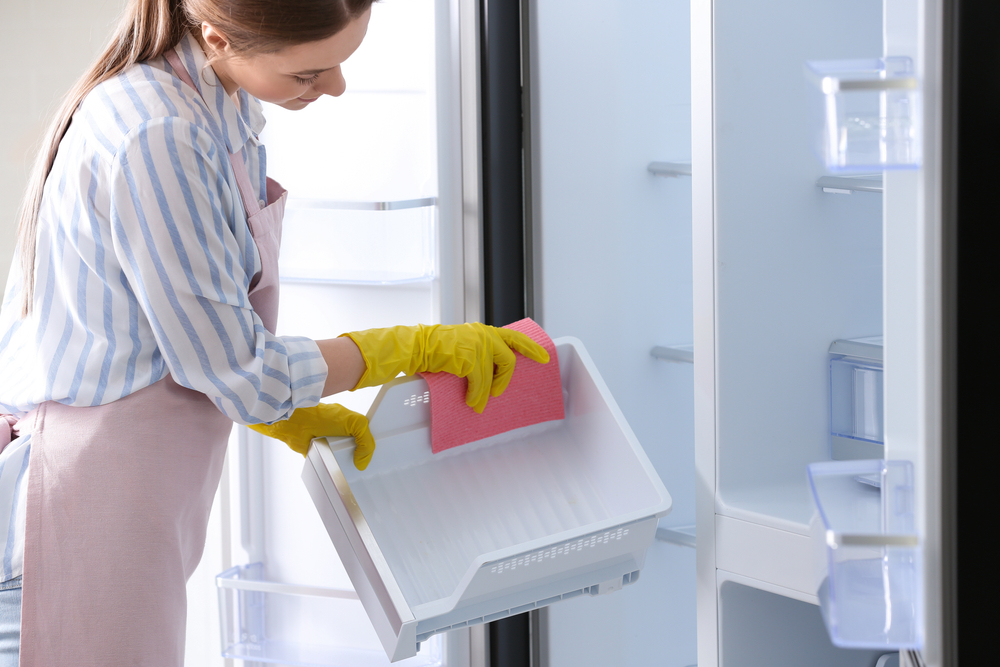
The first step when you deep clean your fridge after you empty it is to take out all of the shelves and drawers. This sounds like an easy part, and it generally is, but if you notice that you have trouble when trying to take them out and you feel like you can’t do it, the best idea is to read the user manual. In this way, you make sure that you do not damage anything.
After you are done with this, you need to start cleaning the shelves and drawers. Use hot water and some dish soap. Be aware that if the slaves are made out of glass, you need to wait for them to reach room temperature before cleaning them with hot water! This helps you avoid shattering them.
To get rid of food particles that have accumulated in the seam where the shelf surface and the shelf surround meet, use a toothpick or a brush. After this, rinse everything with clean water and let it air dry.
3. The interior
After you are done with the shelves and drawers, the next thing you want to do to deep clean your fridge is to clean the interior. This means you want to clean the interior walls of the fridge and any shelves that you can’t remove.
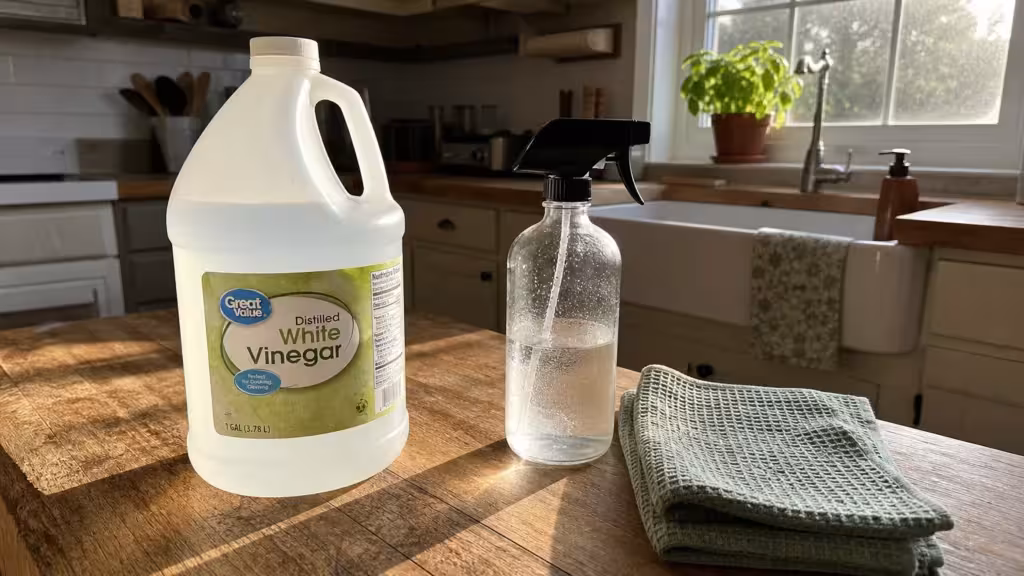
For this, you need water and baking soda. Why did we choose backing soda? Well, this white powder all of us have in our homes is amazing at neutralizing any bad odor. If you don’t believe us, try to use it the next time you deep clean your fridge. Use a solution of one part baking soda to seven parts water to clean the interior of your refrigerator.
If you want to clean using commercial refrigerator cleaners, be careful because their scent can transfer to food.
Always clean, from top to bottom. By doing this, you prevent all the drips from landing on the surfaces you have already cleaned. Also, if there are surfaces and crevices you can’t reach with a cloth, you can yet again use a toothpick or a small brush.
After you have thoroughly cleaned the entire interior, wipe it down with a clean cloth.
4. The outside
Yes, the inside of the fridge should be cleaned very well because it can be full of bacteria and food stains, but the outside is also important. Many germs can thrive on the surface of the handle of the fridge and also on the door. This happens because we use our hands when opening the fridge, and we don’t always have our hands clean.
After you are done with the door of the fridge and the other outer parts, please remember to clean on top of the fridge. Many people ignore its area, but this is probably the dustiest part of any fridge. Since it is so high and you don’t always clean up, dust can easily collect, and if not cleaned properly and periodically, it can trigger allergies or, even worse, asthma attacks.
5. Don’t forget the gasket
The gasket is the rubber part that surrounds the fridge door. If you have a fridge that has a freezer at the bottom, it will have a gasket too. Most of the time, this is the part that you have the most chance to ignore when you deep clean your fridge.
Every time you clean the fridge, also clean the gasket. It should be cleaned regularly because if you do not do this, it will not ensure a tight seal.
If you discover mold, clean it with a bleach-based solution and warm water to remove basic dirt. Completely rinse, then pat dry. To prevent it from drying out, apply a thin coating of petroleum jelly to the seal.
Another trick is to use the nozzle of the vacuum cleaner if you want to clean the fold of the door seal. A brush is good, but the vacuum might help you better at removing the crumbs that got stuck in there.
6. The condenser coils
After you have cleaned the interior with all the wheels and drawers and also the outside, it is time to lean against the back of the fridge. If you want to deep clean your fridge, you can’t forget about this step.
Really now. When was the last time you cleaned the condenser coils? There are many people who never clean them, but this is bad for the fridge and also for your health.
They can collect large quantities of dust, but honestly, it is easy to remove it. You don’t even need a cloth for this because you can easily use the vacuum cleaner. Even if you don’t like cleaning this part of the refrigerator that much because you will have to move it and all, it is good to do it from time to time because, in the end, your fridge will run better, which means it will also last longer.
When you are cleaning the condenser coils, never forget to first unplug the fridge! This is an important step you should never skip.
7. Clean the mold
Mold may grow in refrigerators due to their cool, occasionally wet environment. Avoid using abrasive or bleach-based cleansers to get rid of mold inside your refrigerator. As an alternative, get some baking soda and combine one tablespoon with a quart of warm water. Clean the moldy area with a damp cloth, and then dry it completely.
Generally, when you decide to deep clean your fridge, you will not encounter problems cleaning the mold because usually there is not a lot of mold if your fridge never went through a flood or a period of time when it stopped running and it had food inside.
However, if your fringe has a water dispenser, this is where mold can grow. Clean it thoroughly with the method we described earlier, and if it keeps coming back, consult an appliance repair professional.
If you want to buy some baking soda for the next time you deep clean your fridge, you can try this one: Arm & Hammer Pure Baking Soda
You should also read: How to Clean Your Mattress and Sofa the RIGHT Way