Step 5: Conquer the Kitchen with Zones
The kitchen is the heart of the home, but it can also be a major hub for clutter. From duplicate gadgets to expired spices, kitchens require a strategic approach. The most effective strategy is to tackle it by **zones**. A zone is an area where you perform a specific task. Common kitchen zones include:
- Prep Zone: Near a clear counter space, with cutting boards, knives, and mixing bowls.
- Cooking Zone: Around the stove, with pots, pans, cooking utensils, and spices.
- Baking Zone: Where you store flour, sugar, mixing equipment, and baking sheets.
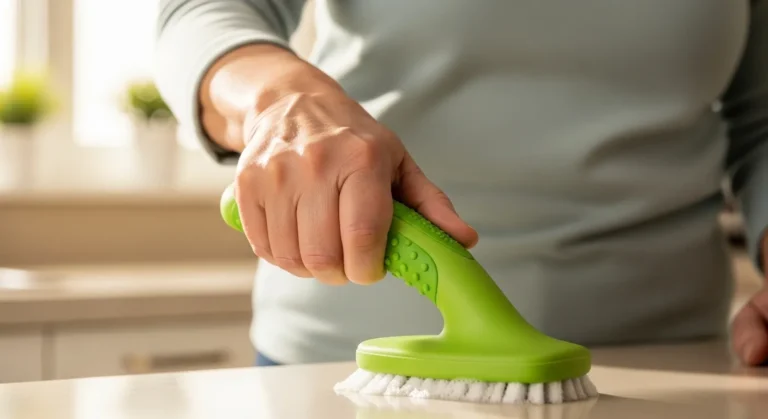
- Cleaning Zone: Under the sink, with soaps, sponges, and trash bags.
- Pantry/Food Storage Zone: For non-perishable foods.
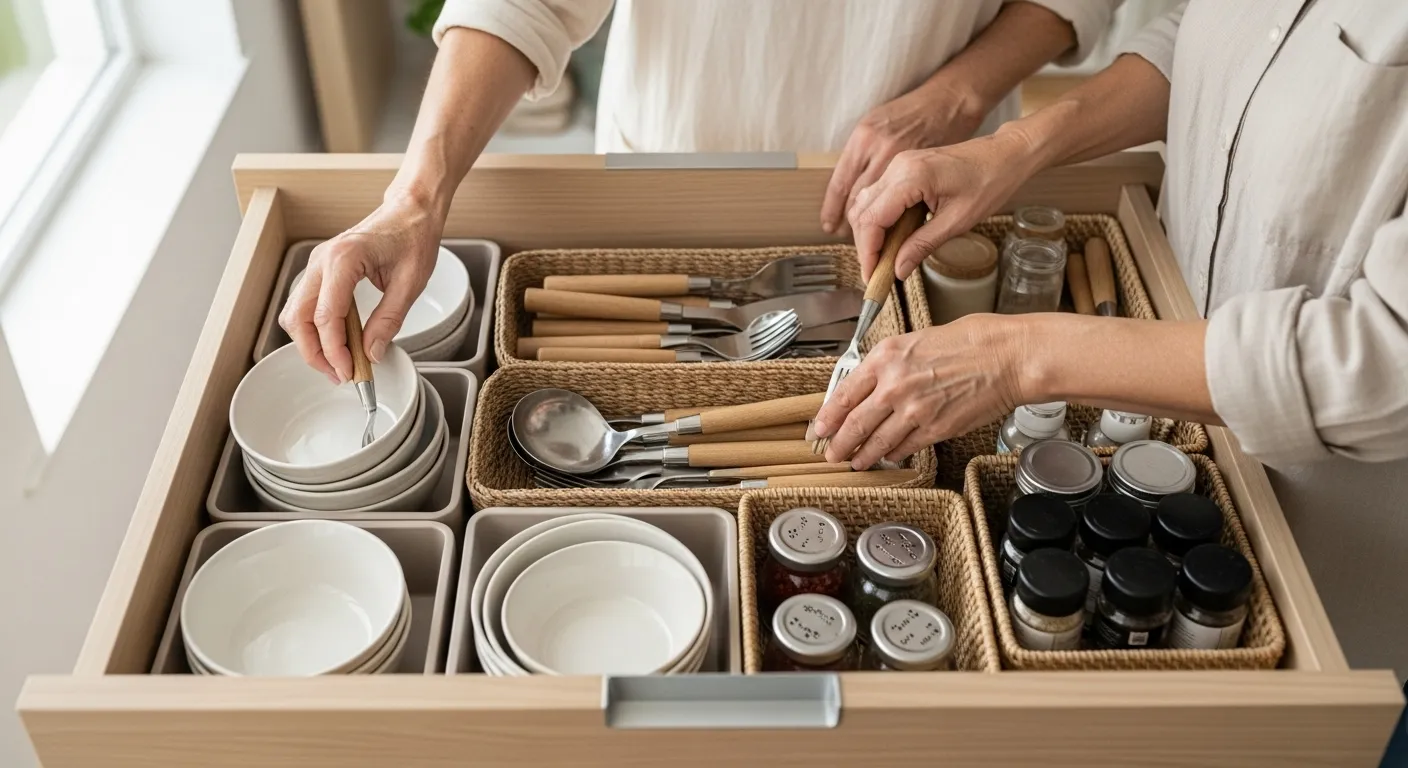
- Dishware & Cutlery Zone: For everyday plates, glasses, and silverware.
Focus on one zone at a time. Empty the entire cabinet or drawer for that zone. As you sort, be ruthless about duplicates. Do you really need three can openers, five wooden spoons, or 12 coffee mugs when you live in a two-person household? Keep the best, and donate the rest. Get rid of any single-purpose gadgets you haven’t used in over a year (looking at you, avocado slicer). This is a crucial step in understanding how to downsize your home for retirement effectively.
Worked Mini-Example: The Pantry Edit
Let’s organize a pantry shelf measuring 36 inches wide and 12 inches deep. The goal is to create a system that is easy to see and access, reducing food waste.
1. Edit: Empty the shelf completely. Check the expiration date on every single item. Be honest—that can of water chestnuts from 2018 has to go. Wipe the shelf clean.
2. Contain: Group like items together. All baking supplies, all pasta and grains, all canned goods. This is where container math comes in. Instead of a jumble of bags, we will use clear, modular containers. For this 36-inch shelf, you could use three 11-inch wide clear bins. This leaves a small amount of wiggle room. Choose bins that are around 10 inches deep so they don’t get lost at the back of the shelf.
3. Decant & Label: **Decanting**, or moving food from its original packaging into uniform containers, can be a game-changer. Use airtight containers for things like flour, sugar, rice, and pasta. Label everything clearly with the contents and the expiration date using a label maker or a simple chalk marker. For canned goods, a tiered shelf riser makes it easy to see everything at a glance. We will apply the **First-Expiring-First-Out (FEFO)** principle, placing items with the soonest expiration dates at the front.
4. Maintain: When you bring home new groceries, immediately decant them into their designated container and rotate the older stock to the front. Your shelf is now a functional system, not just a storage space.
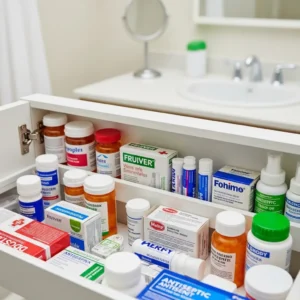
A special note on medications: many people keep medicine in a bathroom cabinet, but the heat and humidity from a shower can degrade them. A cool, dry place, like a designated high shelf in a kitchen cabinet, is often a better choice. Always keep medications in their original, labeled containers. Regularly check expiration dates. For safe disposal of old prescriptions, look for guidance from the U.S. Food & Drug Administration (FDA) or find a local collection site through the U.S. Drug Enforcement Administration (DEA).