Step 3: Set Up Your Sorting Station
Before you pull the first item out of a drawer, prepare your workspace. Shuffling clutter from one pile to another is exhausting and inefficient. To avoid this, use a structured sorting system. The most effective method is the “4-Pile Method.”
Find four large boxes or bins and label them clearly:
1. KEEP: These are items you love, use regularly, and that fit into the vision for your new lifestyle. They will stay in the room you are working on or have a designated place in your downsized home.
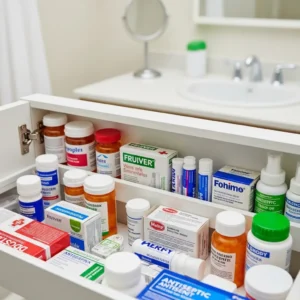
2. DONATE/GIVE AWAY: These are items in good, usable condition that you no longer need. They can bring value to someone else. Think clothes, books, kitchen gadgets, and decor.
3. RECYCLE/TRASH: This pile is for anything that is broken, expired, or no longer usable. Be honest here. Don’t donate items that are truly trash.
4. RELOCATE: This is the “doesn’t live here” pile. It’s for items that have migrated into the wrong room. A coffee mug on your nightstand, scissors in the bathroom—these items go in the Relocate box. At the end of your sorting session, you’ll take a few minutes to walk this box around the house and put everything back in its proper home.
You may also want a fifth, smaller box labeled “SELL.” However, be very cautious with this category. Selling items takes significant time and energy. A good rule of thumb is to only put items in the sell box that are worth more than $50. Set a strict deadline: if an item isn’t sold within 30 days, it automatically moves to the Donate box. This prevents your home from turning into a permanent storage unit for a hypothetical yard sale.
Set up these boxes in the room you are working in or just outside the door. This simple setup creates a clear, physical workflow. Every item you touch goes directly into one of these boxes. No second-guessing, no “maybe” piles allowed.