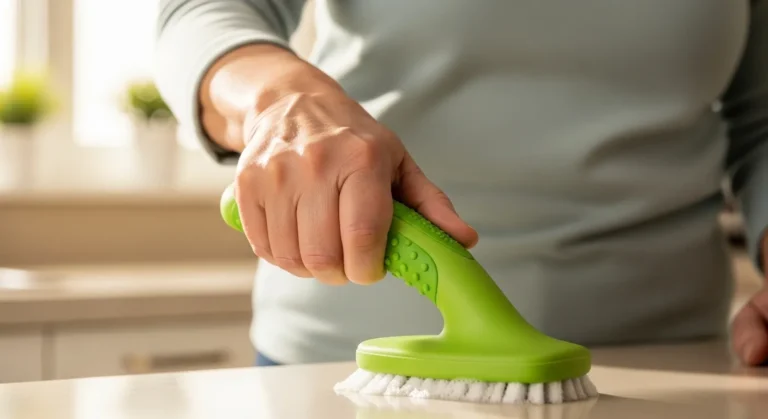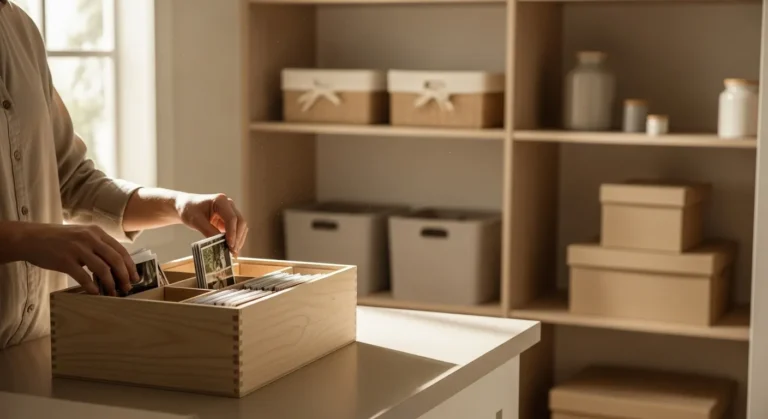
Step 4: Container Math and Choosing the Right Organizers
This is where your preparation pays off. Before you buy a single bin or divider, you must follow the cardinal rule of home organization: measure your space first. This prevents the common mistake of “organizing clutter,” where you end up with a collection of ill-fitting containers that create more problems than they solve. The goal is to choose containers that perfectly fit your space and your items, a process we call container math.
Look at the measurements you wrote down in your notebook. You have the height, width, and depth of each shelf. Now, look at the piles of items you’ve zoned. How much space do they take up? This combination of information—the size of your space and the volume of your stuff—will guide your choices. The strategy of measuring your space, then choosing a container to fit that space and your items, is a core principle for organization that sticks.
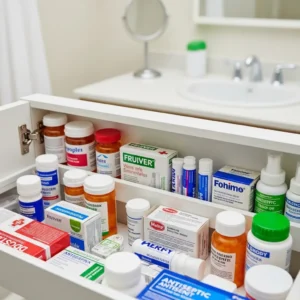
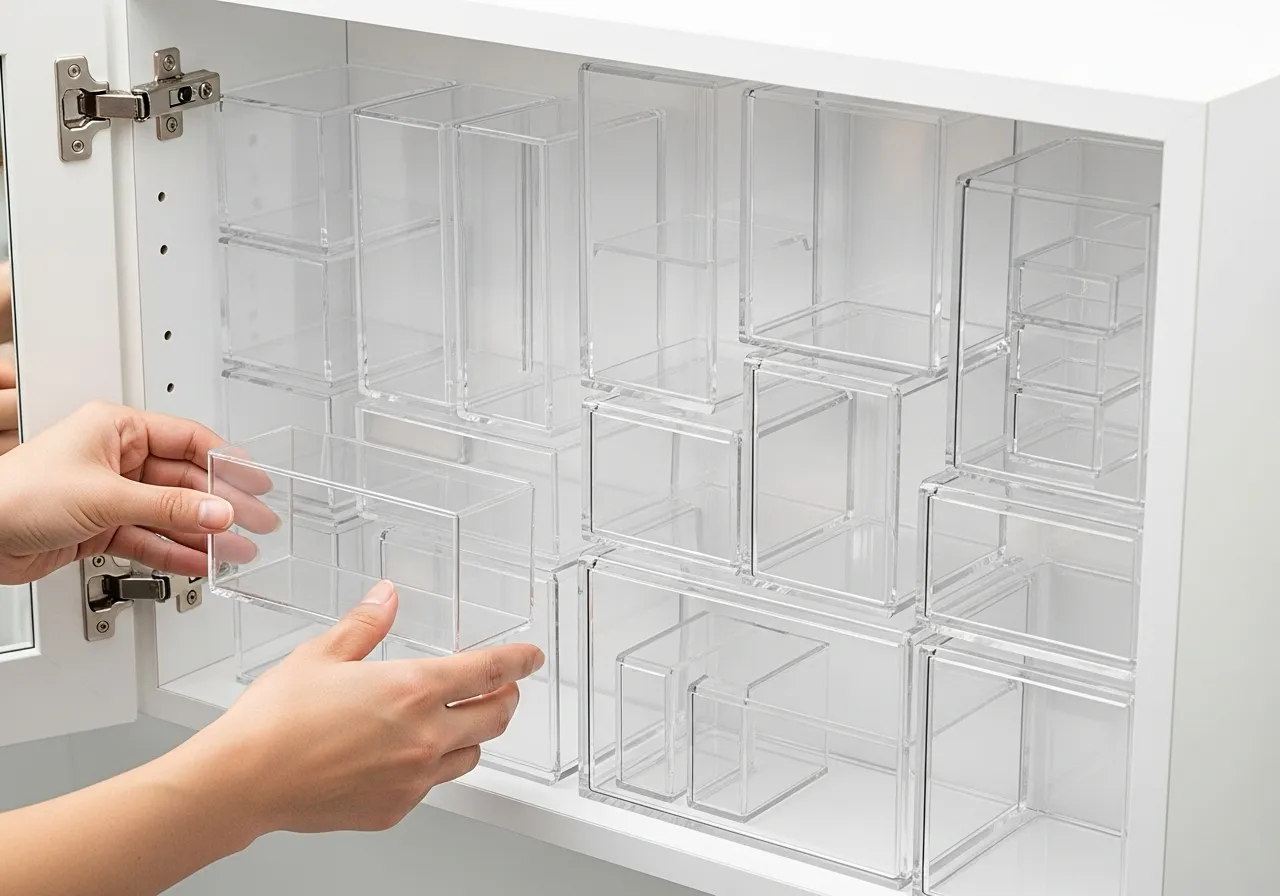
The Best Organizers for Medicine Cabinets
Medicine cabinets are notoriously shallow, so you need organizers designed for small spaces. The best choices are almost always clear, modular, and easy to clean.
Small, clear acrylic or plastic bins: These are the workhorses of medicine cabinet organization. Being clear, they allow you to see the contents at a glance. Look for small, rectangular bins, often sold as drawer organizers. A common, useful size is around 3 inches wide by 6 inches long by 2 inches high. They are perfect for containing your zones, like “First Aid” or “Eye Care.”
Tiered shelves or “spice risers”: If you have tall shelves, a small riser is a brilliant way to use vertical space. It essentially creates a mini set of bleachers, allowing you to see the items in the back row just as clearly as the ones in the front. This is perfect for collections of small bottles or jars.
Small turntables (Lazy Susans): For deeper cabinets or corner cabinets, a small turntable (perhaps 7 or 8 inches in diameter) can be a game-changer. It brings items from the back of the cabinet to the front with a simple spin, ensuring nothing gets lost and forgotten in the dark corners.
Magnetic organizers: If your cabinet door is metal, you can use small magnetic cups or strips to store small metal tools like tweezers, nail clippers, and small scissors. This frees up valuable shelf space.
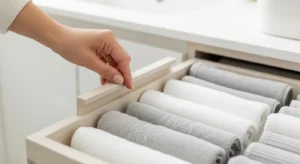
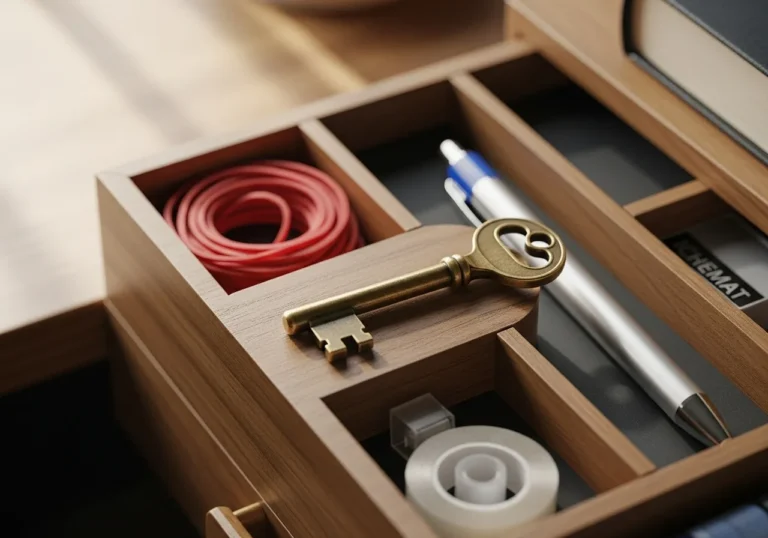
Drawer dividers: If you’ve decided to relocate most of your medications to a drawer, adjustable dividers are essential. They create custom-sized channels that keep bottles and boxes from sliding around every time you open and close the drawer.
A Worked Mini-Example: The Small Apartment Medicine Cabinet
Let’s apply these principles to a common scenario. Imagine a small, standard medicine cabinet with interior dimensions of 14 inches wide, 18 inches high, and only 3.5 inches deep, with three shelves.
Measurements: Each shelf is 14″ W x 3.5″ D. The height between shelves is about 5.5″.
The Plan:
Middle Shelf (Prime Real Estate): This is the eye-level shelf for daily routines. We’ll place two clear acrylic bins here, each measuring 3″ W x 6″ L x 2″ H.
Bin 1 (Left): Labeled “DENTAL.” It will hold a tube of toothpaste and a container of floss. An electric toothbrush stands next to it.
Bin 2 (Right): Labeled “DAILY SKIN.” It holds a small bottle of face wash and a tube of moisturizer.
Result: The bins keep the items from toppling over and clearly define their “homes.”
Top Shelf: This is for less-frequently used items. We’ll use one wider clear bin, measuring 8″ W x 3″ D x 2.5″ H.
Bin: Labeled “FIRST AID.” It contains bandages, antiseptic wipes, and a small tube of antibiotic cream.
Result: All first-aid basics are contained and can be pulled down in one go.
Bottom Shelf: This shelf will hold slightly taller items that are still used regularly.
Items: A bottle of pain reliever, a bottle of allergy medication, and a bottle of mouthwash. These items are stable enough to stand on their own without a container. They are arranged with the most-used item at the front.
This simple setup uses just three small, inexpensive bins to create a system where every item has a place, is easy to see, and is easy to access. This is the power of container math.