The Art of Packing and Labeling for Easy Retrieval
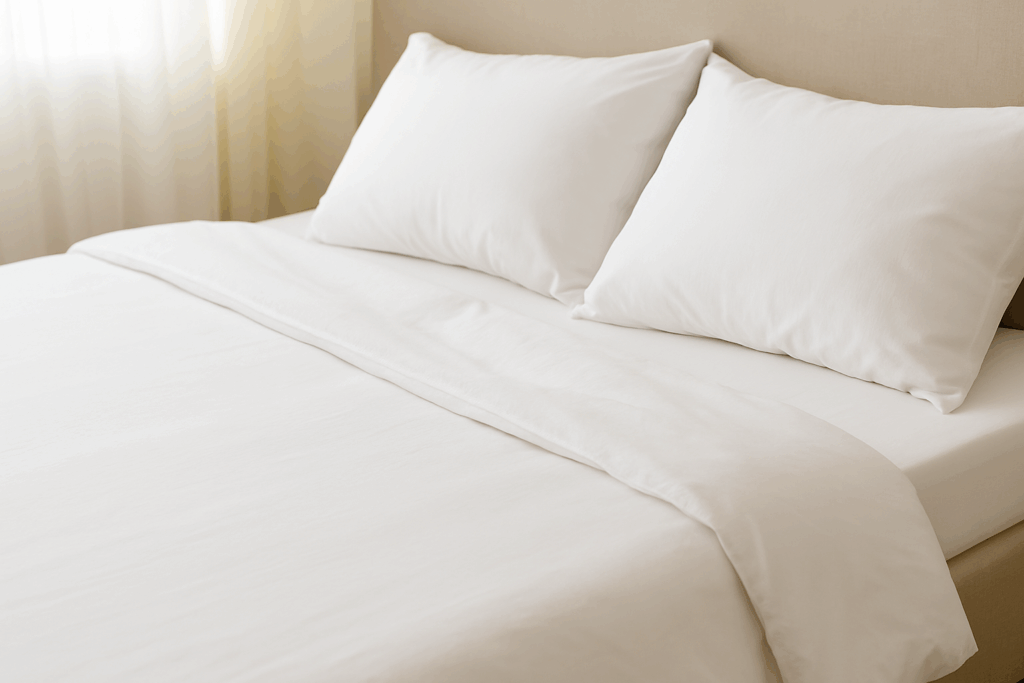
You’ve done the hard work of sorting, cleaning, and choosing your containers. Now comes the final, satisfying step of packing everything away. This is the “Label” phase of our process, and it’s the gift you give your future self. A well-packed, clearly labeled bin means no more frantic searching or mystery boxes. It transforms the seasonal swap from a chore into a simple, seamless task.
Folding vs. Hanging: A Quick Guide
How you place an item into storage depends on its structure and fabric. Getting this right prevents stretched-out shoulders and stubborn creases.
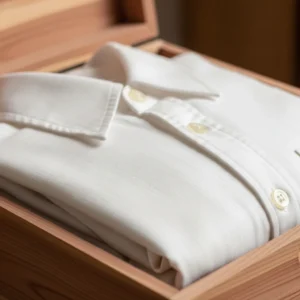
Fold These:
Sweaters and Knits: Always fold sweaters. Hanging them, especially for months at a time, will cause the weight of the garment to stretch out the shoulders, creating permanent “hanger bumps” and distorting the shape.
T-shirts and Casual Tops: Folding is the most space-efficient method for these items.
Jeans and Sturdy Pants: Denim and other heavy fabrics do very well when folded and stacked or filed in a bin.
Hang These (in a breathable garment bag):
Coats and Blazers: Structured items like jackets need to be hung to maintain their shape. Use wide, sturdy wooden or padded hangers, not flimsy wire ones.
Dresses and Blouses: Delicate fabrics like silk, or items with intricate details, are best stored hanging in a breathable cotton or canvas garment bag to protect them from dust.
Tailored Trousers: Formal pants should be hung properly on trouser hangers to preserve their crease.
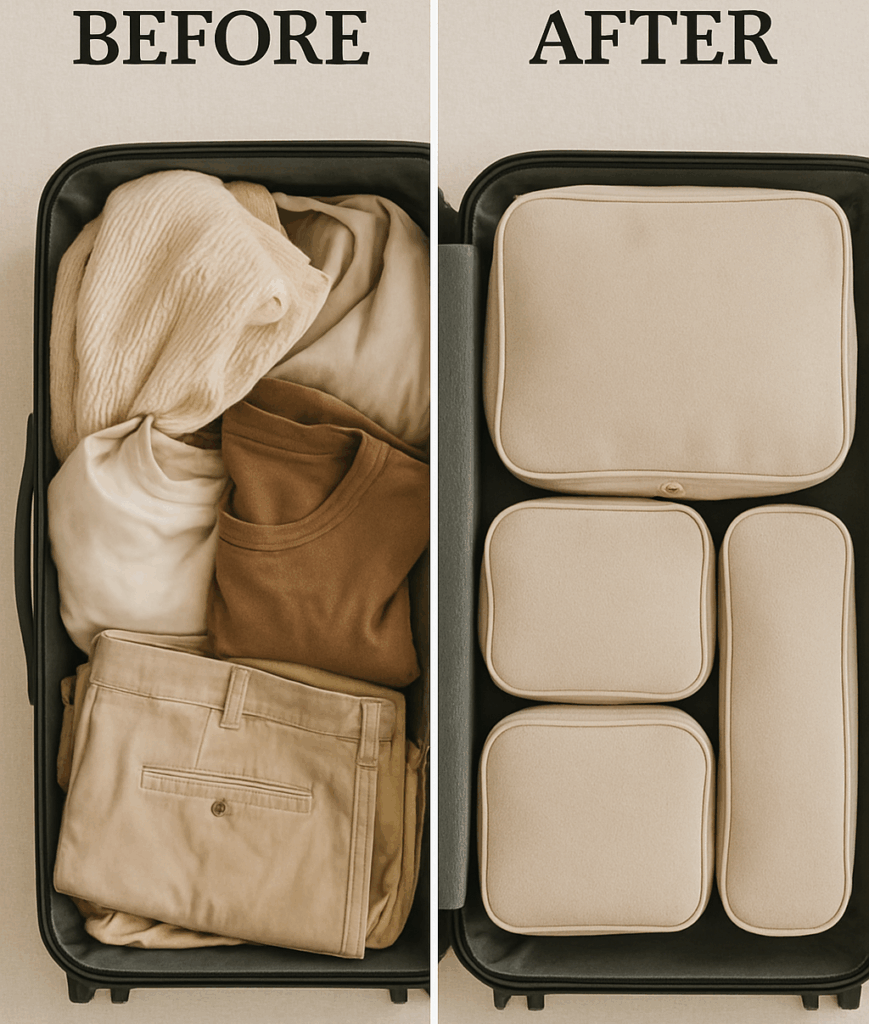
Smart Packing Techniques
How you load your containers makes a big difference in both space efficiency and the condition of your clothes upon retrieval.
Don’t Overstuff: Cramming too much into a bin or bag restricts airflow, which can lead to mustiness, and it guarantees deep-set wrinkles. Clothes should be snug but not compressed (unless using a vacuum bag for specific items).
Heaviest on the Bottom: Place durable, heavy items like jeans or corduroys at the bottom of a bin and lighter items like t-shirts on top.
Use Acid-Free Tissue: For extremely delicate items, like a beaded silk top or a vintage garment, folding it with layers of acid-free tissue paper can provide extra protection against snagging and creasing.
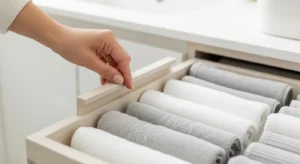
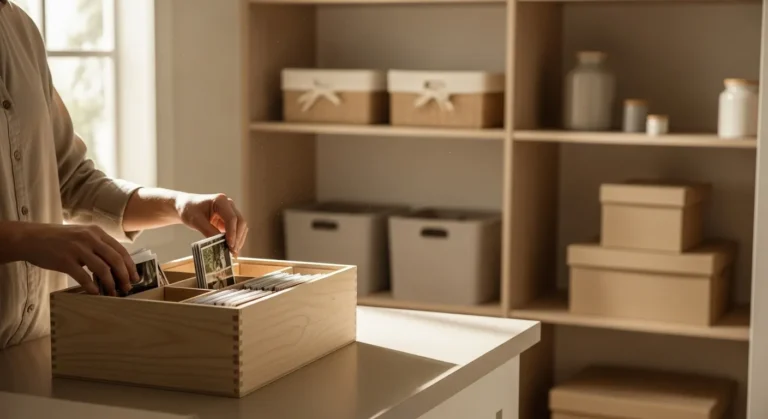
Think Vertically: When packing a bin, use the “file folding” technique. Fold your clothes into neat, stable rectangles and arrange them vertically, from front to back, like files in a drawer. This brilliant method allows you to see every single item in the bin at once, so you don’t have to dig through piles to find what you’re looking for.
Labeling Like a Pro for a Future You
If you don’t label, you’ll have to open every single box to find your hiking socks. Labeling is the final, crucial touch that makes your system work.
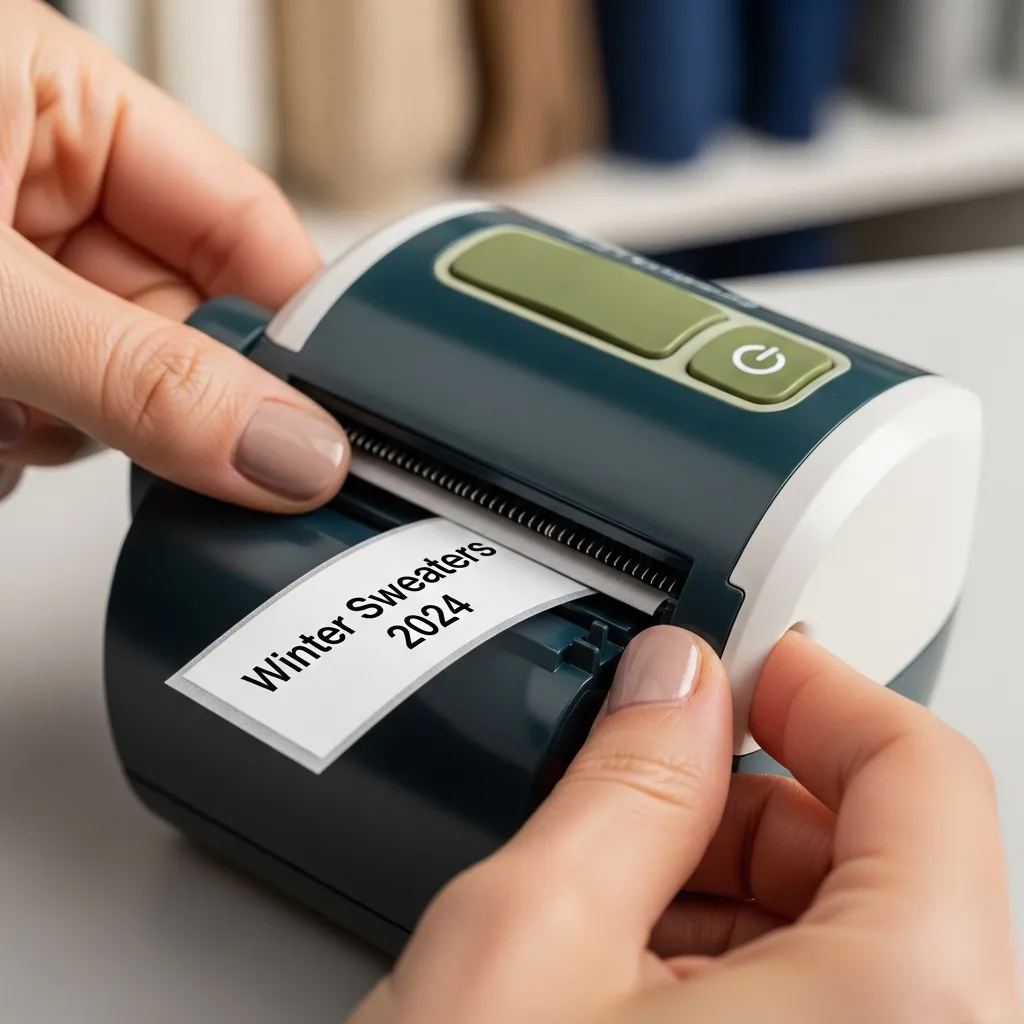
Be Specific and Consistent: “Clothes” is not a useful label. What kind of clothes? For whom? For which season? A great label provides all the key information. Adopt a consistent format, such as: SEASON – PERSON – CONTENTS.
Good Label Example: “WINTER – ANNA – WOOL SWEATERS & SCARVES”
Bad Label Example: “Winter Stuff”
Make it Legible: Use a thick permanent marker on a piece of painter’s tape (which is easy to remove later), or invest in a simple label maker. The goal is clarity. For those who need it, use extra-large print to ensure labels are easy to read without straining.
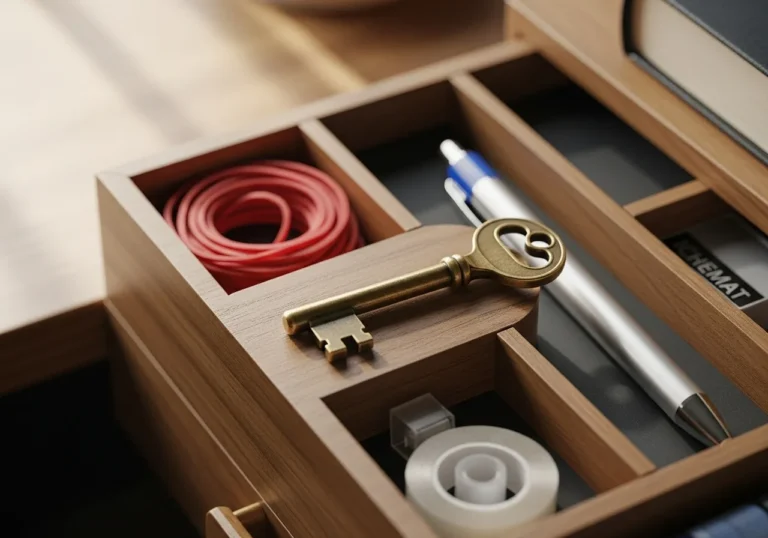
Consider an Inventory List: For bins containing many different small items, like accessories, you can type up a quick inventory list and tape it to the inside of the lid or the side of the box. This can be a lifesaver when you’re looking for one specific item.