

Step 3: Contain and Label for Quick Access
Now that you have your curated piles of “Grab-and-Go” documents, it’s time to give them a home. This is the “contain” and “label” part of our process. The right container depends on your personal preference and the volume of your documents.
Option 1: The Binder Method
A heavy-duty, 3-inch D-ring binder is an excellent choice. The D-ring shape allows pages to lie flat and makes them easier to turn. Pair this with a set of 10-12 tabbed dividers and at least 100 heavy-duty, non-glare sheet protectors. The clarity of sheet protectors is important for readability, especially for older eyes.
Pros: Easy to flip through and find a specific document quickly. It feels like reading a book about your life.
Cons: Can become very heavy and bulky. Not ideal for thick documents like trust paperwork or for holding objects like spare keys or USB drives (though zipper pouches can help).
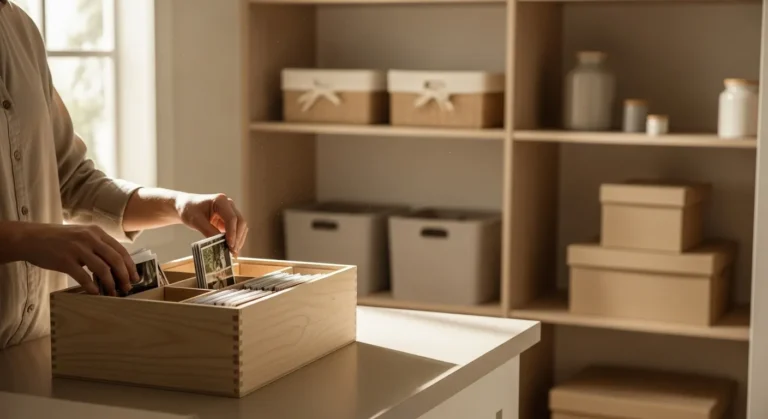
Option 2: The Portable File Box Method
A portable file box, typically measuring around 14 inches long by 7 inches wide and 11 inches high, offers more flexibility. Look for one with a secure latch and a handle. You’ll use hanging file folders with plastic tabs to create your sections.
Pros: More capacity for bulky documents and small items. It contains everything neatly within a single, easy-to-carry box.
Cons: You have to lift folders out to see their contents, which can be slightly slower than flipping pages in a binder.
Regardless of your choice, consider purchasing a fire-resistant and waterproof document bag (often around 15 x 11 inches) to act as an inner sleeve. You can slide your entire binder or your most important folders into this bag for an extra layer of defense against disaster.
Labeling is Your Superpower
Clear, consistent labeling is what makes your system work under pressure. Use a label maker or a thick, black permanent marker on white labels. Use all caps for maximum readability.
Your labels should correspond to the categories we used for gathering: PERSONAL ID, HOUSING, FINANCIAL, LEGAL, MEDICAL, INSURANCE, CONTACTS, PETS, DIGITAL.
A Worked Mini-Example: Setting Up the Binder
Let’s walk through the exact steps for assembling your Grab-and-Go binder:
1. Create a “Table of Contents” page. This should be the very first page in your binder. List each tabbed section and a brief summary of what’s inside. This is your quick-start guide.
2. Label your tabbed dividers. Use your large-print labels: CONTACTS, PERSONAL ID, MEDICAL, etc.
3. Start filling the sheet protectors. Slide your edited documents (from Piles 1 and 2) into the protectors and place them behind the corresponding tab. For smaller items like Social Security cards or photocopied IDs, you can place several in a single protector. You can also use baseball card collector sheets, which have multiple small pockets, for this purpose.
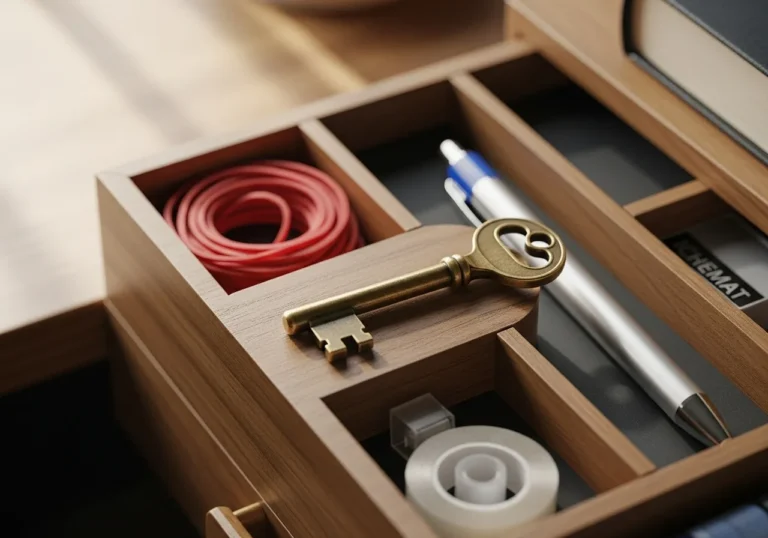
4. Consolidate digital items. Place your encrypted USB drive and any spare keys into a zippered pencil pouch that is three-hole punched and place it in the back of the binder.
5. Label the spine and front of the binder. It should clearly say “IMPORTANT HOUSEHOLD DOCUMENTS” or something similar. Avoid putting overly personal information like your name or address on the exterior.


One Response
Excellent idea that must people never think about before it’s too late.