Step 1: Prepare Your Workspace for Success
Before you pull a single item out of the drawer, a few minutes of preparation will make the entire process smoother, safer, and more efficient. Trying to organize on a cluttered surface or without the right tools is a recipe for frustration. Let’s set you up for a win from the very beginning.
First, find a clear, flat surface to work on. This could be a kitchen counter, a dining room table, or even a section of the floor. Lay down an old towel or a sheet to protect the surface and prevent small items from rolling away. Good lighting is crucial, especially when you’re dealing with small objects and reading tiny print on batteries or expired items. If your overhead light isn’t bright enough, bring in a lamp from another room to illuminate your workspace.
Next, gather your organizing toolkit. Having everything within arm’s reach means you won’t have to interrupt your workflow to search for something. Here’s what you’ll need:
1. A Trash Bag and a Recycling Bin: You will be generating trash and recycling. Have them ready so you can dispose of items immediately instead of making a secondary pile of clutter.
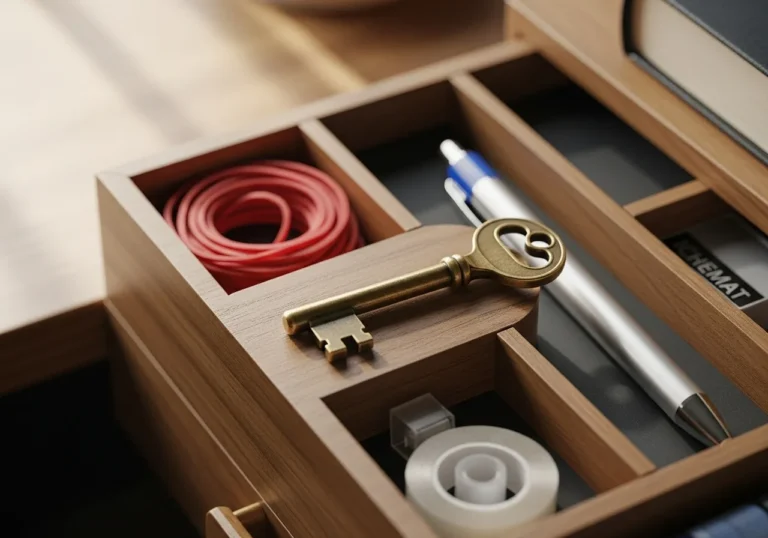
2. Sorting Containers (The 4-Pile System): Find four boxes, bins, or even just designated spots on your counter. We will use these for our sorting method, which we’ll detail in Step 3. Label them clearly: Keep, Relocate, Donate, and Recycle/Trash.
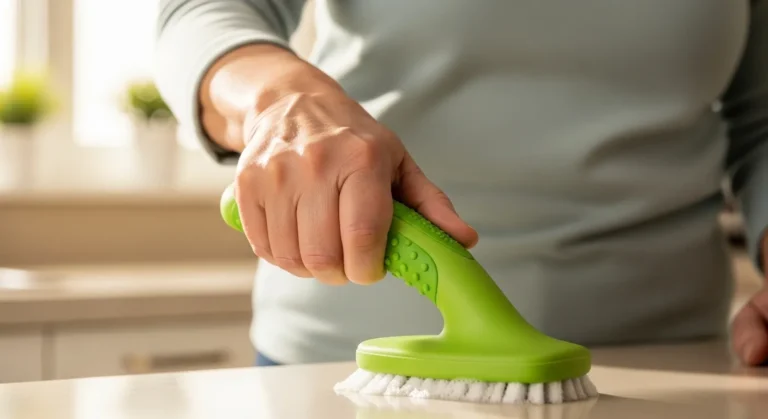
3. Cleaning Supplies: A bottle of your favorite all-purpose cleaner and a microfiber cloth or paper towels. A small handheld vacuum or a vacuum with a hose attachment is also incredibly helpful for sucking up dust and crumbs from the corners of the drawer.
4. A Measuring Tape: This is non-negotiable! Do not skip this. Knowing the exact interior dimensions of your drawer is the most critical step for buying organizers that actually fit. Grab a reliable tape measure now.
5. Labeling Tools: A label maker is fantastic for creating clean, easy-to-read labels. If you don’t have one, a roll of painter’s tape or masking tape and a permanent marker work just as well. For older adults, we strongly recommend using a label maker with a large font setting for maximum readability.
6. Optional Drawer Liner: A fresh roll of non-adhesive drawer liner can give the drawer a clean, finished look and help prevent items from sliding around. It’s a nice touch but not essential.
By taking these five to ten minutes to prepare, you’re creating a calm and controlled environment. You’re telling your brain that this is a structured, manageable project, not a chaotic free-for-all. Now, you’re ready for the most satisfying part: getting everything out.