The Routine: Step-by-Step Guide to Cleaning Hardwood Floors
A consistent routine is the key to beautiful hardwood floors. By breaking down the tasks into daily, weekly, and seasonal actions, home care becomes manageable and effective. The goal is to prevent the buildup of dirt that can damage the floor’s finish.
Daily and Quick Clean-Ups (5-10 Minutes)
Prevention is the easiest form of cleaning. Small, daily habits can make a huge difference and reduce the time you spend on deeper cleaning.
Use Doormats: Place high-quality mats both outside and inside every exterior door. This will trap a significant amount of the dirt, grit, and moisture that would otherwise be tracked onto your floors.
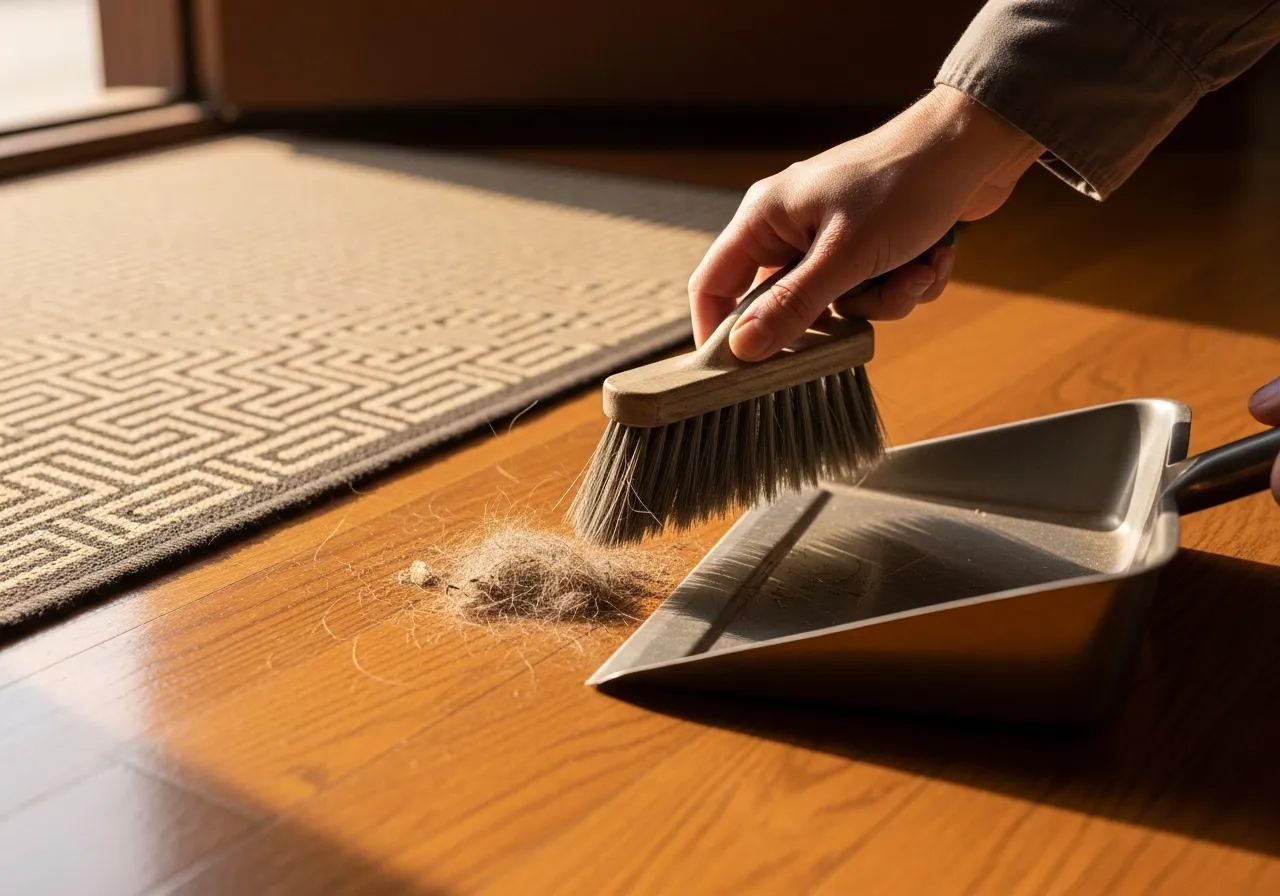
Sweep High-Traffic Areas: Give high-traffic zones like the kitchen, hallways, and entryways a quick pass with a microfiber dust mop or soft-bristle broom each day. This takes just a few minutes and prevents dirt from spreading through the house.
Wipe Up Spills Immediately: Water and other liquids are the enemies of hardwood floors. When a spill happens, don’t let it sit. Blot it up immediately with a clean, soft cloth. For sticky spills, you can use a cloth slightly dampened with water, but be sure to dry the spot completely afterward.
Weekly Cleaning: The Main Event (20-30 Minutes)
This is your main cleaning session. We will follow a clear order of operations: dry remove, then damp clean, then dry. This ensures you are not grinding dirt into your floor’s finish.
Step 1: Remove All Dry Debris
Start by thoroughly cleaning the entire floor with your microfiber dust mop or your vacuum on the hard floor setting (brush roll off). Pay special attention to corners, edges along the baseboards, and areas under furniture where dust and pet hair love to collect. You must remove all grit before proceeding. Do not skip this step!
Step 2: Prepare Your Gentle Cleaning Solution
You have two excellent choices here. The first is to use a commercially prepared pH-neutral cleaner designed for hardwood floors. If you choose this option, it is vital to follow the dilution instructions on the label exactly. Using too much concentrate can leave a dull, sticky film on your floors that attracts more dirt.
The second option is a simple, homemade solution. This is a very effective and safe choice for regular cleaning.
Worked Mini-Example: DIY pH-Neutral Cleaner
In a bucket or a spray bottle, mix a very small amount of mild, pH-neutral dish soap with water. A good ratio is about 1/4 teaspoon of soap per quart of warm water, or 1 teaspoon of soap per gallon of warm water. Use a basic soap without added moisturizers, bleach, or strong degreasers. Stir gently to combine without creating too many suds. This highly diluted solution has just enough cleaning power to lift grime without harming your floor’s finish.
Step 3: The Damp Mopping Technique
The goal is to use the least amount of water possible. Your mop head should be merely damp, not dripping wet. If you are using a mop and bucket, dip the mop head into your cleaning solution, then wring it out until it feels almost dry to the touch. If you press it with your hand, water should not run out of it.
If you are using a spray bottle, lightly mist a small section of the floor, about 4 feet by 4 feet. Do not saturate the area. Then, mop the misted section. Always mop in the direction of the wood grain to minimize the appearance of any streaks.
Work your way across the room in these small, manageable sections. This controlled method ensures no part of the floor stays wet for more than a minute or two.
Step 4: Rinsing (An Optional but Good Practice)
If you used a soap-based solution, it’s a good idea to do a quick rinse pass to remove any potential residue. Empty your bucket and fill it with clean, plain water. Using a clean, well-wrung mop head, go over the floor one more time. This step ensures a truly sparkling, streak-free finish.
Step 5: Ensure the Floor is Dry
Your floor should air dry very quickly, usually within a minute. If you see any areas with standing water or visible moisture that isn’t evaporating, your mop was too wet. You can go over the floor with a clean, dry microfiber cloth or towel to absorb any excess moisture. You can also turn on a ceiling fan or a standing fan to increase air circulation and speed up the drying process. Never let puddles of water sit on a hardwood floor.