6. The Great Fridge Clean-Out: A Step-by-Step Guide
Now that we’ve identified what needs to go, it’s time for the most satisfying part: cleaning and organizing the space you’ve just created. A deep clean a few times a year makes weekly maintenance much easier and is a vital part of good refrigerator organization and overall food safety.
Step 1: Preparation and Safety
First, ensure your safety. For a deep clean, it’s a good idea to turn your refrigerator’s temperature control to “off” or unplug it entirely. This saves energy and prevents you from working against the cooling system. Place any perishable foods you’re keeping into a cooler with ice packs to maintain a safe temperature while you work.
Gather your supplies: a few microfiber cloths, a bucket of warm water, mild dish soap, and perhaps some baking soda for scrubbing. It’s best to avoid harsh chemical cleaners inside your refrigerator, as the fumes can get trapped and potentially come into contact with your food.
A simple, safe cleaning solution: Mix one teaspoon of mild dish soap into a quart of warm water. For tougher spots, a paste made from baking soda and a little water works wonderfully as a gentle abrasive.
Step 2: Empty and Remove Shelves
Take everything out of the refrigerator, one shelf at a time. This is your final chance to inspect items you decided to keep. Wipe down jars and bottles with a damp cloth before you put them back in later. Once empty, carefully remove all the shelves, drawers, and other detachable parts. Most slide or lift out easily, but consult your appliance manual if you’re unsure. The manual is your best guide for your specific model’s care.
Step 3: Wash and Dry the Parts
Take the shelves and drawers to your sink. Wash them thoroughly with your warm, soapy water solution. Be careful with glass shelves; a sudden temperature change can cause them to crack. Let them come to room temperature before washing them with warm water. Use the baking soda paste to gently scrub away any dried-on, sticky spills. Rinse everything well and set them on a towel to air dry completely, or dry them by hand with a clean cloth. Moisture can encourage mold growth, so ensuring everything is perfectly dry is crucial.
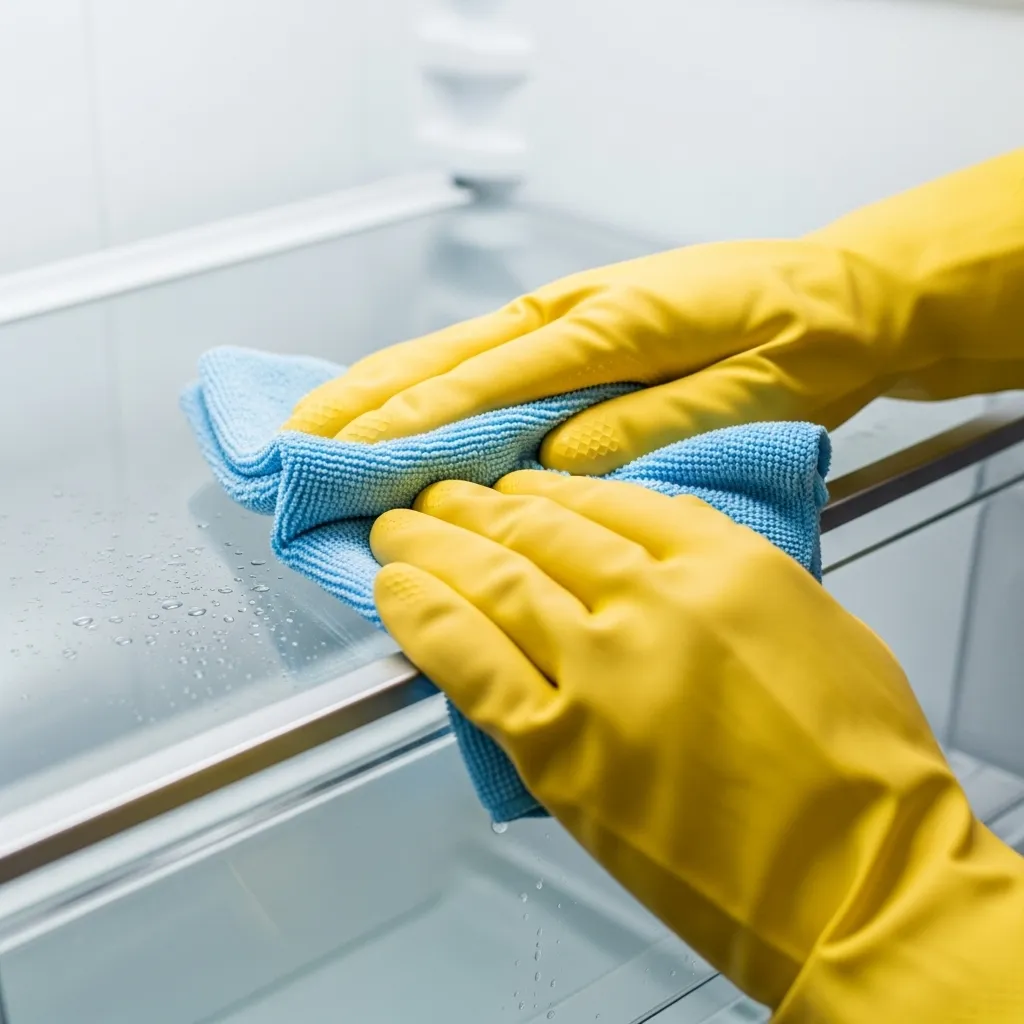
Step 4: Clean the Interior and Gaskets
While the shelves are drying, focus on the refrigerator’s interior. Starting from the top and working your way down, wipe every surface with your soapy water cloth. This top-to-bottom method ensures that crumbs and drips fall onto areas you haven’t cleaned yet. Pay special attention to corners and crevices where gunk can hide.
The rubber gasket, or seal, around the door is critically important. Crumbs and stickiness here can prevent a proper seal, making your refrigerator work harder and wasting energy. Clean the gasket gently using only warm, soapy water. Avoid using vinegar or harsh chemicals on the gasket, as they can cause the rubber to dry out and crack over time. Gently pull back the folds of the gasket to clean inside.
After washing, go over the interior one more time with a cloth dipped in clean water to rinse away any soap residue. Finally, dry the interior thoroughly with another clean, dry cloth.