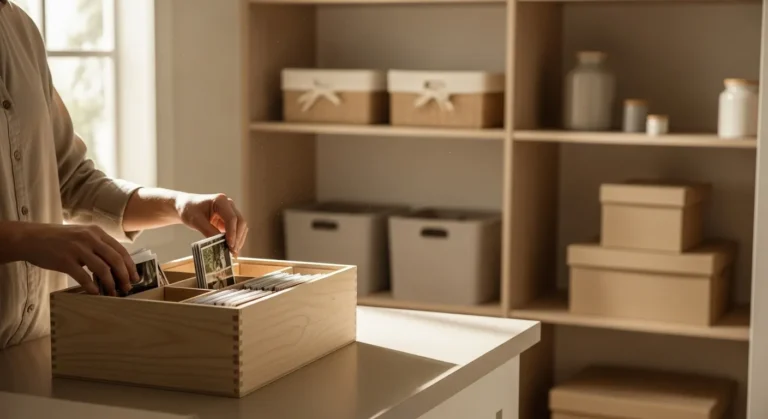
Recipe 4: The Simple Degreaser for Kitchen Grime
The kitchen is the heart of the home, but it’s also where grease and grime can build up quickly. From the stovetop to the backsplash to the range hood, oily residue can be stubborn and sticky. You don’t need a heavy-duty chemical solvent to cut through it. This simple, non-toxic degreaser uses the power of basic soap to break down oils effectively and safely.
The Recipe: Gentle Yet Powerful
This recipe relies on a surfactant—a substance that helps oil and water mix so grease can be washed away. Simple dish soap is a perfect, readily available surfactant.
Ingredients:
2 cups of Warm Water
1 teaspoon of Mild Liquid Dish Soap (Castile soap also works well)
Optional: 1 tablespoon of Baking Soda for extra scrubbing power
Instructions:
Fill a spray bottle with the 2 cups of warm water. The warmth of the water helps to dissolve grease more effectively. Add the teaspoon of dish soap. If you are tackling a particularly grimy surface, you can also add the tablespoon of baking soda now. Screw the lid on and shake gently to combine. Try not to shake too vigorously, or you’ll create a bottle full of suds. A gentle swirl is all that’s needed.
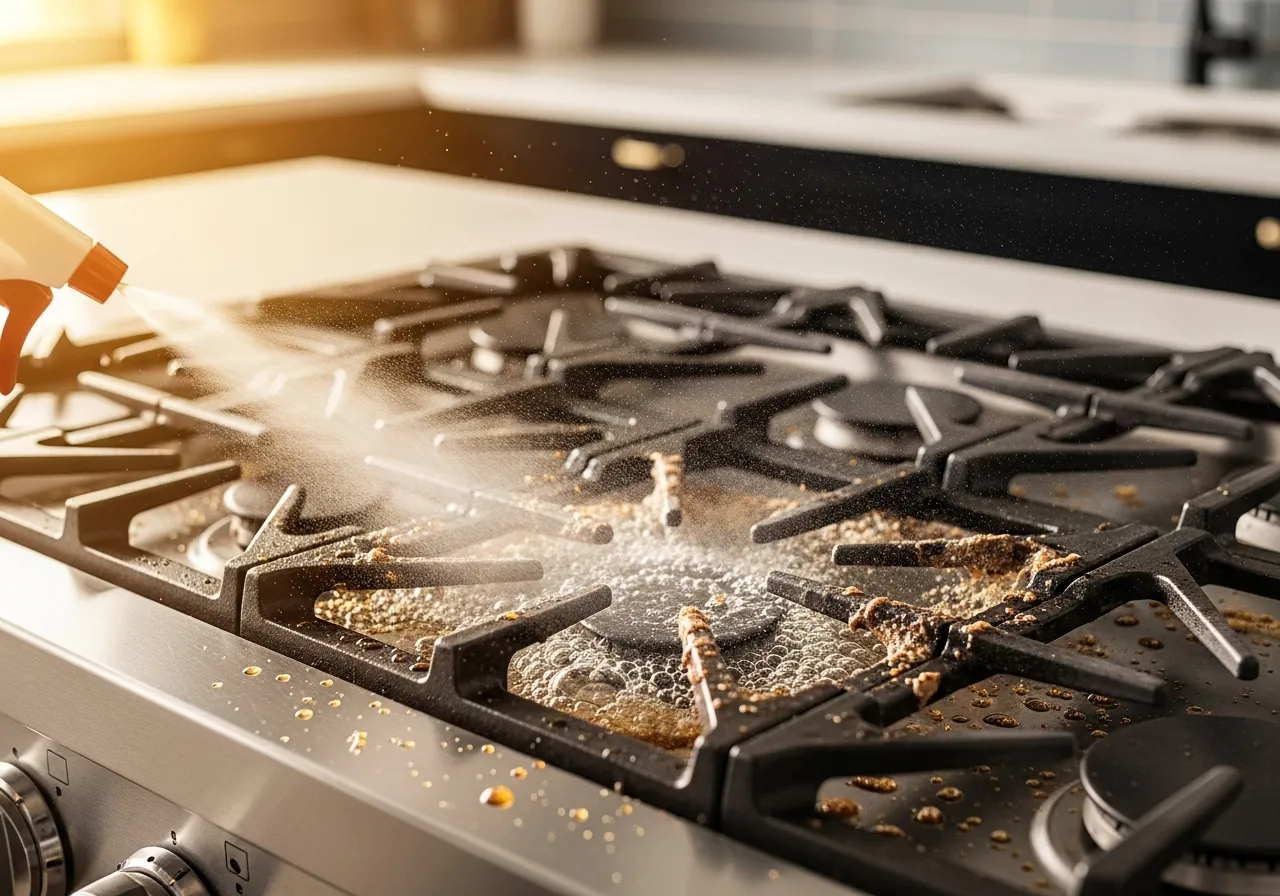
How to Cut Through the Grease
The secret to degreasing is allowing the cleaner enough dwell time to work its magic. Grease doesn’t wipe away instantly; it needs to be broken down first.
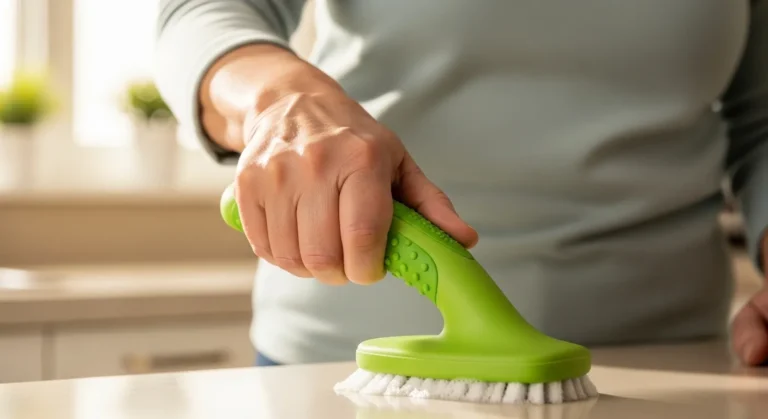
Step 1: Spray the Surface. Generously spray the greasy area. This could be your stovetop, the wall behind the stove, your microwave interior, or your cabinet doors near the cooking area.
Step 2: Let It Dwell. This is the most important step. Let the solution sit on the surface for at least 3 to 5 minutes. This gives the soap molecules time to surround and lift the oil molecules from the surface.
Step 3: Wipe and Scrub. Using a damp microfiber cloth or a non-abrasive sponge, wipe away the grease. For stubborn, cooked-on spots, you may need to scrub a little. If you added baking soda to your mix, you’ll have some extra gentle abrasive power. For very tough jobs, you can apply the Baking Soda Paste from Recipe #2 and let it sit before scrubbing.
Step 4: Rinse Clean. This step is often overlooked but is critical for a non-sticky finish. Soap leaves a residue. After wiping away the grease, go over the entire area again with a second cloth dampened with only plain water. This “rinsing” wipe removes any leftover soap film, preventing future dirt from sticking to the surface.
Step 5: Dry the Surface. Use a final, dry cloth to wipe the surface dry, especially if it’s stainless steel, to prevent water spots.
Food Safety and Kitchen Cleaning
When cleaning surfaces that come into contact with food, like countertops or cutting boards, safety is paramount. After using any cleaner—even this simple soap and water solution—it is always a good practice to rinse the surface with plain water as described in Step 4. This ensures no cleaning residue gets into your food.
It’s also a good time for a reminder about preventing cross-contamination, which is the transfer of harmful bacteria from one surface or food to another. Use separate cloths for different tasks, such as one for countertops and a different one for wiping the floor. For comprehensive information on food safety practices, you can always consult official resources like FoodSafety.gov and the U.S. Food & Drug Administration (FDA).