1. The Go-To All-Purpose Surface Cleaner (With Important Exceptions)
One of the most popular uses for white vinegar is as a multi-surface spray cleaner. It’s excellent for cutting through everyday grime on a variety of household surfaces, from kitchen counters to windowsills. The acidity helps lift dirt and dissolve sticky residues, leaving a streak-free shine once it evaporates. This simple DIY cleaner can replace several commercial products, saving you money and reducing the number of chemicals under your sink.
The Simple Recipe:
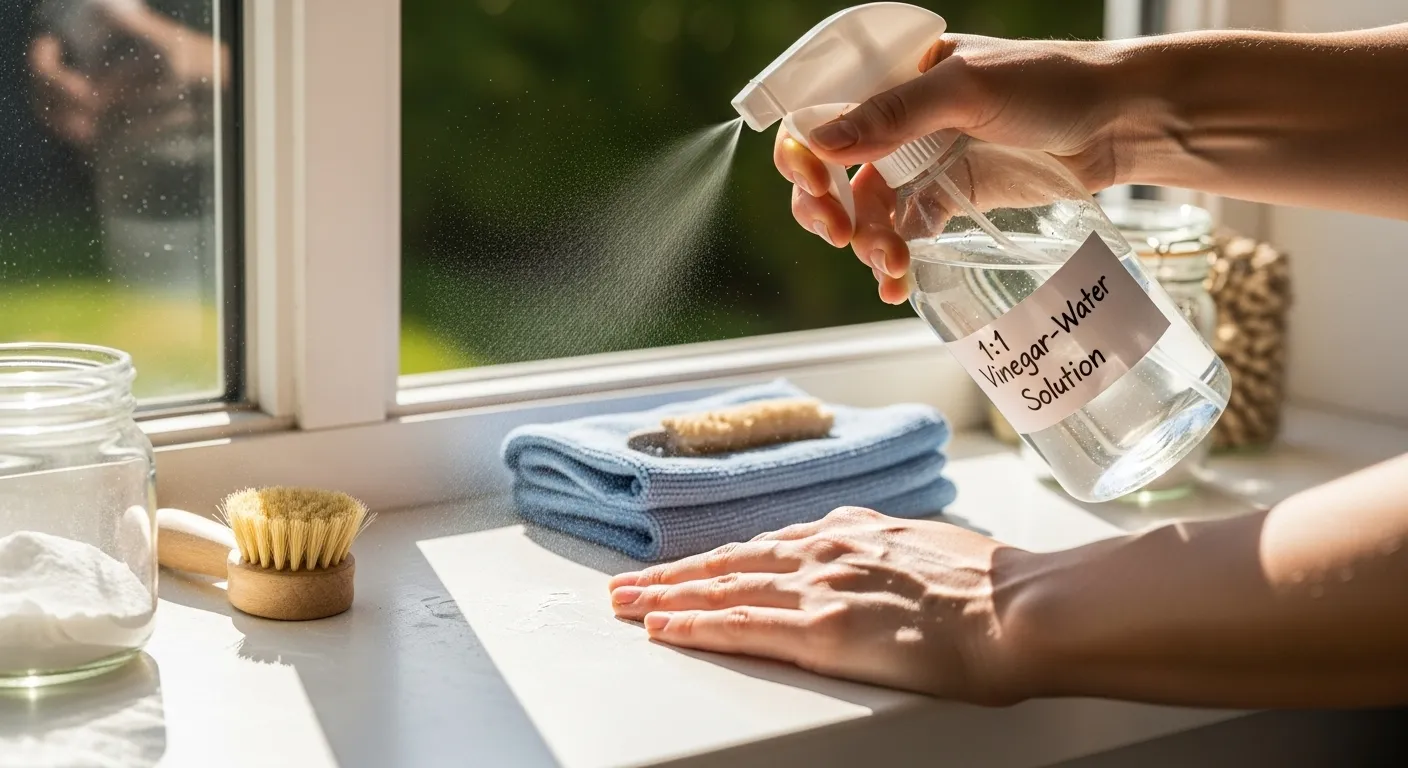
Creating your all-purpose vinegar cleaner is incredibly easy. You only need two ingredients: distilled white vinegar and water. For general cleaning, a 1:1 ratio is perfect.
Let’s do some mini-math. If you have a standard 16-ounce spray bottle, you will use 8 ounces of white vinegar and 8 ounces of water. That’s simply one cup of each. Pour them directly into a clean, empty spray bottle, screw on the top, and give it a gentle shake. For a more pleasant scent, you can add a few drops of an essential oil like lemon or lavender, or even drop a citrus peel (like lemon or orange) into the bottle and let it infuse for a day or two before using.
How to Use It Step-by-Step:
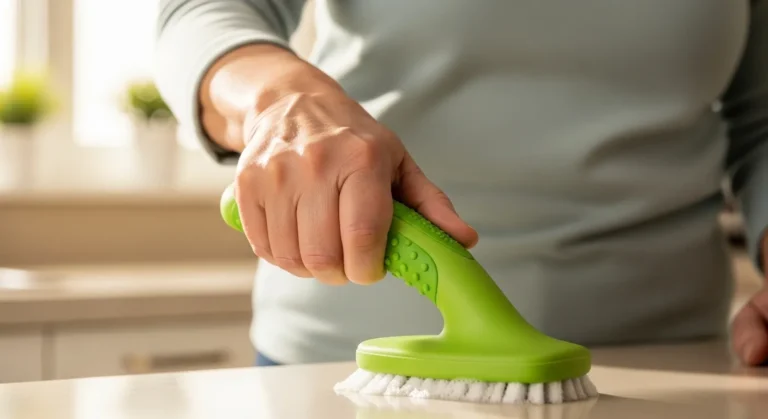
Step 1: Dry Remove Debris. Before you spray any liquid cleaner, always start by removing loose crumbs, dust, and debris. Use a dry microfiber cloth or a soft-bristled brush to wipe the surface clean. This prevents you from just pushing around wet dirt.
Step 2: Spray and Dwell. Lightly mist the surface with your 1:1 vinegar and water solution. Don’t saturate it. For general wipe-downs, you can wipe immediately. For stickier spots or mild grime, let the solution sit for about 30 seconds to a minute. This is called “dwell time,” and it gives the acetic acid a moment to work on breaking down the mess.
Step 3: Wipe Clean. Use a clean, damp microfiber cloth to wipe the surface. The microfiber will trap the loosened dirt effectively. For glass and mirrors, you might prefer using a dry, lint-free cloth or even a squeegee for a perfectly streak-free finish.
Step 4: Dry if Necessary. Most surfaces will air dry quickly, but for things like stainless steel appliances or faucets, buffing the surface with a separate dry cloth will prevent water spots.
CRITICAL SAFETY NOTE: Surfaces to AVOID with Vinegar
Vinegar’s acidity is its strength, but it’s also what can cause damage to certain materials. Never use vinegar or any acidic cleaner on the following surfaces:
Natural Stone: This includes marble, granite, limestone, and travertine. The acid will react with the calcium carbonate in the stone, causing it to etch. Etching is a dulling of the surface that looks like a stain but is actually physical damage to the stone itself. It can be expensive to repair.
Unsealed Grout: The acid can eat away at and weaken unsealed or damaged grout lines between tiles over time. If your grout is sealed properly, a diluted vinegar solution is generally okay for occasional use, but always test in a small, hidden spot first.
Hardwood Floors: While some people swear by it, most flooring manufacturers warn against using vinegar on hardwood. The acid can strip the protective finish, leaving your floors looking dull and vulnerable to water damage. Always use a pH-neutral cleaner specifically designed for hardwoods.
Waxed Surfaces: Do not use vinegar on waxed furniture or floors, as it can dissolve the wax finish.
When in doubt, always perform a patch test. Choose a small, inconspicuous area—like the back of a countertop or inside a cabinet door—apply a small amount of the cleaner, and wait to see if there is any discoloration or damage before proceeding.