Deep Cleaning Your Washing Machine: A Step-by-Step Guide
Now that we’ve covered the causes and safety precautions, it’s time to get to work. This detailed, step-by-step process will guide you through a thorough deep clean that will eradicate odors and leave your machine sparkling. While some steps are specific to front-loaders, the core cleaning cycles apply to both types of machines. Gather your supplies, and let’s begin.
What You’ll Need
You likely already have everything you need for this project right in your pantry. There’s no need for expensive, specialized products unless you prefer them.
Core Supplies:
Distilled White Vinegar: A fantastic, non-toxic cleaner. The acetic acid in vinegar is excellent at breaking down hard water mineral deposits and soap scum. We recommend distilled white vinegar as it contains no plant sediments that could leave deposits.
Baking Soda: A gentle abrasive and a natural deodorizer. It helps to scrub away grime and neutralize the acidic vinegar in the final rinse.
Microfiber Cloths: These are perfect for wiping and drying surfaces without leaving lint behind.
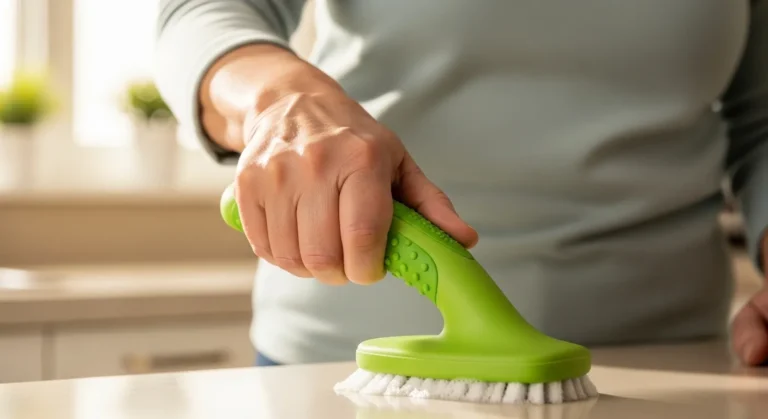
A Small Scrub Brush or Old Toothbrush: Essential for getting into tight corners and scrubbing stubborn residue from the dispenser drawer.
A Spray Bottle: For creating a diluted vinegar solution for easy application.
Optional Supplies:
Commercial Washing Machine Cleaner: If you prefer a ready-made solution, there are many tablets and liquids available. Look for products listed on the U.S. Environmental Protection Agency (EPA) Safer Choice program, which certifies products that meet high standards for safety and performance.
Rubber Gloves: Recommended to protect your hands, especially if you have sensitive skin.
Step 1: Clean the Gasket (For Front-Load Washers)
This is the most important step for front-loader owners and directly targets the main source of musty odors. The rubber door seal needs careful attention.
First, prepare your cleaning solution. In your spray bottle, mix a solution of equal parts water and distilled white vinegar. A good starting point is one cup of water and one cup of vinegar. Shake it gently to combine.
Next, open the washer door and gently pull back the flexible rubber gasket. You’ll likely see a surprising amount of grime, lint, hair, and possibly even some dark spots of mildew trapped inside the folds. Spray your 1:1 vinegar solution generously all around the interior of the gasket. Be sure to get the solution deep into the folds.
Using a clean microfiber cloth, thoroughly wipe down the entire gasket. You may need to fold your cloth and use your finger to trace along the deep crevices to remove all the gunk. For any stubborn, stuck-on spots, you can spray them again and let the vinegar solution sit for about 5 to 10 minutes. This “dwell time” gives the acid a chance to break down the grime, making it easier to wipe away.
If you encounter persistent mildew stains, create a thick paste using baking soda and a small amount of water. Apply this paste directly to the stained areas with your finger or the old toothbrush and let it sit for 15-20 minutes before gently scrubbing and wiping clean. After wiping everything away, take a second, dry microfiber cloth and meticulously dry the entire gasket. A dry environment is a hostile environment for mold.
Step 2: Clean the Detergent and Fabric Softener Dispensers
The dispenser drawer is another hotspot for gunk and residue. Over time, detergent and fabric softener can build up into a sticky, slimy mess that can clog the dispenser and contribute to odors.
Most dispenser drawers are designed to be removed for easy cleaning. Consult your owner’s manual for specific instructions, but typically there is a small tab or button you press to release the drawer. Pull it out completely.
Take the drawer to a sink and rinse it under warm running water. Use your small brush or old toothbrush to scrub away all the built-up residue from the compartments. For very stubborn buildup, you can soak the entire drawer in a basin of warm water and a cup of vinegar for about 30 minutes before scrubbing. This will dissolve the caked-on soap scum.
While the drawer is out, take a moment to clean the cavity where it sits. Use your vinegar spray and a cloth or your brush to wipe out any residue you see inside the machine housing. Once the drawer and the cavity are clean, dry them both thoroughly with a microfiber cloth before reinserting the drawer. This is a great habit to get into every month or so.
Step 3: Run the Cleaning Cycles (The “Tub Clean”)
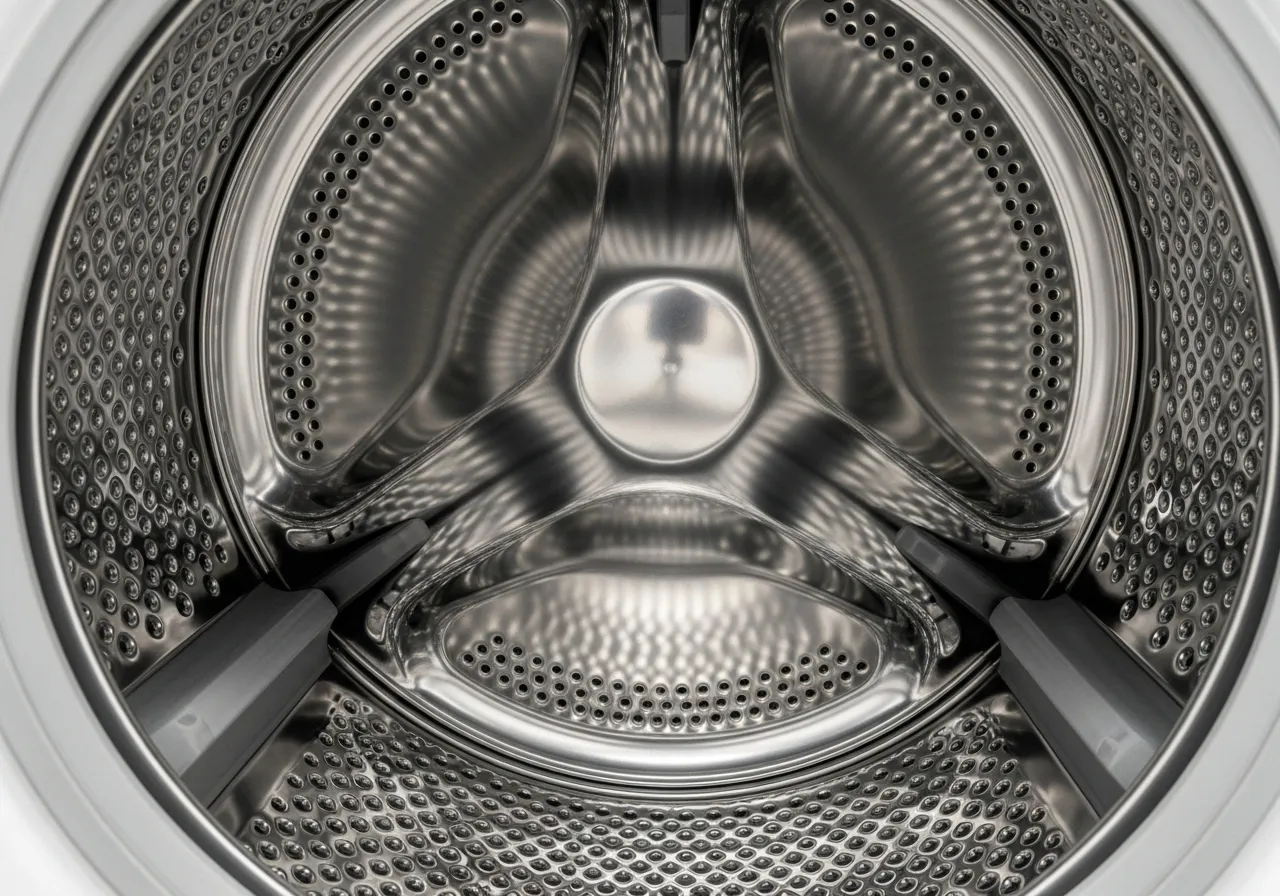
Now it’s time to clean the part of the machine you can’t see: the inner drum, the outer tub, and the hoses. This is where the magic happens, as we’ll use powerful cleaners to flush out all the hidden biofilm and mineral buildup. You can use a natural DIY method or a commercial cleaner.
Worked Mini-Example: The Vinegar and Baking Soda Method
This two-part process uses basic pantry staples to effectively descale and deodorize your machine. It is safe for most modern washing machines.
Part 1: The Vinegar Cycle. First, ensure the washing machine is completely empty. For a front-loading machine, pour two cups of distilled white vinegar directly into the detergent dispenser. For a top-loading machine, pour four cups of vinegar directly into the drum. Set your machine to its hottest water setting. Select the longest and heaviest-duty cycle available. On many machines, this might be called “Tub Clean,” “Clean Washer,” or “Sanitize.” If you don’t have a specific cleaning cycle, just choose a normal cycle with an extra rinse. Let the machine run through the entire cycle.
The hot water and acidic vinegar will work together to dissolve soap scum, break down mineral deposits from hard water, and begin to kill mold and mildew spores lurking in the tub and hoses.
Part 2: The Baking Soda Cycle. Once the vinegar cycle is complete, it’s time for the second step. Sprinkle one-half cup of baking soda directly into the empty drum of the washer (for both top- and front-loaders). Run another cycle on the same settings: hottest water, longest cycle. The baking soda will help neutralize any lingering vinegar smell, and its gentle abrasive qualities will help scrub away any remaining loosened particles of grime. It leaves the inside of your machine smelling fresh and neutral.
Method B: Using a Commercial Cleaner
If you prefer the convenience of a commercial product, there are many effective options. These cleaners are specifically formulated to dissolve detergent residue and eliminate odors. They come in tablet, powder, or liquid form.
Using them is very simple. Just follow the directions on the product’s packaging. Typically, you will place a tablet directly in the washer drum or pour the liquid into the dispenser, then run a “Tub Clean” or hot water cycle, just as you would with the vinegar method. Always use these products in an empty machine, without any laundry.
Step 4: Clean the Drain Pump Filter (The Hidden Grime Catcher)
This is a step that many people don’t even know exists, but it’s often the source of the most intense odors. The drain pump filter is designed to catch lint, hair, coins, buttons, and other debris before it can clog your drain pump. As you can imagine, this collection of damp debris can get very smelly over time.
First, consult your manual to locate the filter. On most front-loading machines, it’s behind a small access door on the bottom-front corner. Before you open it, be prepared for some water to spill out. Place a shallow pan or dish and several old towels on the floor directly in front of the access door to catch the water.
Slowly and carefully twist the filter cap counter-clockwise. Water will begin to trickle out. Let it drain completely into your pan before fully removing the filter. Pull the filter straight out. You will likely find a collection of lint, hair, and maybe even a lost sock or some pocket change.
Take the filter to a sink and remove all the debris. Wash it thoroughly with warm, soapy water and a small brush. Rinse it well. Before you put it back, use a paper towel to wipe out the filter housing to remove any extra gunk. Screw the filter back into place, making sure it is tight and secure to prevent leaks. This check should be performed every few months.
Step 5: Wipe Down the Exterior and Final Polish
The inside of your machine is now sparkling clean, so let’s give the outside a quick refresh. Use a damp microfiber cloth to wipe down the entire exterior of the machine, including the control panel, the door, and the sides. You can use your 1:1 vinegar and water spray for this, as it’s an excellent multi-purpose cleaner.
If your machine has a stainless steel finish, be sure to wipe in the direction of the grain to avoid streaks. For a final shine, you can use a clean, dry microfiber cloth to buff the surface. A clean exterior makes the entire laundry room feel brighter and more organized.

