As a cleaning lady and mom of two busy teenagers, I’ve spent more than my fair share of time scrubbing, spraying, and searching for solutions that actually work – without harming our health or the planet. Over the years, I’ve learned that DIY natural cleaning doesn’t have to be complicated, expensive, or time-consuming. With just a few ingredients and tools, you can put together a powerful, natural cleaning kit that tackles everyday messes like a pro.
In this guide, I’ll show you exactly what to include in your DIY natural cleaning kit, how to store it, and a few of my go-to cleaning recipes that even my teens can use safely. You’ll also find tips for customizing your kit to your lifestyle, a printable checklist, and product ideas I’ve tested myself.
Let’s make clean simple, natural, and effective.
Why Choose DIY Natural Cleaning?
When I first started switching to DIY natural cleaners, I wasn’t just thinking about the environment – I was thinking about my kids. One has sensitive skin, the other hates strong smells. So many store-bought products left us sneezing, coughing, or just feeling “off.” Homemade alternatives changed that.
Here’s why I recommend going DIY:
- Safer for kids, pets, and allergy-prone families
- Less plastic and waste (no single-use bottles)
- Cheaper in the long run – one bottle of vinegar = 10+ uses
- You control the ingredients – no mystery chemicals
- Customizable – prefer lavender over lemon? You got it.
- Eco-friendly – many ingredients are biodegradable and non-toxic
Plus, it feels empowering to know exactly what you’re spraying on your counters.
DIY natural cleaning is also a chance to slow down and be more mindful. When you create your own products, you become more intentional about how you care for your home. It’s no longer about grabbing the strongest spray on the shelf – it’s about choosing what’s safe, what’s smart, and what aligns with your family’s needs. There’s something really satisfying about mixing a cleaner yourself and knowing it won’t trigger a headache or leave behind a chemical fog. Over time, these small swaps add up to a big difference in how your home looks, smells, and feels.
Make sure to Save or Pin this image for later so you can stay organized:
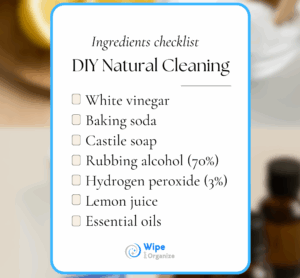
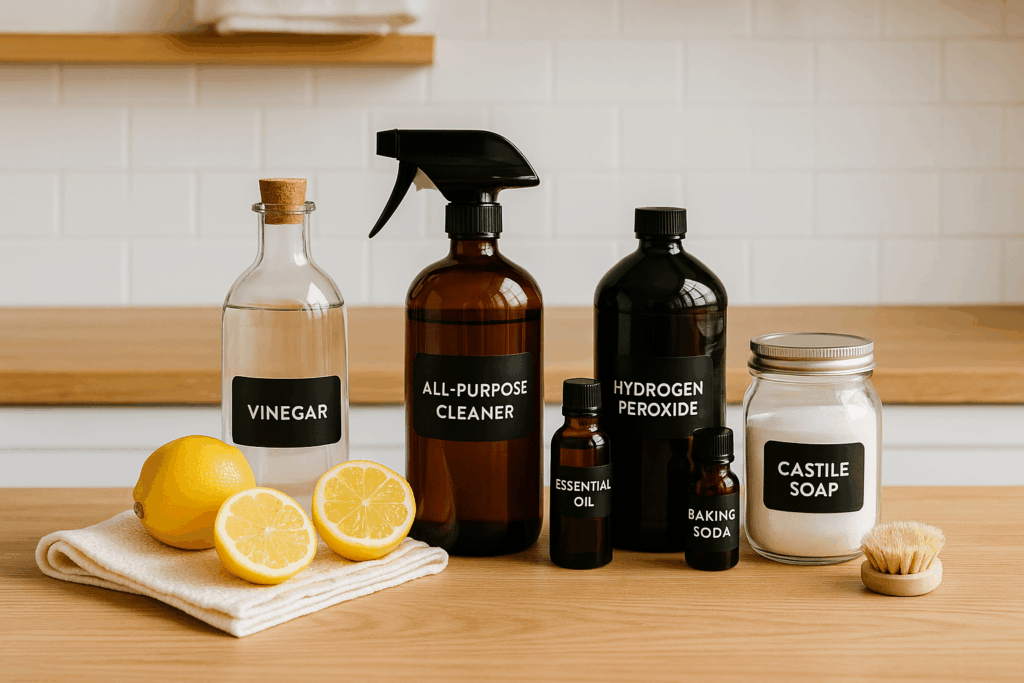
Essential Ingredients for Your Kit
These ingredients are your DIY natural cleaning staples. I buy mine in bulk to save money:
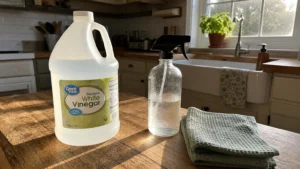
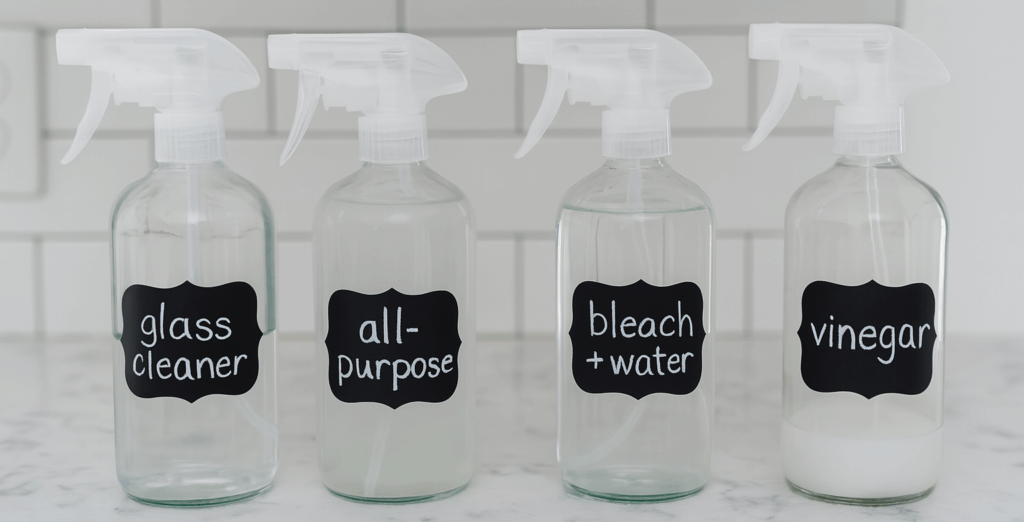
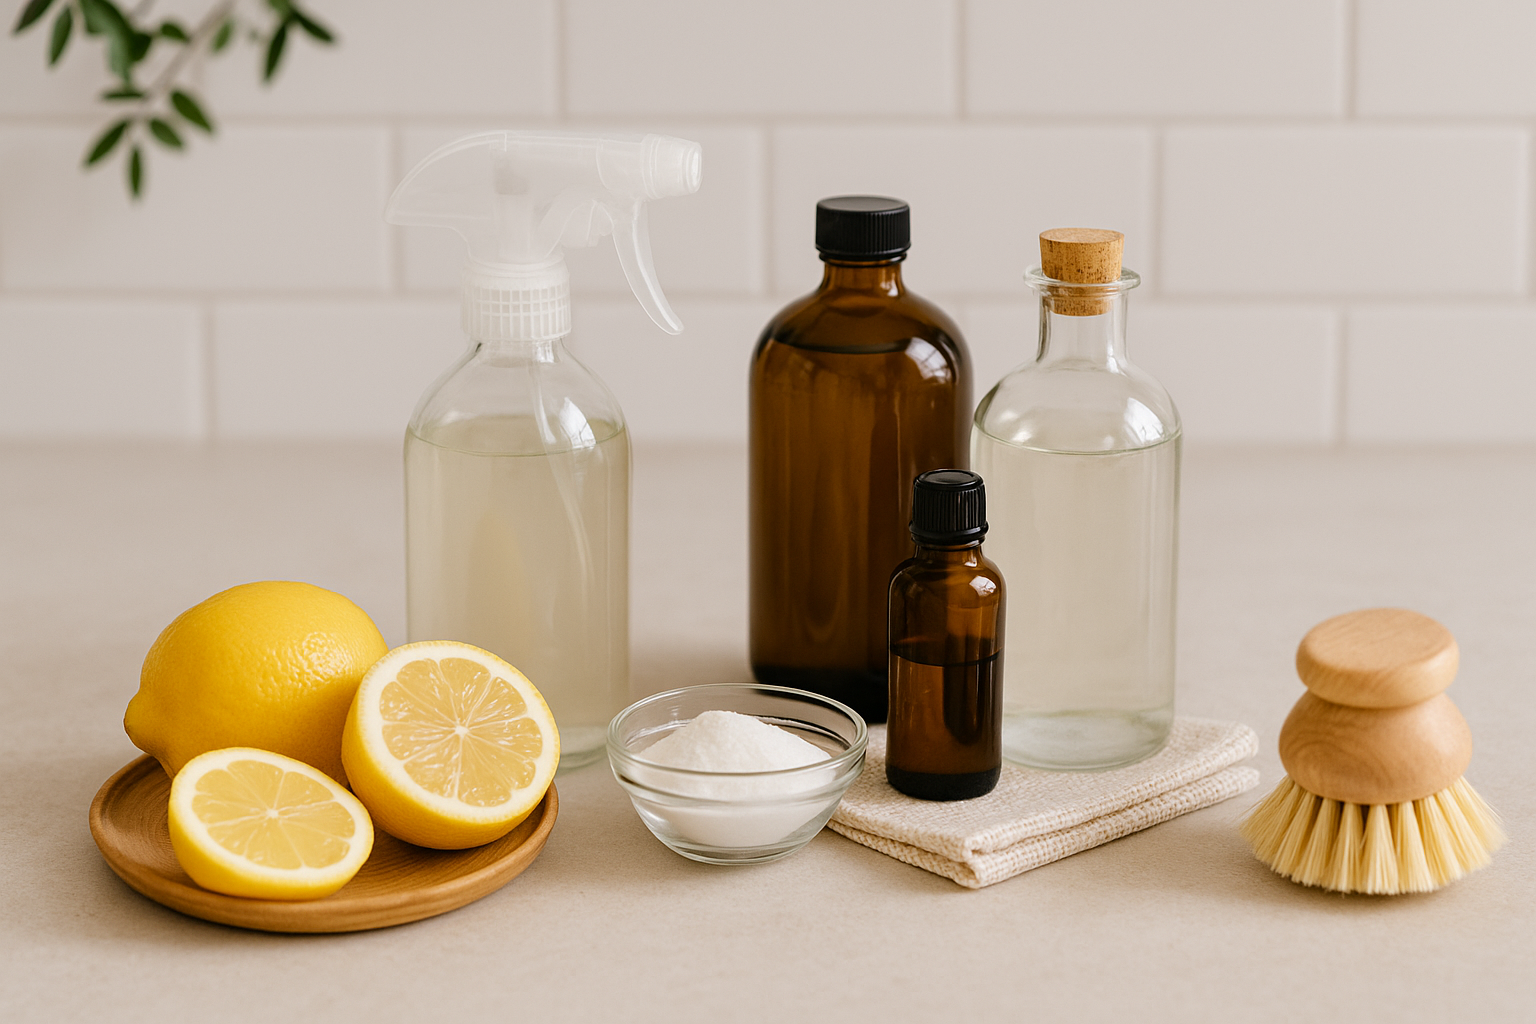
- White vinegar – Disinfects, deodorizes, dissolves soap scum and hard water stains.
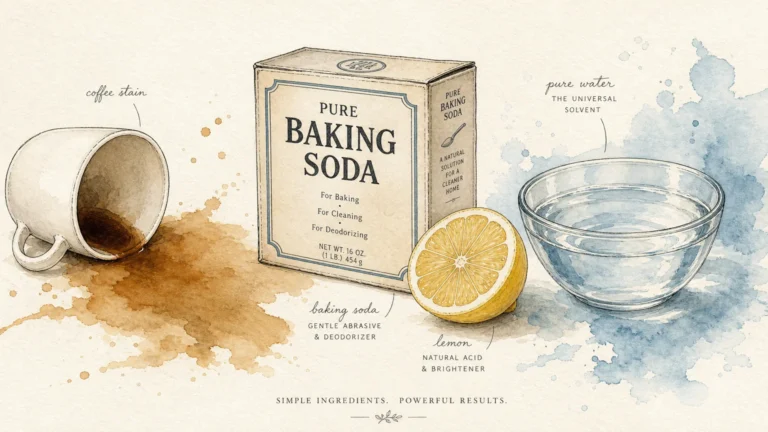
- Baking soda – Scrubbing power, odor neutralizer, softens water.
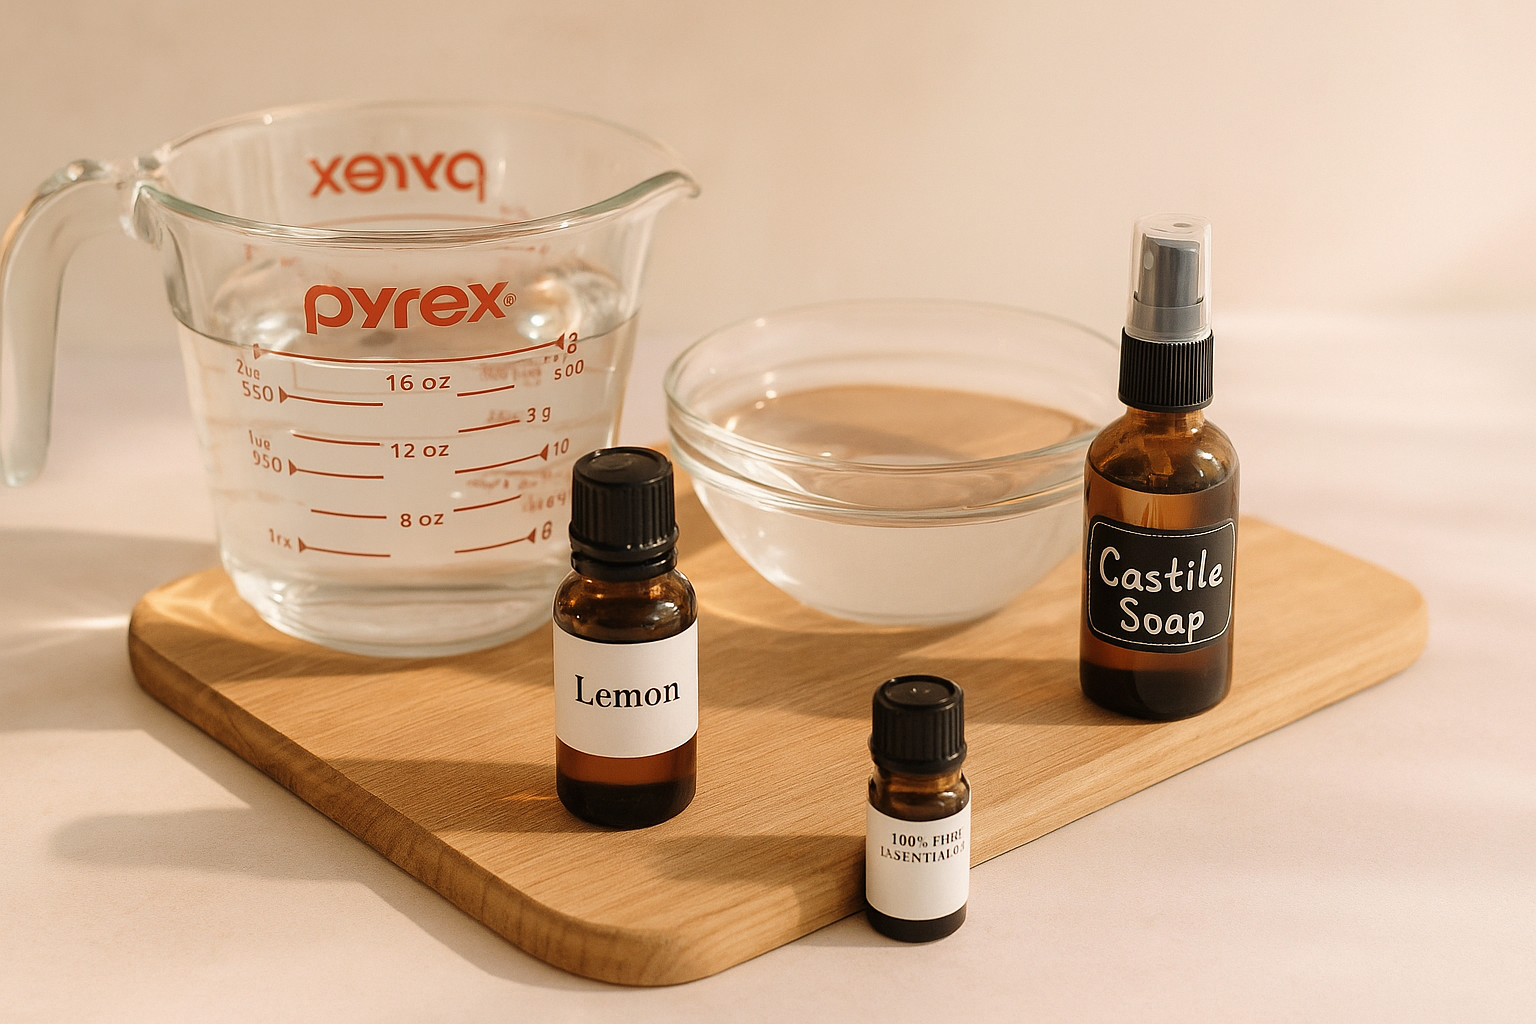
- Castile soap – Gentle, plant-based liquid soap; safe for surfaces, hands, even pets.
- Hydrogen peroxide (3%) – Antibacterial, brightens grout, stain remover.
- Rubbing alcohol (70% or higher) – Fast-evaporating disinfectant, ideal for glass.
- Lemon juice (optional) – Cuts grease, deodorizes, adds fresh scent.
- Essential oils – Tea tree (antibacterial), lemon (degreaser), lavender (soothing).
Basic Tools You’ll Need
You don’t need a Pinterest-perfect setup. Just the essentials:
- Amber glass spray bottles – Protect ingredients from light
- Funnel – For easy transfer without mess
- Measuring cups & spoons – Accuracy = consistency
- Reusable microfiber cloths – Lint-free and durable
- Scrub brushes – I keep one labeled “kitchen” and one “bathroom”
- Sponges (natural or cellulose-based) – Avoid plastic-heavy ones
- Small storage bin or cleaning caddy – For portability
- Labeling system – Label maker, chalk stickers, or masking tape and marker
I personally love this labeling system from Amazon: the stickers are reusable and they look classy too. I mean, just look at this cute setup – all natural and ready to be used!
Extra Items Worth Including
Depending on your cleaning style or home needs, these can take your kit to the next level:
- Borax – Adds whitening power and mold-fighting ability (use with caution).
- Washing soda – Heavy-duty cleaner; great for laundry and tough surfaces.
- Olive oil – Use a drop to polish wood surfaces.
- Old toothbrushes – Perfect for grout lines and tight corners.
- Lint-free rags or cut-up old t-shirts – Budget-friendly cloths.
- Gloves – Protect hands when using acidic ingredients like vinegar.
My Go-To DIY Natural Cleaning Recipes
These are the tried-and-true formulas I always have ready:
1. All-Purpose Cleaner
- 1/2 cup white vinegar
- 2 cups warm water
- 1 tsp castile soap
- (Optional) 10 drops essential oil (lemon, tea tree, or lavender)
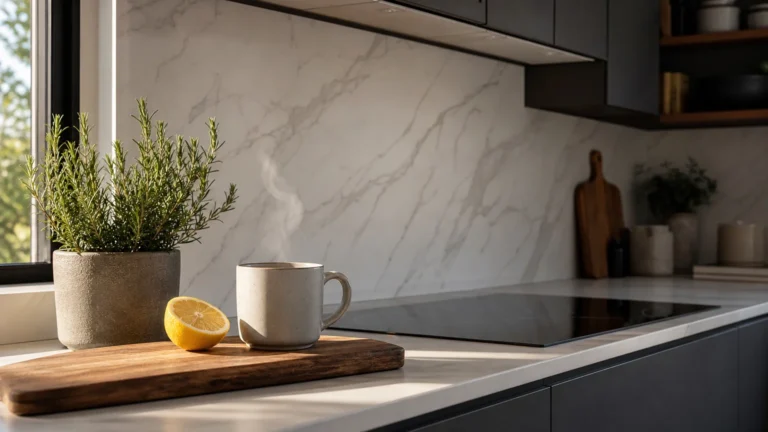
- Use on: countertops, appliances, tile, mirrors (no vinegar on granite/marble!)
2. Disinfecting Spray
- 1 cup rubbing alcohol
- 1 cup distilled water
- 1 tsp hydrogen peroxide
- Use on: doorknobs, light switches, remotes, bathroom surfaces
3. Soft Scrub
- 1/2 cup baking soda
- Few squirts of castile soap
- Splash of water (to make a paste)
- Optional: 3 drops tea tree oil
- Use on: tubs, sinks, ceramic stovetops
4. Glass & Mirror Spray
- 1 cup distilled water
- 1 cup rubbing alcohol
- 1 tbsp white vinegar
- Use a lint-free cloth for a streak-free shine
TEST TIP: Always patch-test DIY products on a small area before full use.
How to Organize & Store Your Cleaning Kit
I personally use a cleaning caddy under the sink that I can just grab and go. But depending on your home setup, you can also try:
- Clear bins with compartments – Great for dividing tools and ingredients
- Tiered rolling cart – Move it around from room to room
- Hooks or wall storage – Hang brushes, gloves, spray bottles
- Mini fridge shelf – Store hydrogen peroxide or anything that’s sensitive to heat/light
ATTENTION! Keep all ingredients out of direct sunlight and away from heat sources. Store hydrogen peroxide in a dark bottle because it degrades quickly in light! Trust me, I’ve been there and learned the hard way.
If you want to prep for the week ahead, you can even batch your sprays in advance and label them by room: “Kitchen Spray,” “Bathroom Cleaner,” etc.
FAQs I Get All the Time
“Is vinegar safe on all surfaces?”
No – skip it on natural stone (granite, marble, slate), wood, and cast iron.
“Can I mix vinegar and castile soap?”
Nope! They cancel each other out chemically and leave a mess. Always use separately.
“What’s the shelf life of homemade cleaners?”
Most last 1–2 weeks, especially those with water. Alcohol- or vinegar-based sprays last longer (up to a month).
Final Thoughts from a Cleaning Mama
Homemade natural cleaning isn’t about being perfect – it’s about being intentional. It’s for the moms (like me) who care about what our families are breathing, touching, and living in every day. It’s for the budget-savvy families, the allergy-prone kids, and anyone who wants to make a small difference that actually feels doable.
My teens still roll their eyes when I pull out the vinegar spray, but I know that I’m giving them a cleaner space with fewer chemicals. And maybe someday they’ll do the same for their kids.
You don’t need a lab. You just need a plan.
Download my free printable checklist and DIY recipe card from the blog sidebar or via my Pinterest pins this week!